Measuring
Measuring with a body scan
The body scan turns three photos, front, side and back, into a silhouette you can measure. Here is what the scan needs, how the capture runs, and how to check the result.
A body scan photographs a person three times, removes the background, and finds the joints of the body in each photo. On iPhone that work is done by Apple Vision and on Android by ML Kit, both on the phone itself. The result is a set of silhouettes you can measure without a tape.
What does the scan need to work?
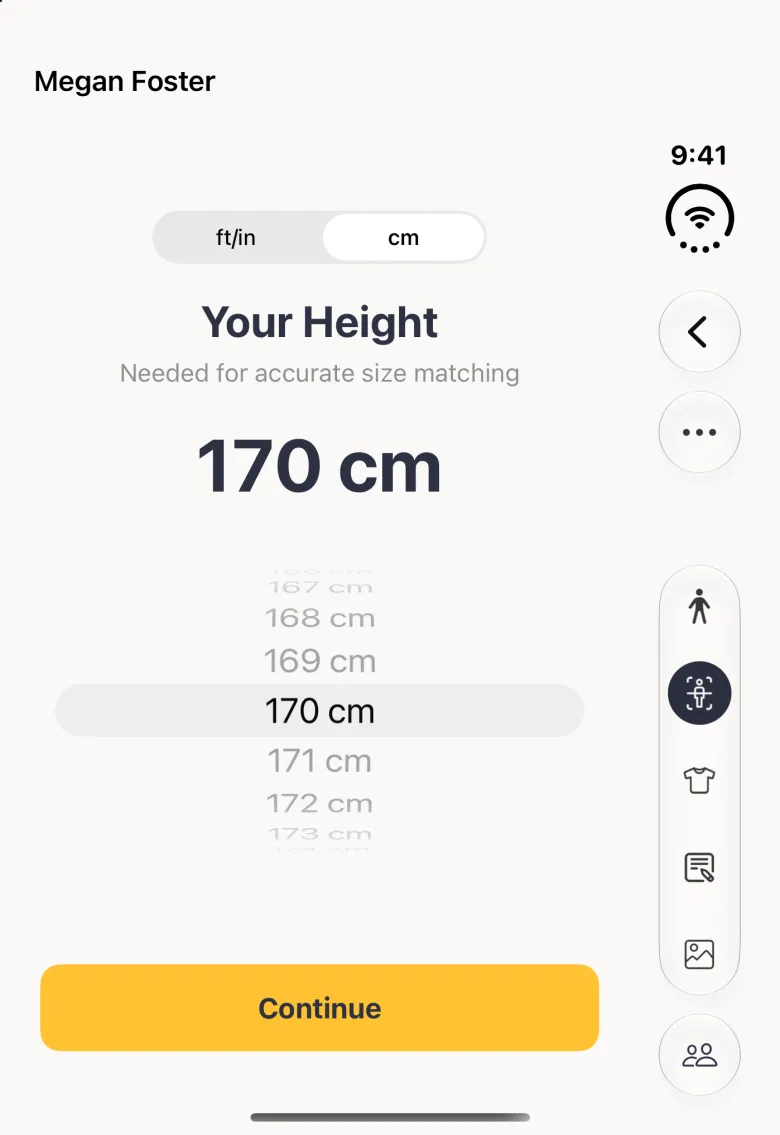
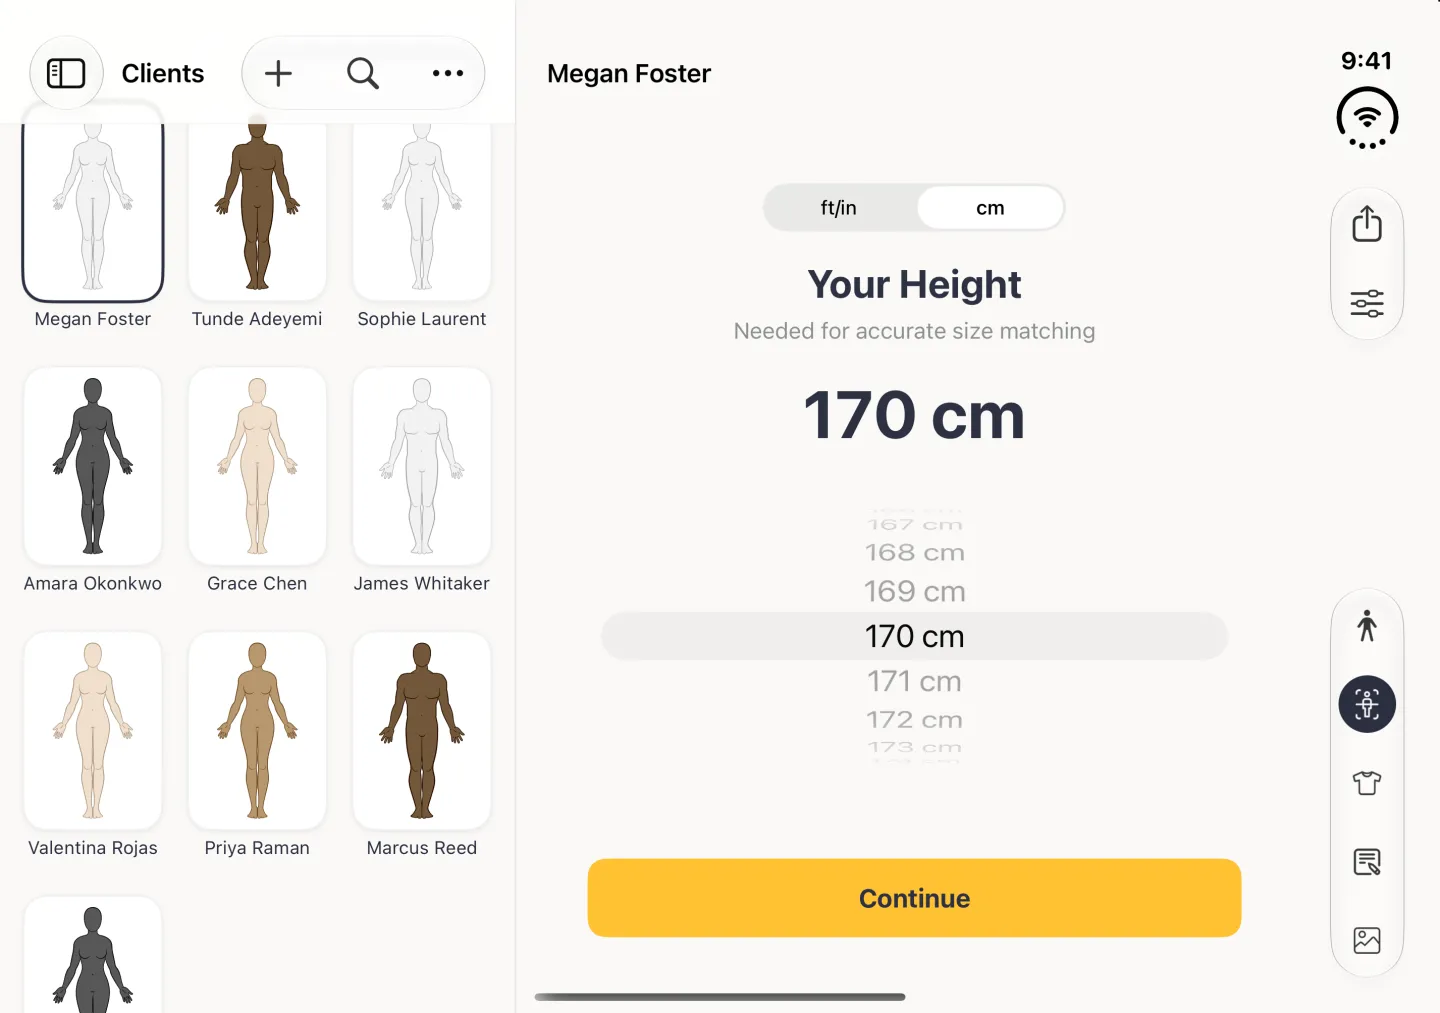
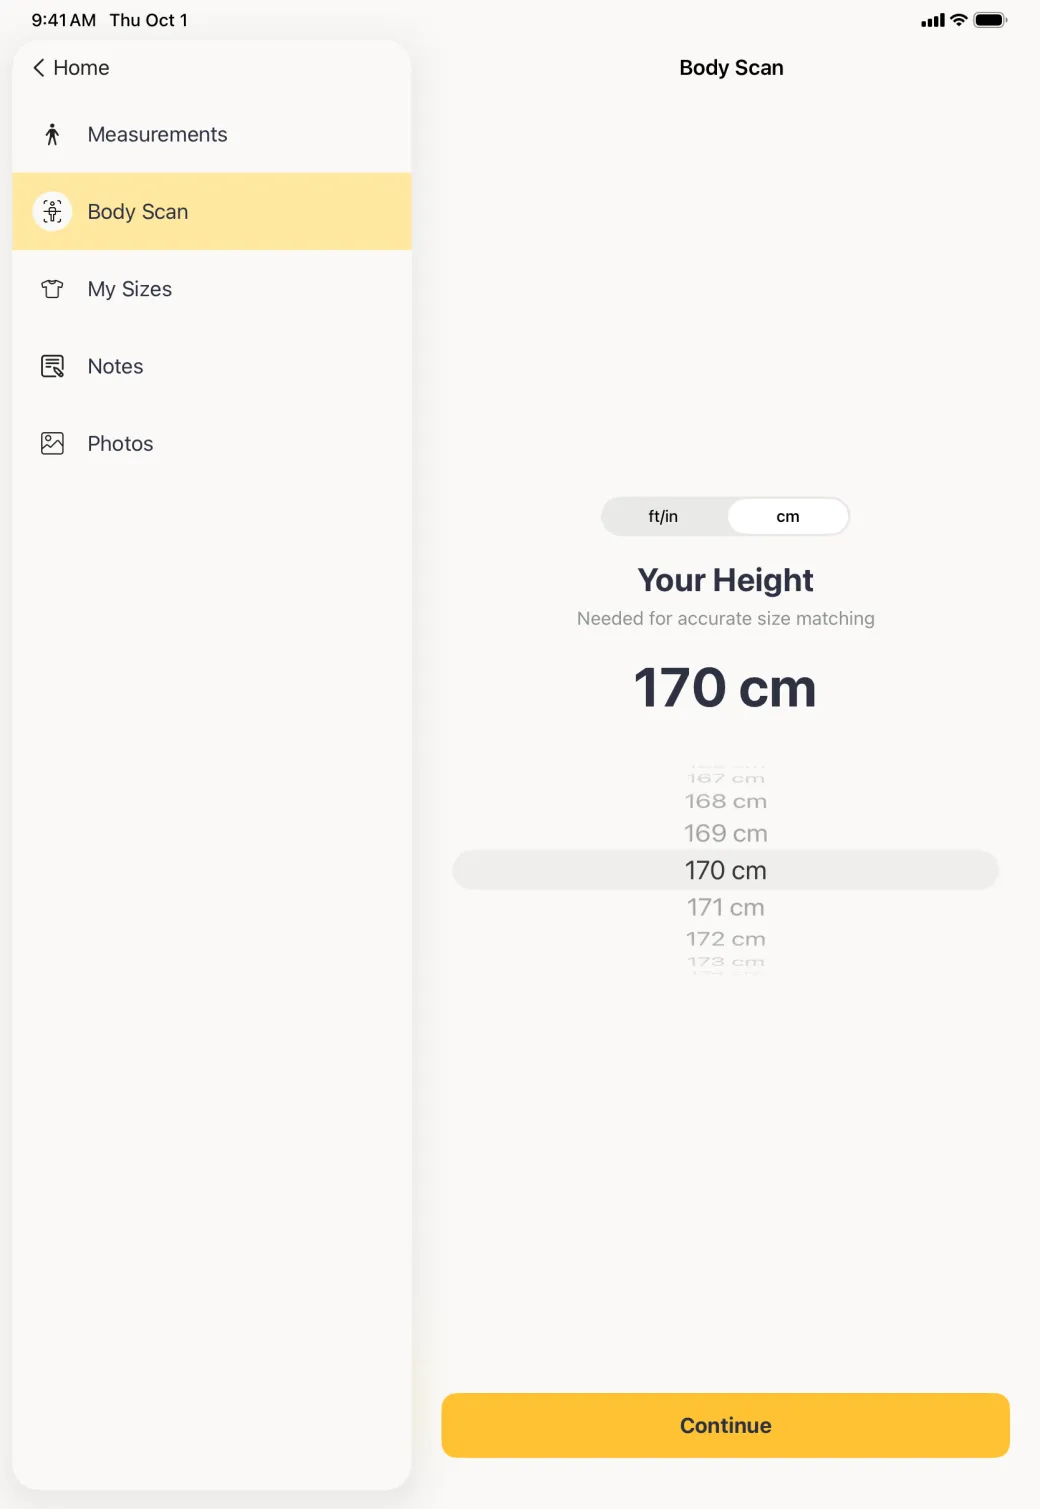
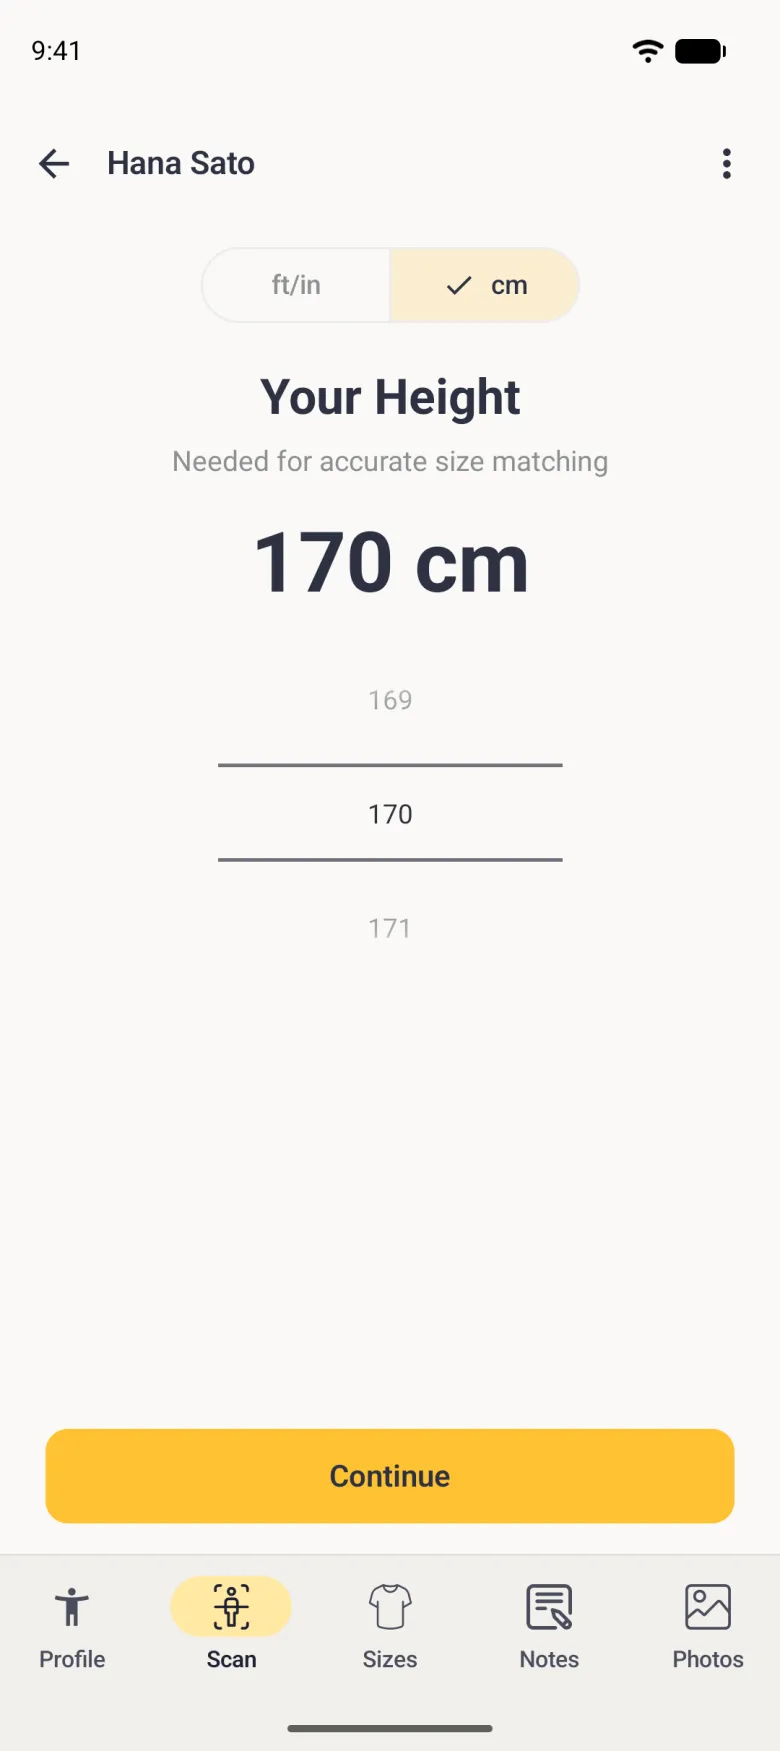
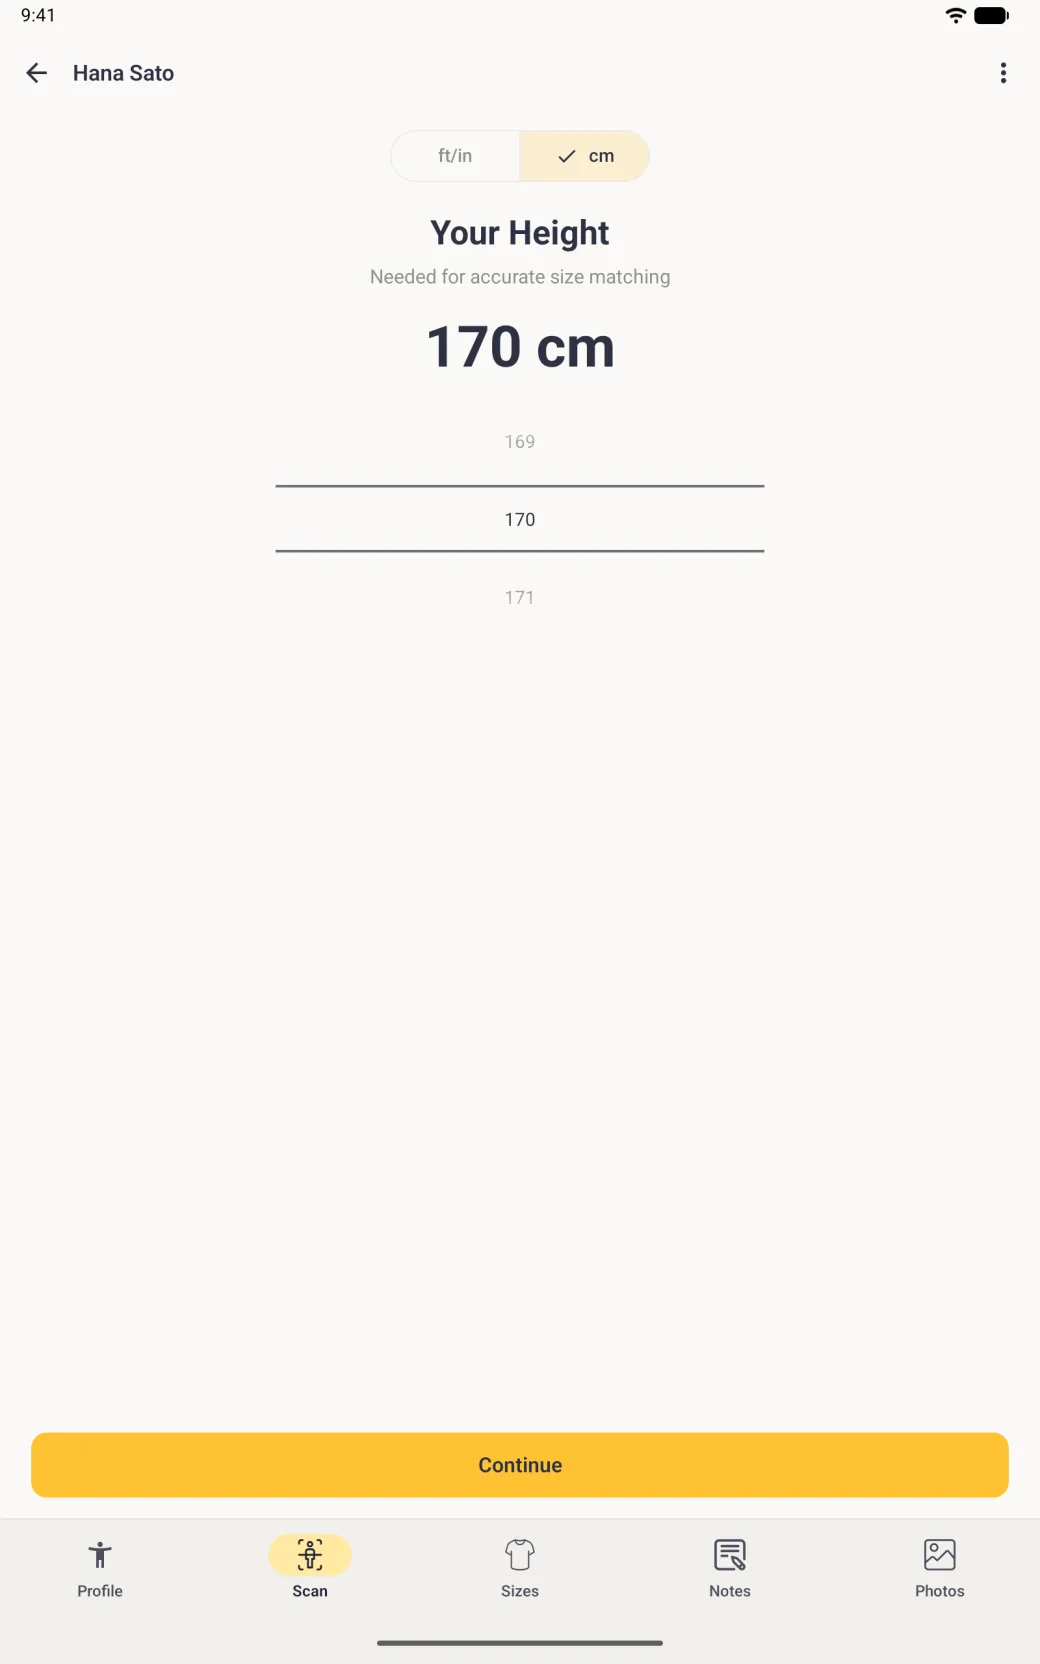
Three photos and a height. The height comes from the profile and is what converts the photos into real measurements, so the scan asks for it before the first capture if the profile does not have one yet. That screen holds only the title, a unit switch, the height wheel and Continue.
You also need a way to hold the phone. Either someone takes the photos for you, or you prop the phone up, turn on the 10-second timer and step back into the guide yourself. The tips for setting that up are described in the next section.




How do I set up the phone and myself for the photos?
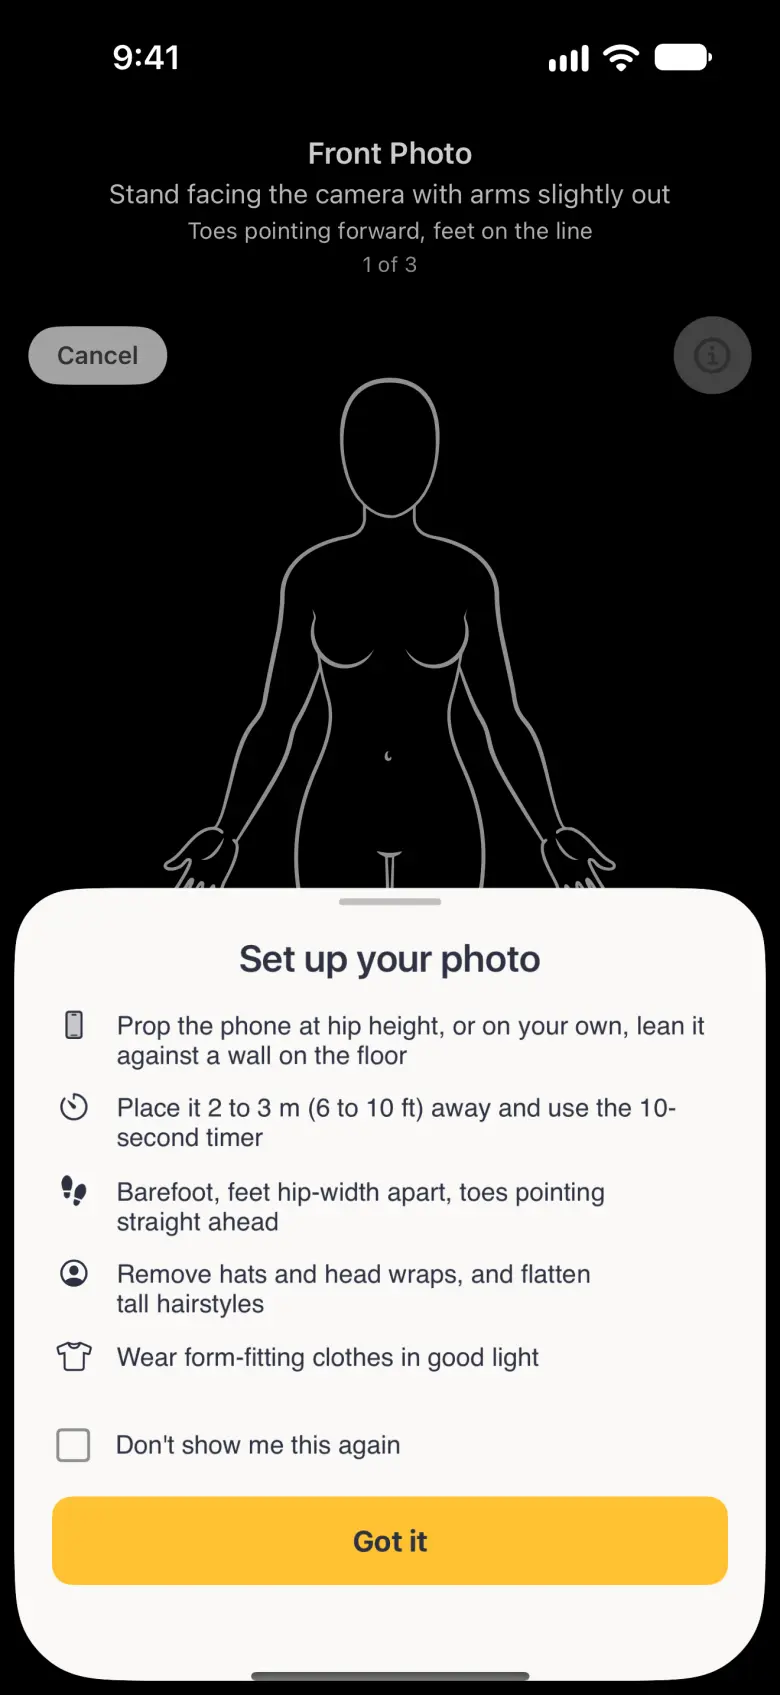
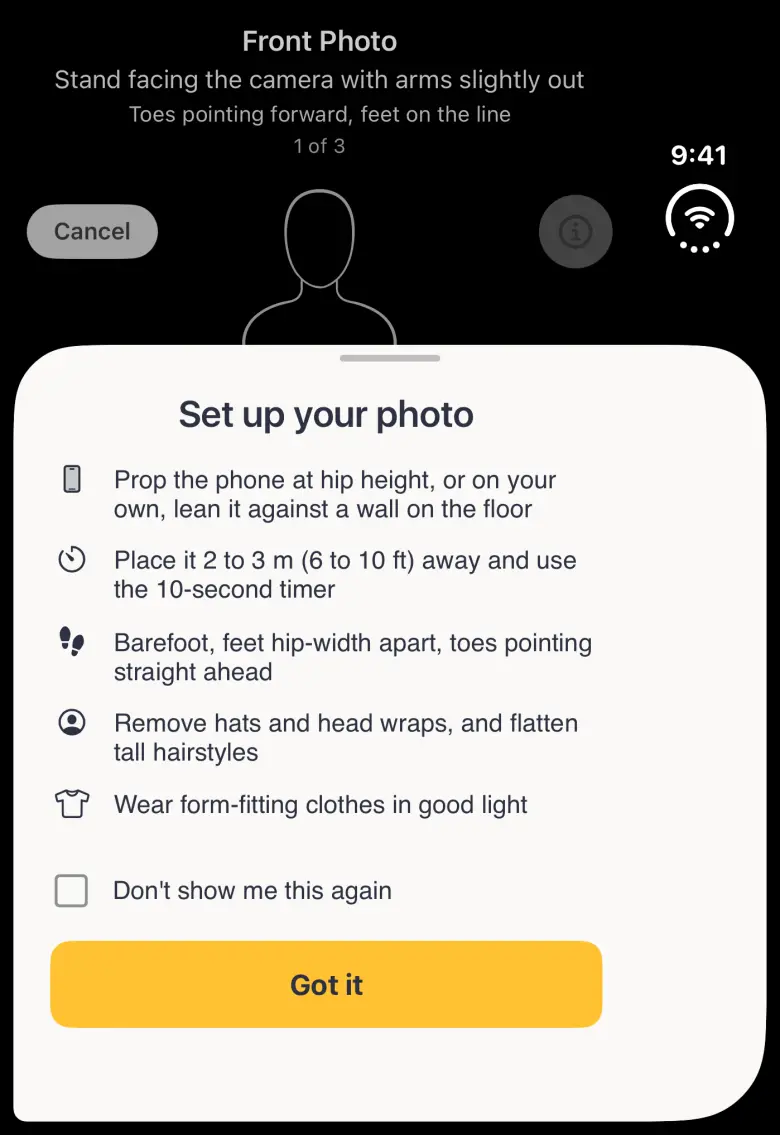
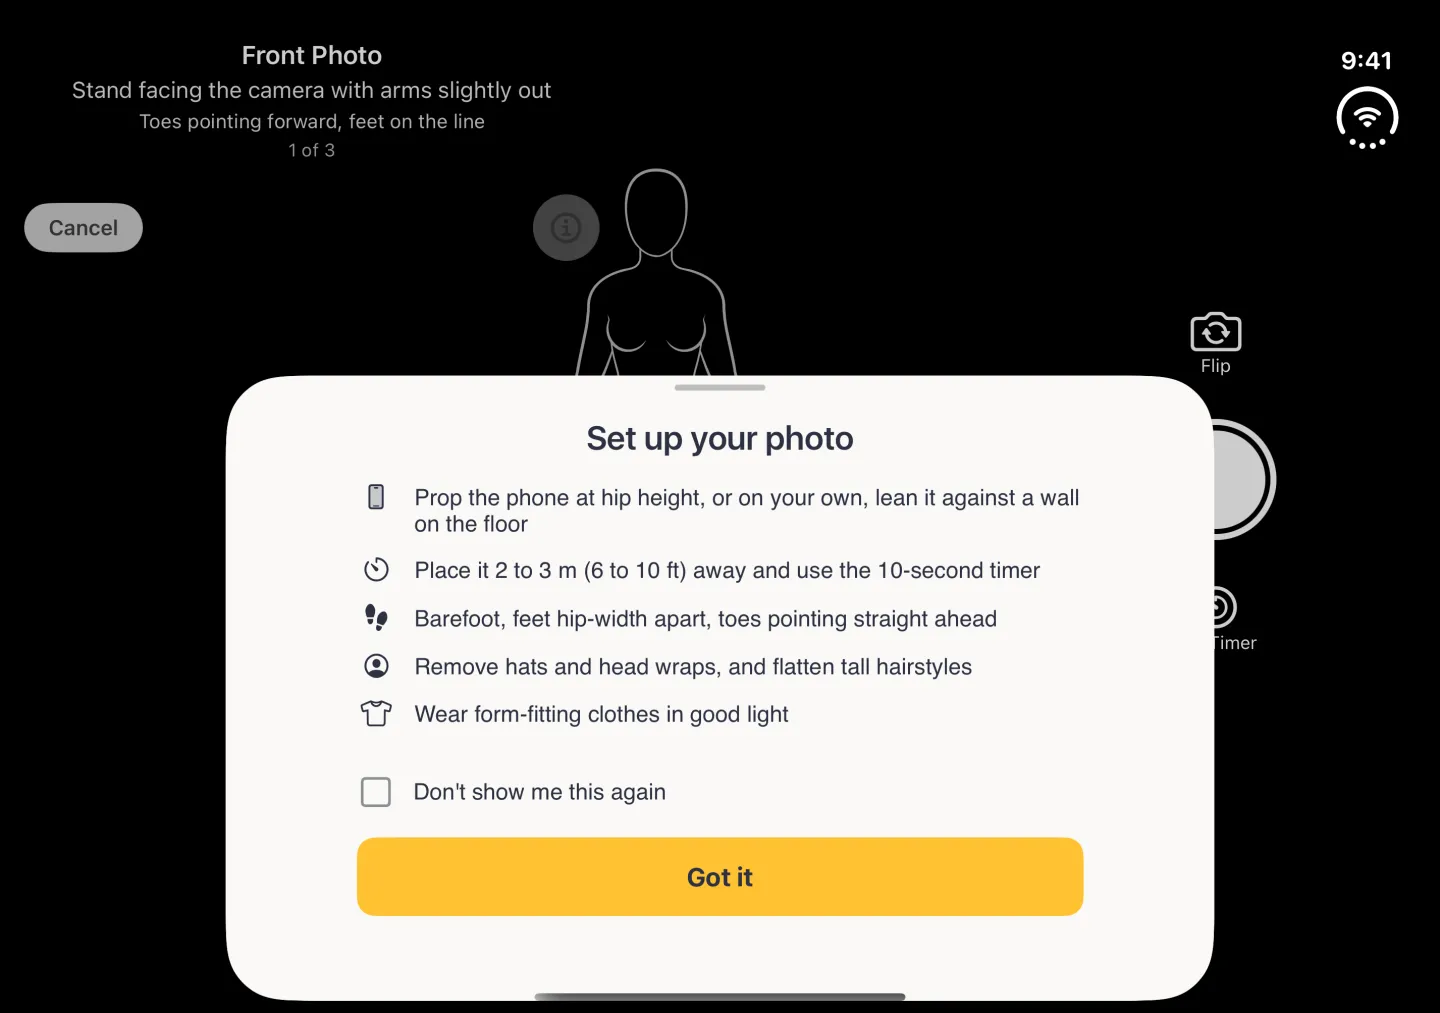
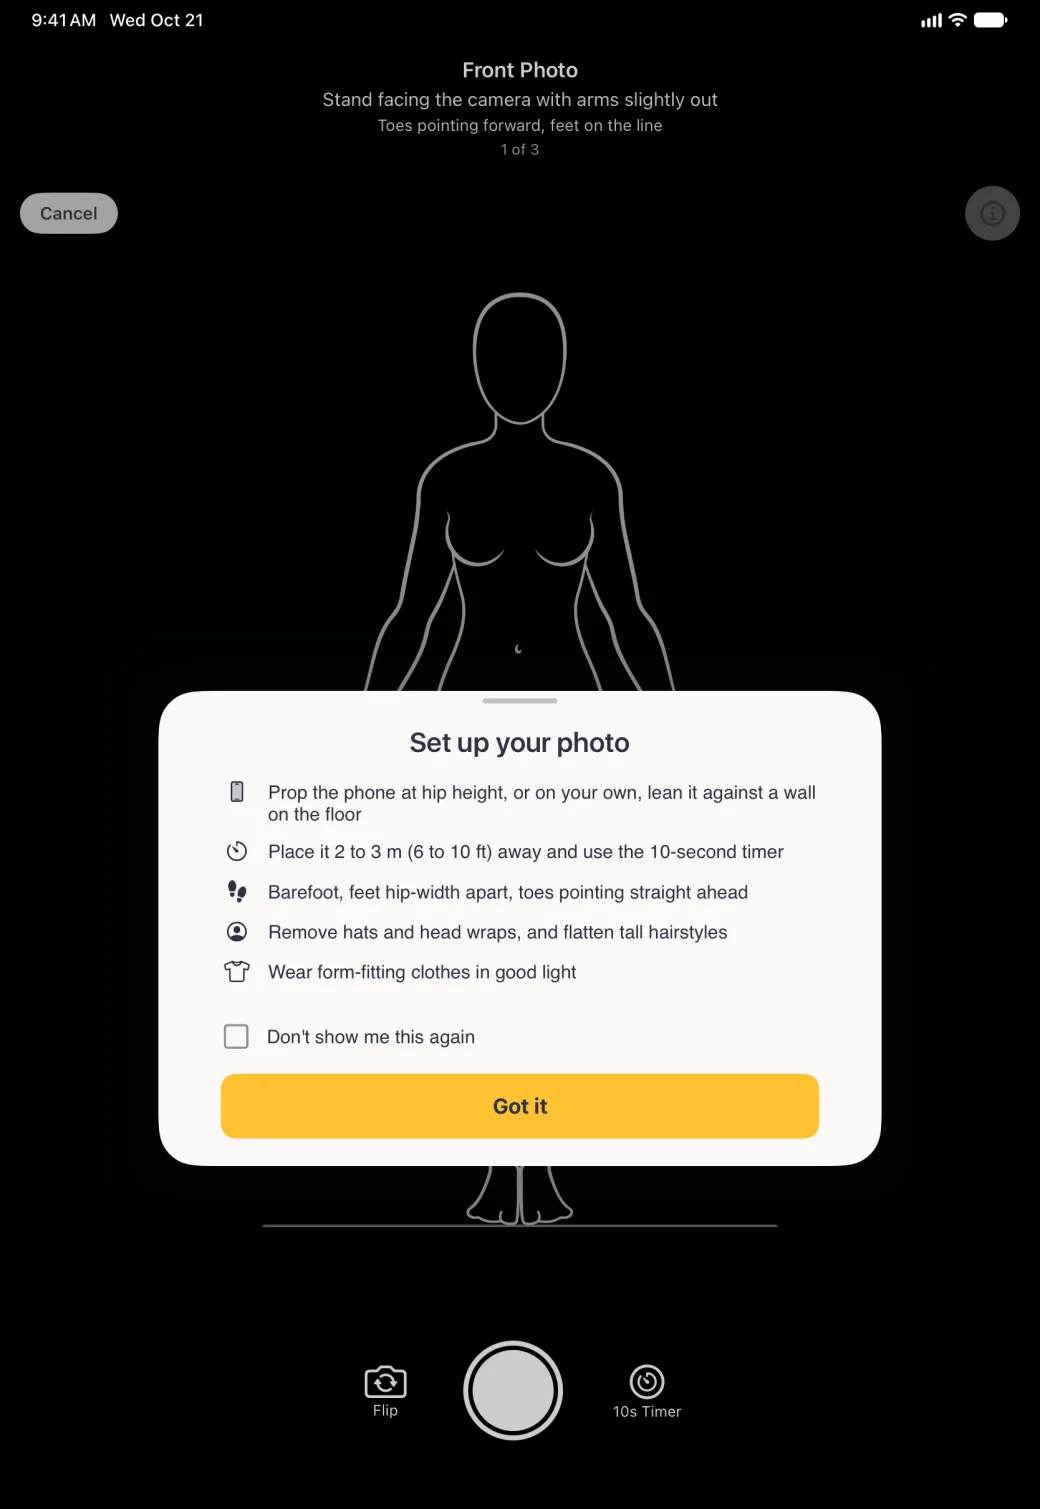
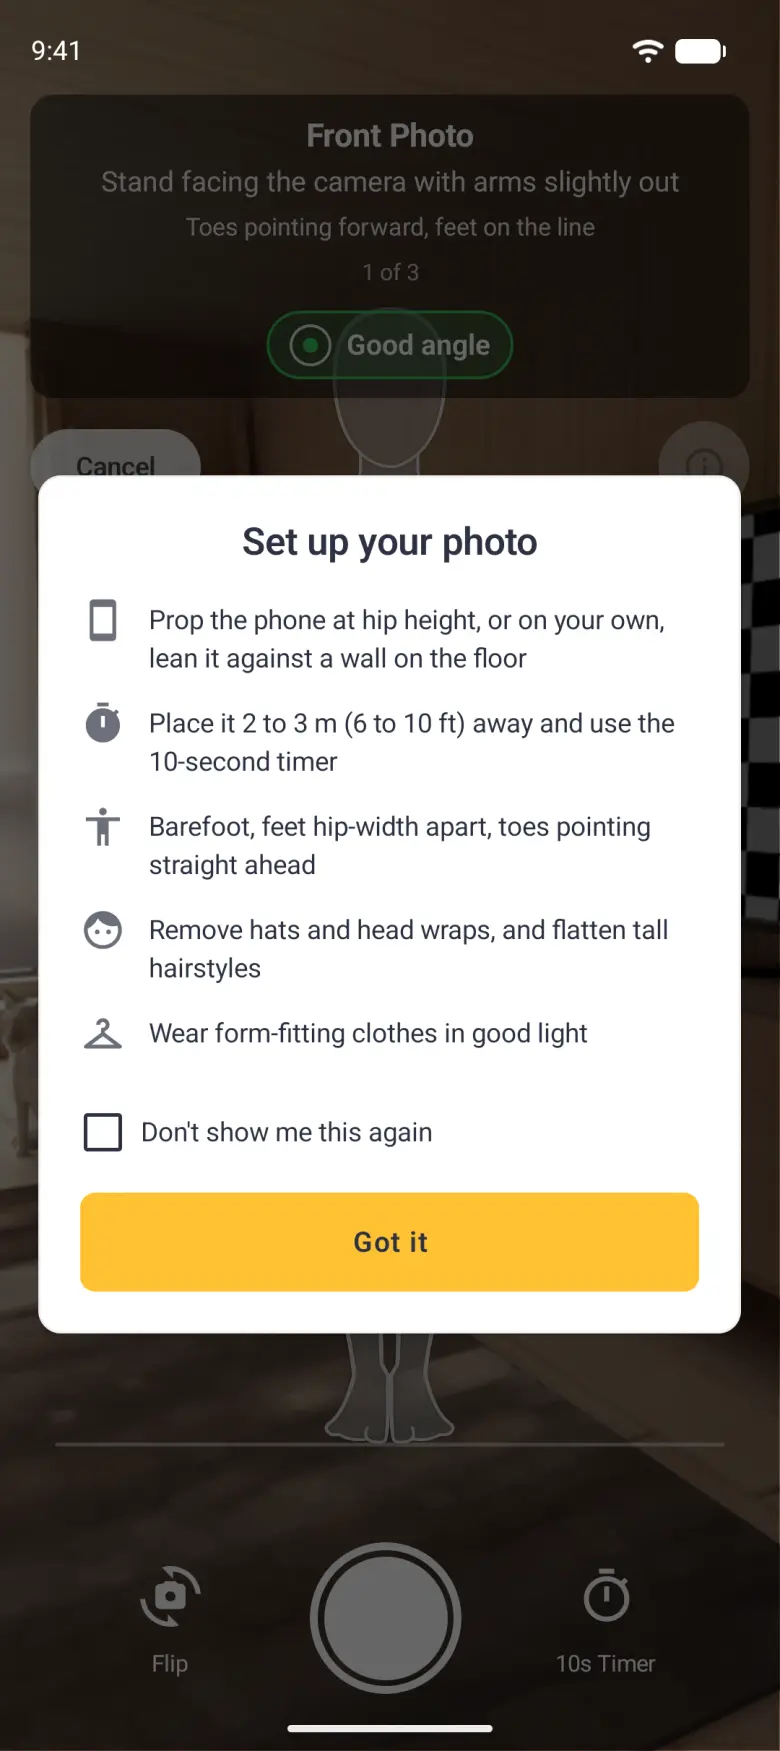
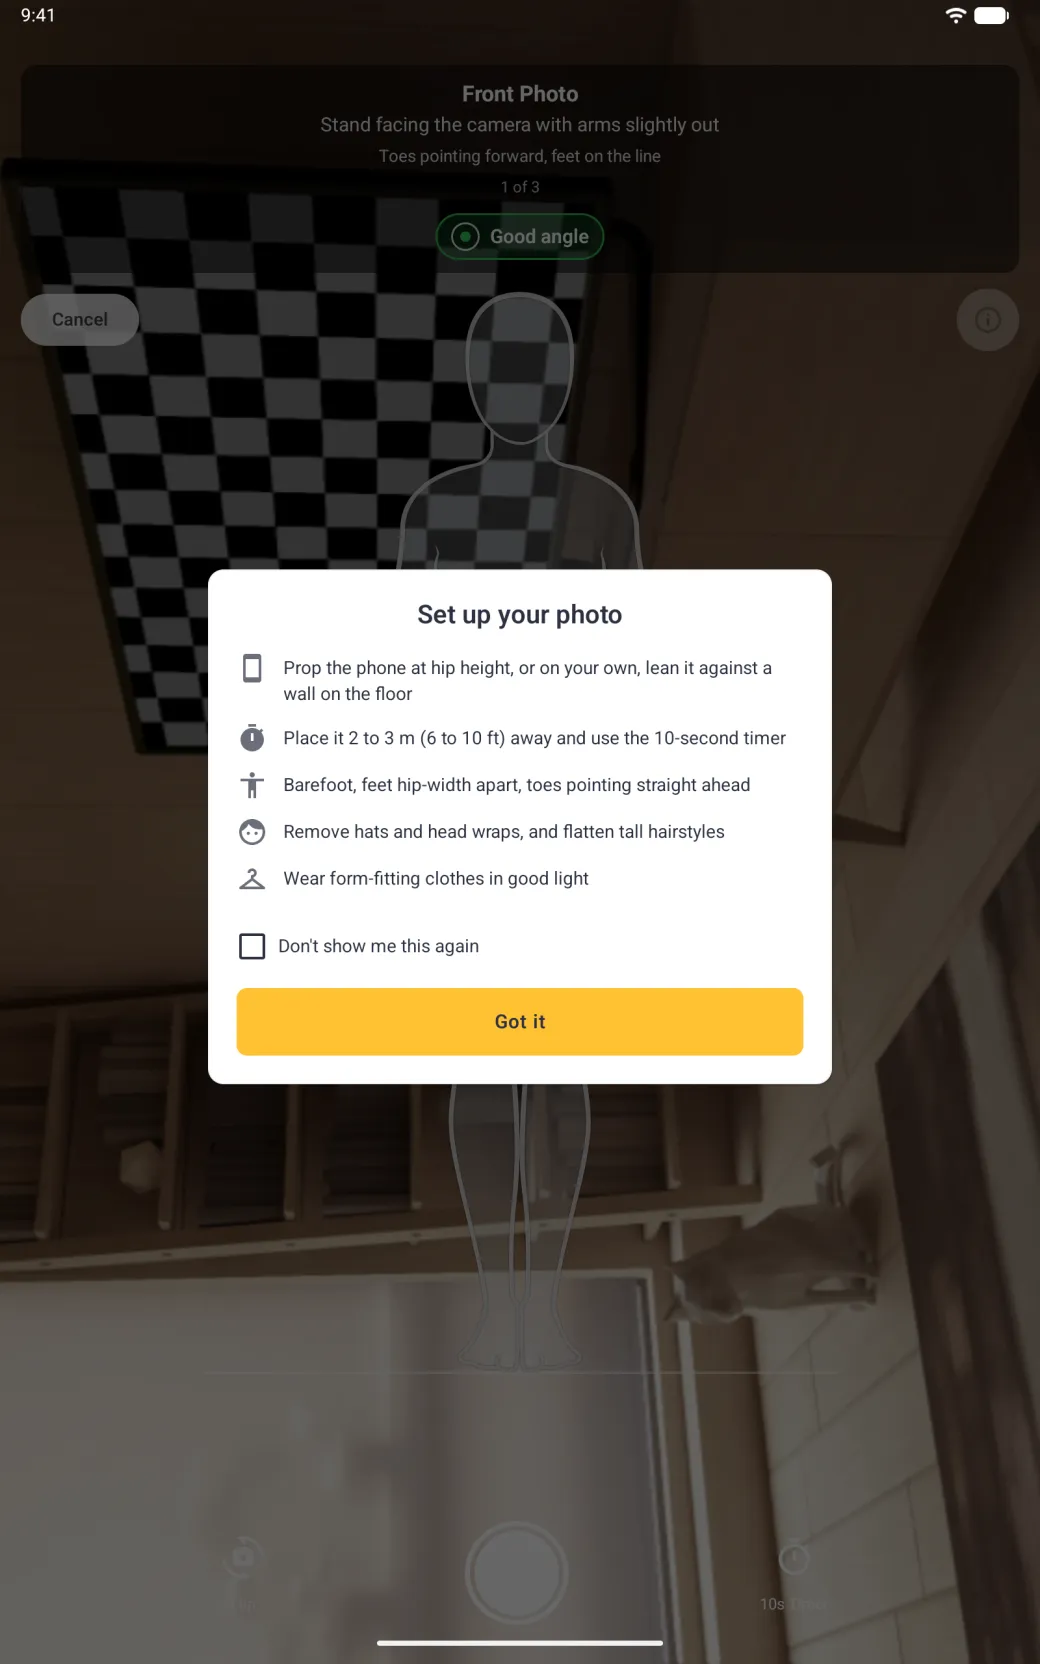
Before the first photo of a new scan, a Set up your photo sheet rises over the camera screen with five tips. Read them, then tap Got it to start. The sheet does not come back for retakes or for the later poses, and the i button at the top right of the camera screen opens it again whenever you want it.
- Prop the phone at hip height, or lean it against a wall on the floor if you are on your own.
- Place it 2 to 3 m (6 to 10 ft) away and use the 10-second timer.
- Stand barefoot with your feet hip-width apart and your toes pointing straight ahead.
- Remove hats and head wraps, and flatten tall hairstyles.
- Wear form-fitting clothes in good light.
If you tick Don’t show me this again, the sheet stops opening by itself on new scans, and the i button is the way back to it. On the camera screen a white line-art guide figure stands on a floor line, so put your feet on that line. A level indicator in the banner tells you when the phone is upright and reads Good angle once it is. Turn on the 10s Timer at the bottom right, then tap the shutter: the photo is taken after a 10-second countdown.
How do I take the three photos?
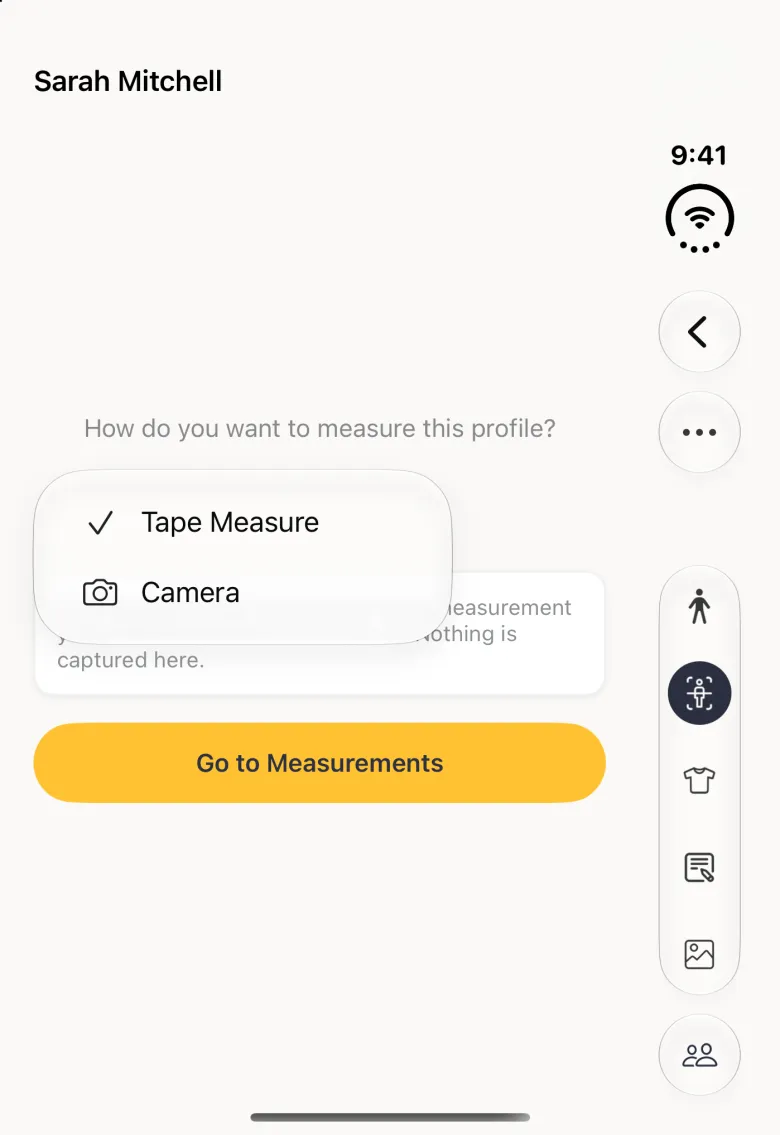
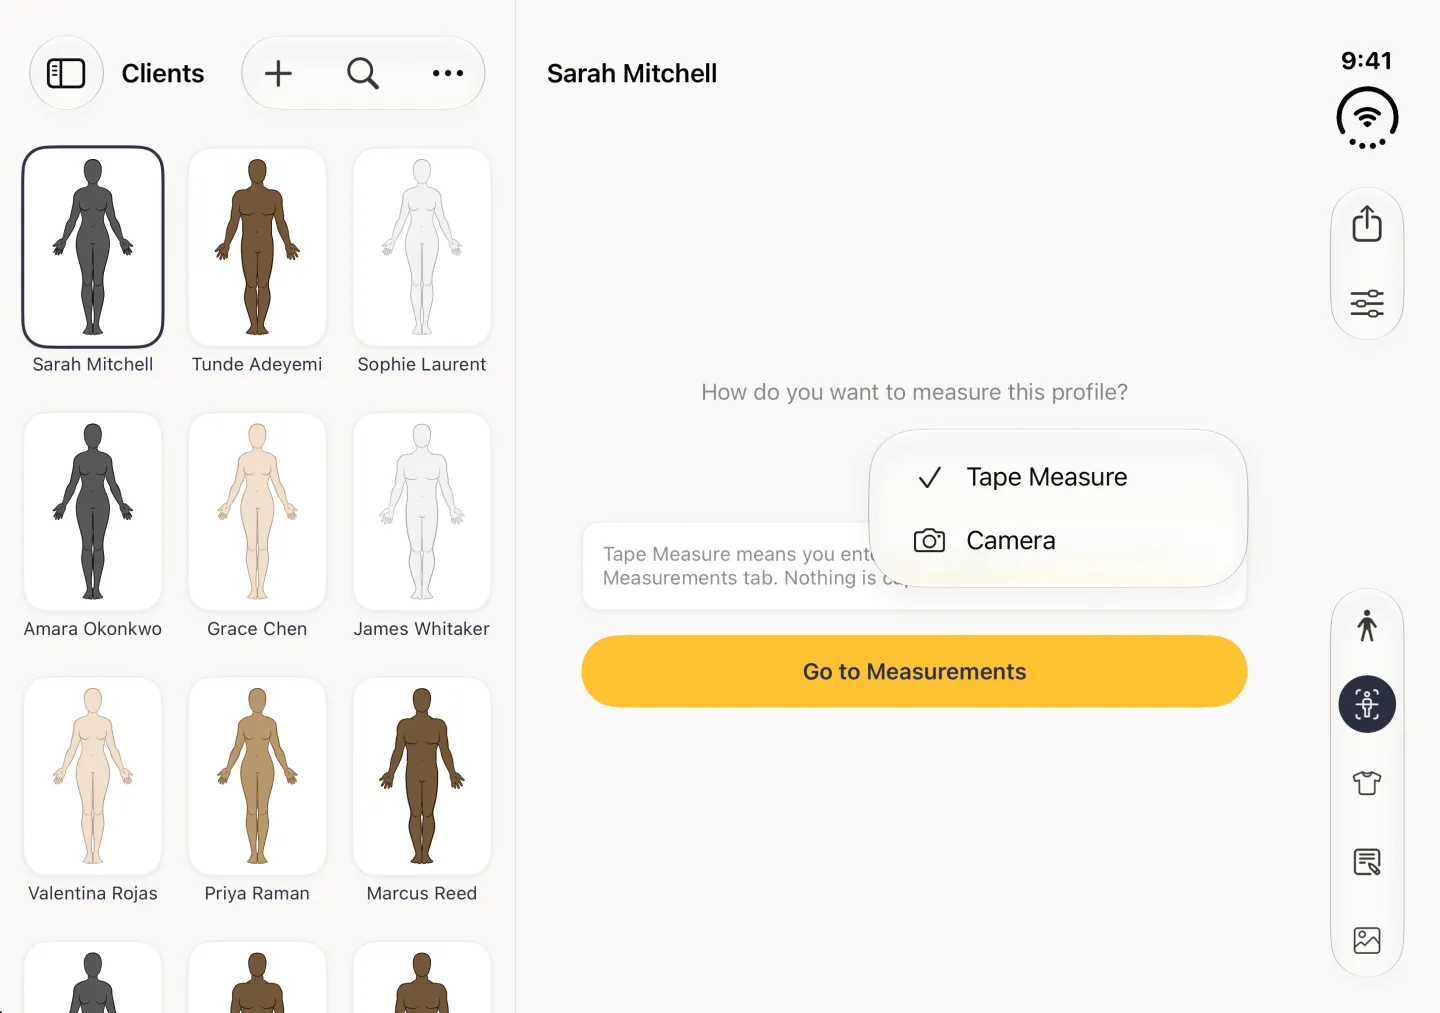
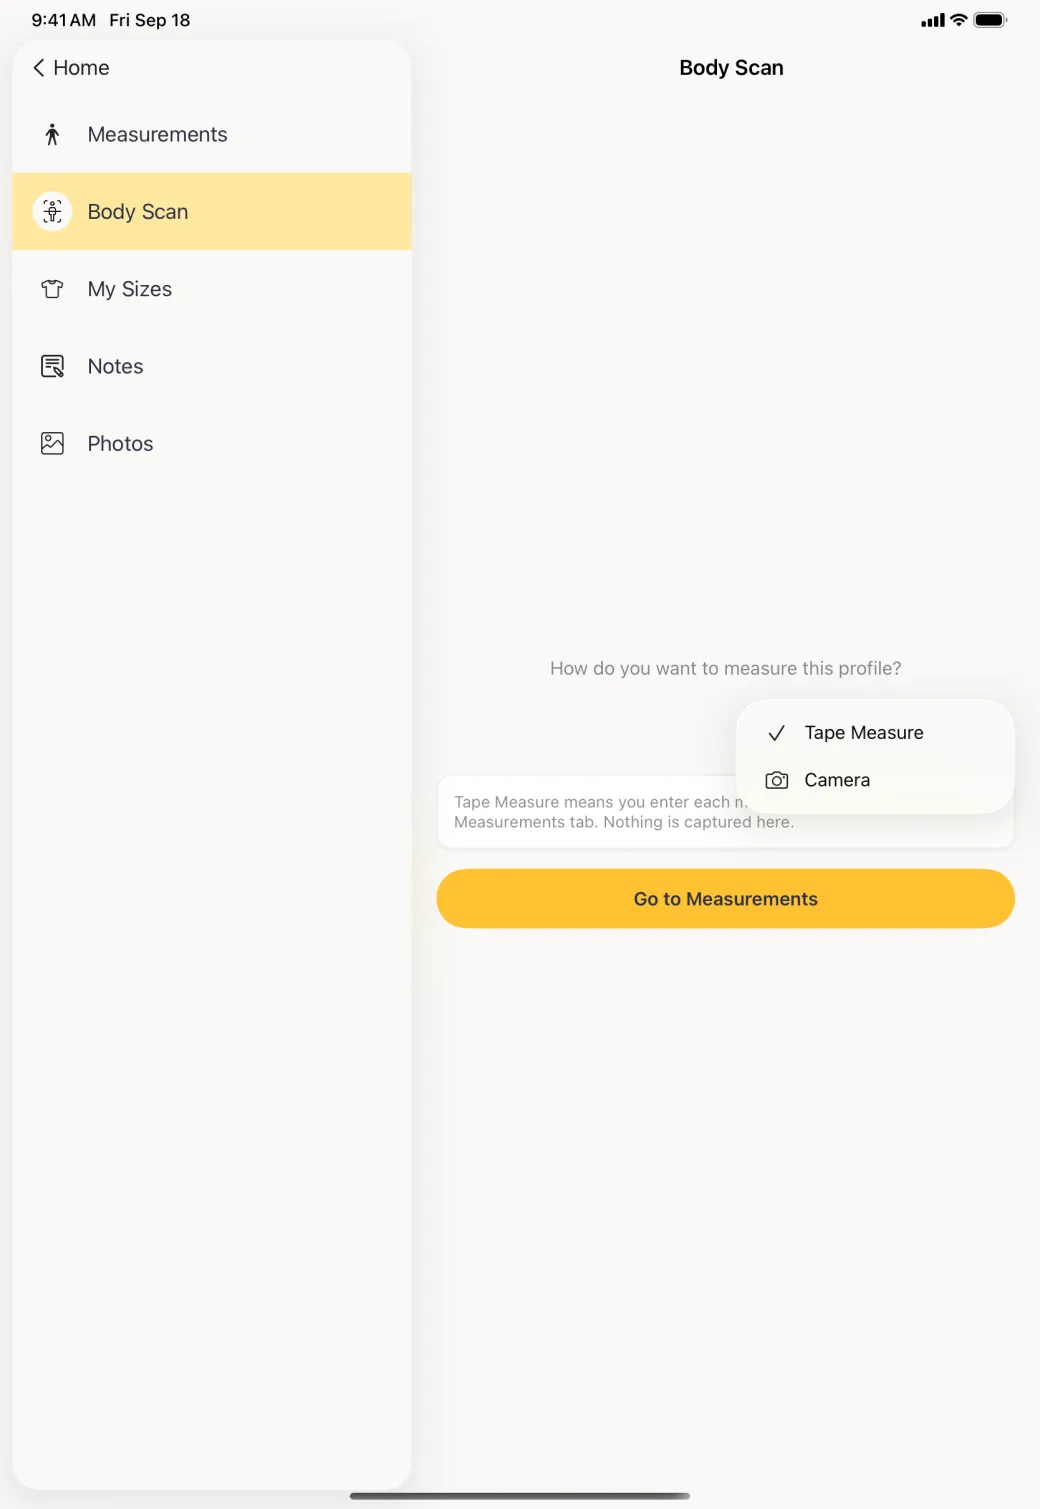
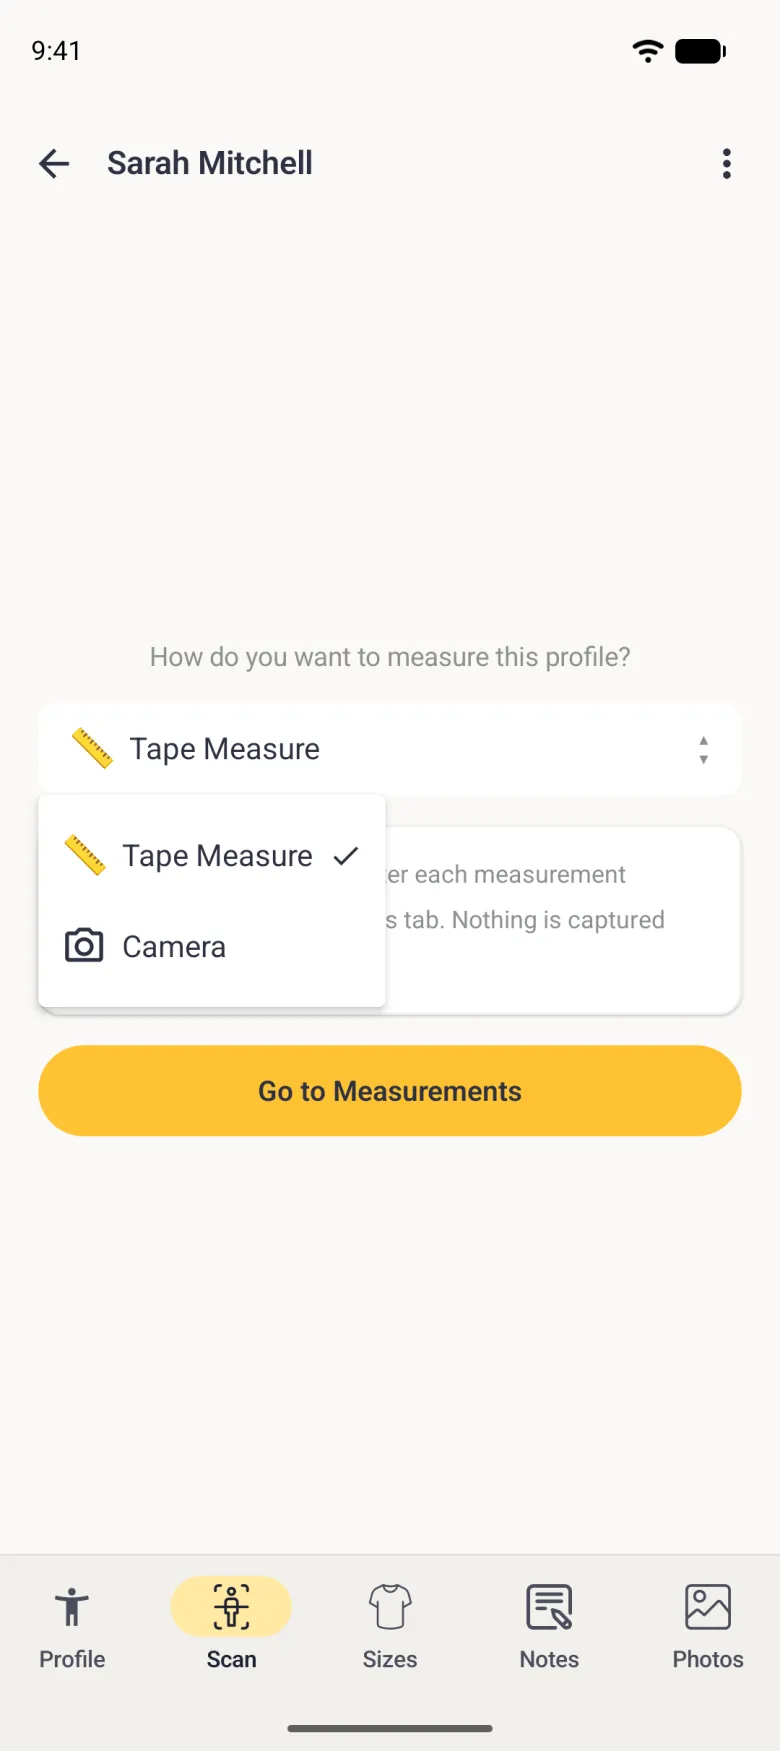
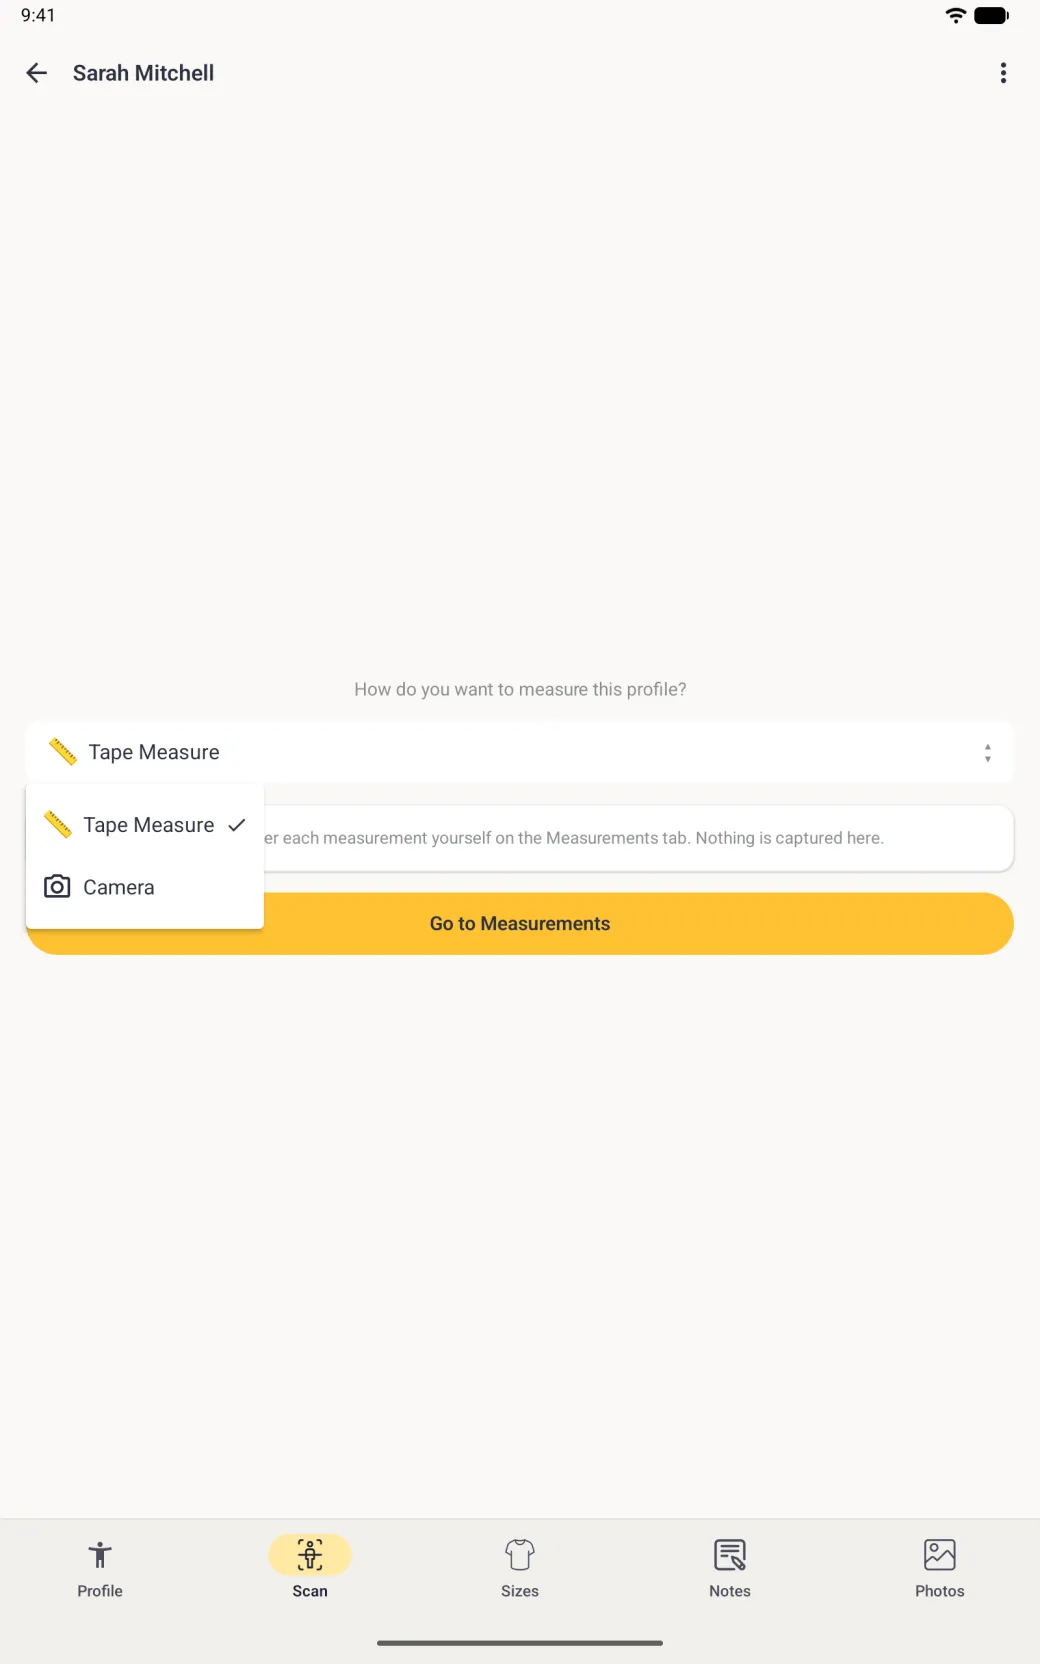
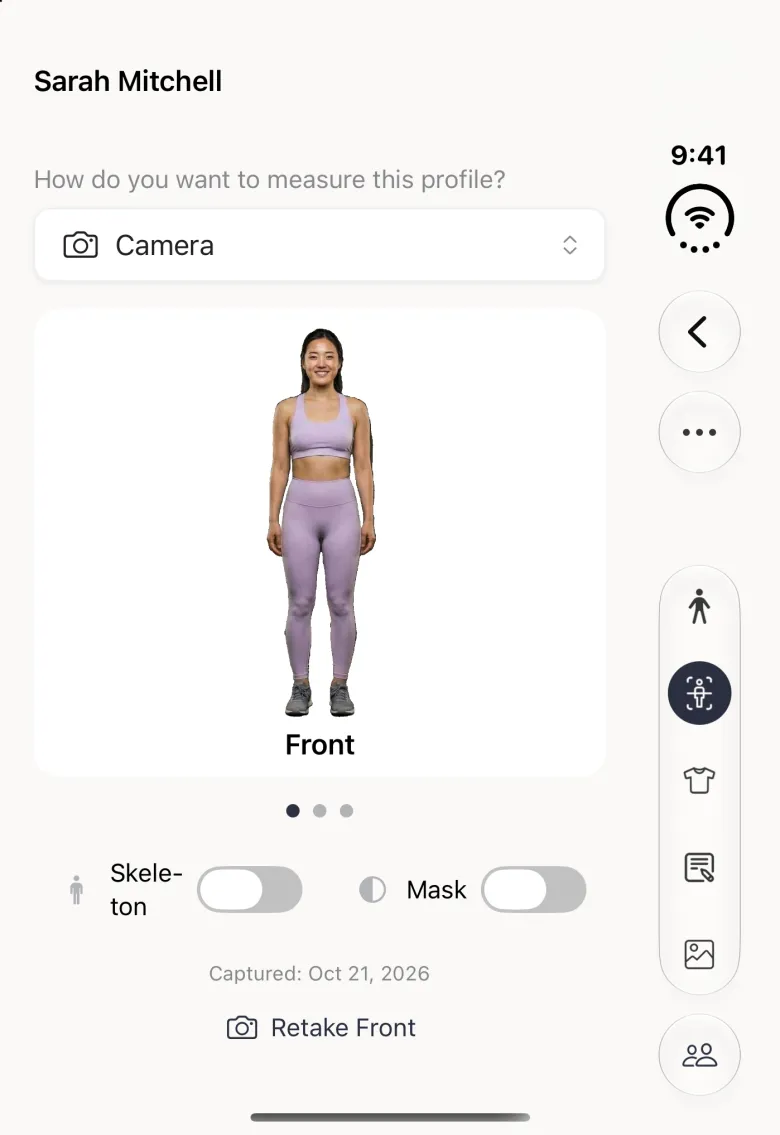
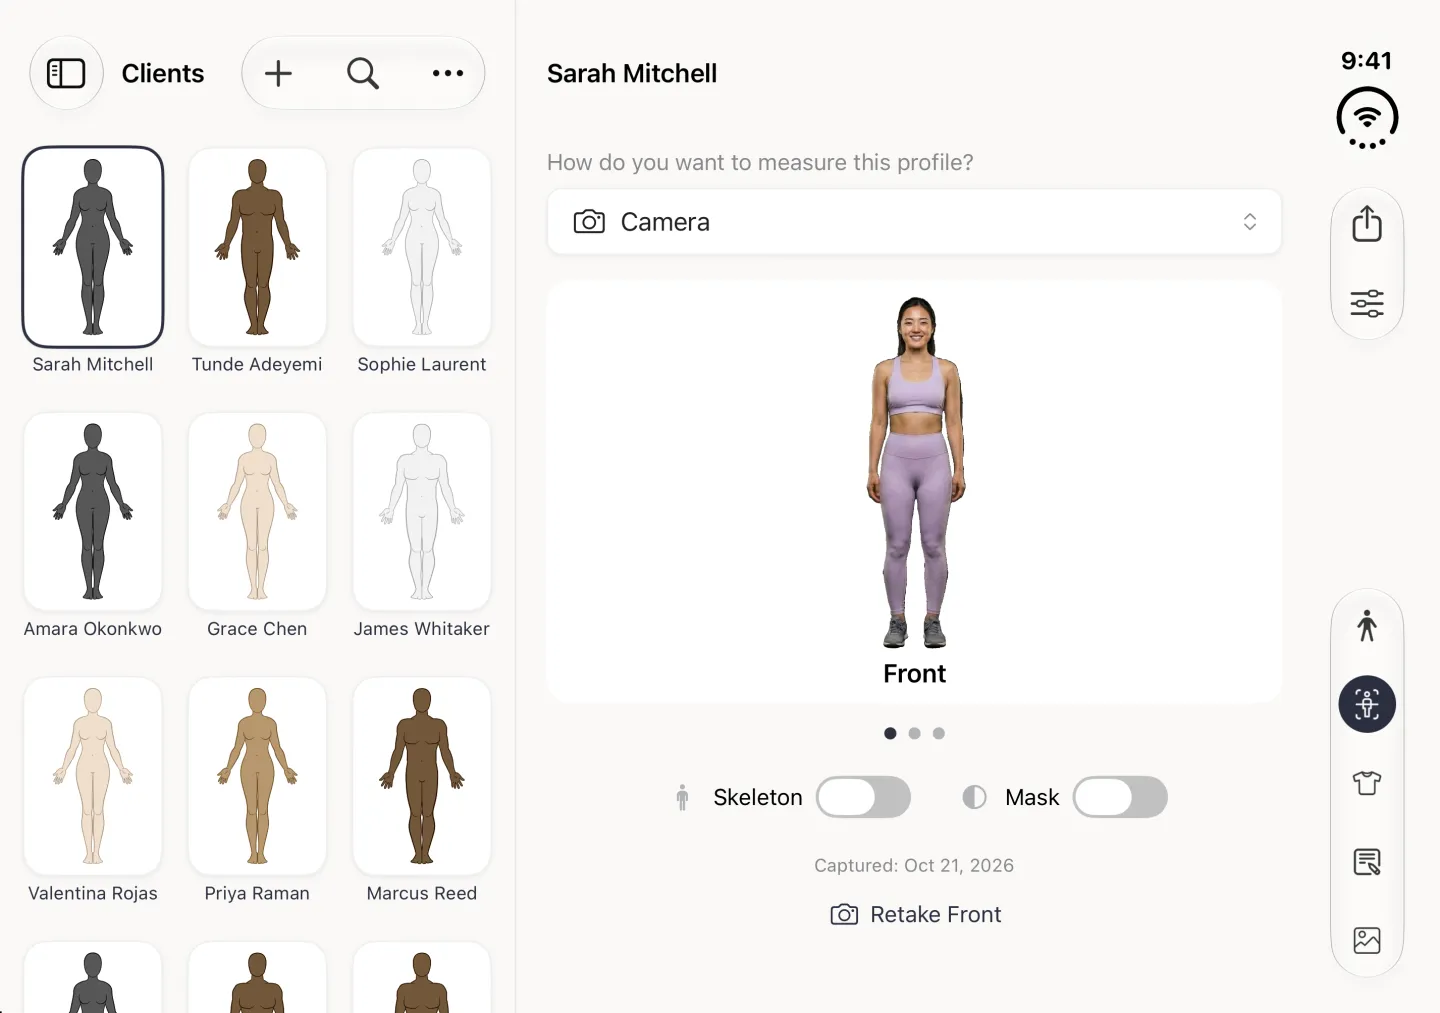
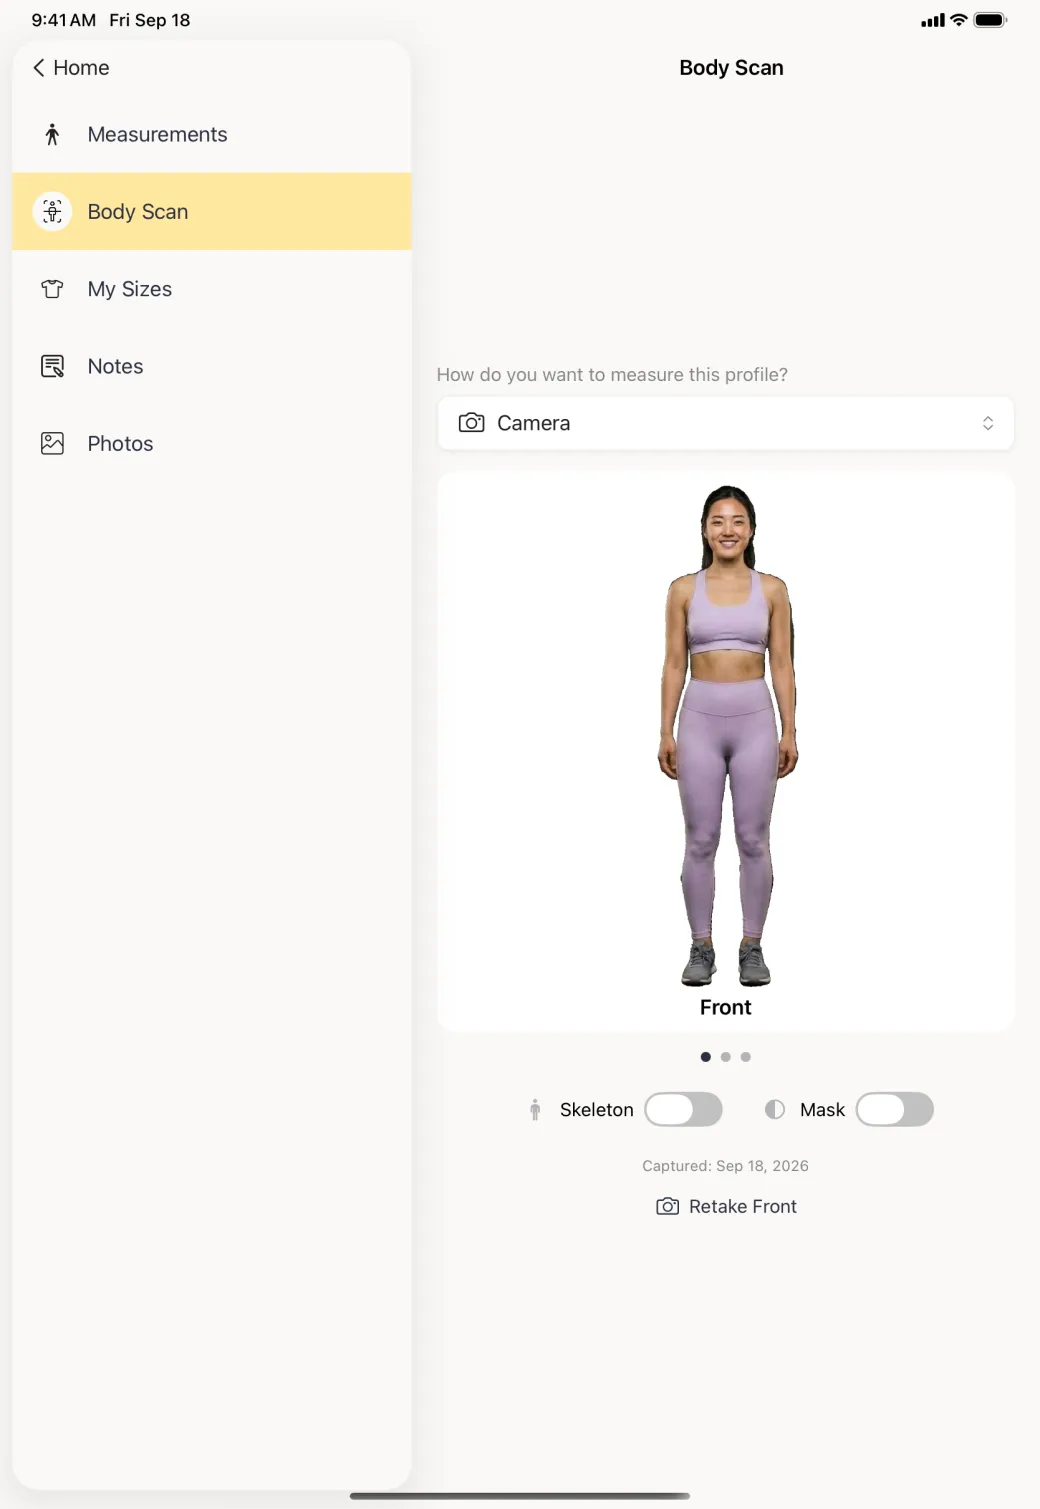
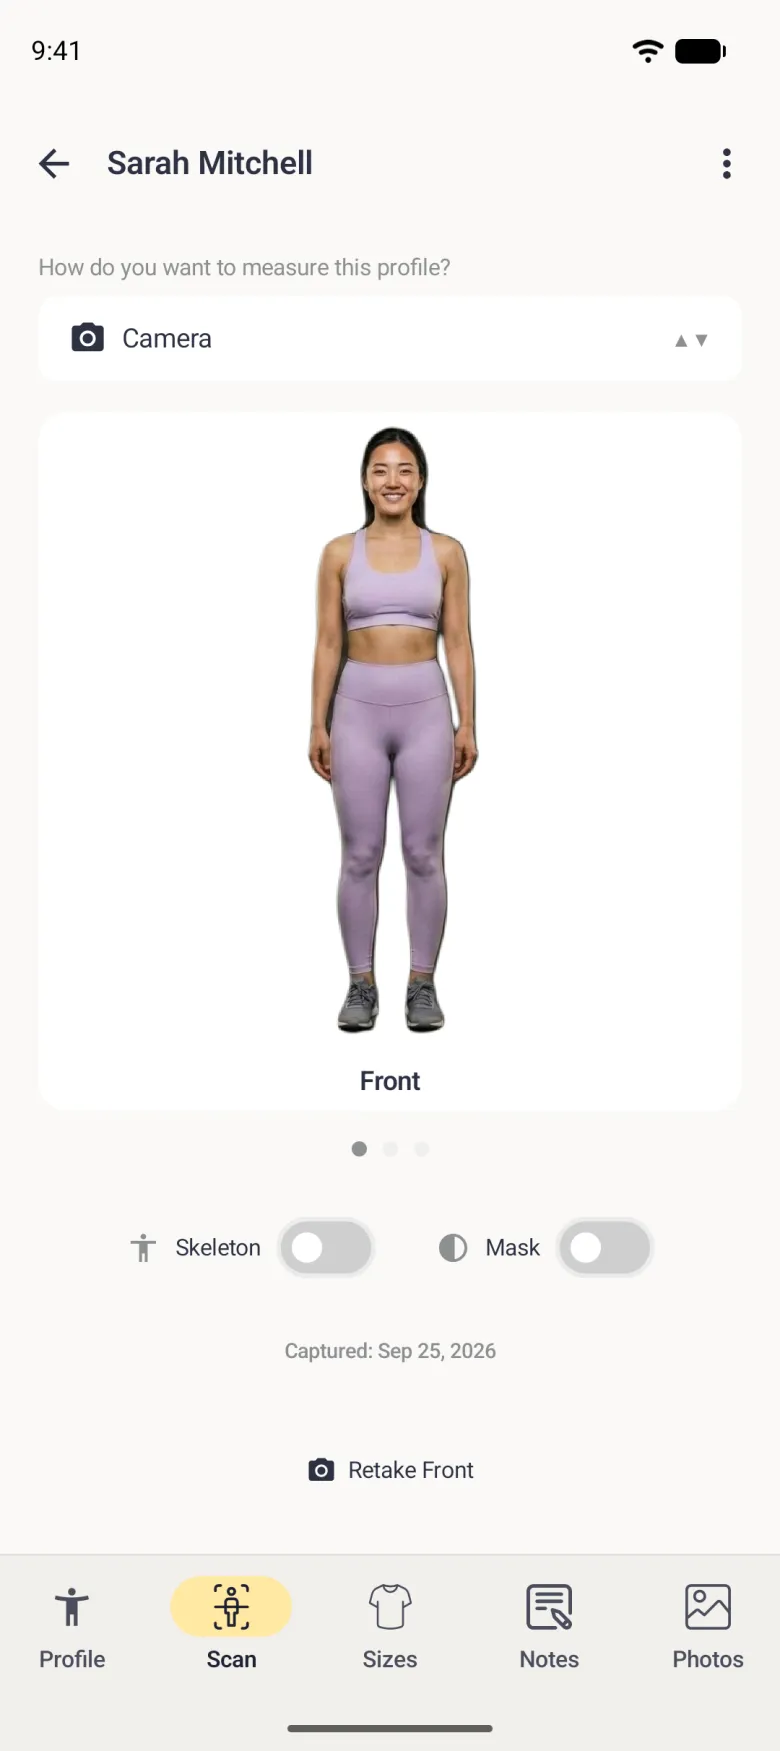
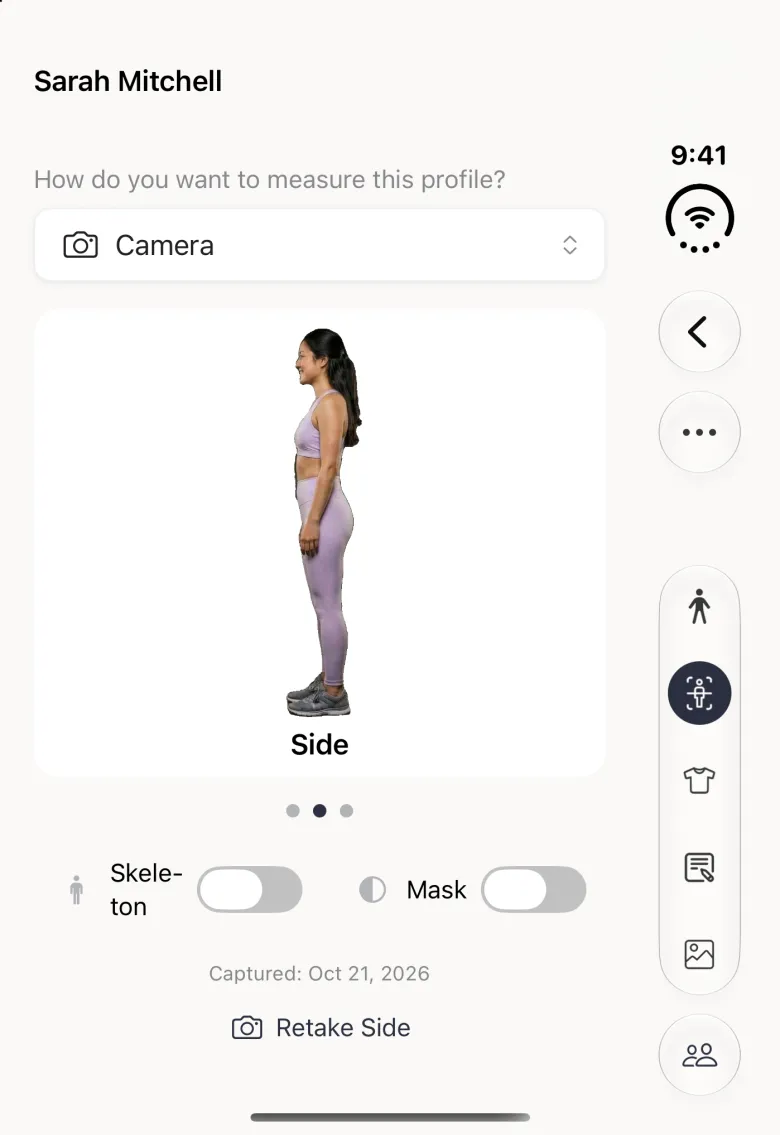
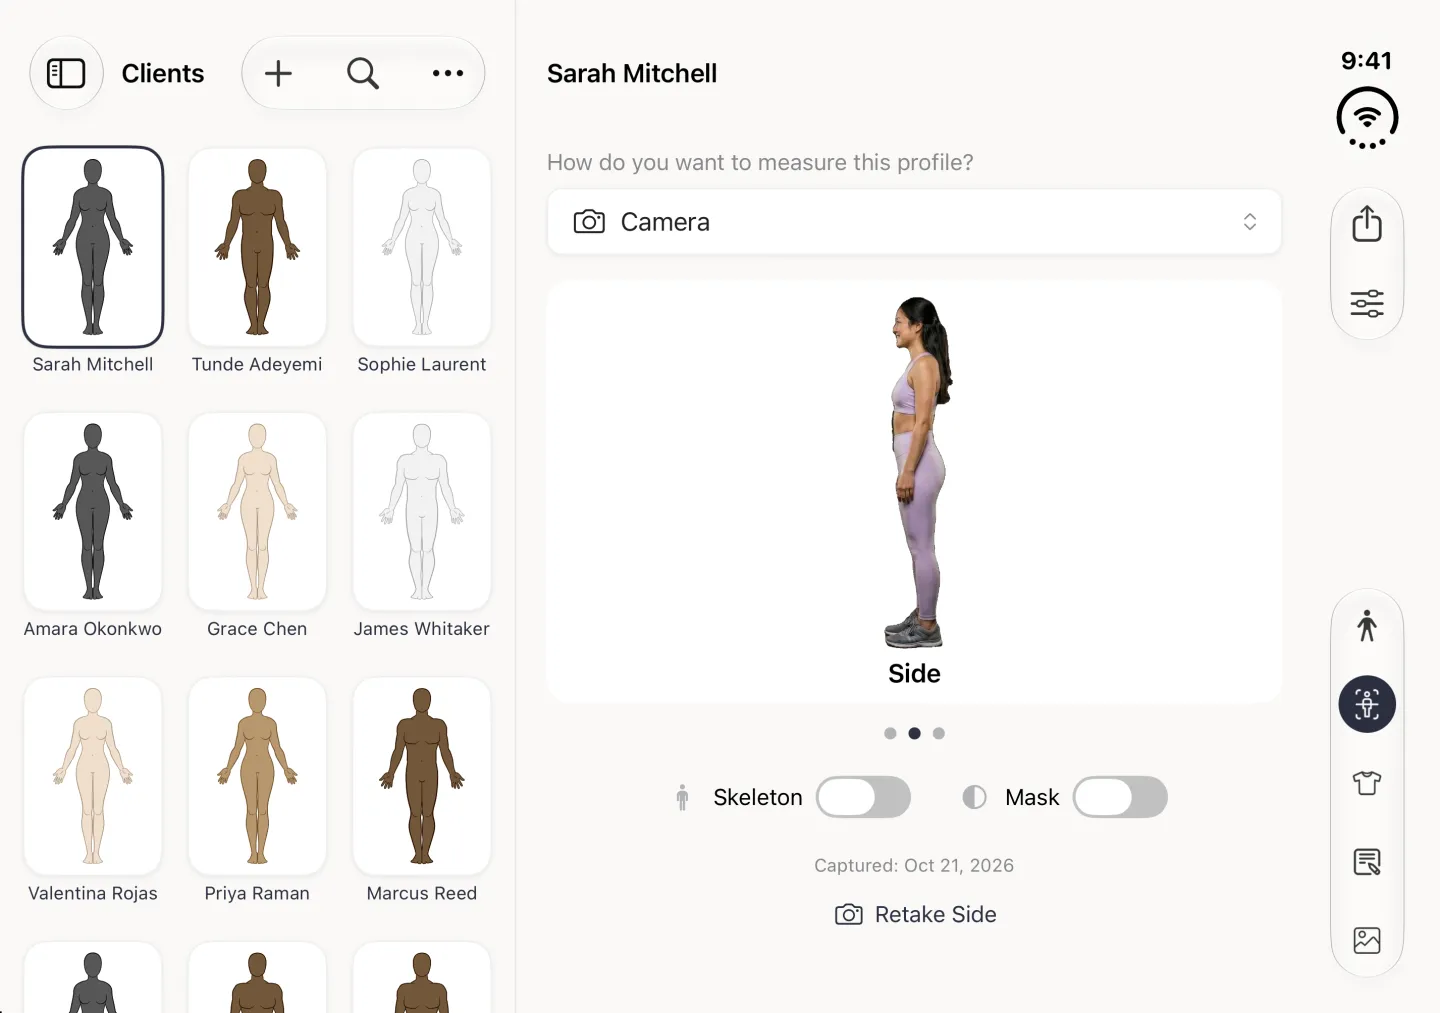
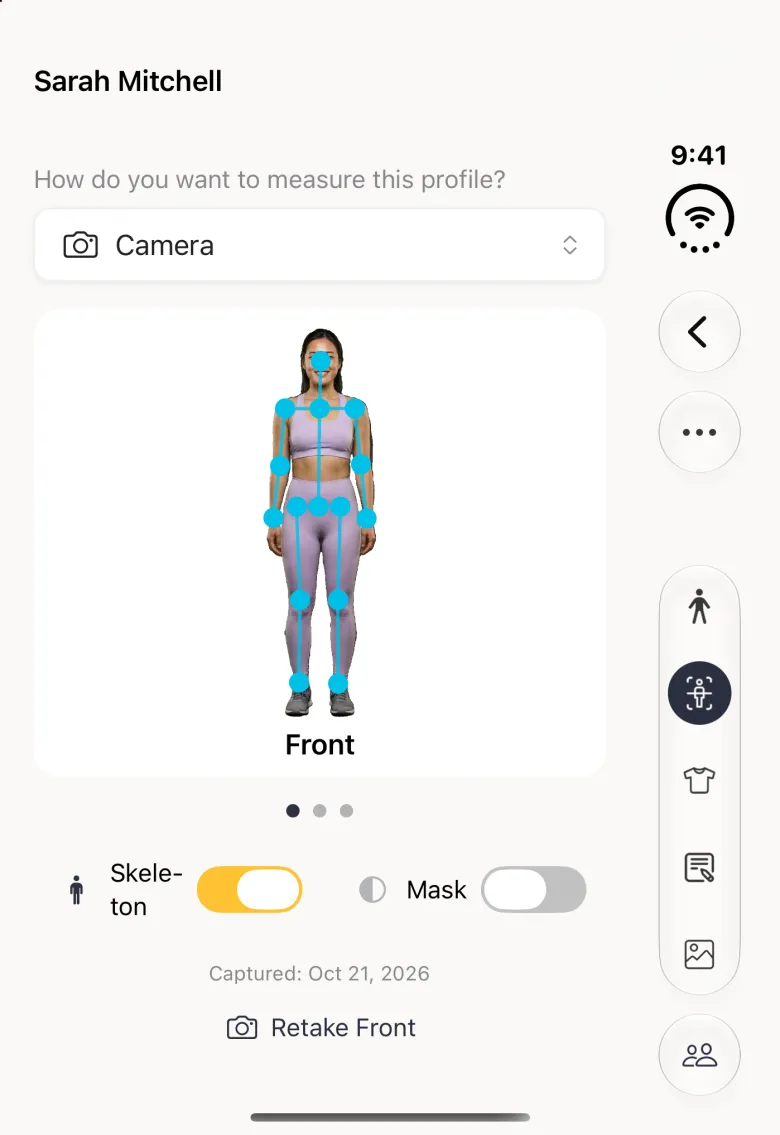
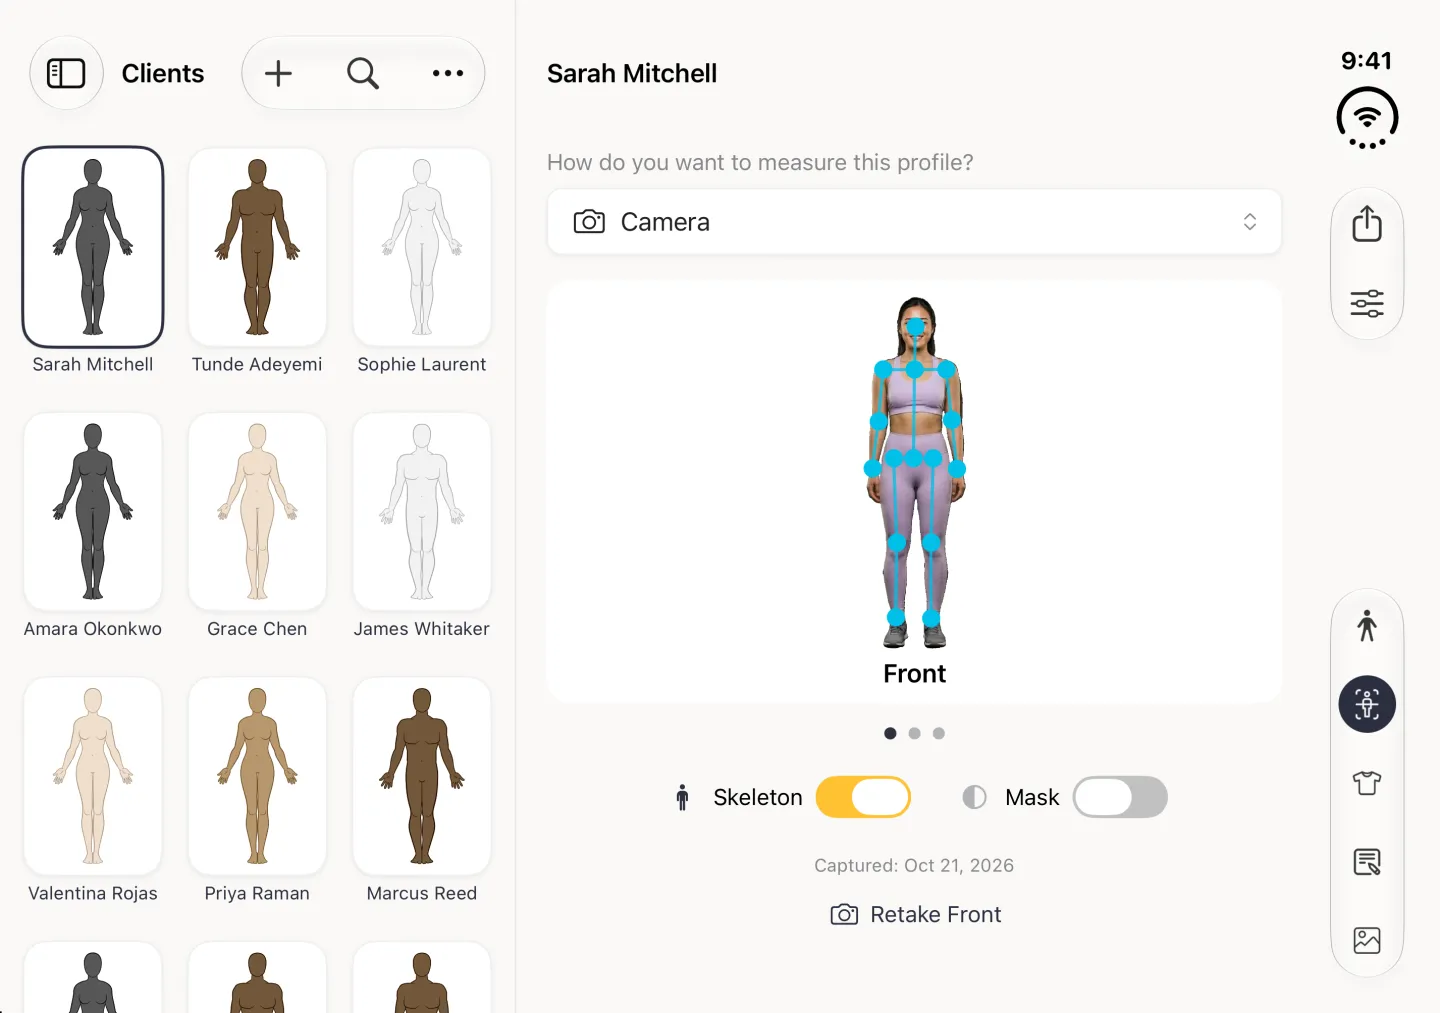
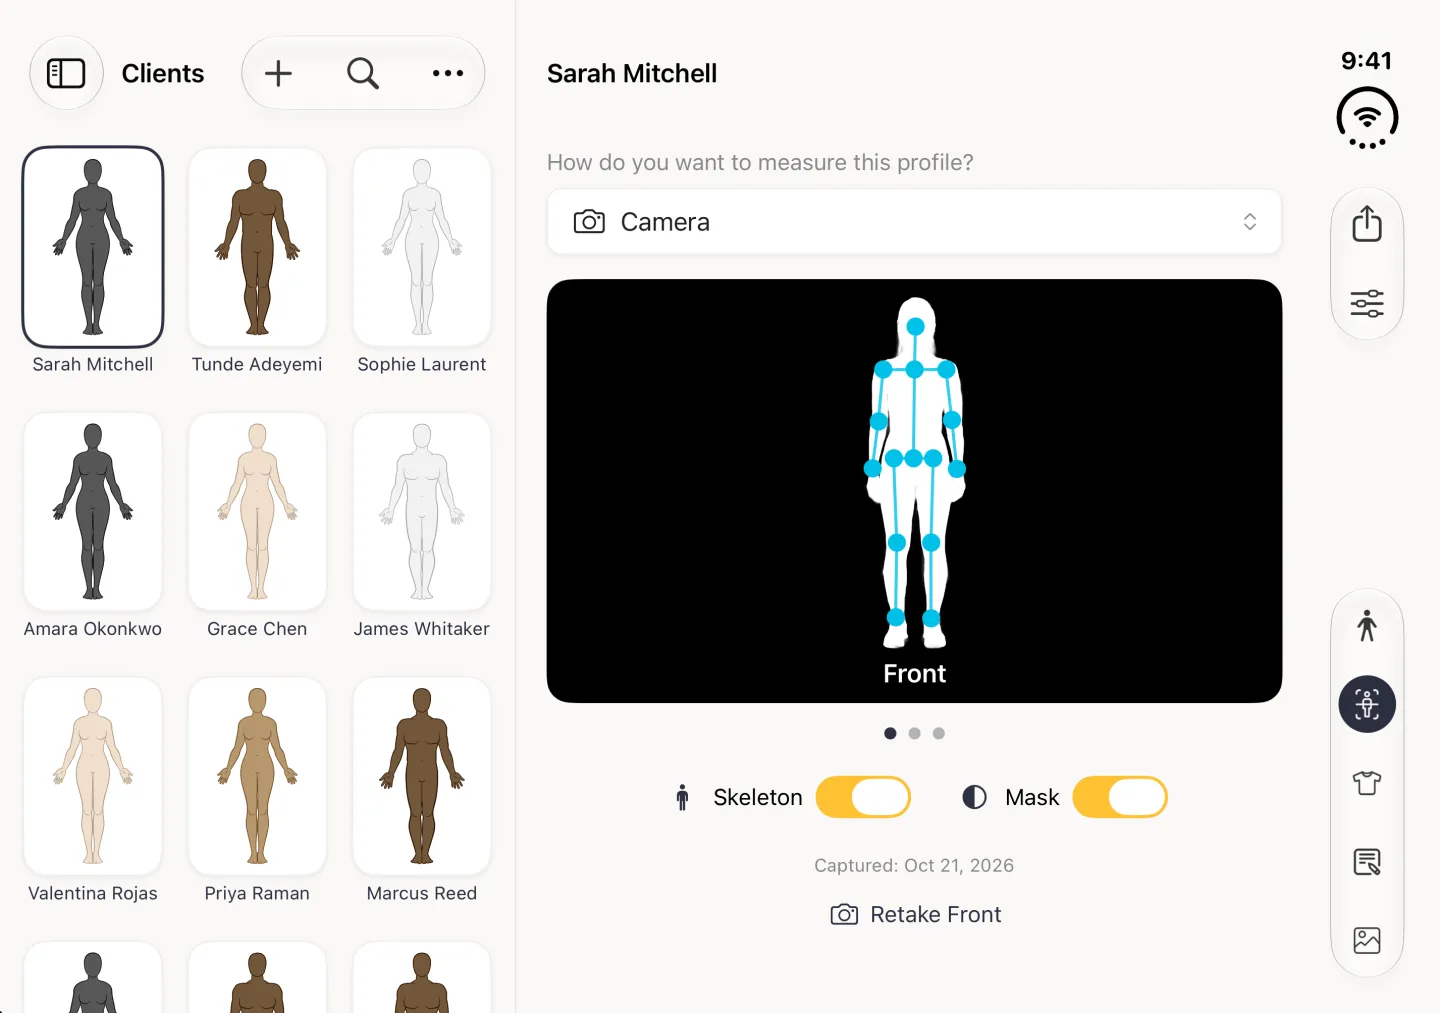
Open the profile, tap the Body Scan button (a person inside corner brackets), the second of the round section buttons at the bottom of the profile, and pick Camera under How do you want to measure this profile. On Android it is Scan in the bar at the bottom. On iPhone Duo the section buttons sit in the strip on the right, and when it is opened the Clients list stays beside the profile. The camera opens on the front photo, labelled 1 of 3, and moves to the next pose on its own after each shot. Take them in this order.
- Front: face the camera with your arms slightly out and your feet on the floor line under the guide figure, then tap the round shutter button.
- Side: turn ninety degrees to the right with your arms at your sides and your feet together on the line, looking straight ahead, then tap the shutter again.
- Back: turn to face away from the camera, with your heels on the line and your arms slightly out, and take the last photo, using the 10s Timer if you are on your own.
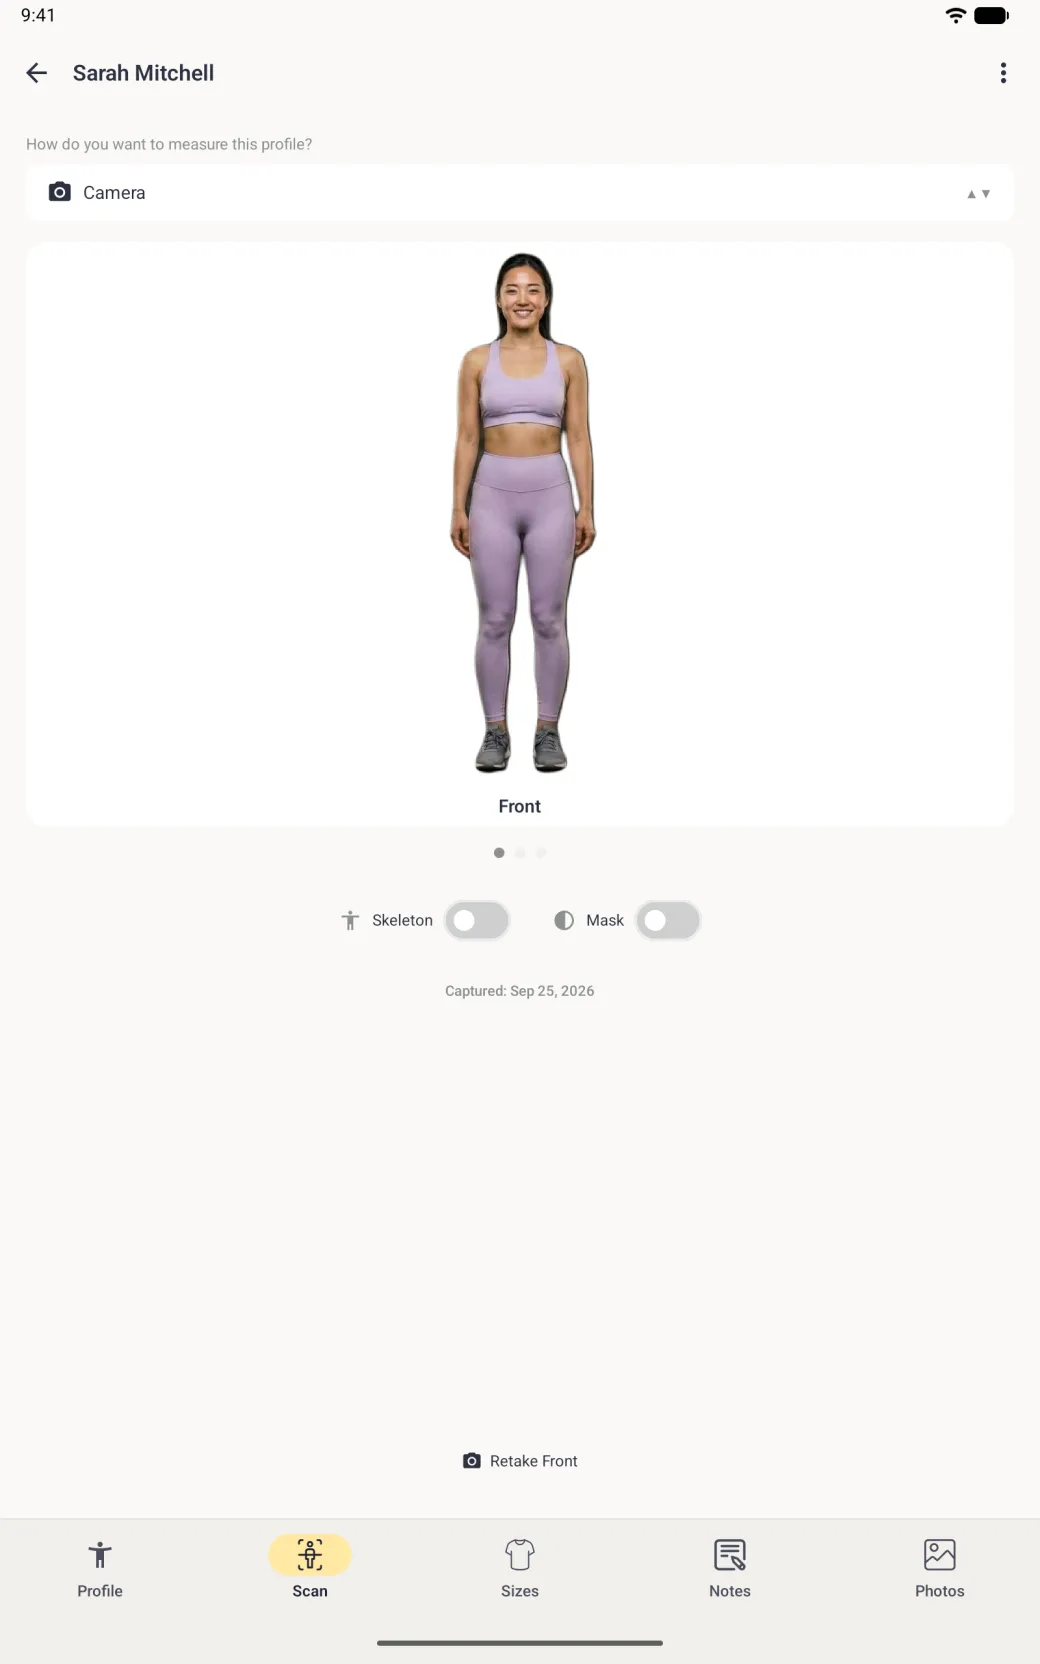
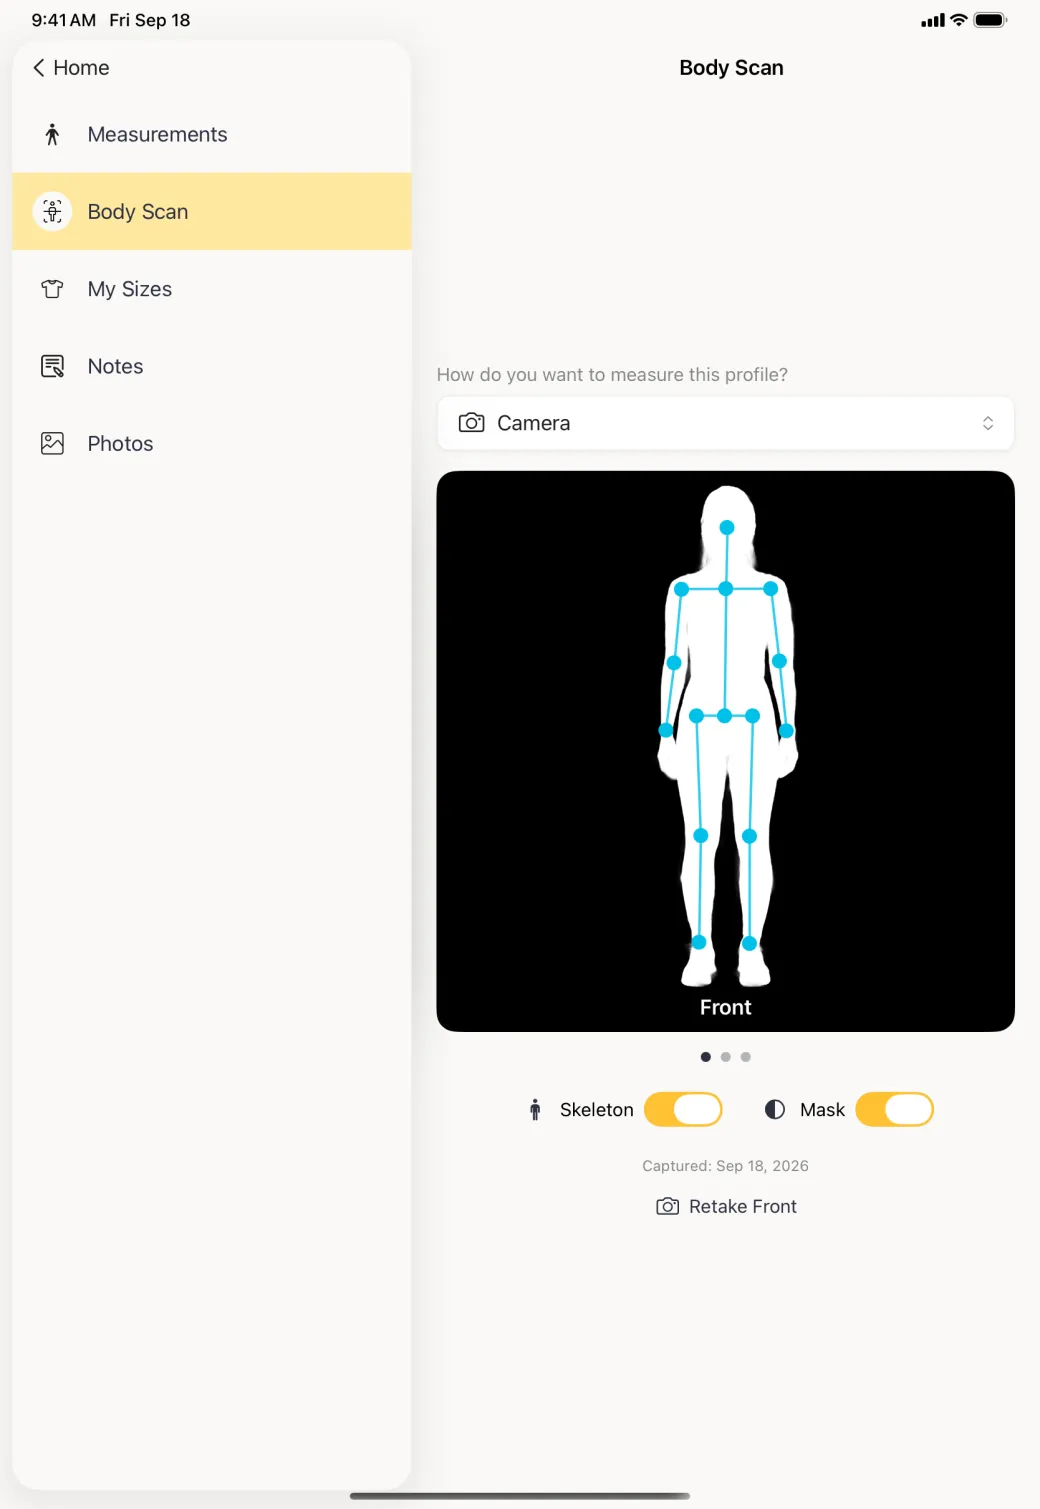
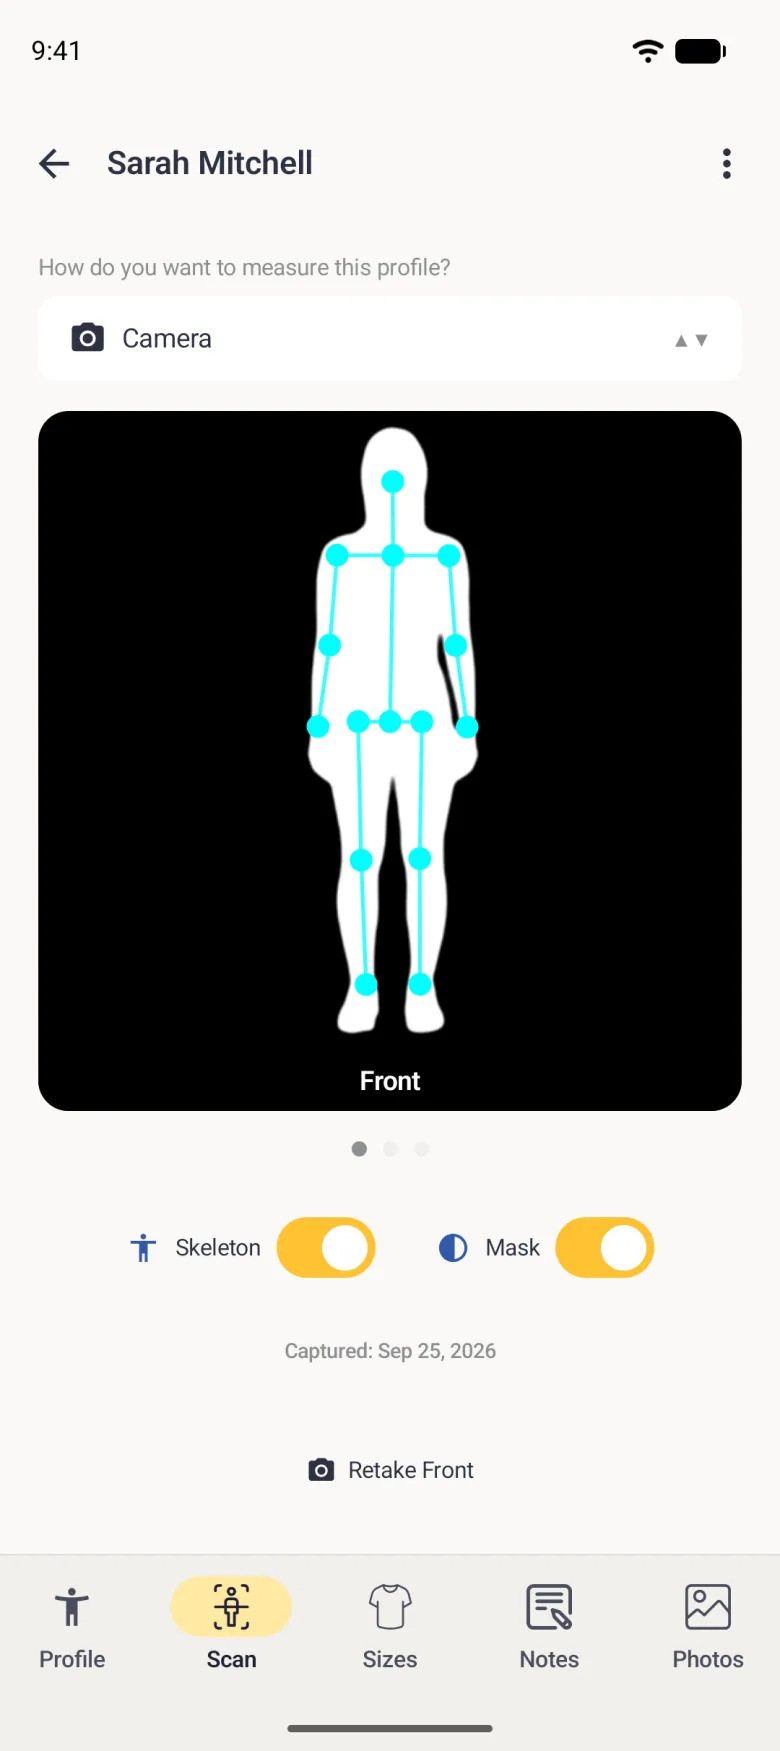
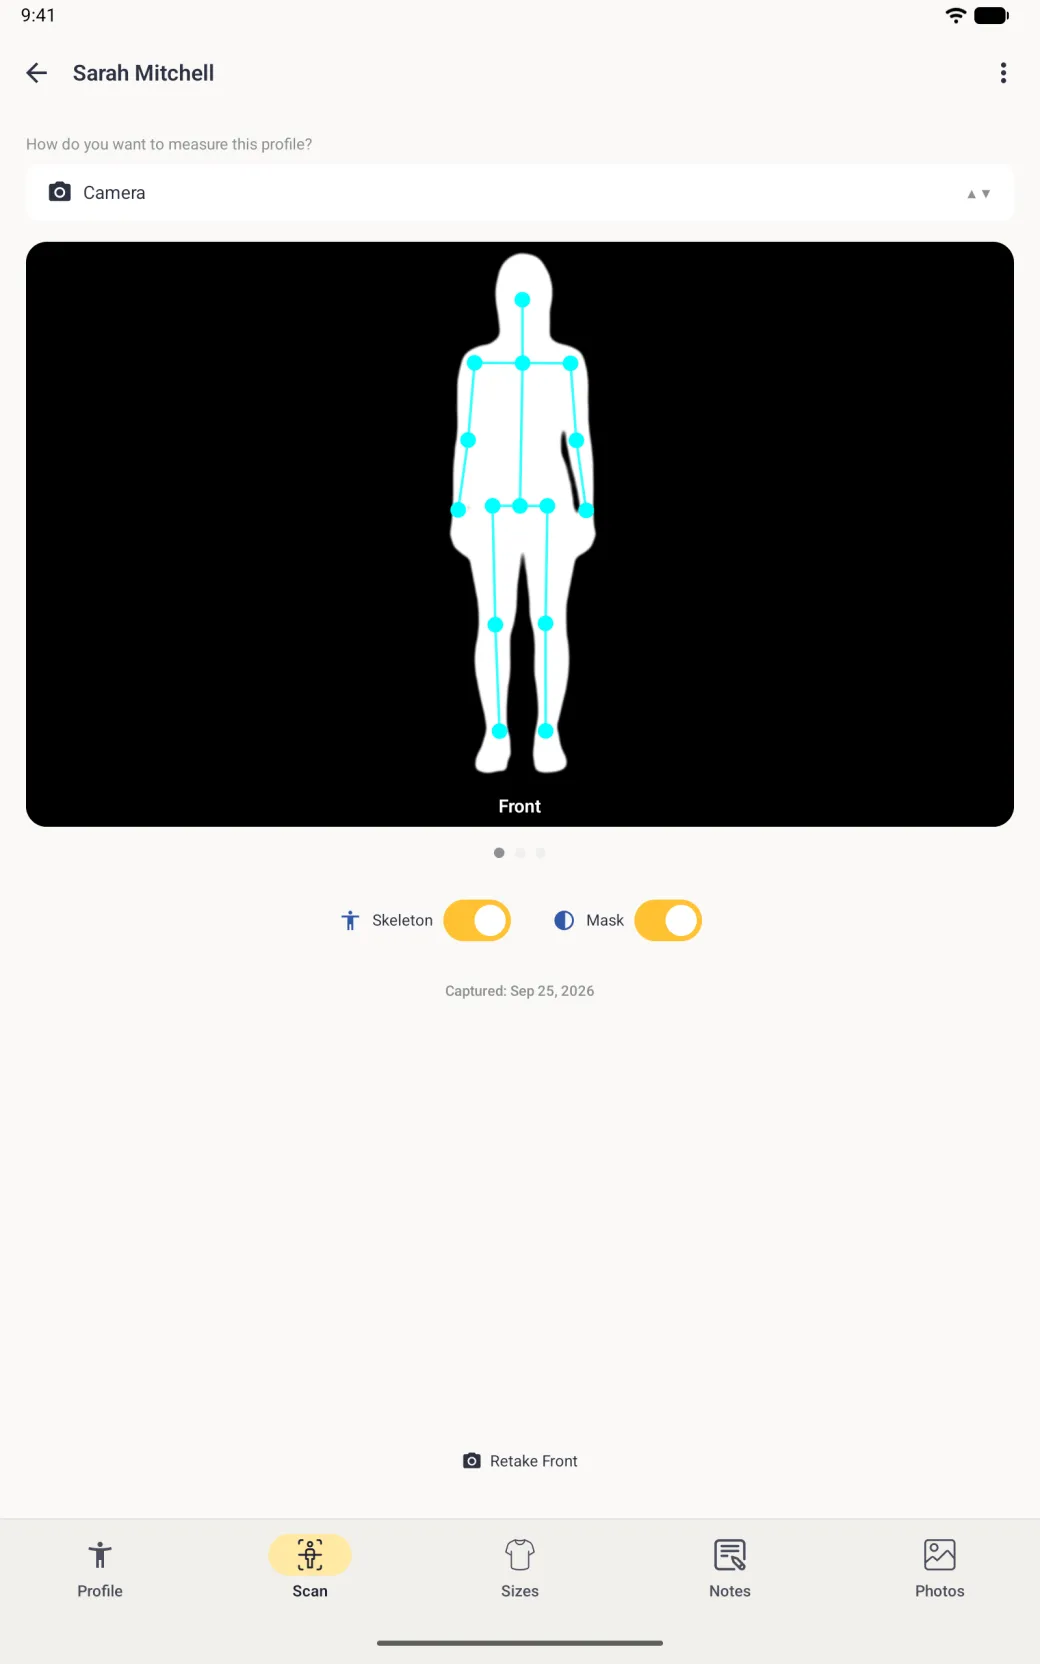
Each photo is processed before the next one, so give it a moment. When all three are done the Body Scan section shows the finished scan with the date it was captured.

How do I check that the scan came out right?
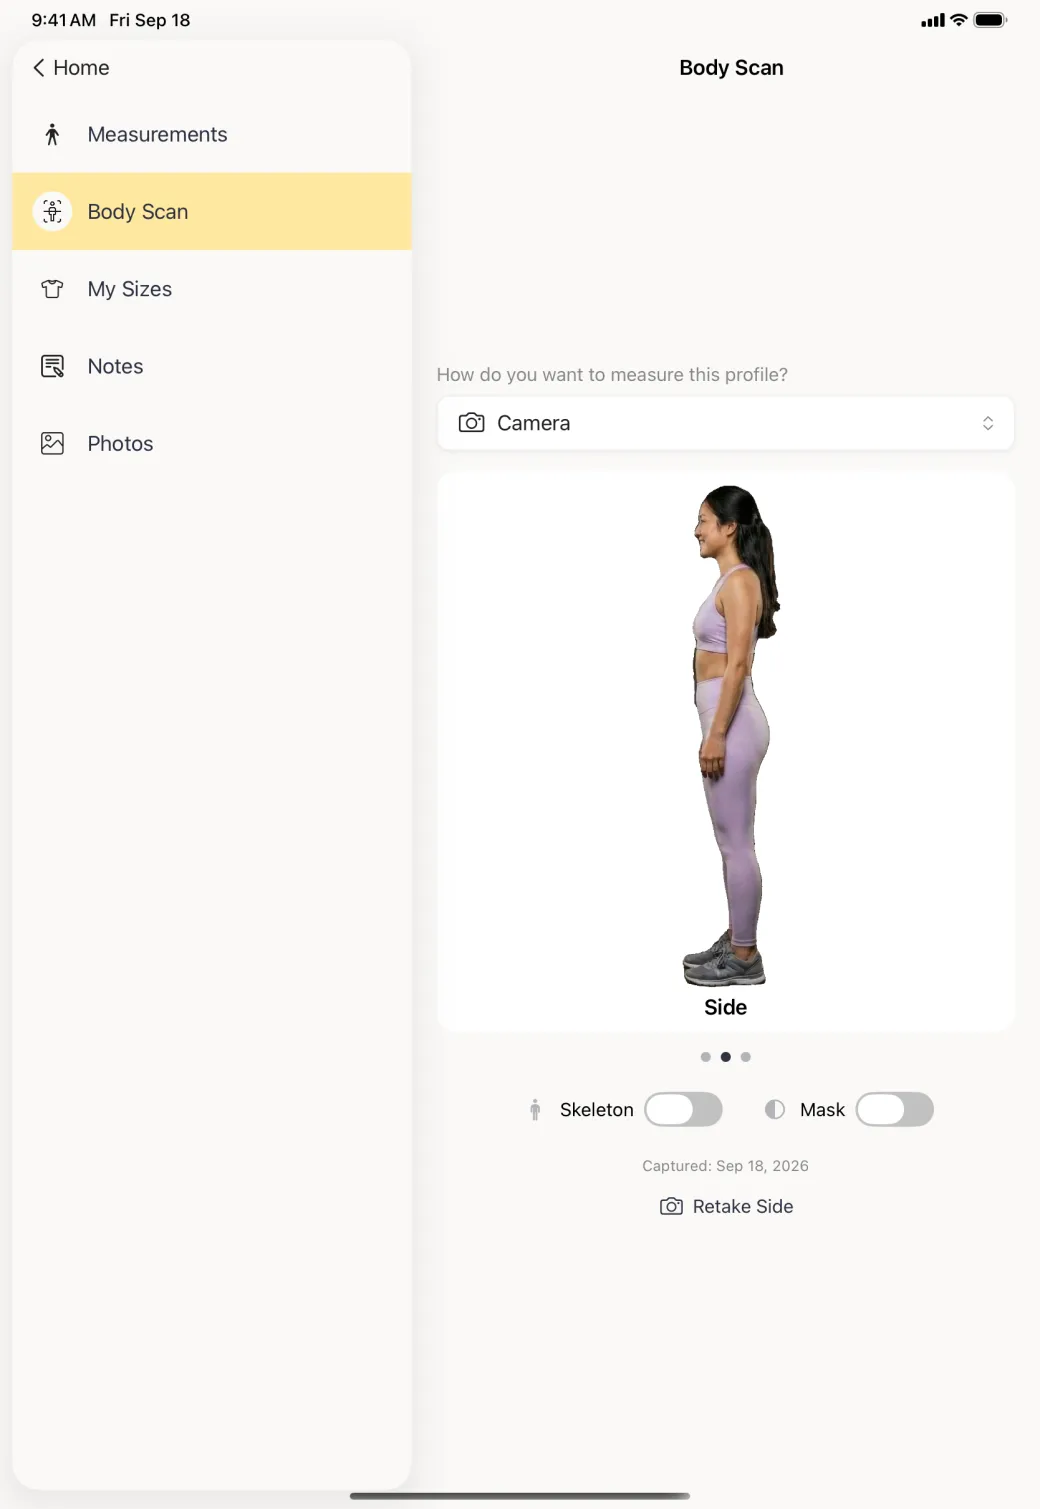
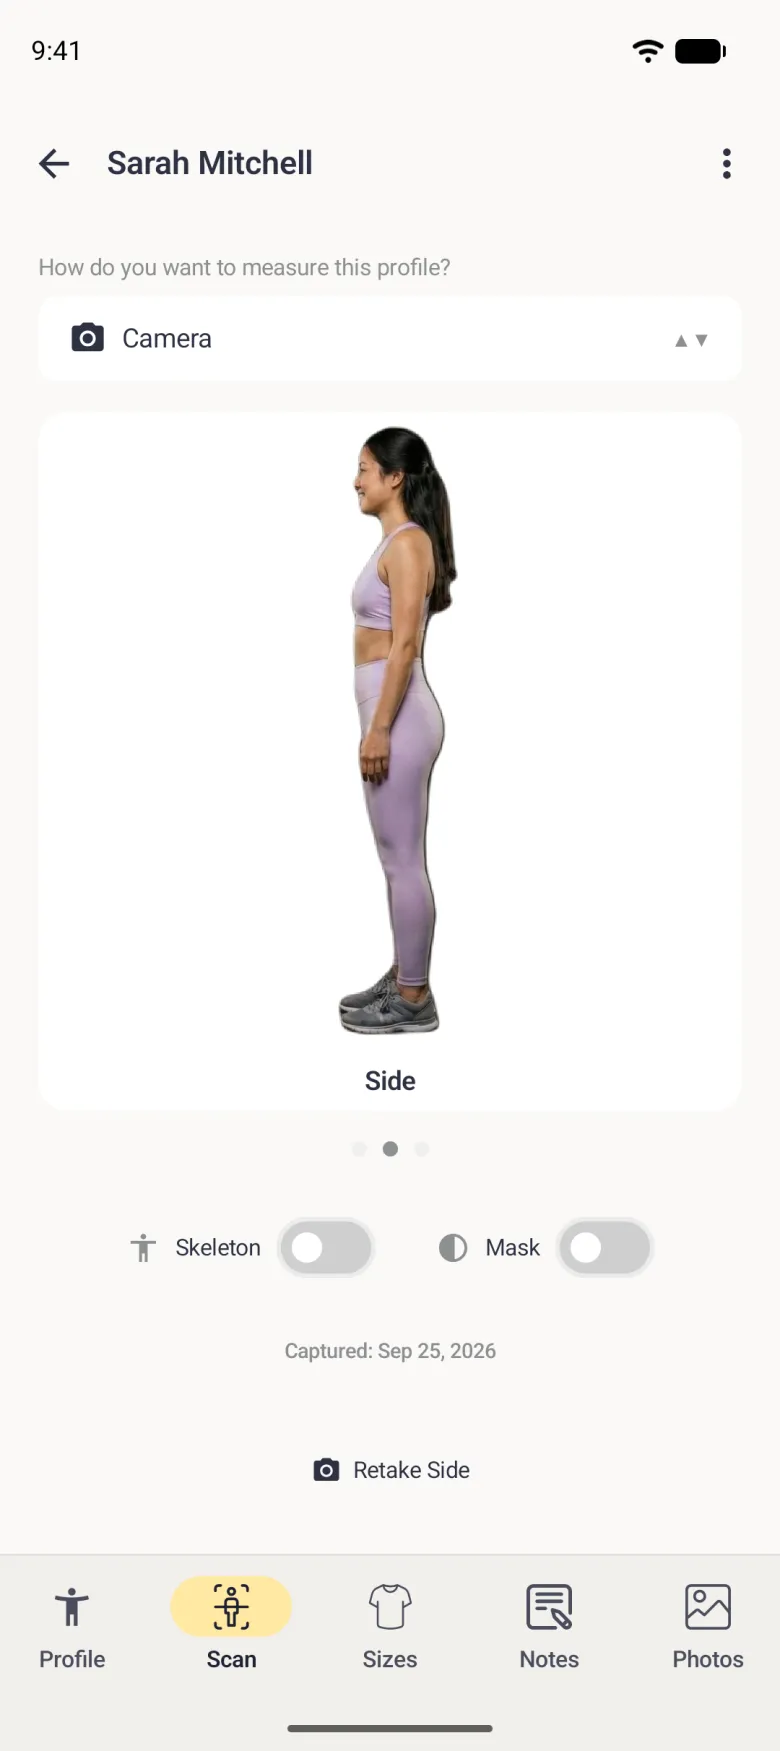
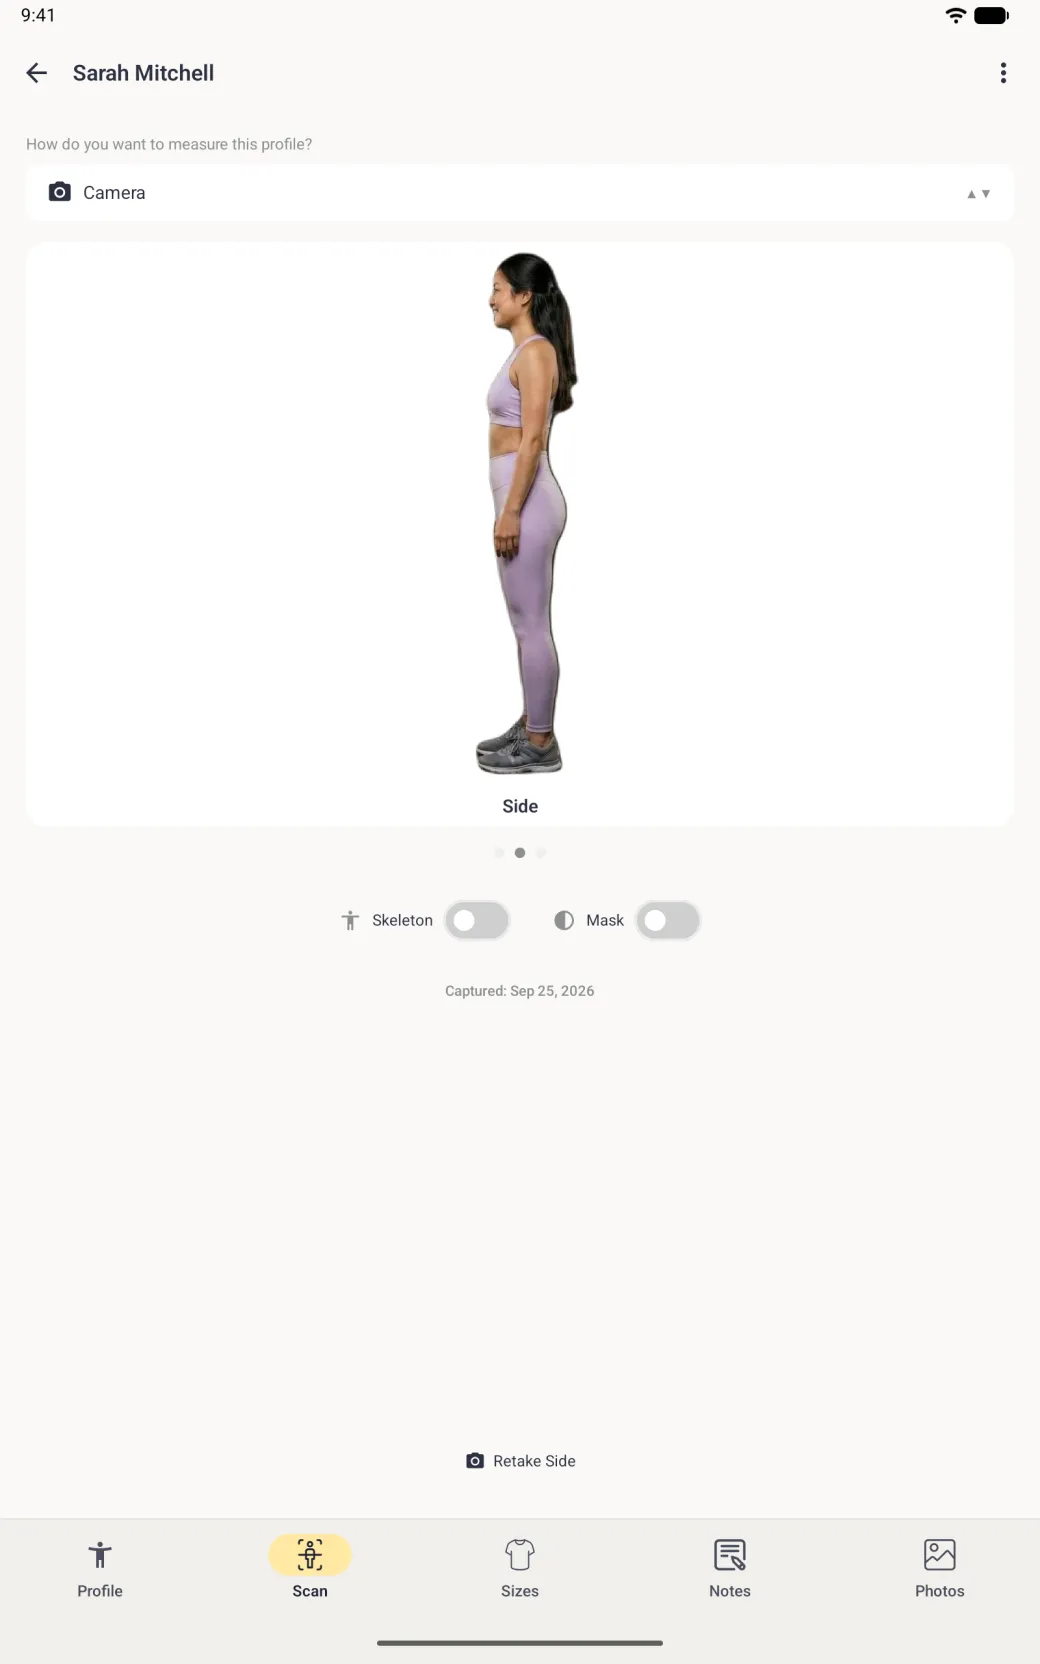
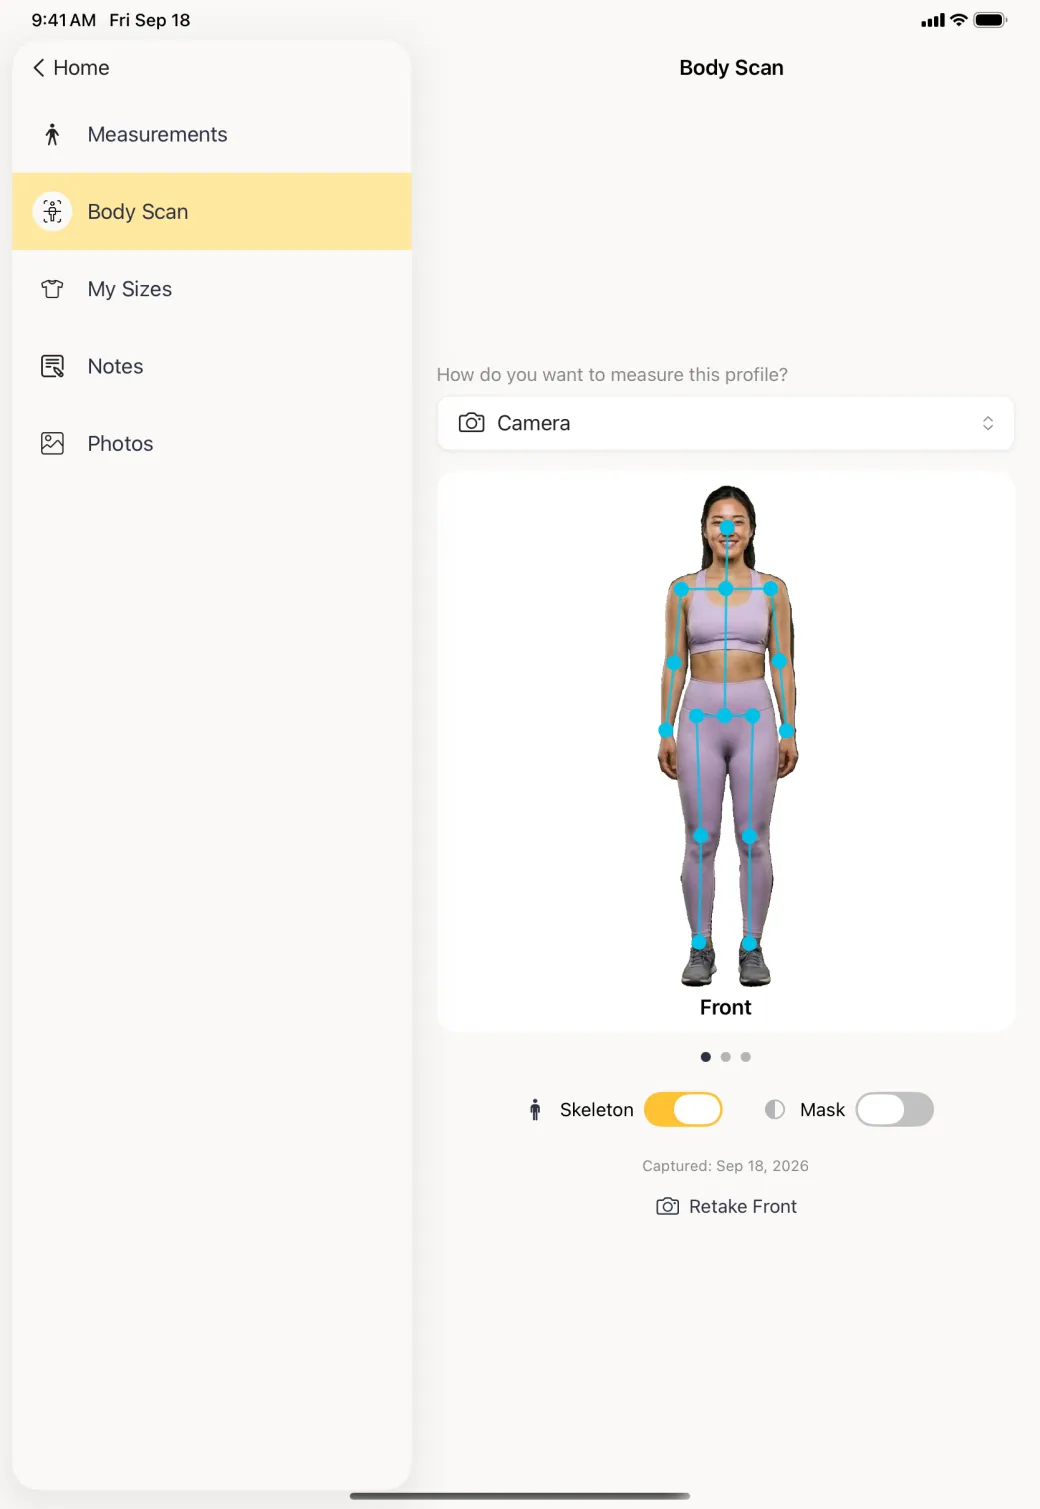
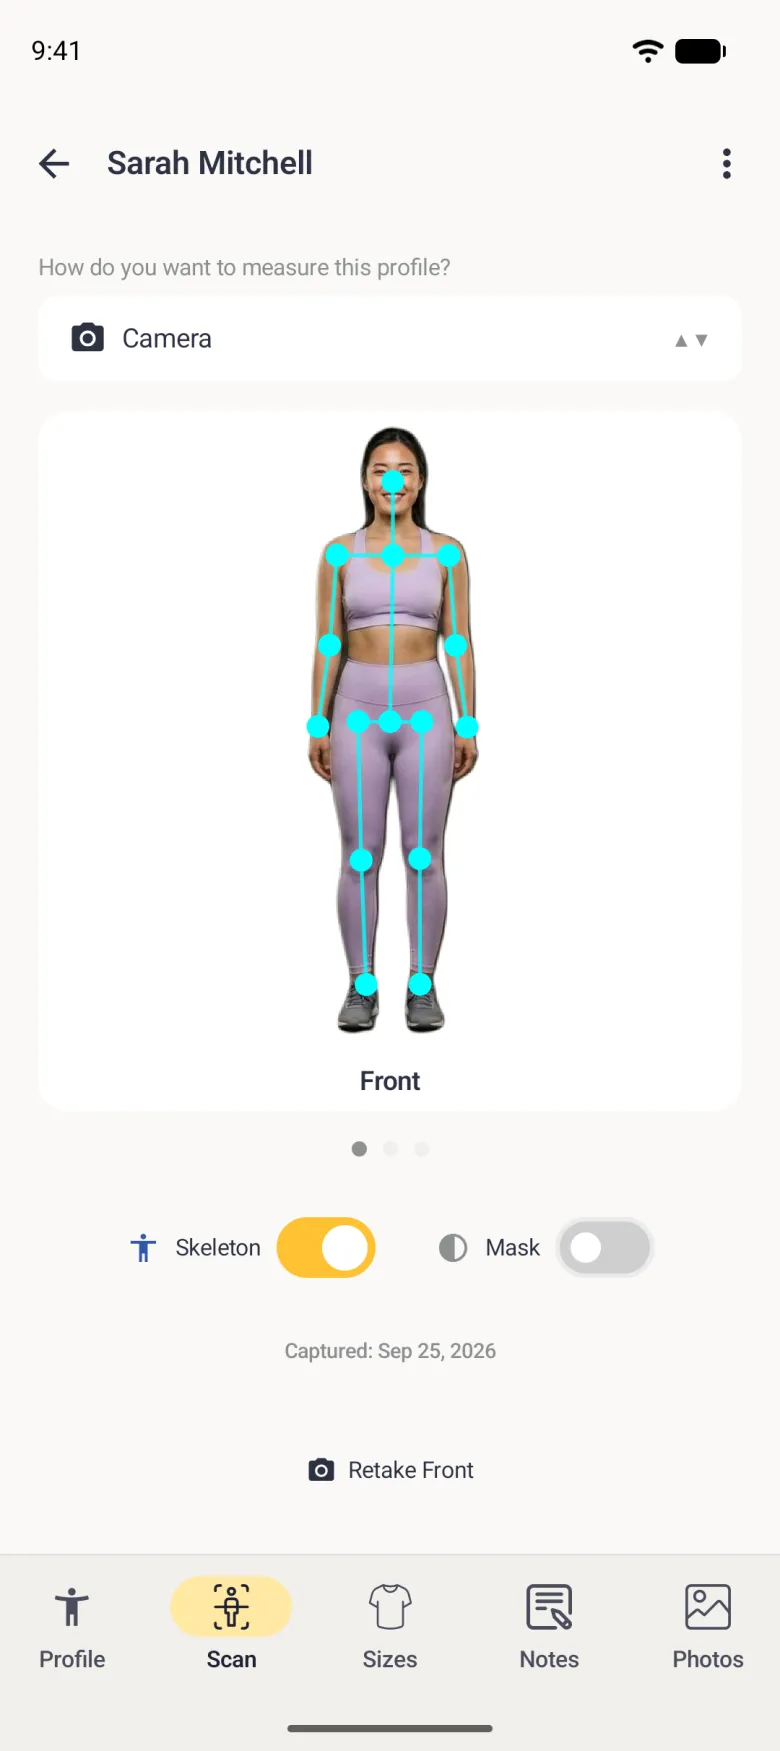
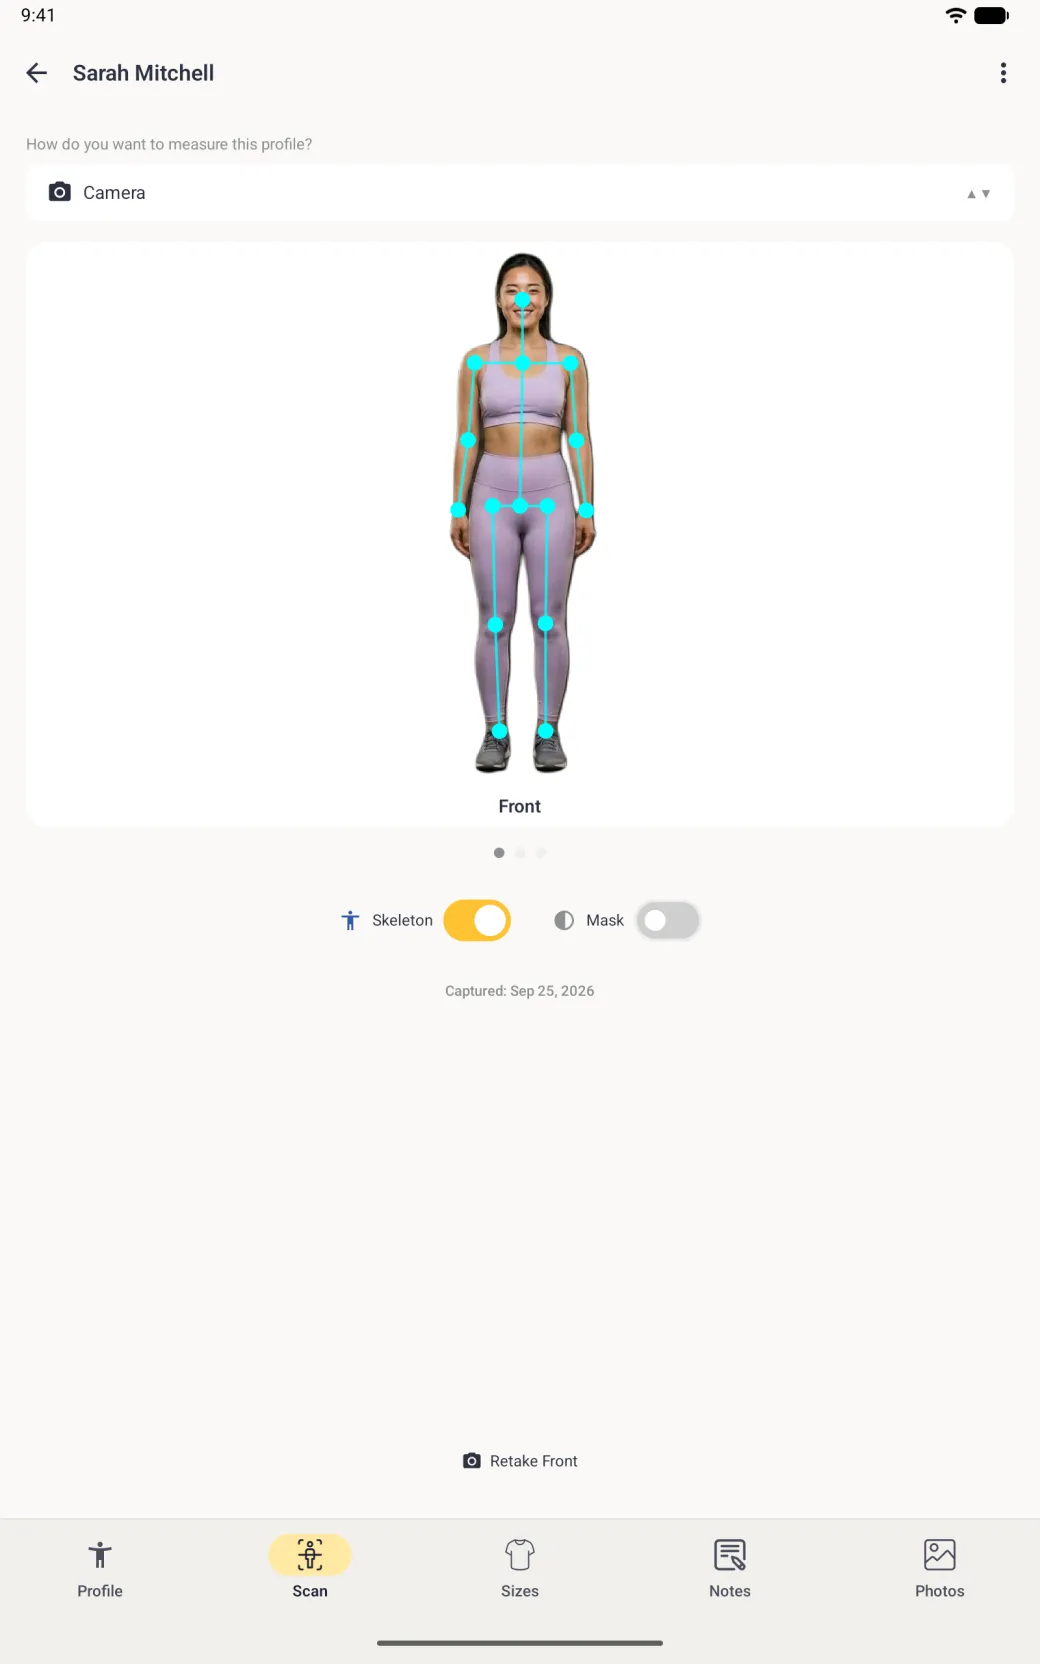
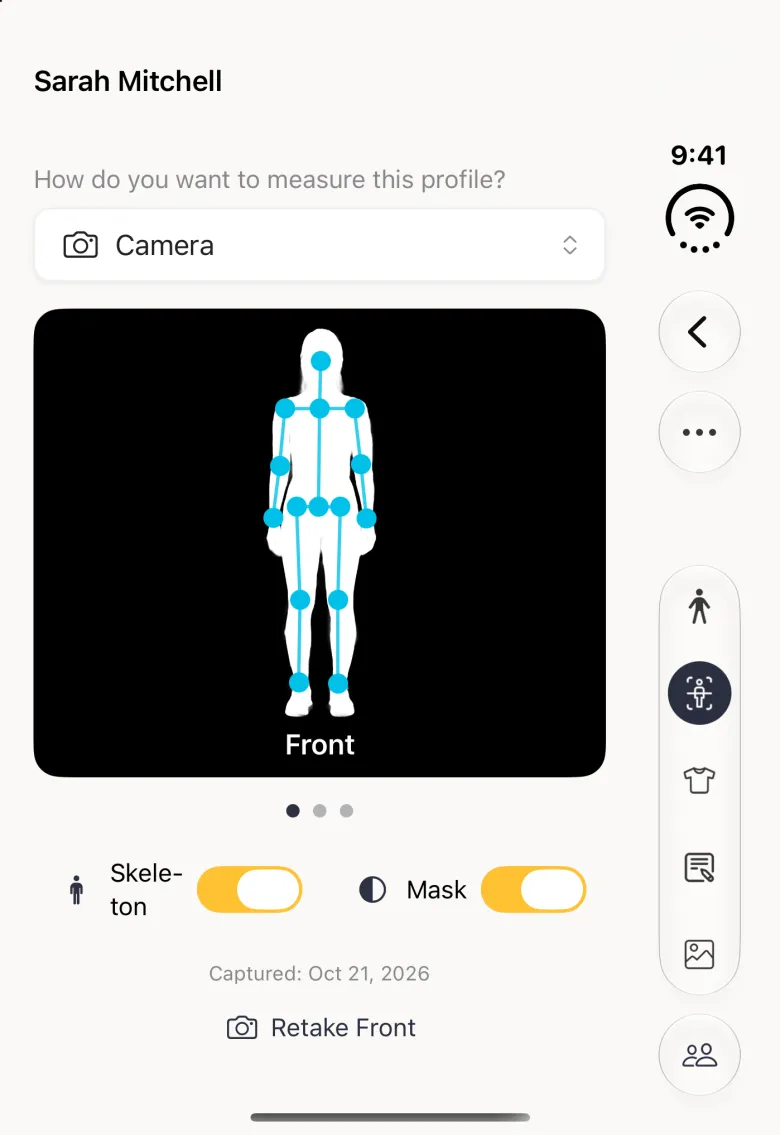
Swipe across the photo to move between the front, side and back poses, then use the two switches under it. Skeleton draws the joints the app found, so you can see whether it read the pose correctly. Mask replaces the photo with the outline it cut away from the background, which is the shape every measurement is taken from.
If either overlay looks wrong, the photo is usually the problem: a busy background, a loose garment or a cramped frame. Retake, under the photo, names the pose you are looking at and replaces only that one, leaving the other two alone.



How do I turn a scan into measurements?
With the scan finished and the mode still set to Camera, tap any measurement label on the profile. Instead of the number pad, the scan photos open and you draw the measurement on them, then accept the value the app works out. In Tape Measure mode the same label opens the number pad, so check the mode if you get one when you wanted the other.
Drawing has a knack to it, and Drawing measurements on your scan is worth reading before your first attempt, because the number you get depends on how accurately you draw.
Sharing scan data (optional)
Dress Measurement can ask whether you want to share an anonymous copy of each camera measurement you accept, to help train better automatic measurements. It is off unless you agree, you can turn it off at any time in App Settings, Body Scan, and the photo is never part of it. Sharing scan data lists exactly what is sent and what is not.