DRESS MEASUREMENT

Measurement features

Photos and notes

Keep fabric shots, sketches and written notes with the client they belong to, or with the single order they were taken for, so nothing about a garment lives only in your head.

Available on

  • iPhone
  • iPad
  • Android
  • Tailor Shop feature

Measurements tell you the size of a client. Photos and notes tell you everything else: the fabric they brought, the neckline they pointed at, the sleeve that needed taking in last time. Both are Tailor Shop features, and both sit beside the measurements rather than in a separate app.

Where photos and notes live on a client

Open a client and look at the bar along the bottom of the screen, or the sidebar on iPad. On Android this bar stays at the bottom on both a phone and a tablet. With Tailor Shop on, it carries five tabs in this order: the profile with its measurements, the body scan, the size recommendations, notes and photos. Notes is the fourth, photos is the last. Without the subscription the bar stops after the first three.

Notes on a client are for the things that stay true across jobs: the fit they prefer, the fabrics they like, an allergy to wool, how they want a hem finished. Photos are for references, whether that is the client themselves, a garment they want copied or a swatch they brought in.

Both are kept with the client’s profile on iPhone and Android. They also go with it: deleting a client removes their measurements, history, photos and notes together, which is what the delete confirmation warns you about.

Photos and notes on a single order

Tailor Shop also keeps photos and notes on the individual order, which is where most of them belong. A note about this wedding suit is not a note about the client forever, and a fabric shot taken for one garment is easier to find beside that garment.

Each order carries its own photo grid and its own notes list, both opened from the order itself.

How to add a reference photo

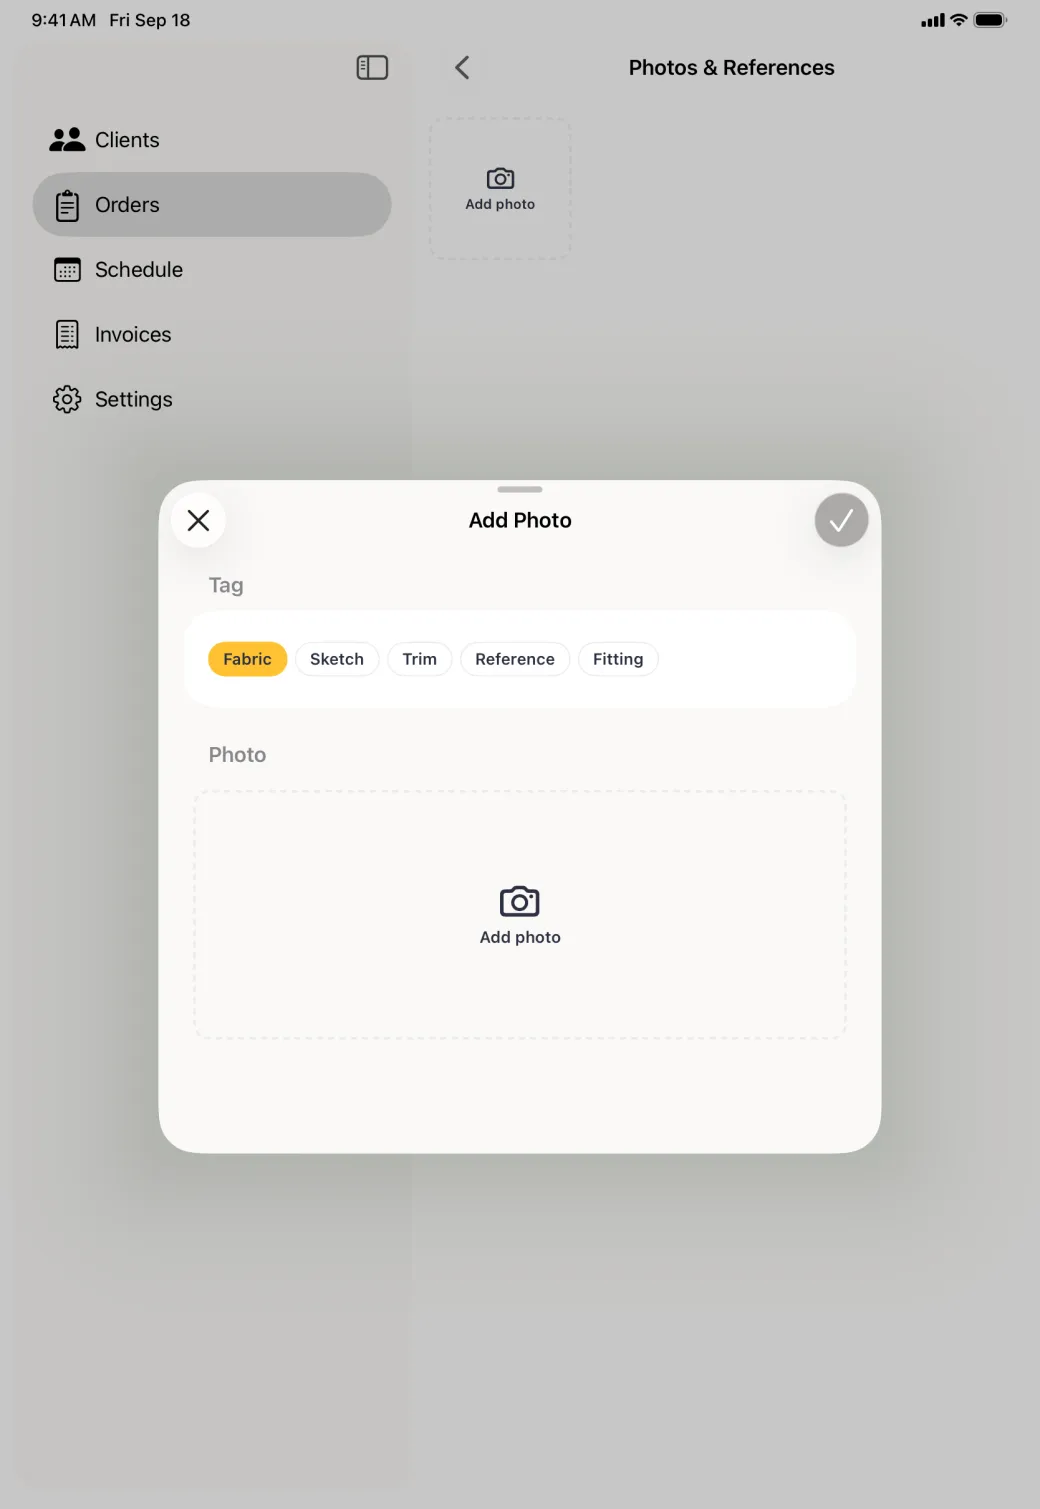
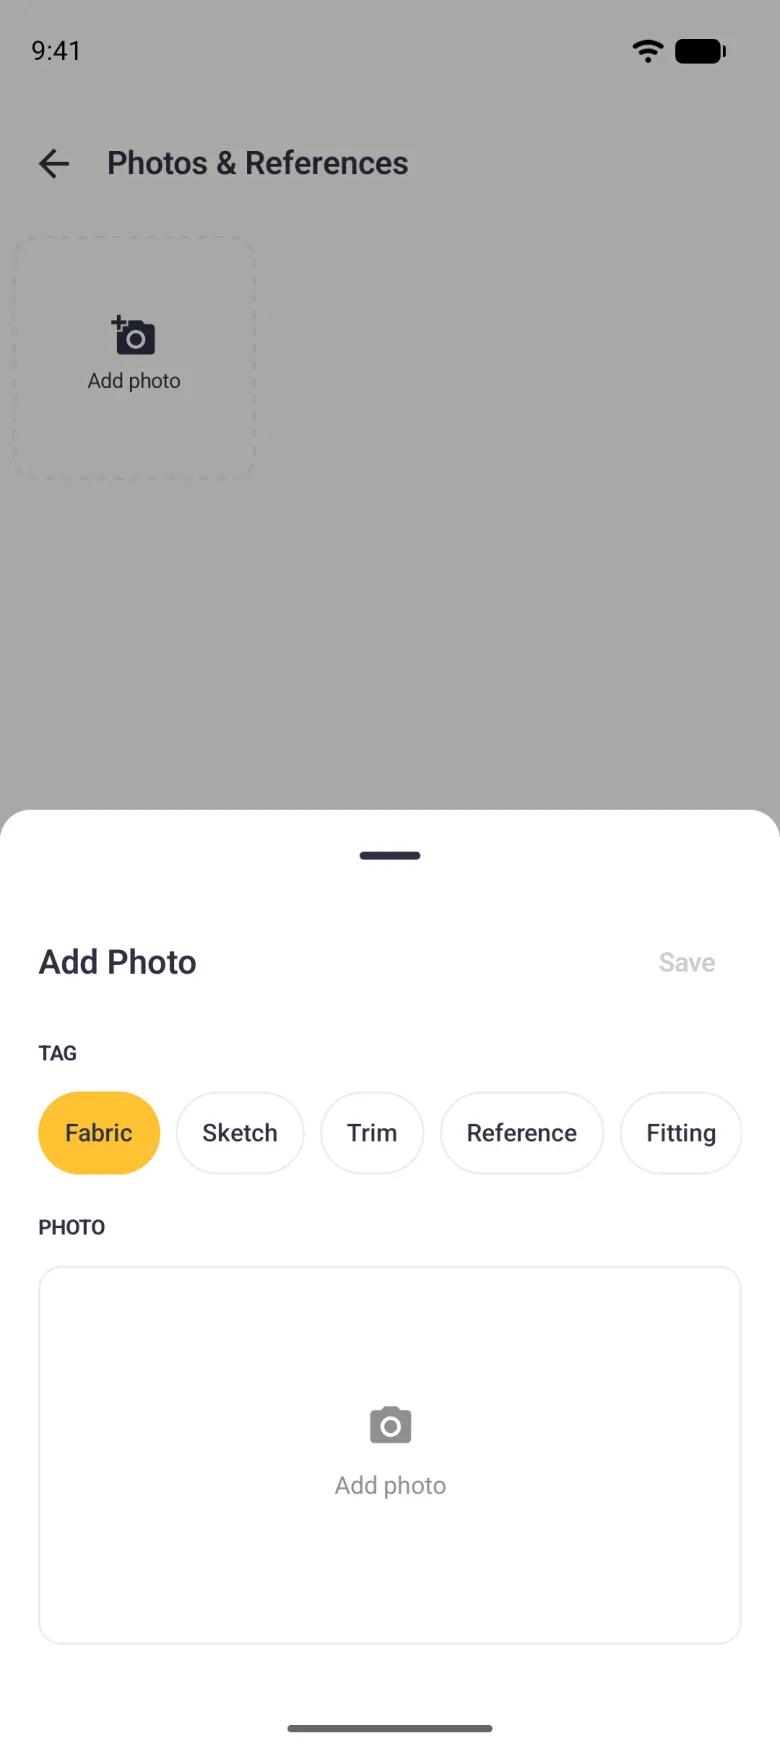
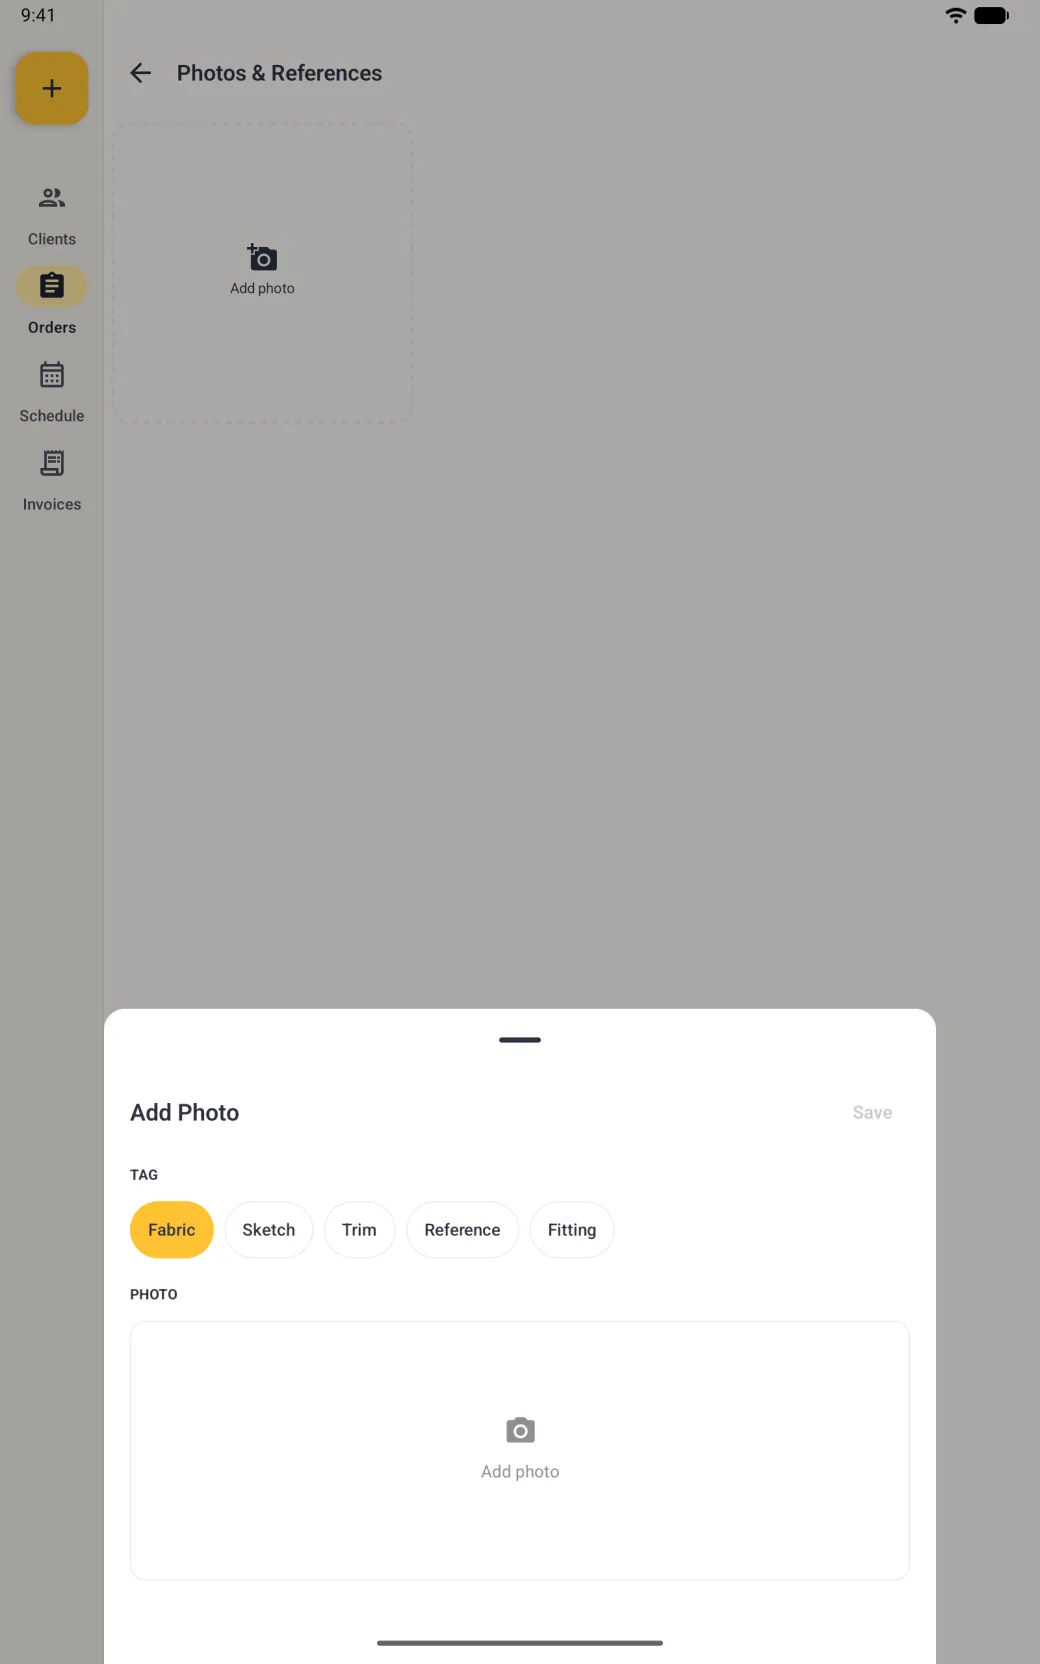
Photos are tagged, so a swatch and a sketch stay apart in the grid. Tap See all beside Photos and References, then the dashed Add photo tile.

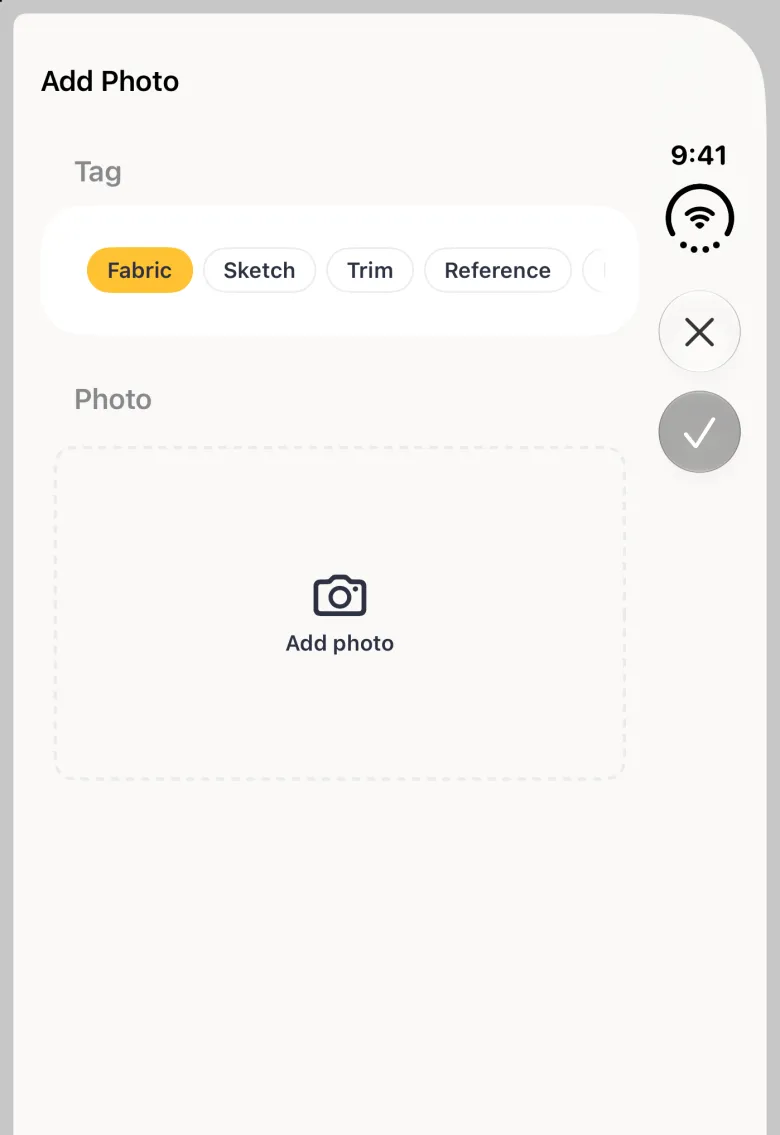
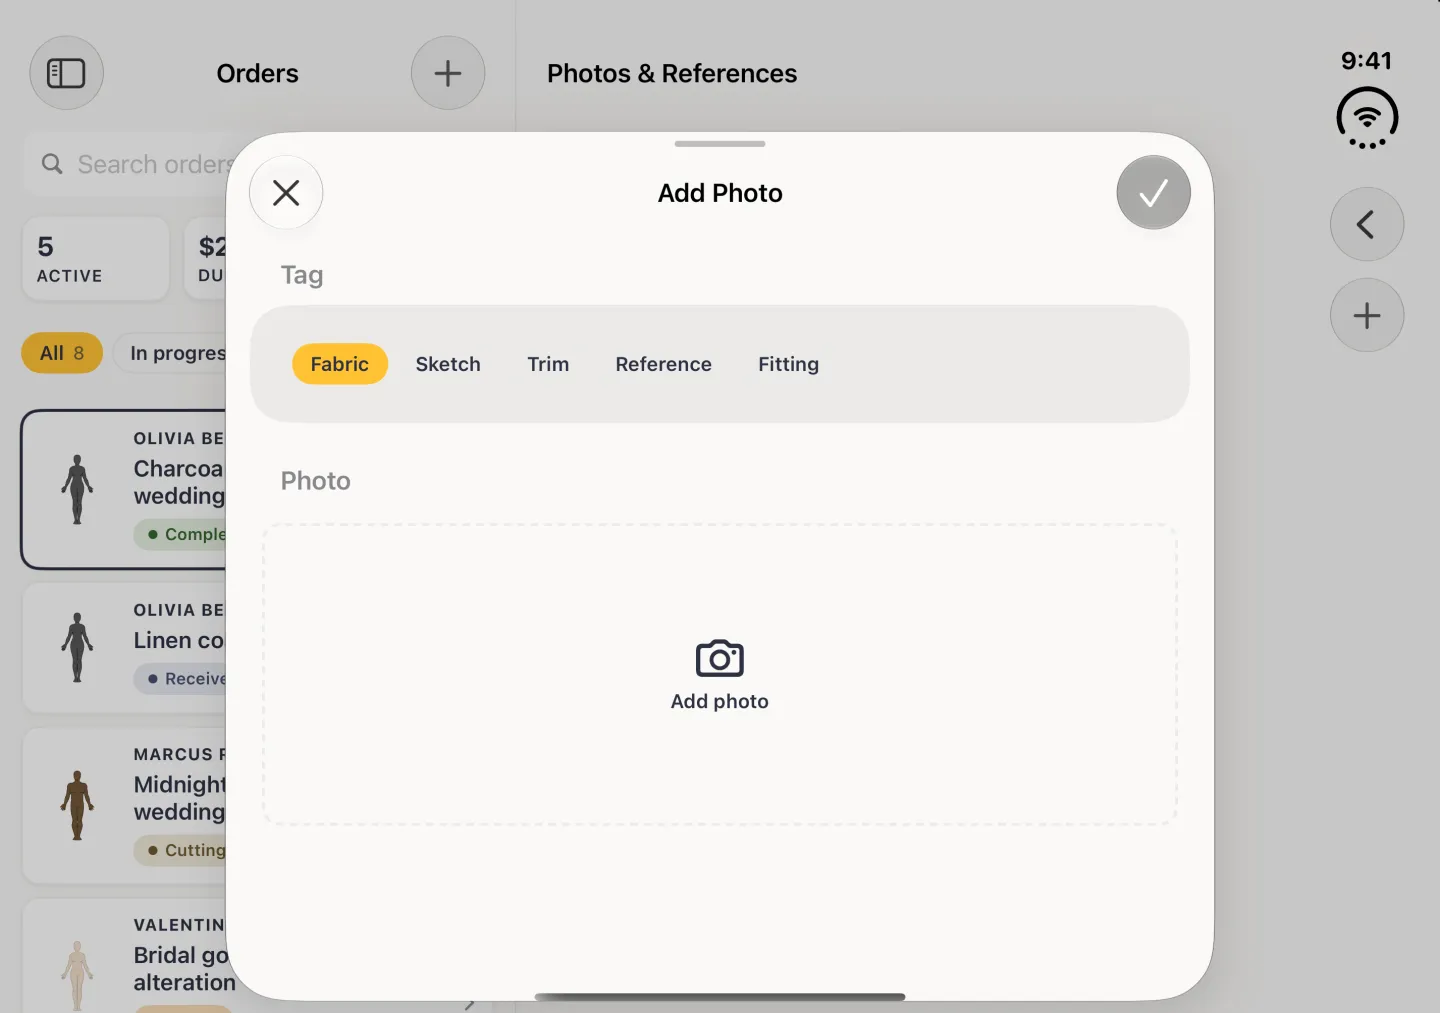
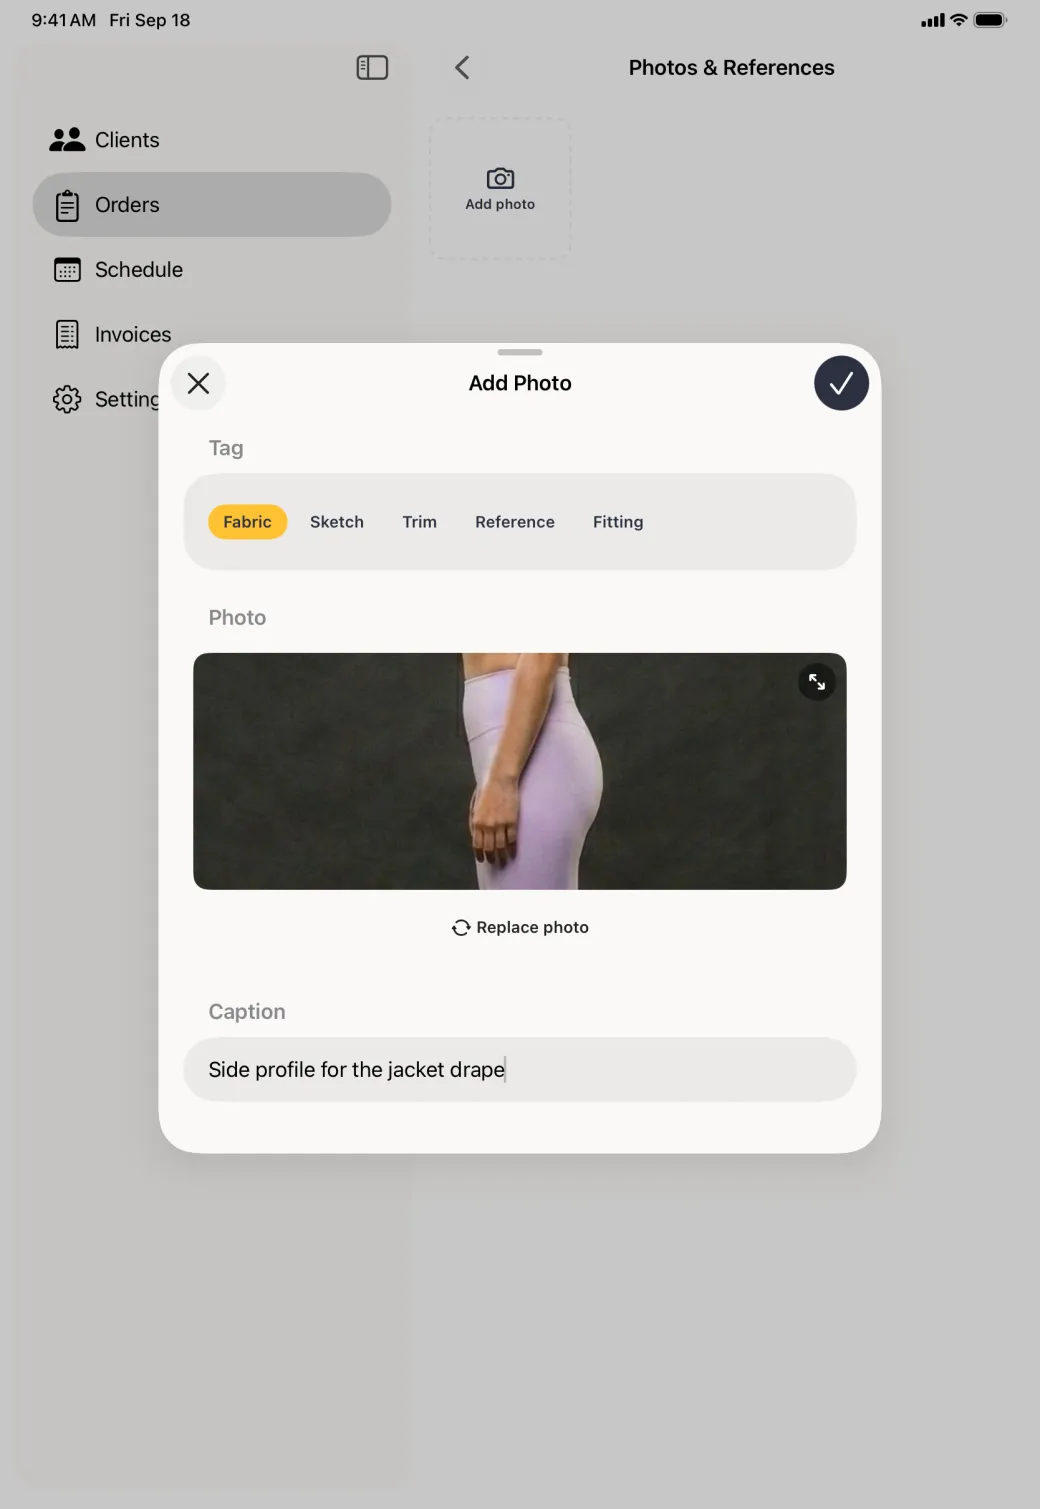
  1. Tap one of the tags along the top: Fabric, Sketch, Trim, Reference or Fitting. The chosen tag turns gold and shows on the thumbnail later.
  2. Tap the dashed photo area. A small chooser offers Camera or Photo Library. On Android this opens as a dialog listing Camera, Photo Library and Cancel.
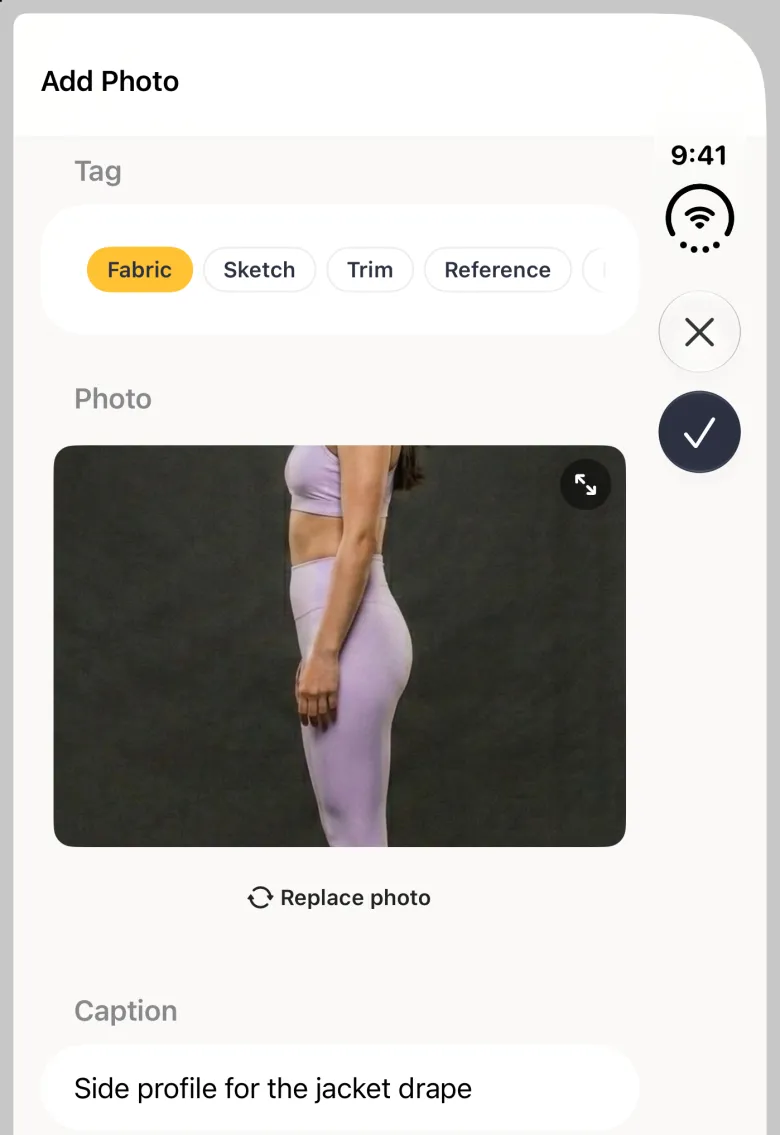
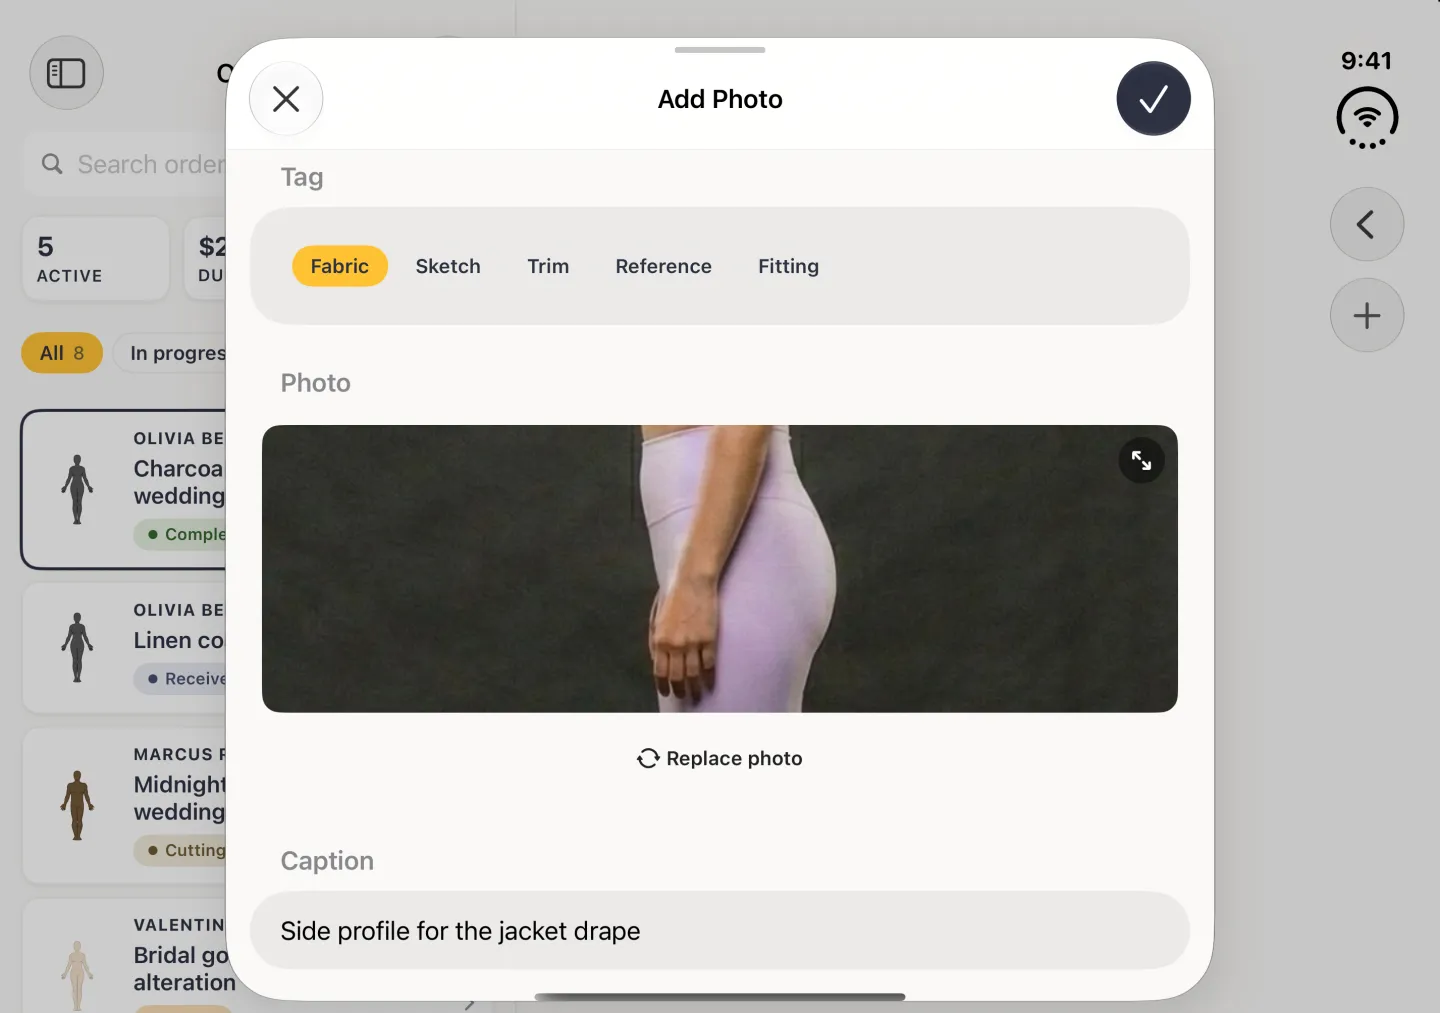
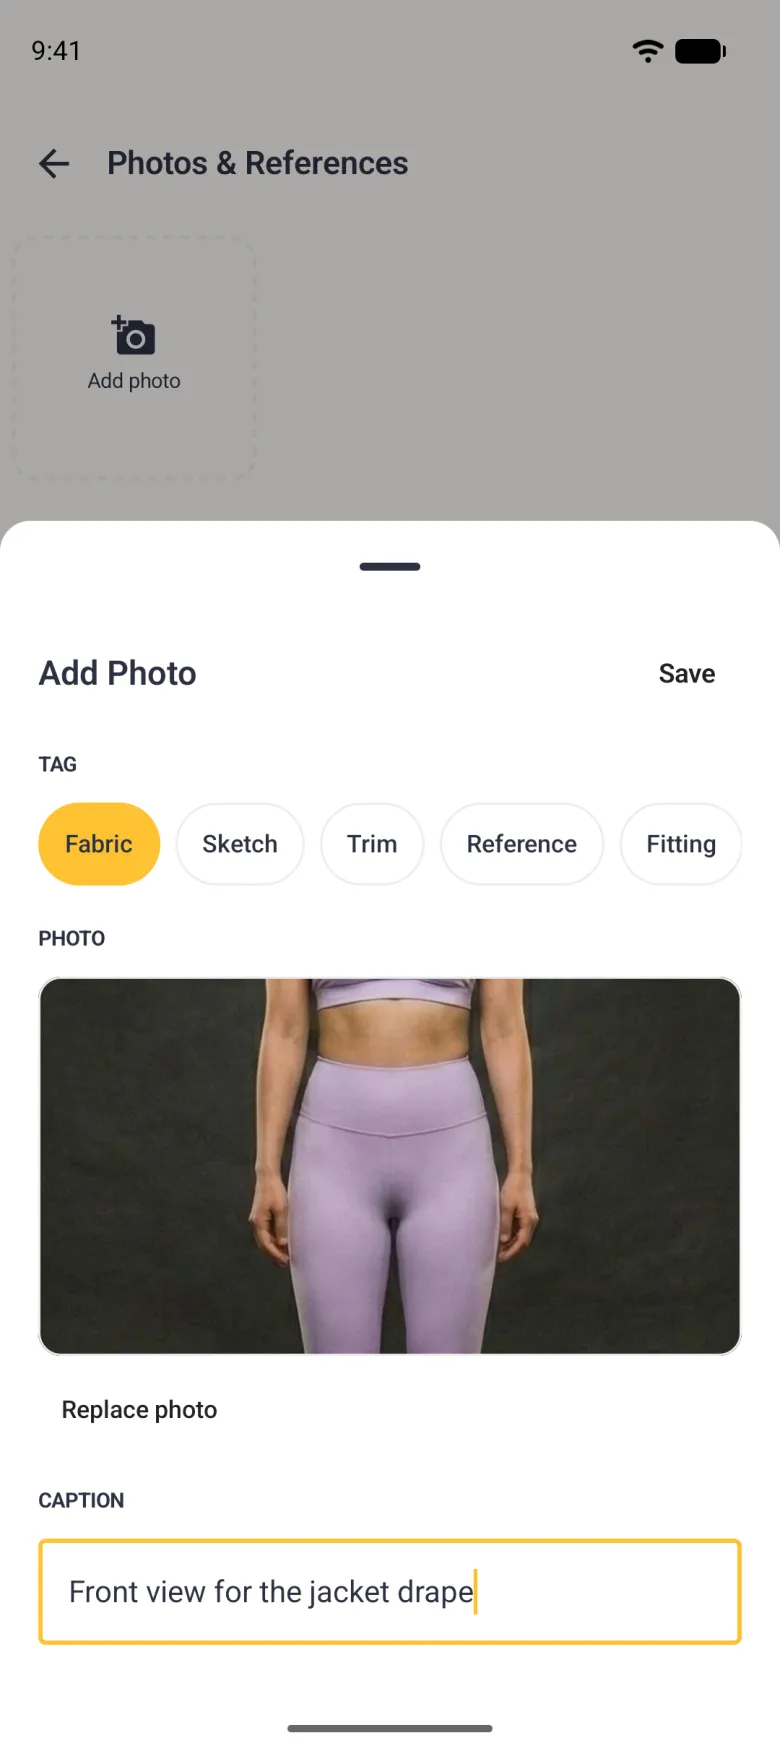
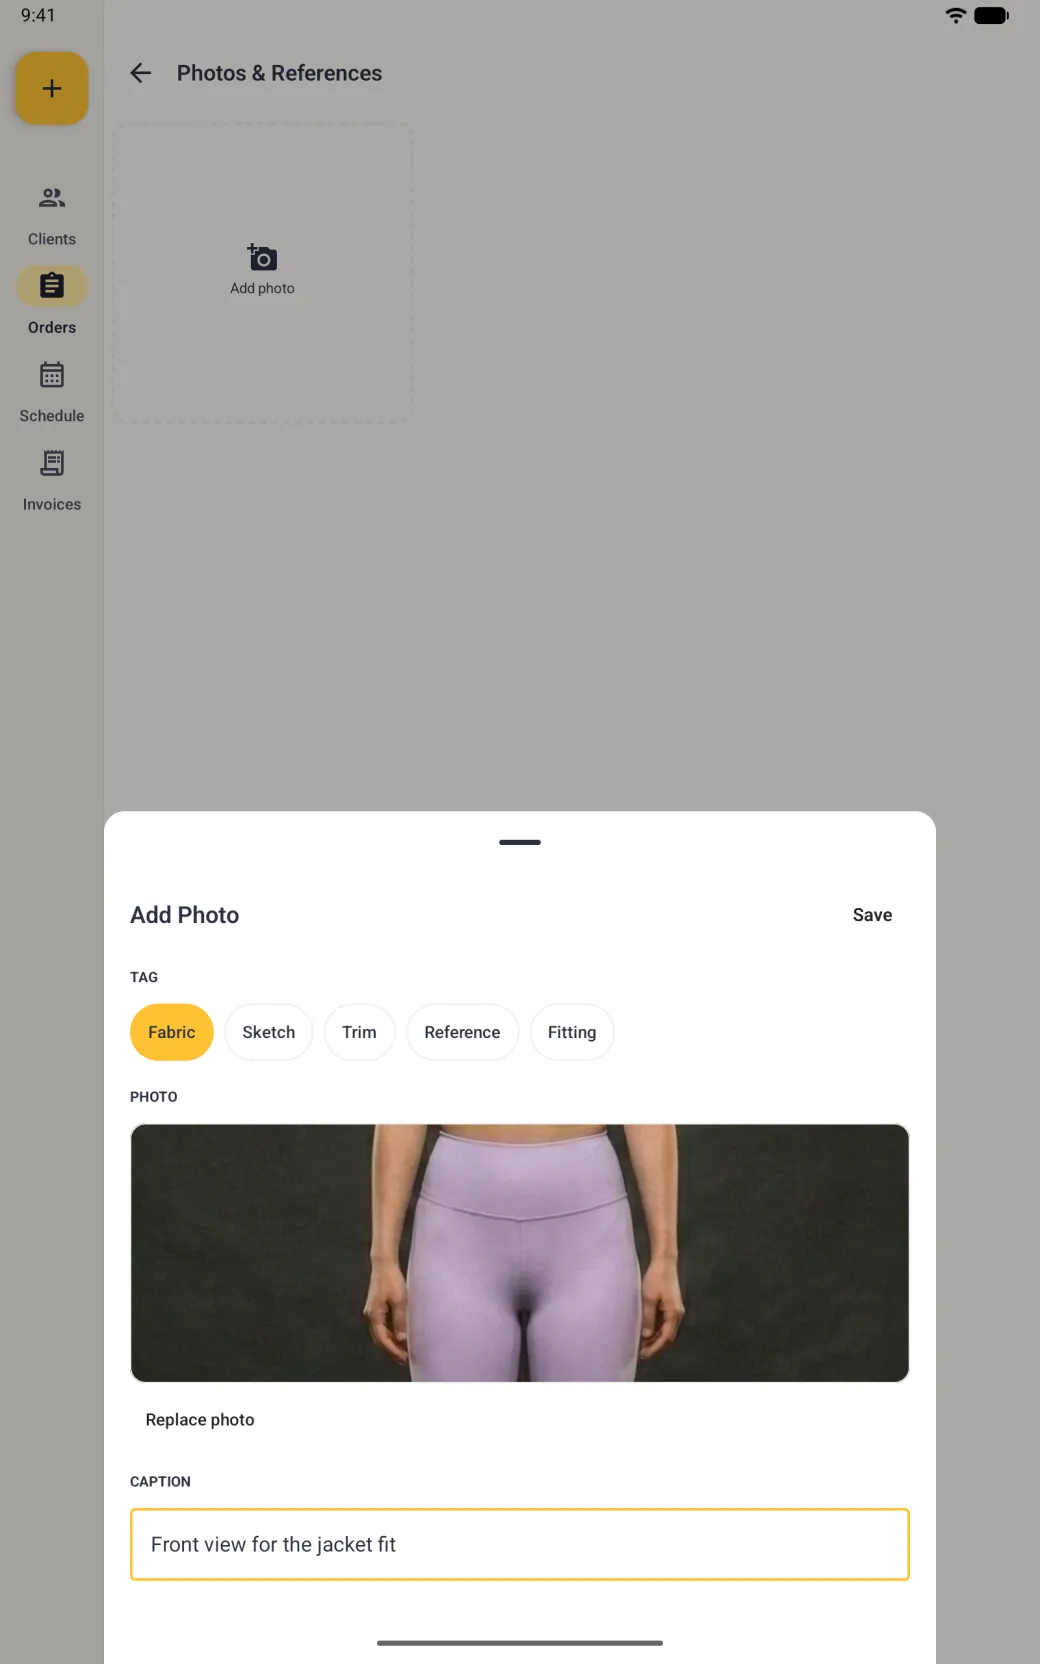
  3. Take the photo, or pick one you already have. It fills the sheet, with a Replace photo link underneath.
  4. Add a caption. It is optional, and it makes the photo easier to recognise later.
  5. Tap the tick at the top right. On Android, tap Save at the top right instead. The photo joins the grid with its tag, caption and date, newest first.
Show these screens on
Add Photo sheet with tag chips reading Fabric, Sketch, Trim, Reference and Fitting, with Fabric selected in gold above an empty photo area.
Add Photo card centred over the dimmed Photos and References pane, with tag chips reading Fabric, Sketch, Trim, Reference and Fitting, and Fabric selected in gold.
Add Photo sheet over the dimmed Photos & References screen, with a grey Save at the top right, tag chips reading Fabric, Sketch, Trim, Reference and Fitting with Fabric selected in gold, and an empty Add photo area below.
Add Photo sheet rising over the dimmed Photos and References screen and navigation rail, with tag chips reading Fabric, Sketch, Trim, Reference and Fitting, Fabric selected in gold, an empty photo box reading Add photo, and a grey Save at the top right of the sheet.
Tag the photo so fabric and sketches stay apart.
Add Photo sheet with the Fabric tag selected, a side-on body photo filling the preview, a Replace photo link and a caption reading Side profile for the jacket drape.
Add Photo card with the Fabric tag selected, a body photo filling the preview above a Replace photo link, and a caption reading Side profile for the jacket drape.
Add Photo sheet with the Fabric tag selected, a front-on body photo filling the preview, a Replace photo link and a caption reading Front view for the jacket drape.
Add Photo sheet with the Fabric tag selected in gold, a wide photo box showing the middle of a front-facing body photo in lilac leggings, a Replace photo link, and a caption reading Front view for the jacket fit outlined in gold, with Save at the top right.
A caption is optional and makes the photo easier to find.
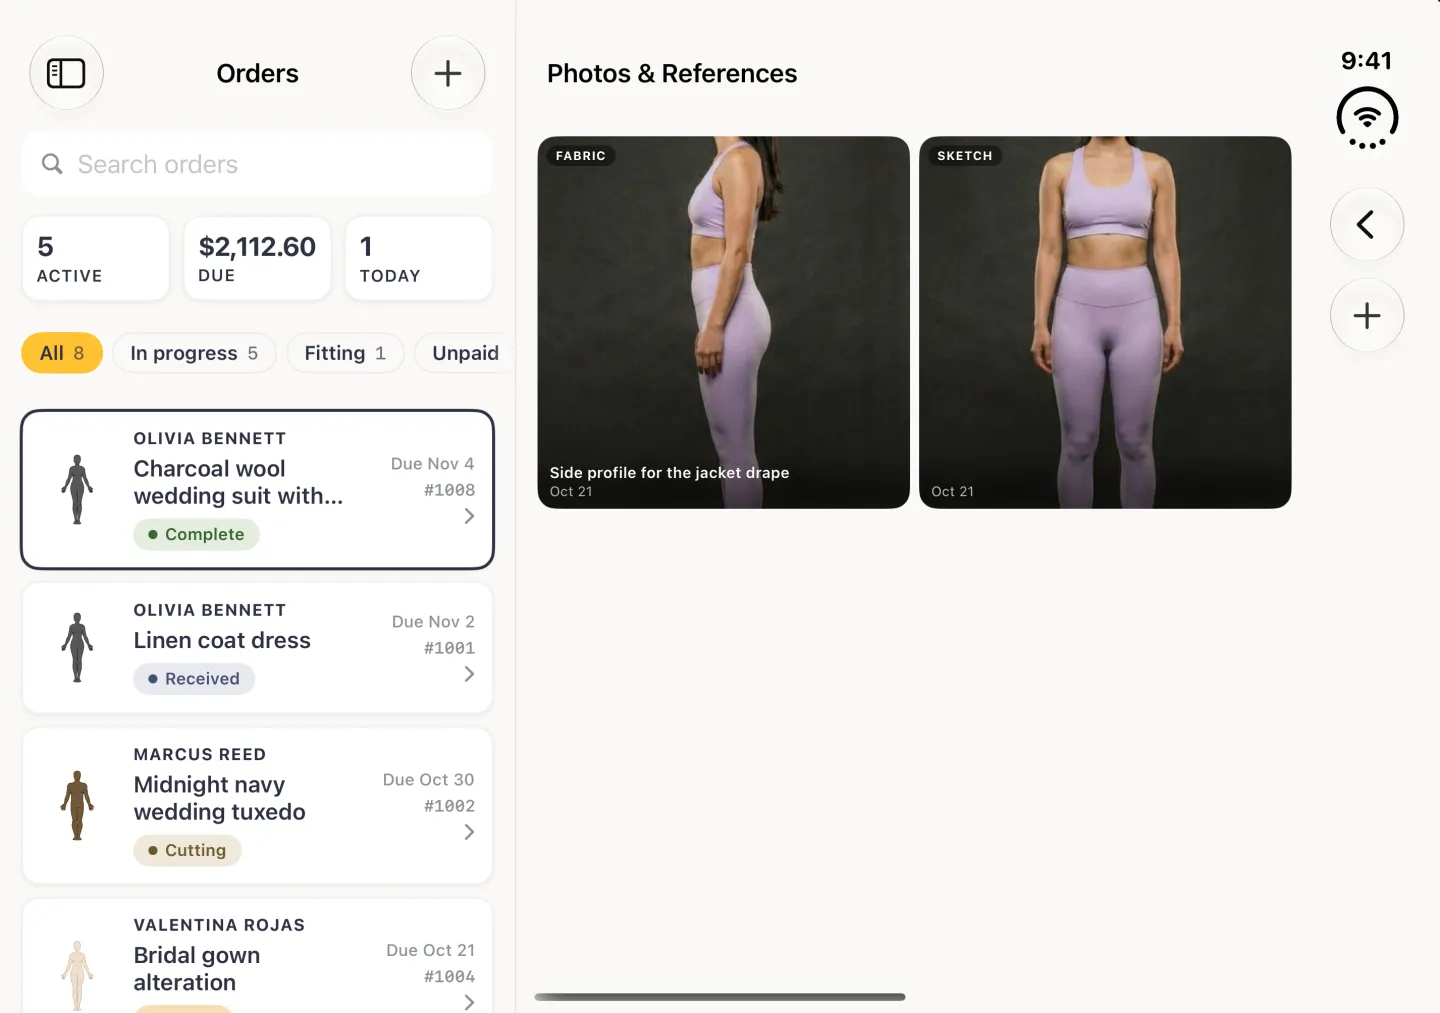
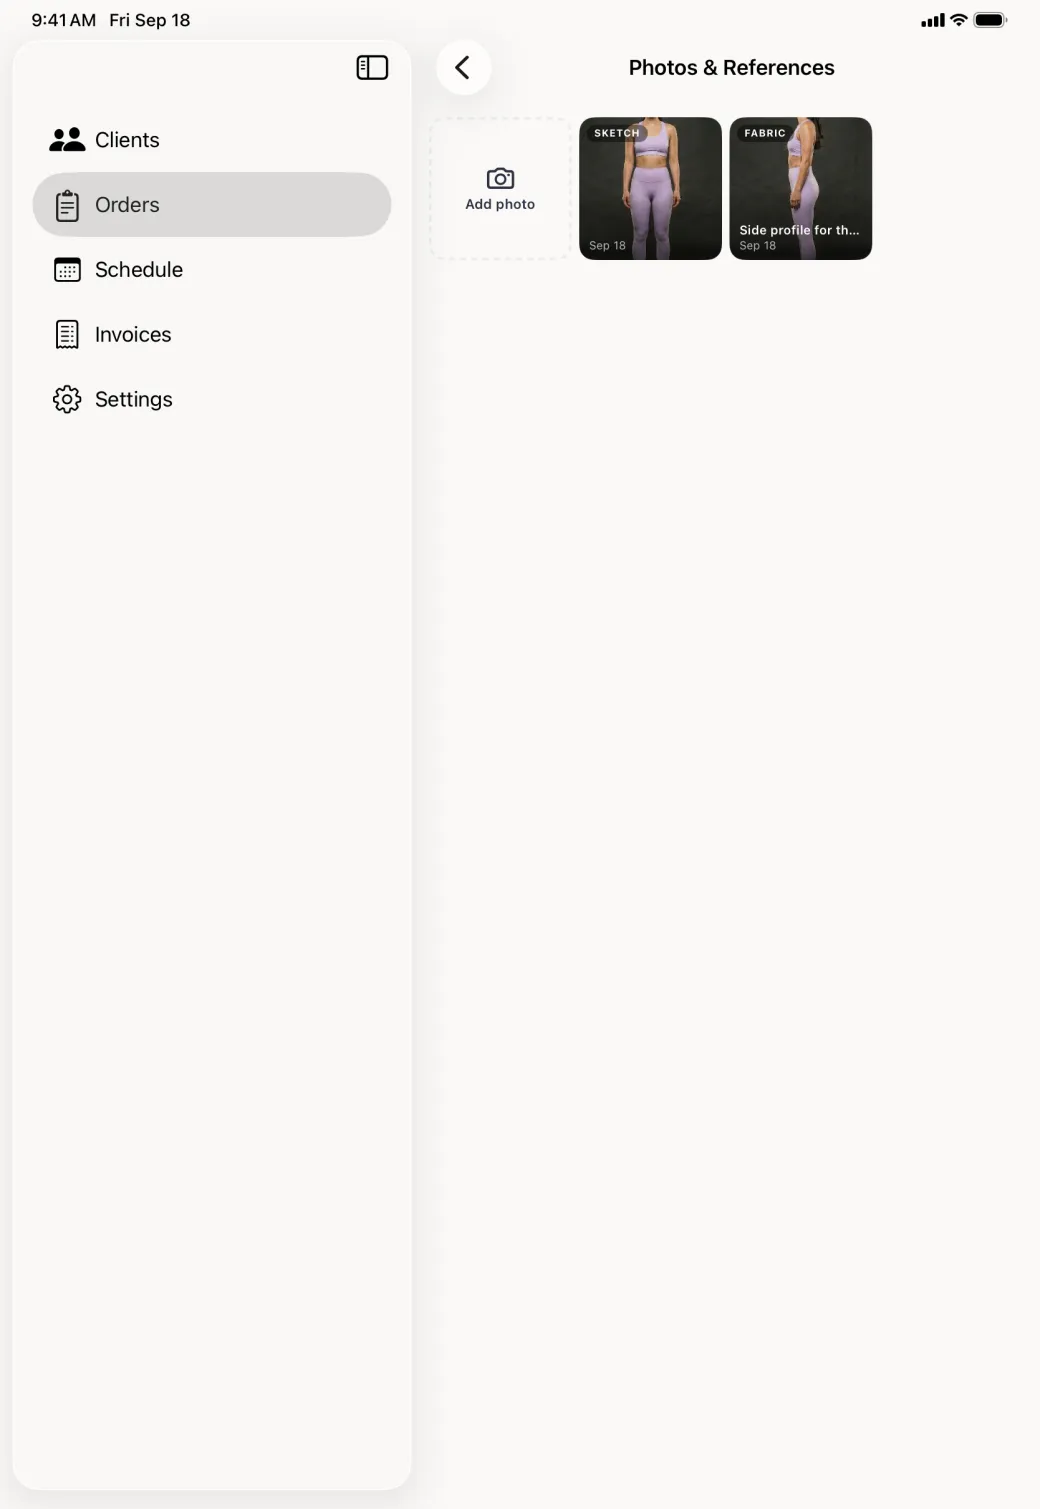
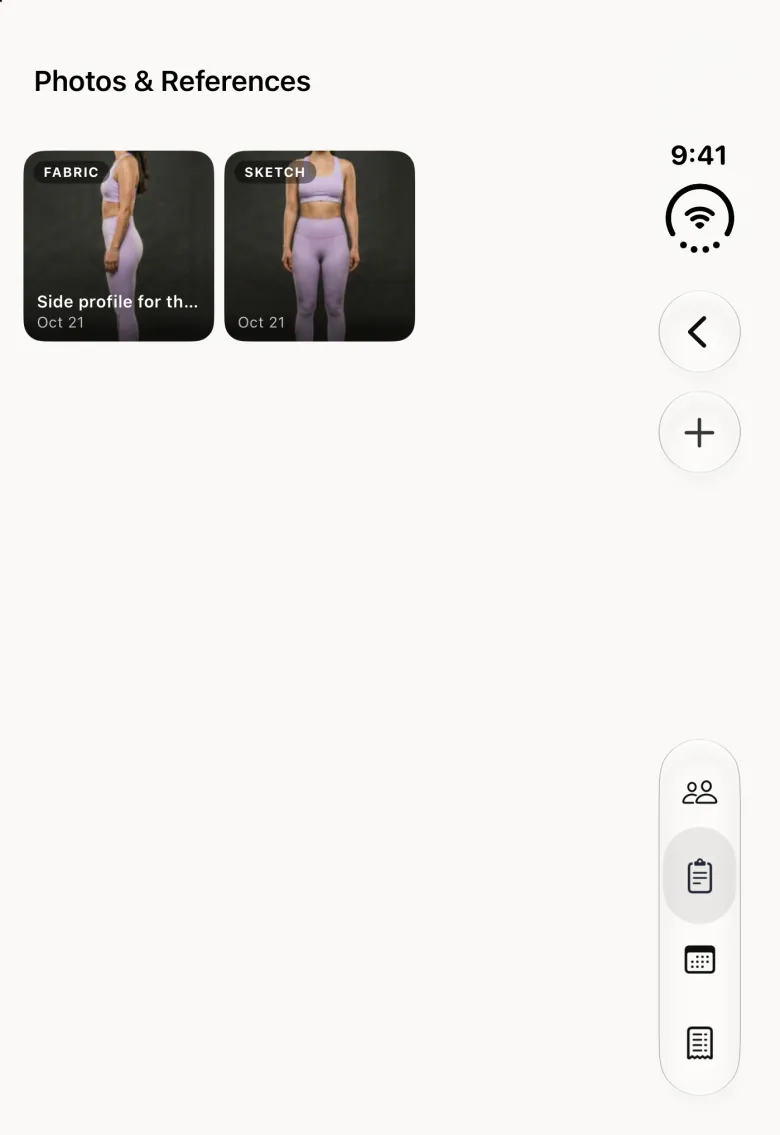
Photos and References grid with an Add photo tile and two photos, one tagged Fabric with a caption and one tagged Sketch, both dated.
Photos and References pane with an Add photo tile followed by two photo tiles, one tagged Sketch and dated Sep 18 and one tagged Fabric with the caption Side profile for the jacket drape.
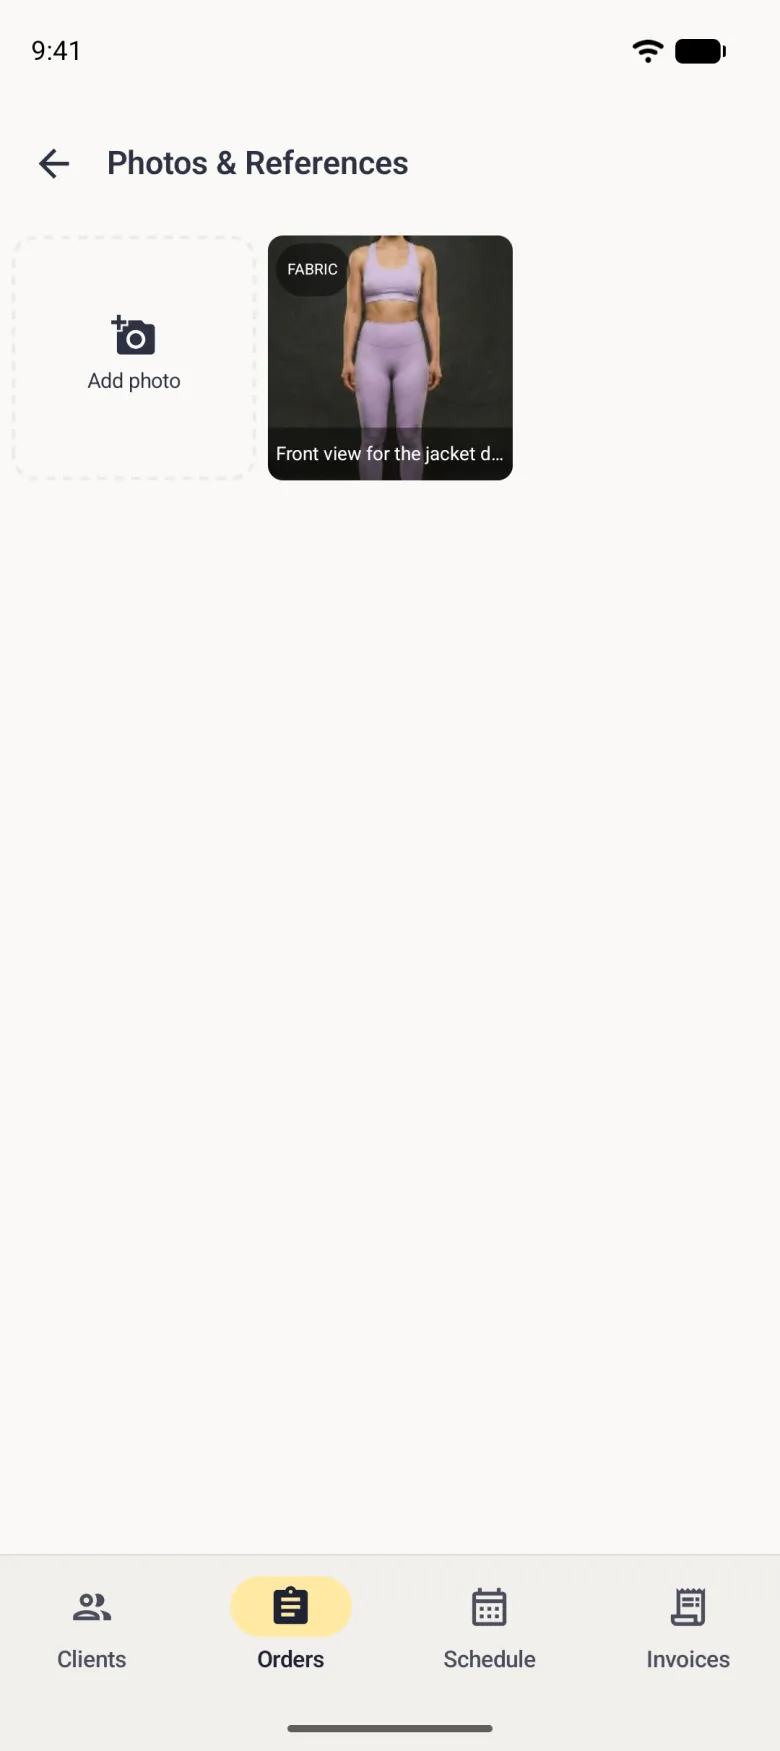
Photos and References grid with a dashed Add photo tile and one photo of a body from the front, tagged Fabric at the top left and captioned Front view for the jacket drape along the bottom.
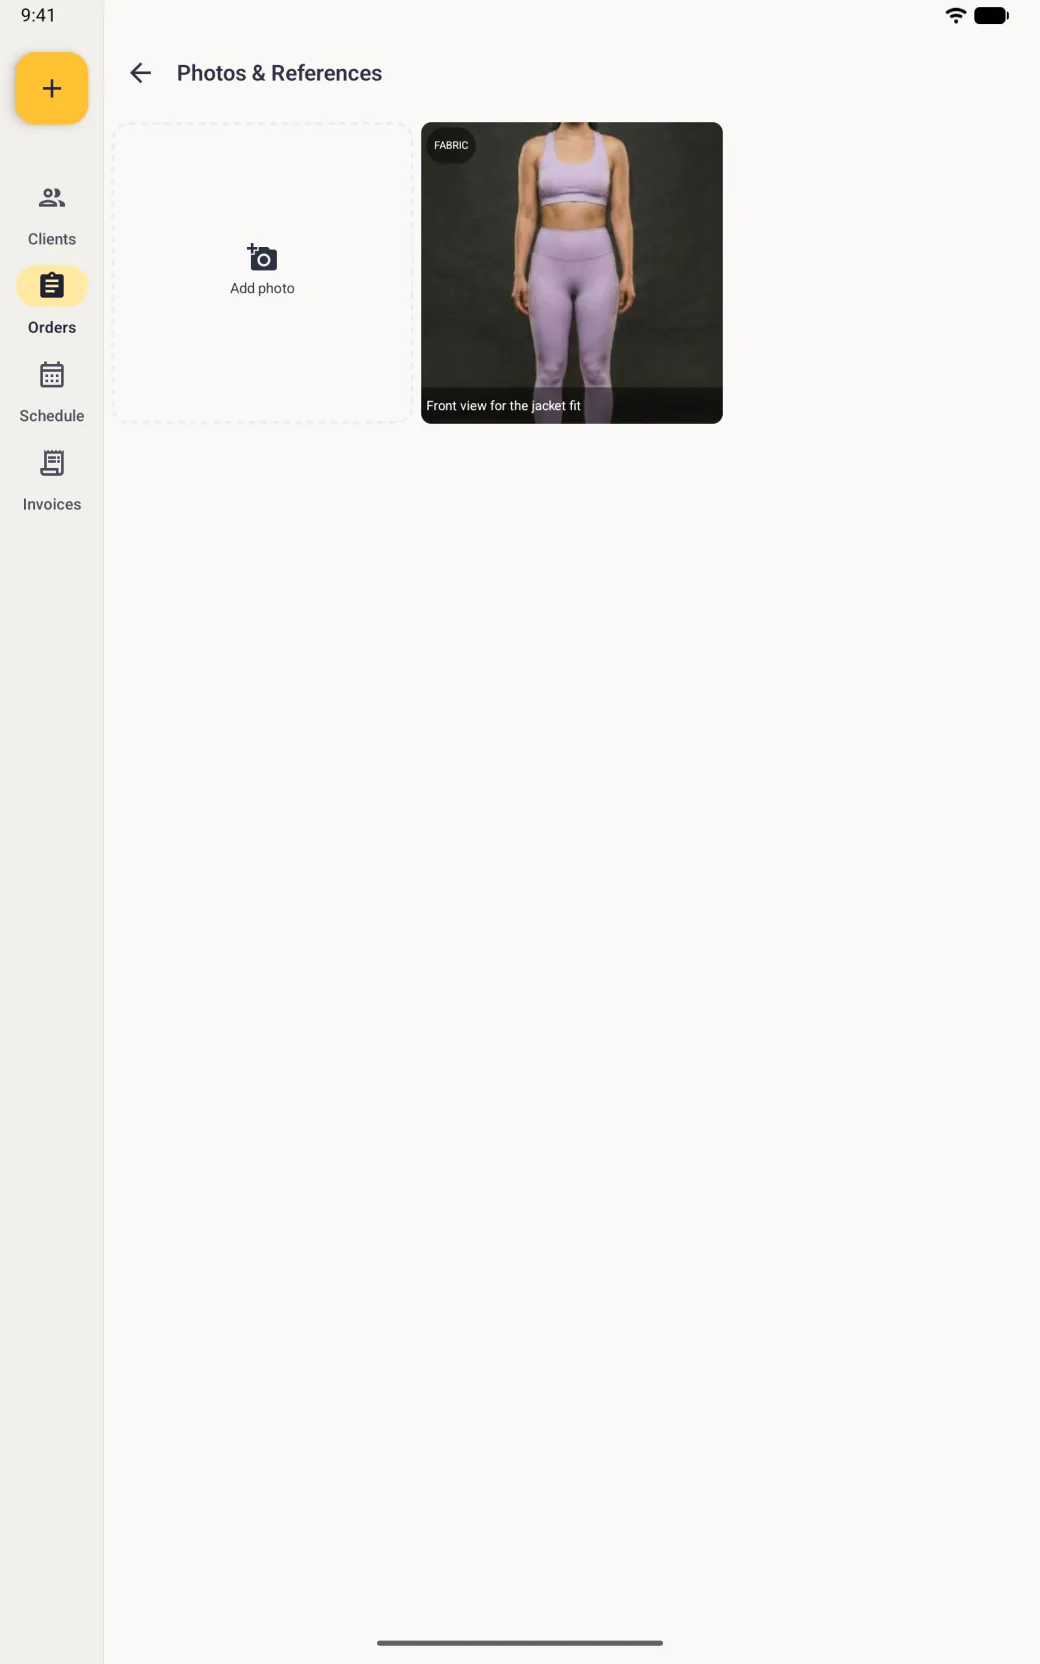
Photos and References screen beside the navigation rail with a dashed Add photo tile and the new photo, a front-facing body photo tagged FABRIC with the caption Front view for the jacket fit along its foot.
Saved photos sit in the grid with their tag, caption and date.

How to look through and remove photos

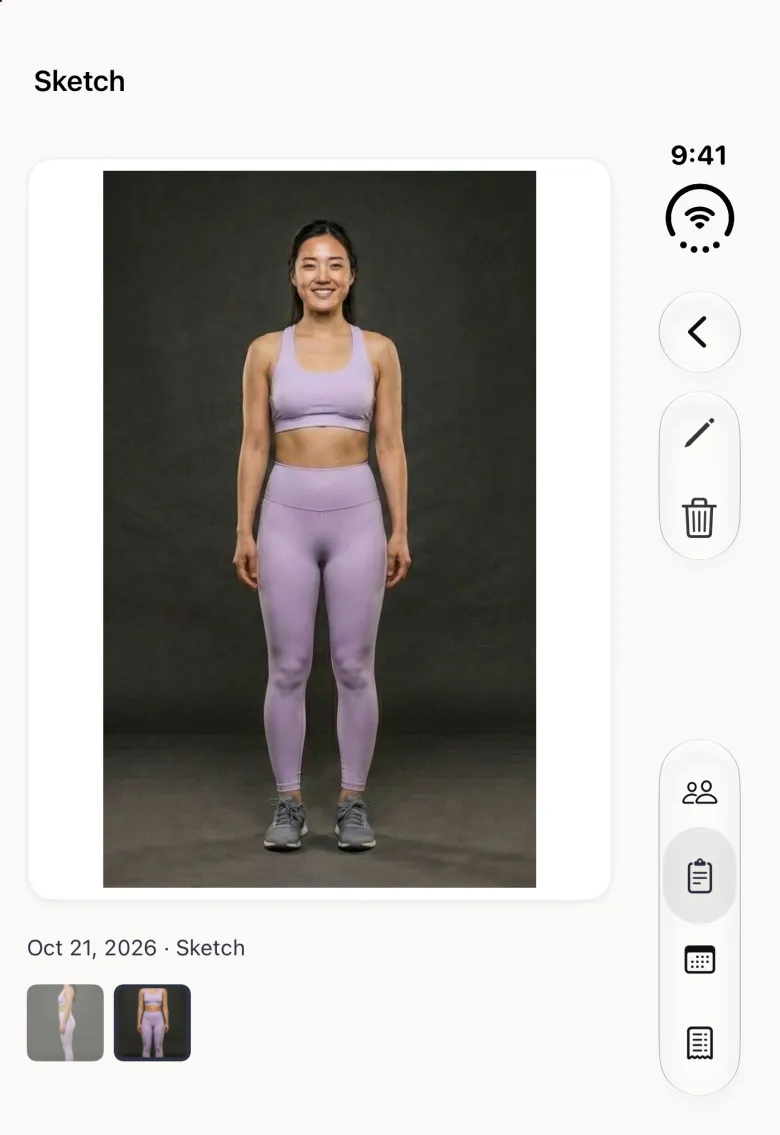
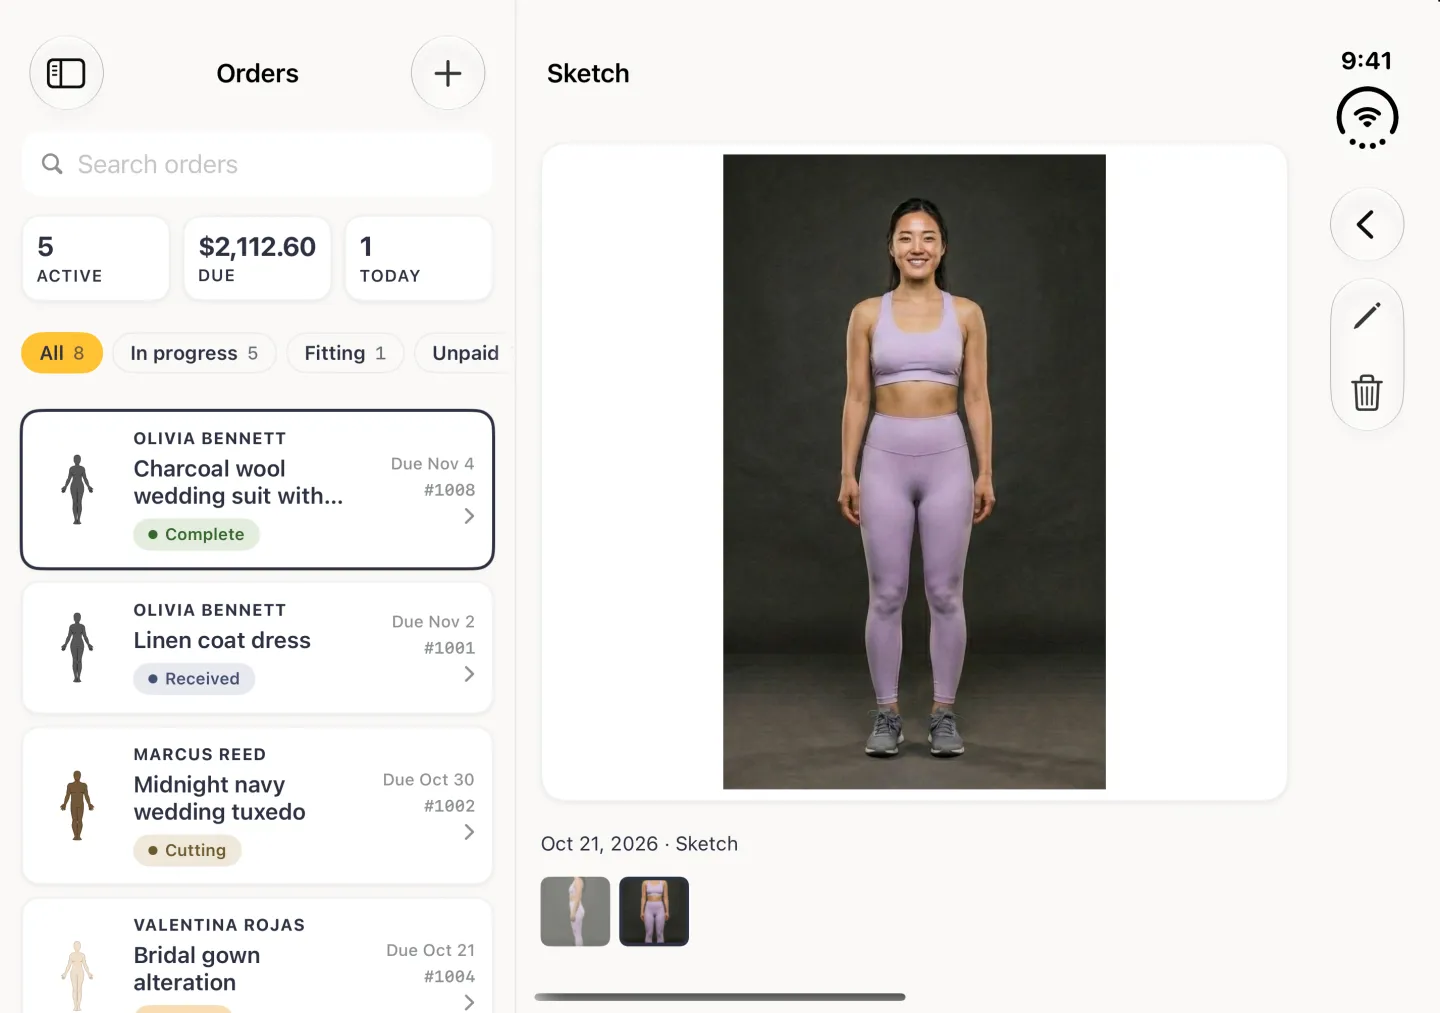
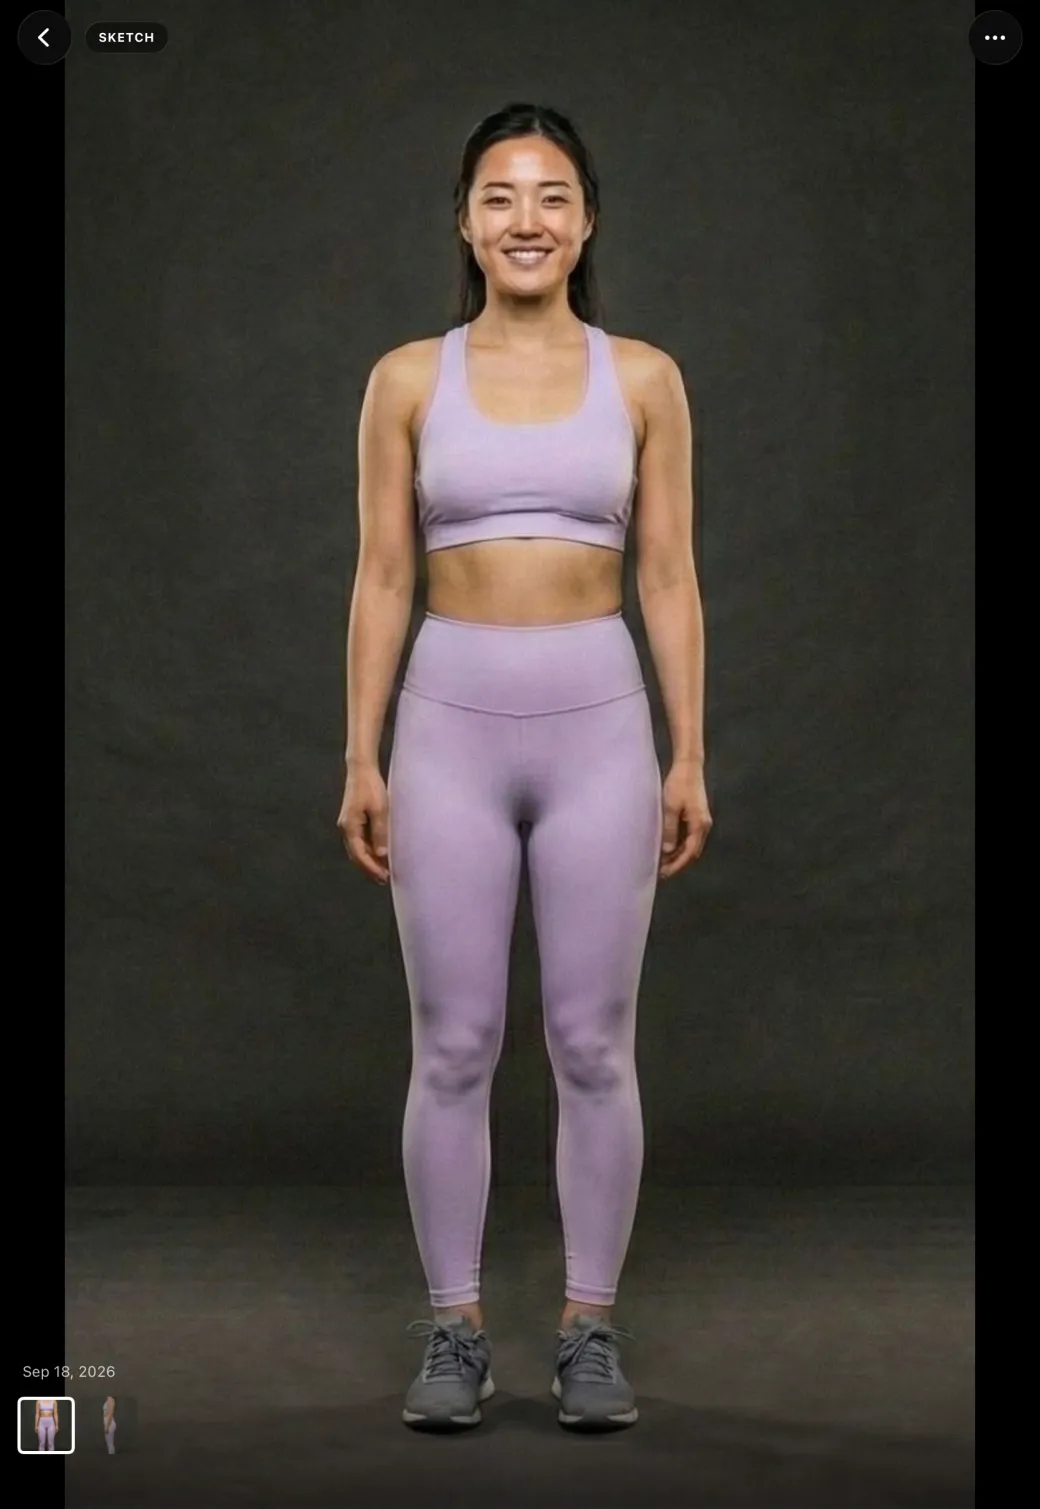
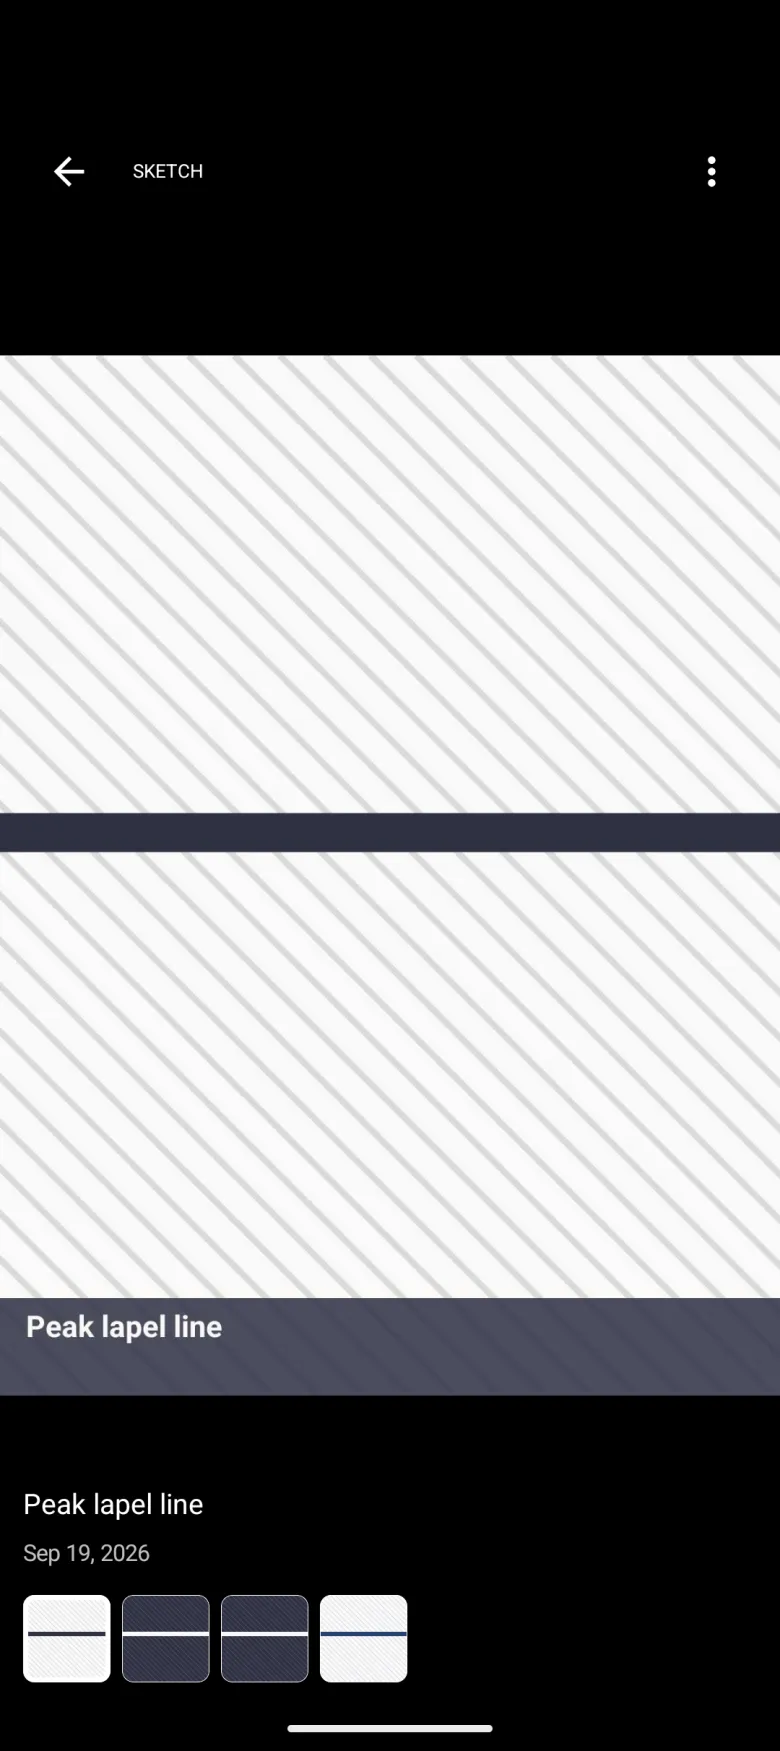
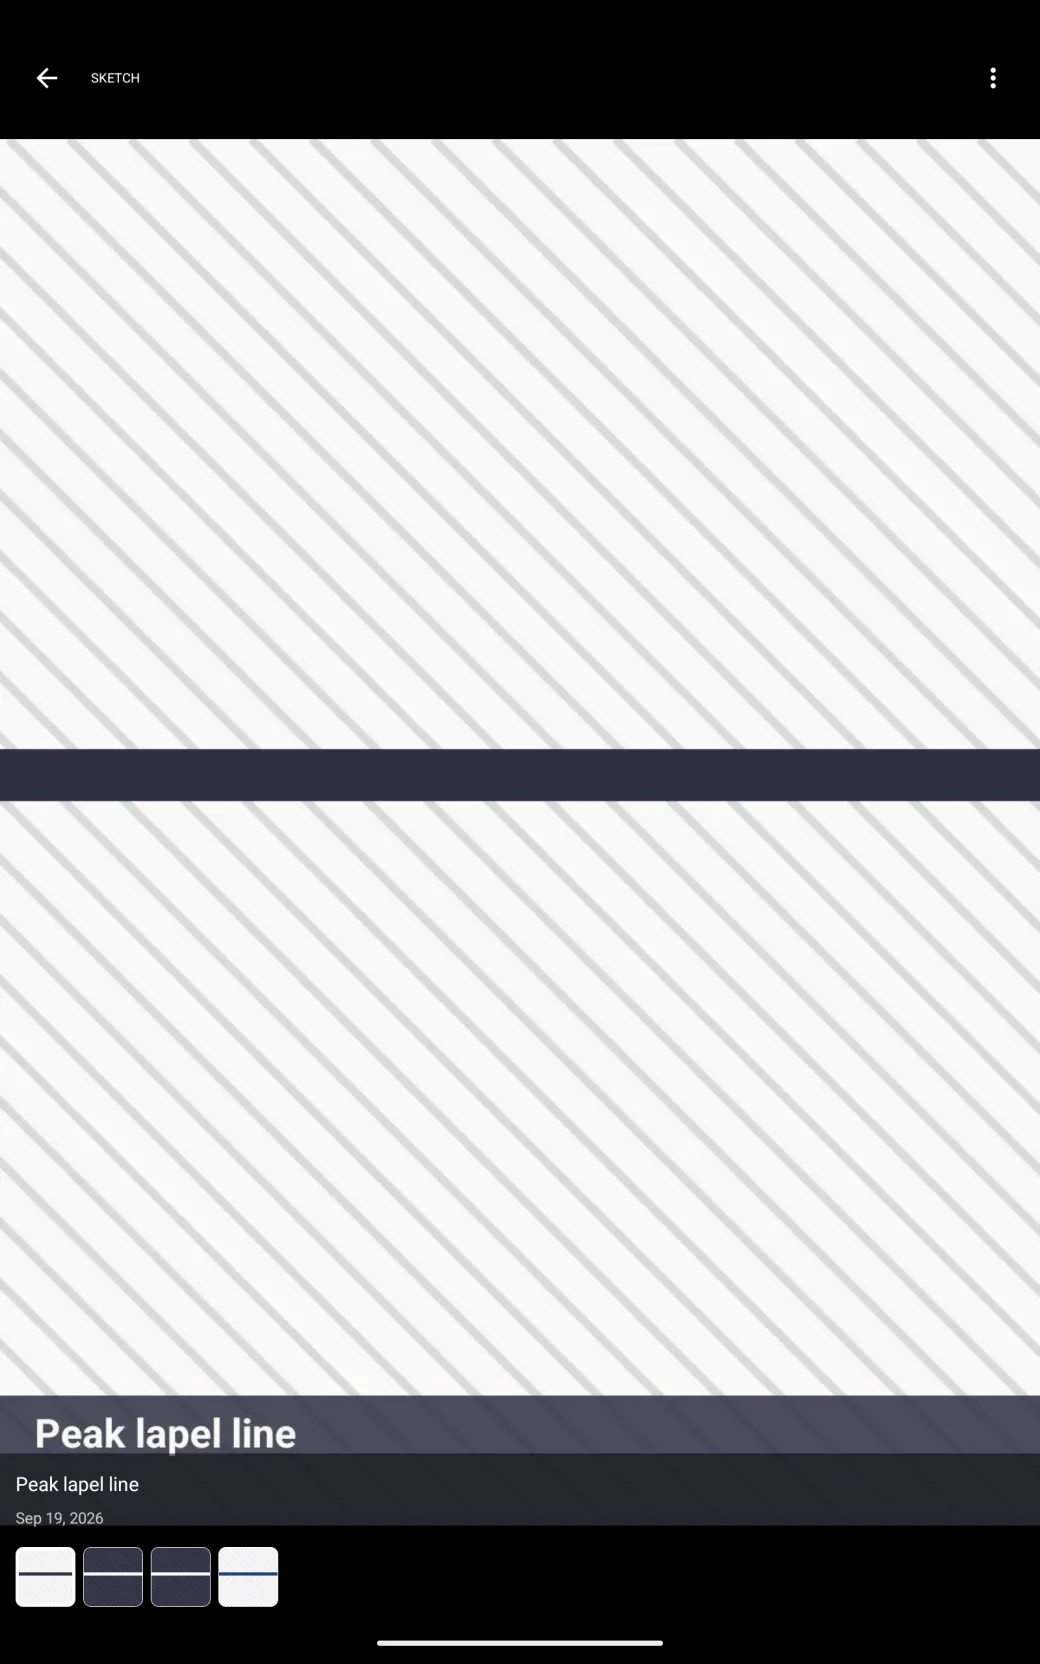
Tap any photo in the grid to open it full screen, with its tag at the top left, its caption and date at the bottom, and a strip of thumbnails below that. Swipe left or right to move between the photos on this order, and the highlighted thumbnail moves with you.

The three-dot button at the top right of the full screen view holds Edit and Delete. Edit reopens the sheet you used to add the photo, so you can re-tag it, reword the caption or replace the picture. Delete asks you to confirm, then removes the photo and shows the next one.

Show these screens on
A body photo shown full screen on a black background, tagged Fabric, captioned Side profile for the jacket drape and dated, with a strip of two thumbnails along the bottom.
A body photo filling the whole screen on a black background with the sidebar hidden, tagged Sketch, dated Sep 18 2026, with a strip of two thumbnails along the bottom left.
A drawn swatch photo of pale diagonal stripes with a navy band, shown full screen on a black background, with a back arrow and the tag SKETCH at the top left, a three-dot button at the top right, the caption Peak lapel line and the date Sep 19, 2026 near the bottom, and a strip of four thumbnails below.
A striped placeholder photo captioned Peak lapel line shown full screen on black, tagged SKETCH at the top left beside a back arrow, a three-dot button at the top right, the caption and the date Sep 19, 2026 at the bottom, and a strip of four thumbnails along the foot.
Tap a photo to see it full screen with its tag and date.

How to keep notes on an order

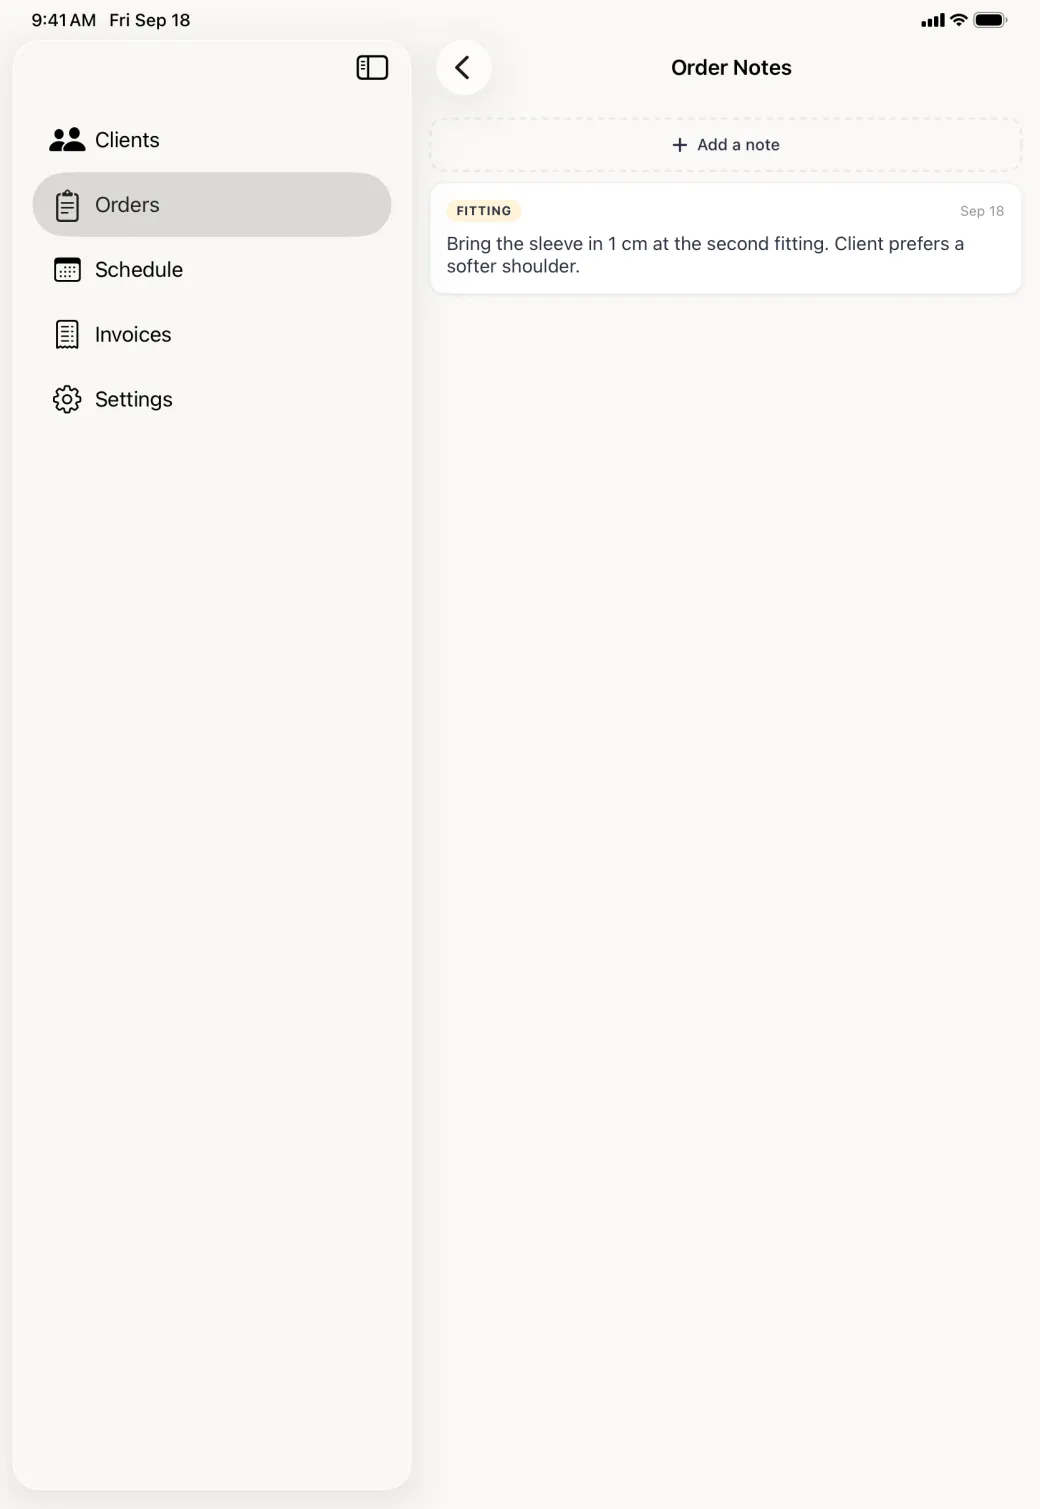
Notes are tagged the same way, so fitting notes and fabric notes do not run together. Open the notes card, then the dashed Add a note button at the top.

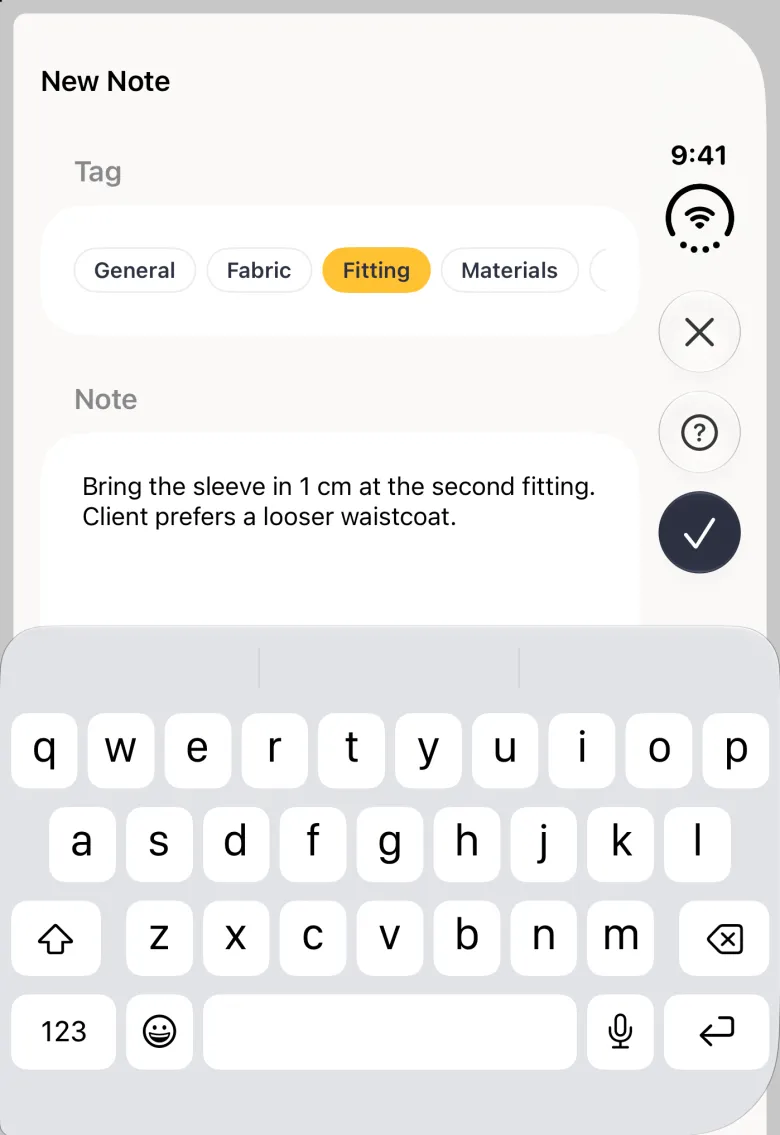
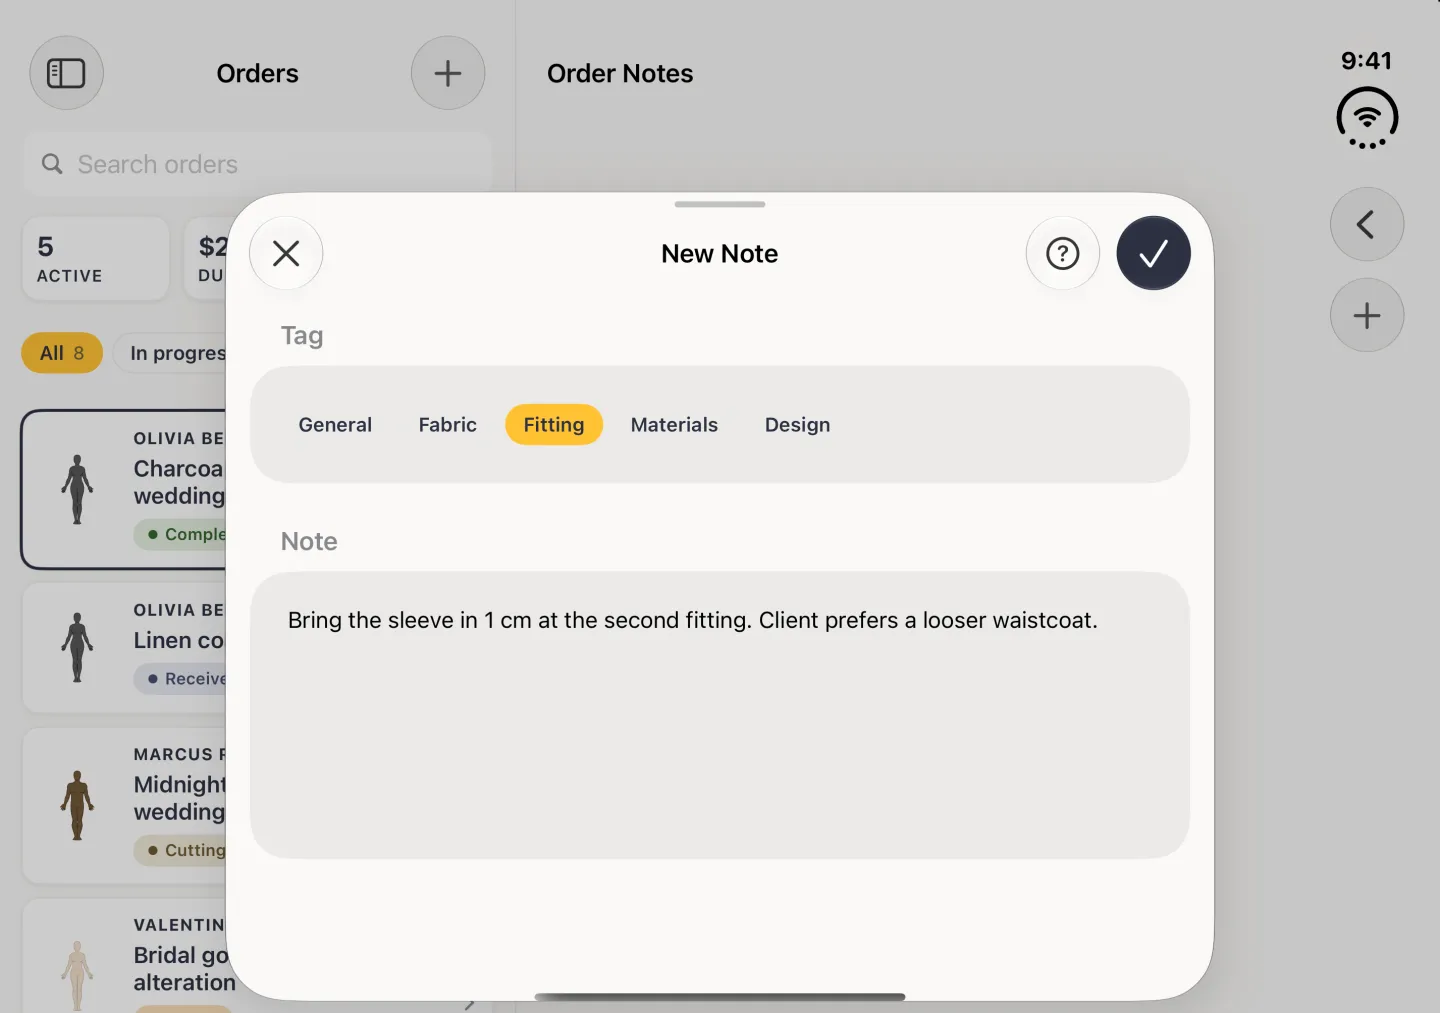
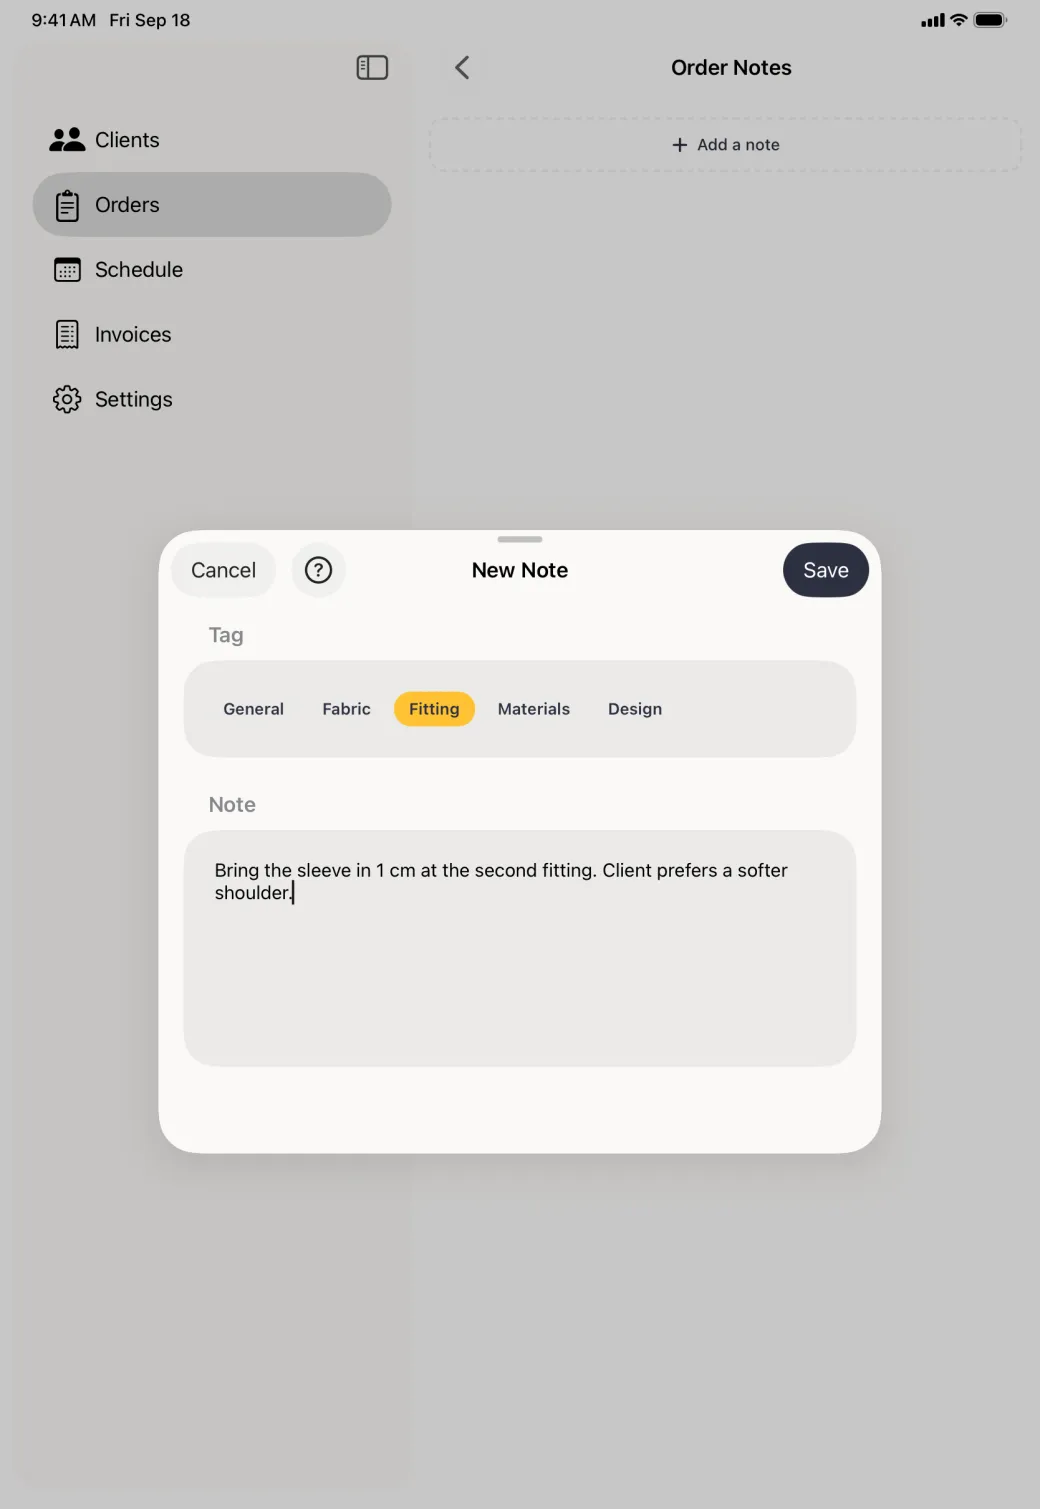
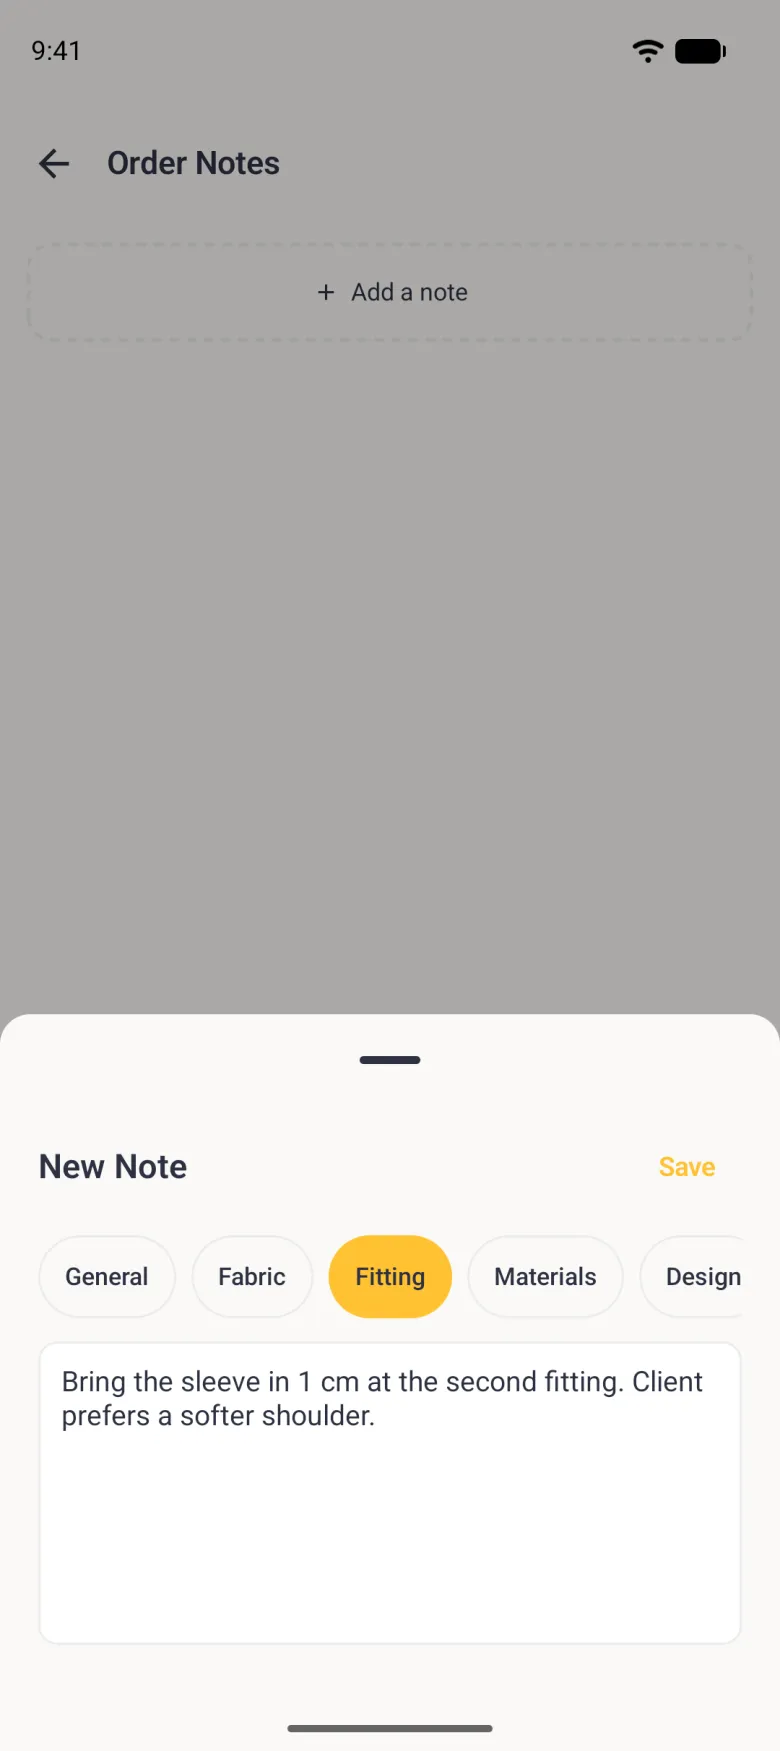
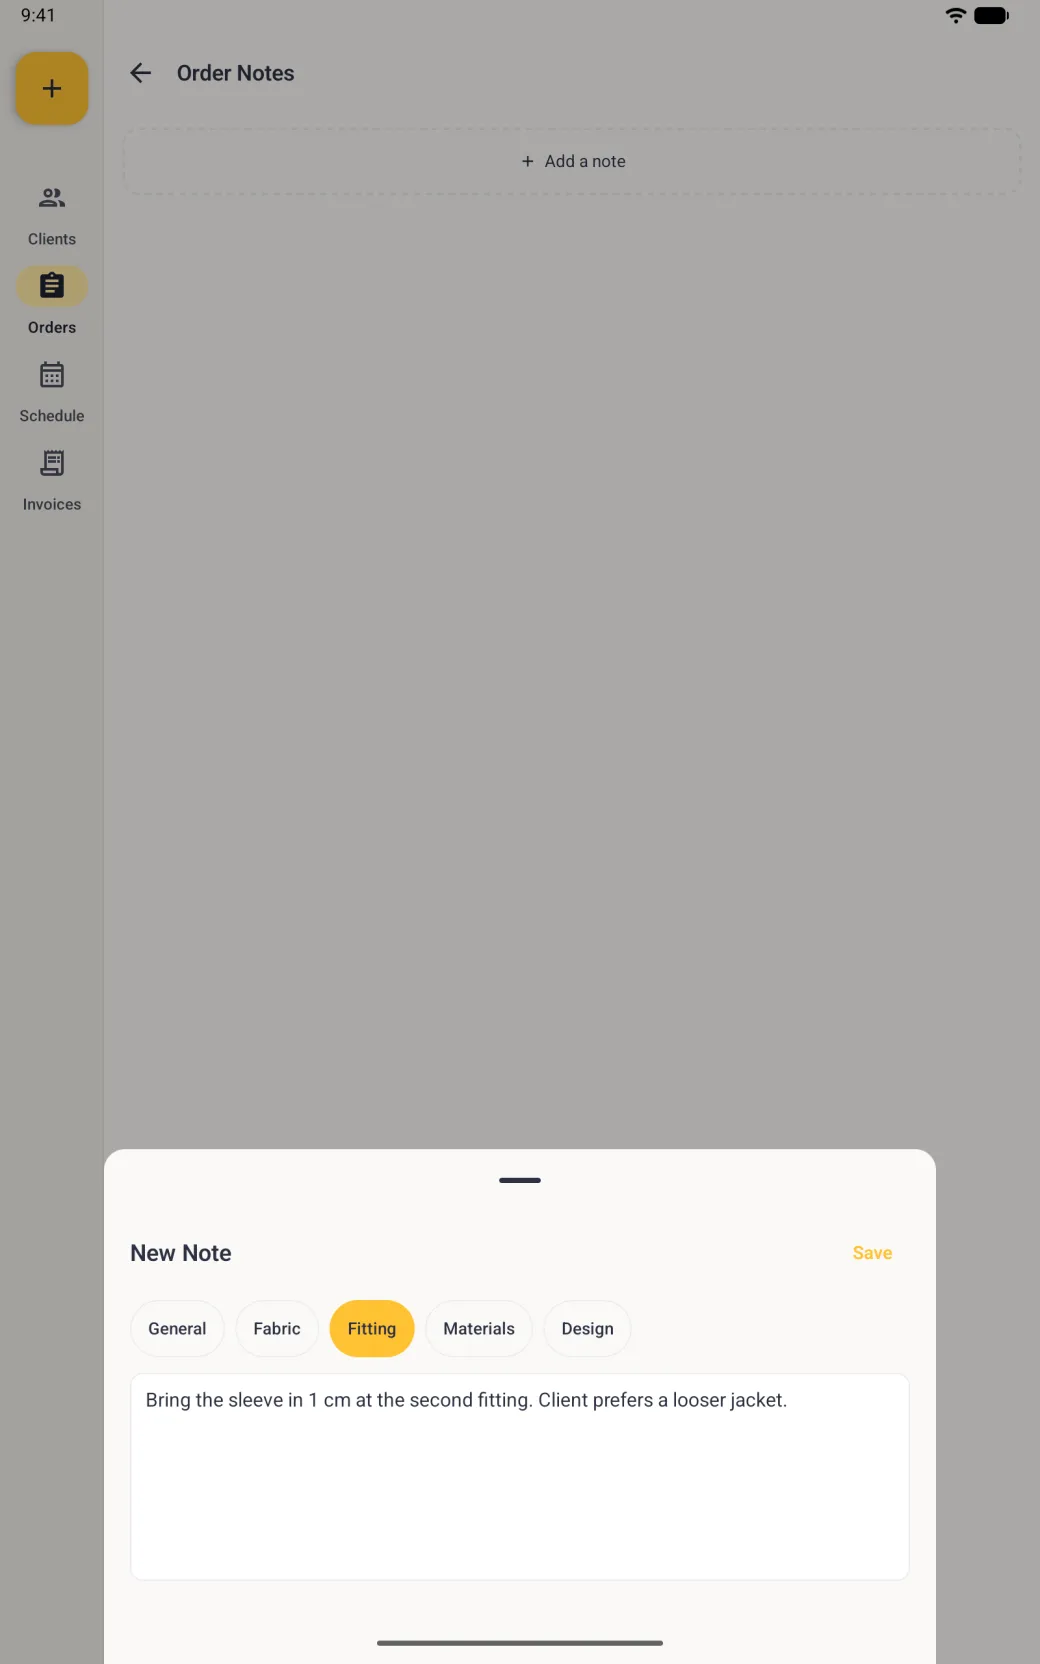
  1. Tap a tag: General, Fabric, Fitting, Materials, Design, and more if you scroll the row.
  2. Write the note. Save turns solid once there is something to keep.
  3. Tap Save. The note joins the list with its tag and today’s date, newest first.
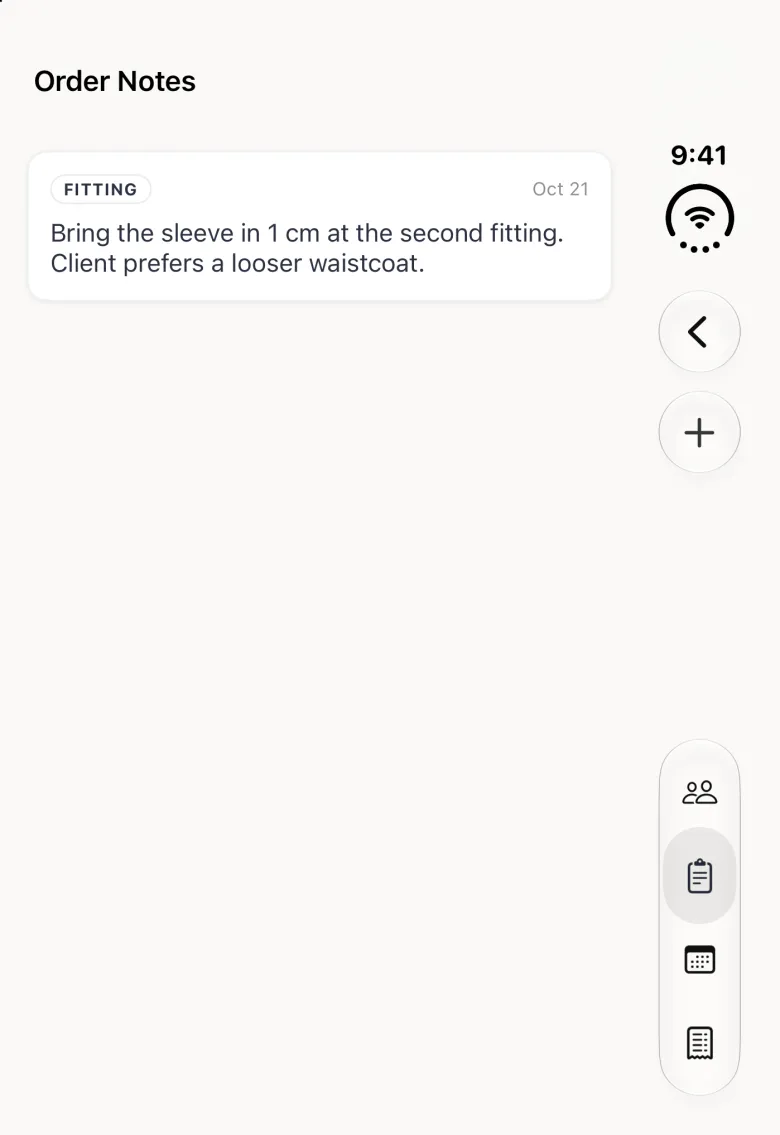
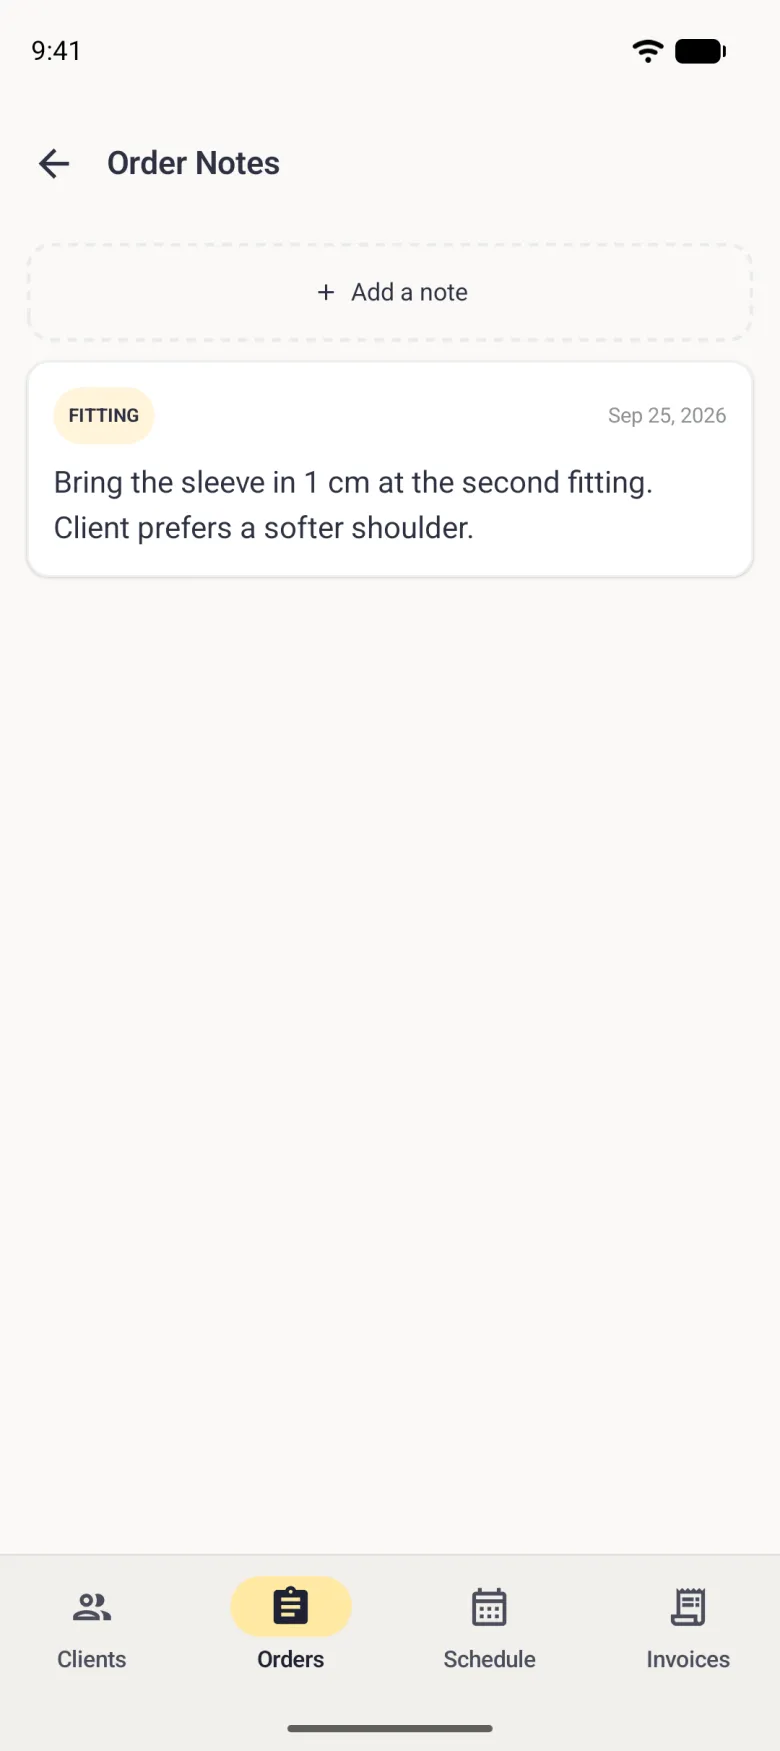
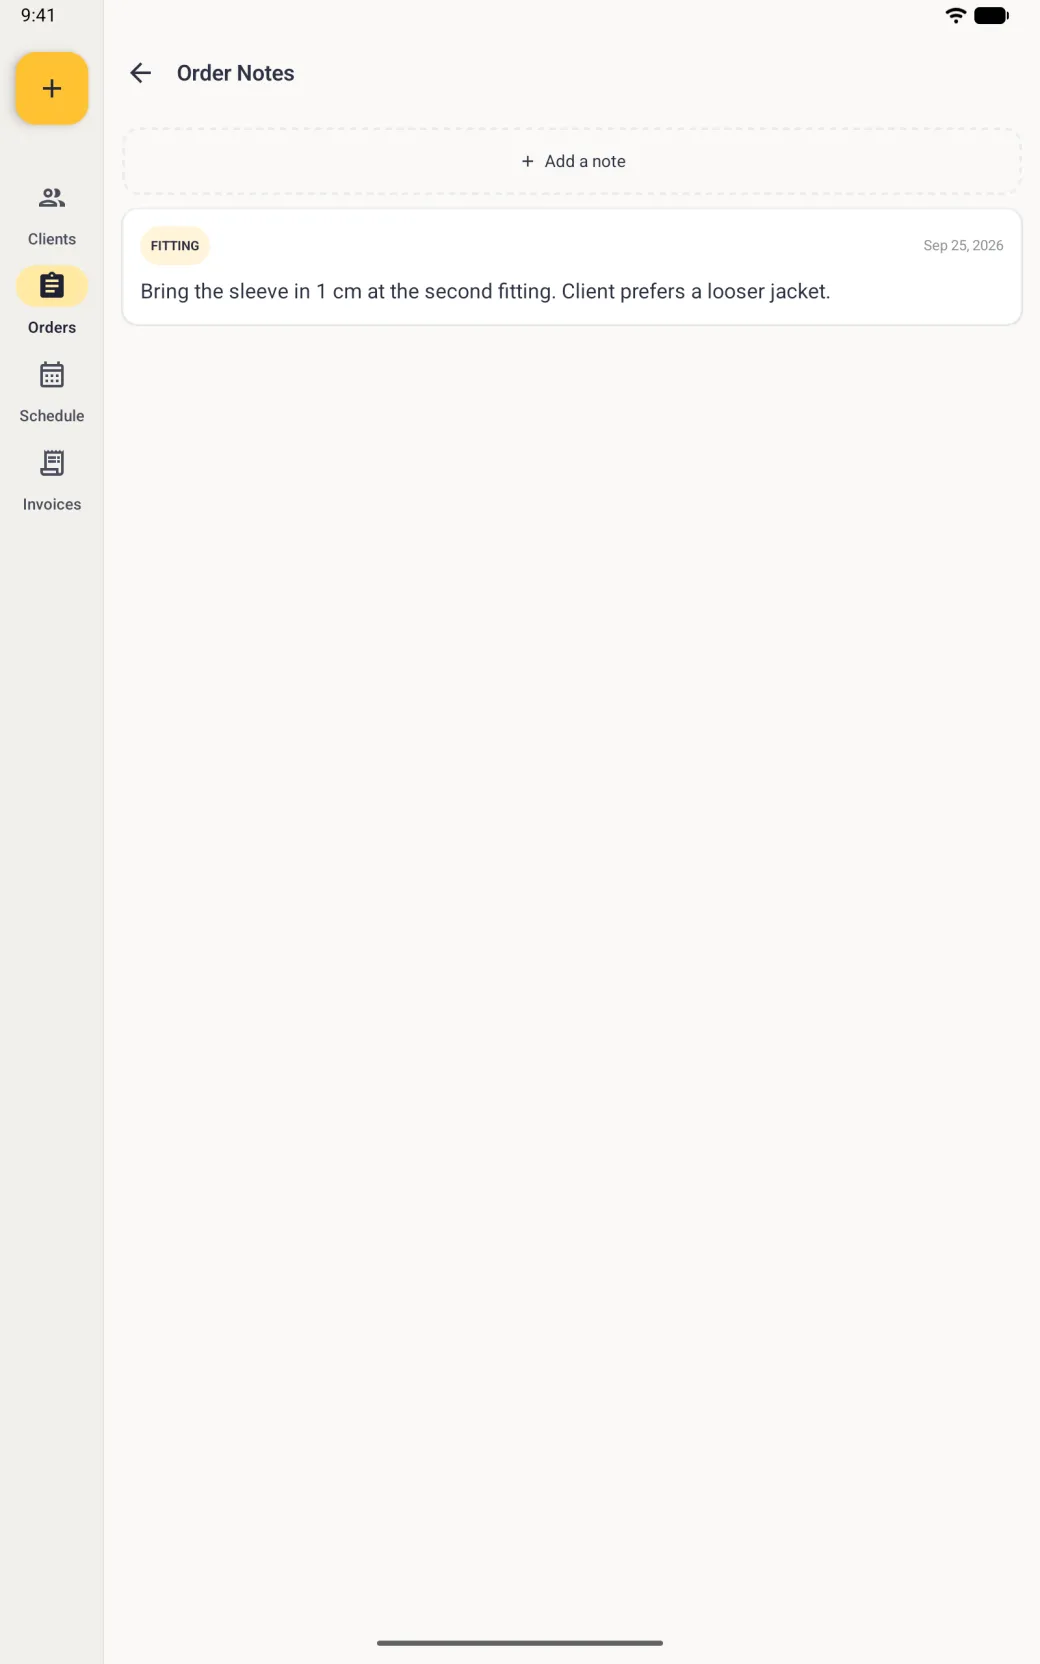
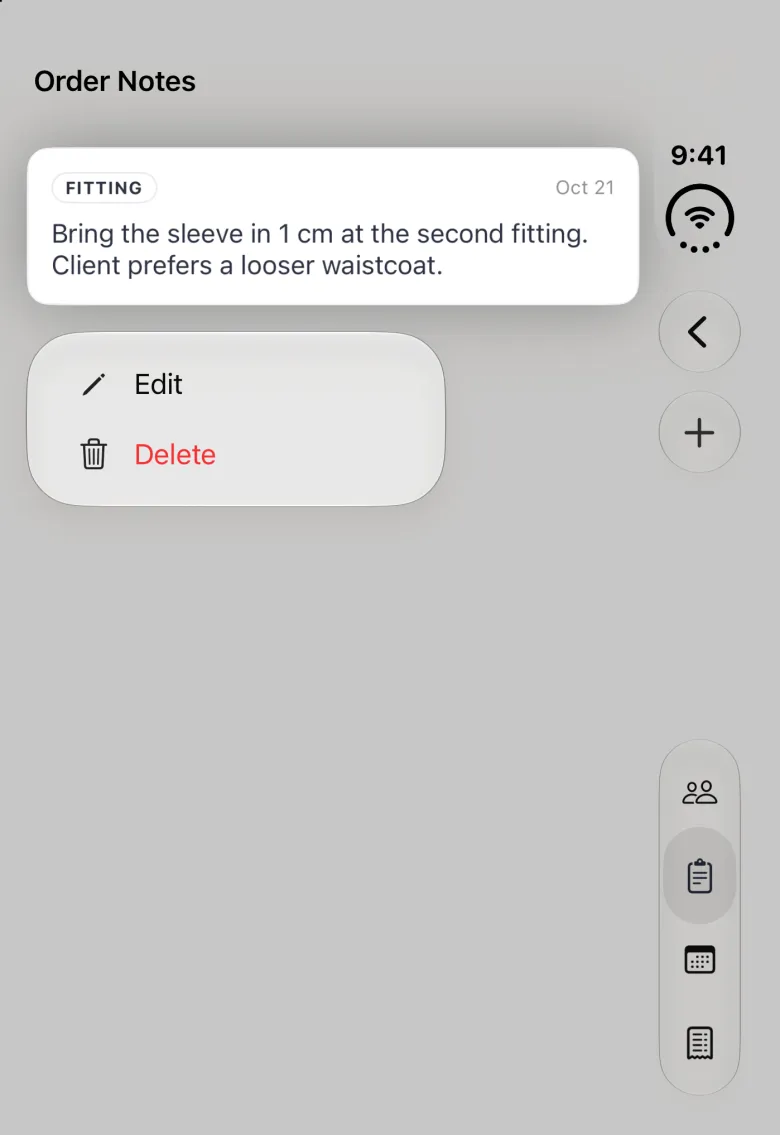
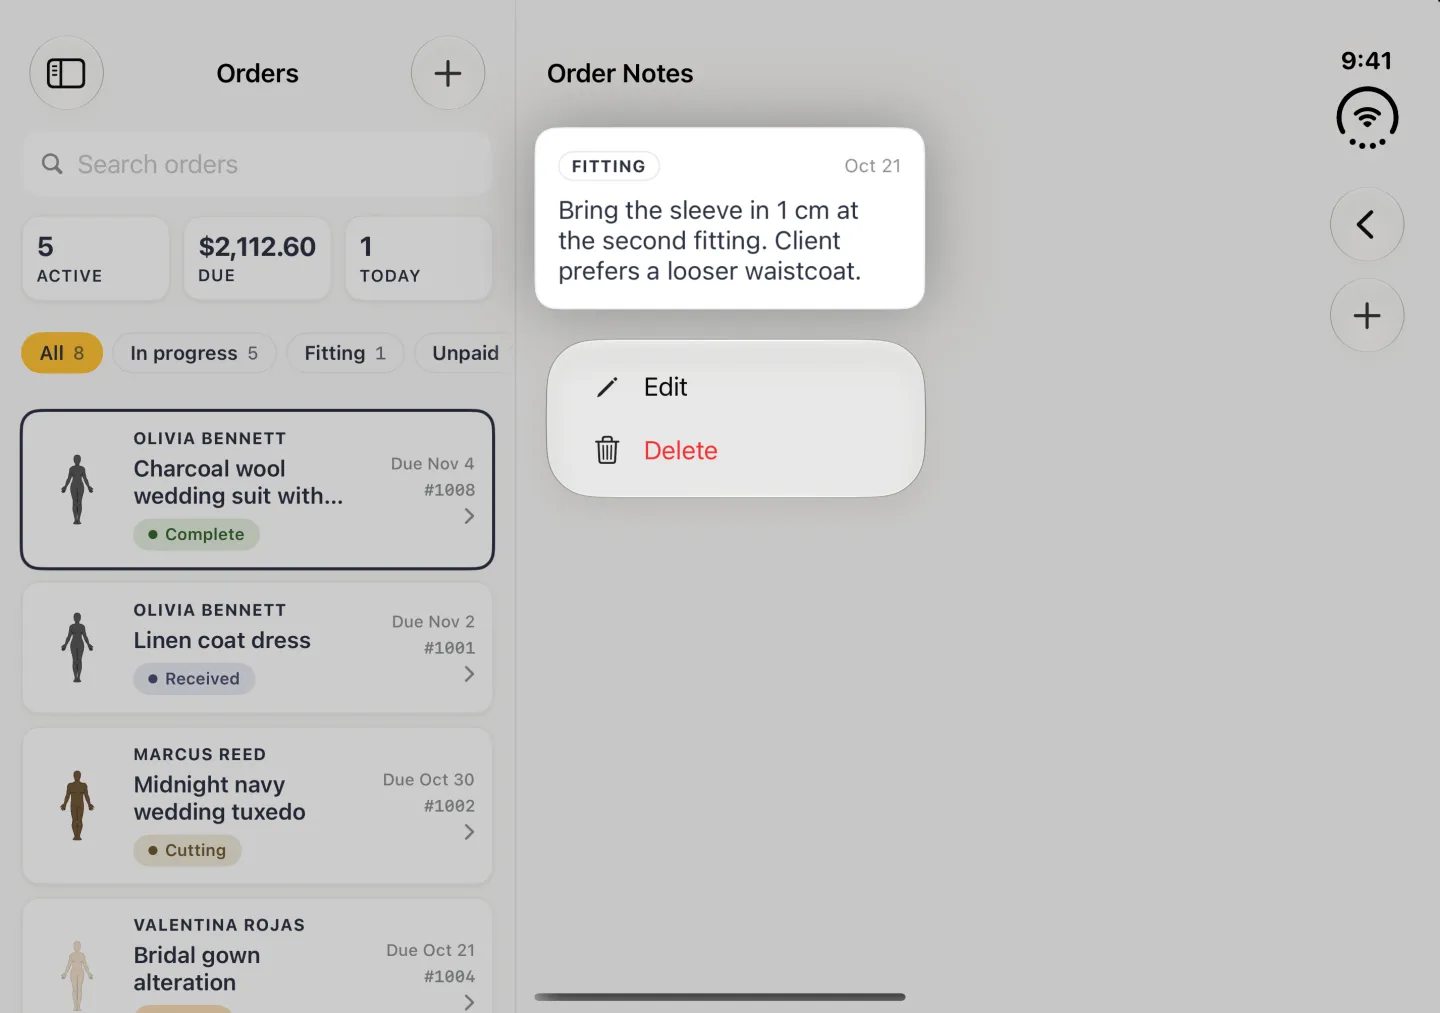
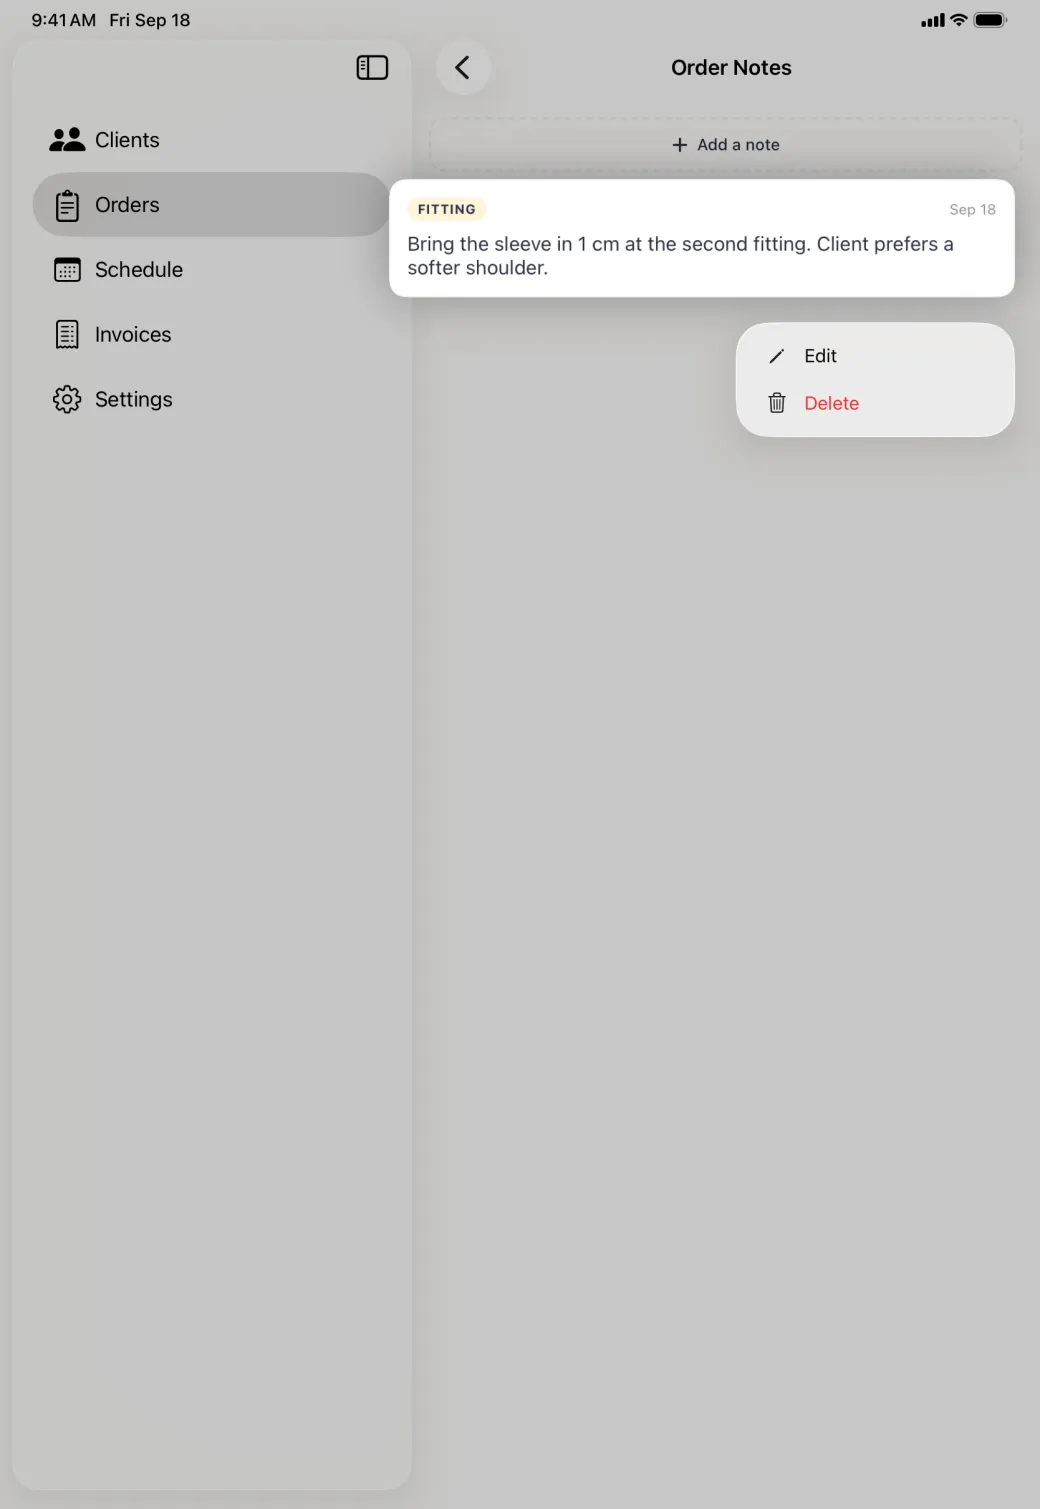
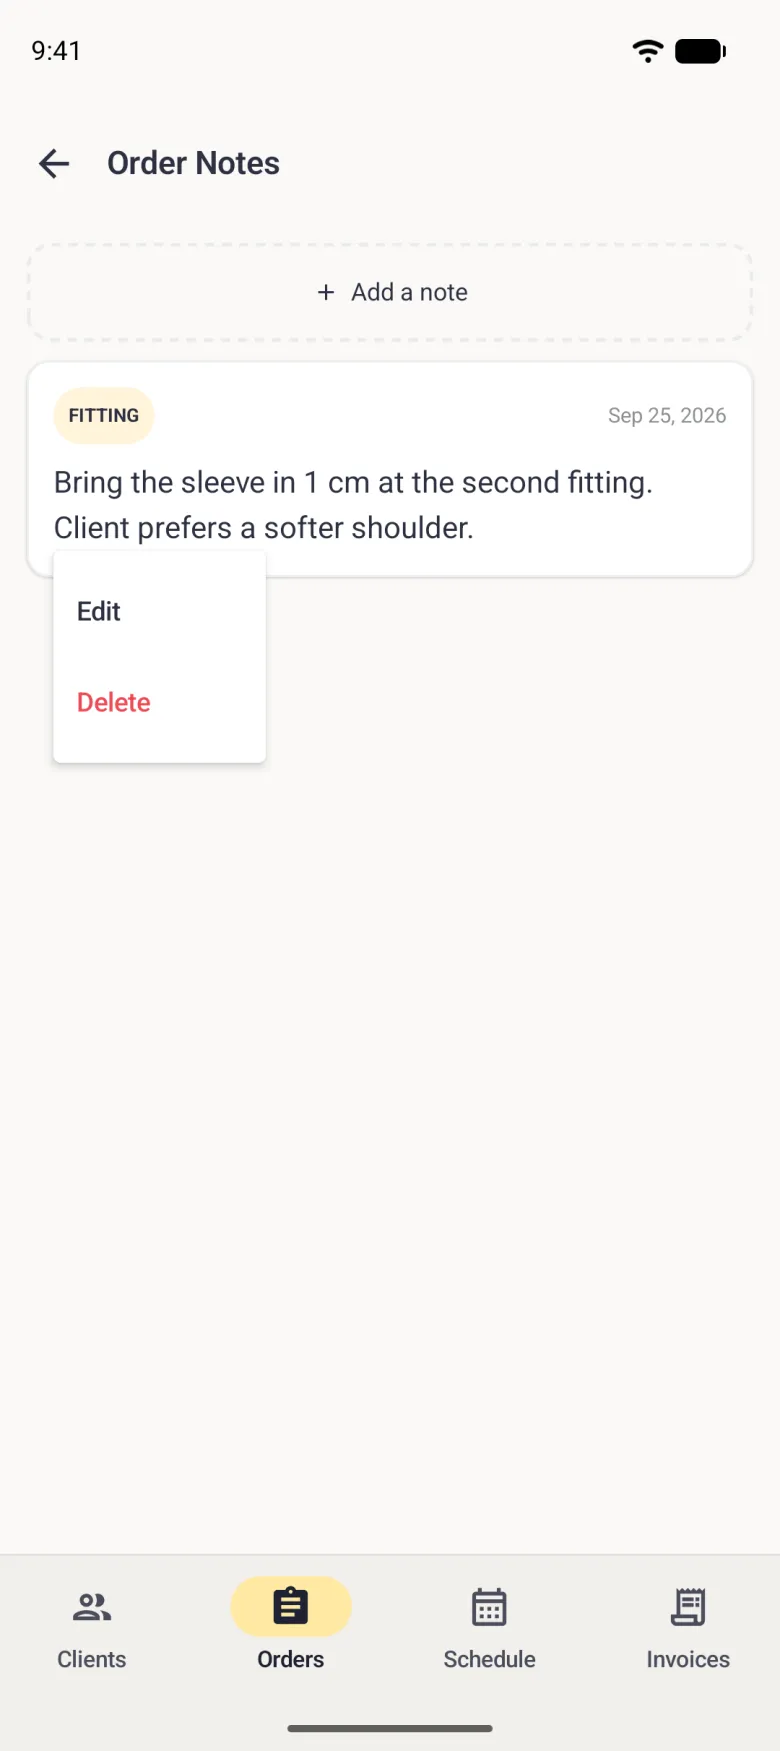
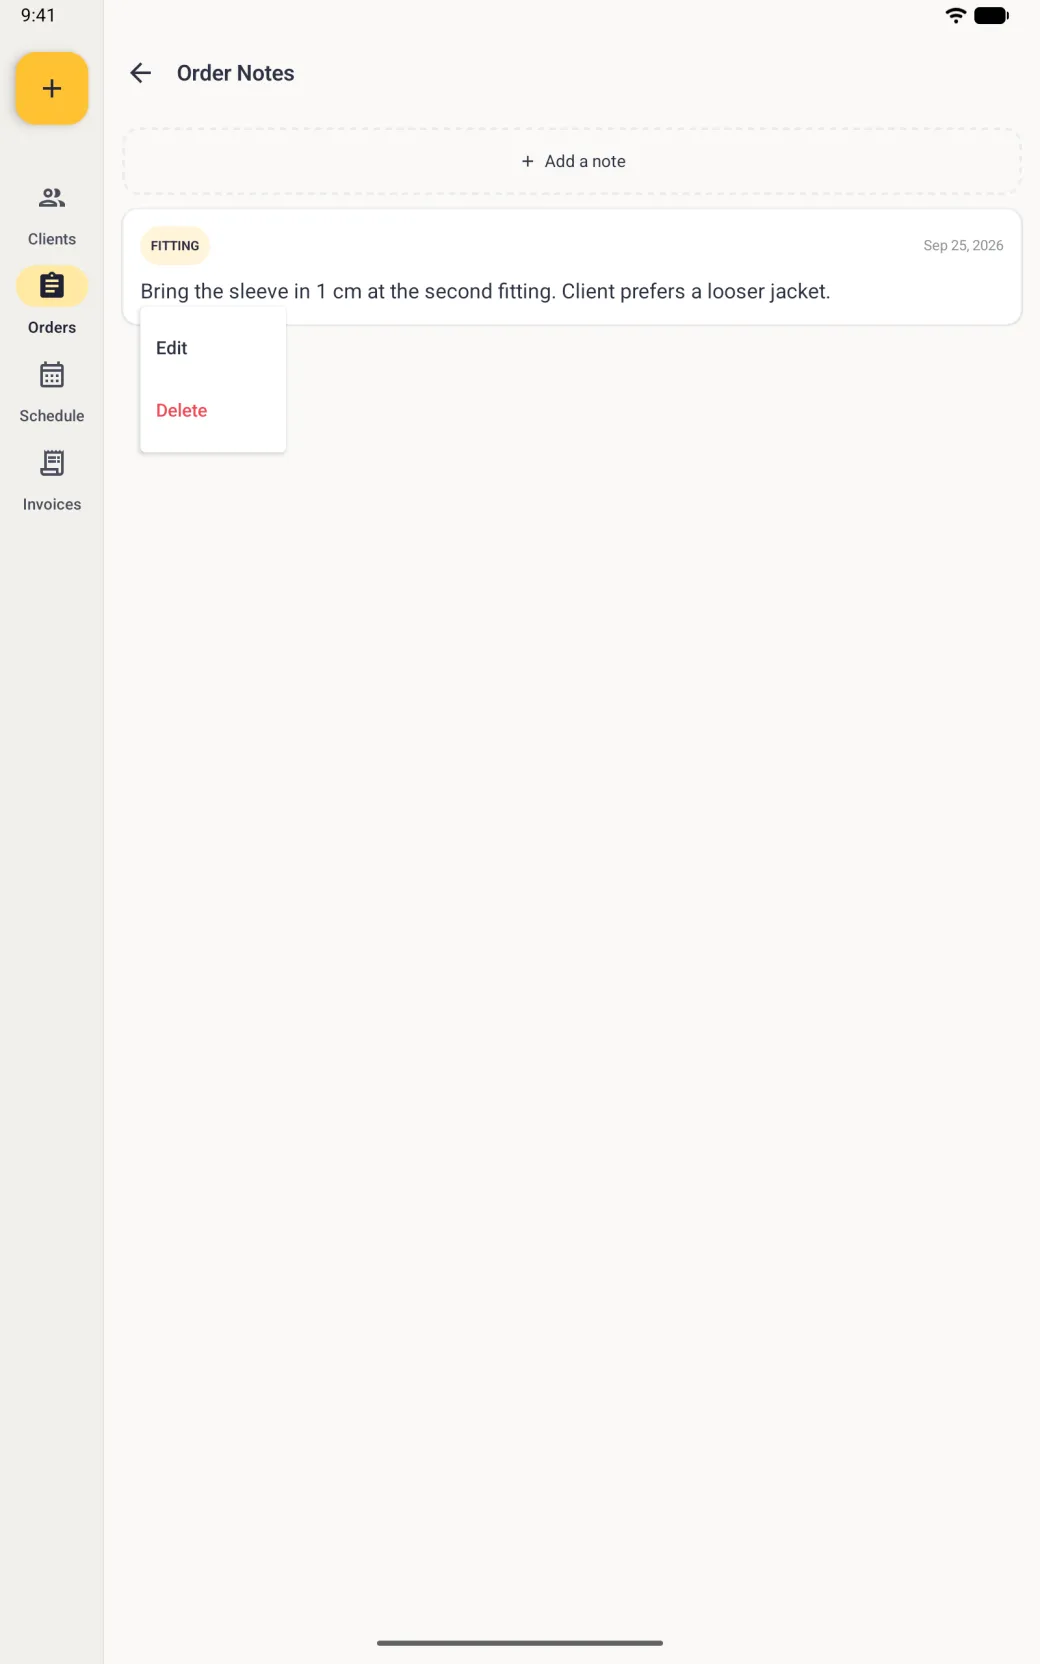
To change a note, tap it to reopen the editor. To remove one, press and hold the note card until a small menu appears, then choose Delete. Deleting a note is immediate, so read it before you confirm. The order itself shows how many notes there are and the text of the newest one.

Show these screens on
New Note sheet with the Fitting tag selected and a note reading Bring the sleeve in 1 cm at the second fitting. Client prefers a softer shoulder.
New Note card with the Fitting tag selected, a note reading Bring the sleeve in 1 cm at the second fitting. Client prefers a softer shoulder, and the Save button now solid.
New Note sheet over the dimmed Order Notes screen, with the Fitting tag selected in gold and a note reading Bring the sleeve in 1 cm at the second fitting. Client prefers a softer shoulder, and a gold Save at the top right.
New Note sheet over the dimmed Order Notes screen beside the navigation rail, with the Fitting tag selected in gold and a note reading Bring the sleeve in 1 cm at the second fitting. Client prefers a looser jacket, and a gold Save at the top right.
Write the note, and Save turns solid once there is something to keep.
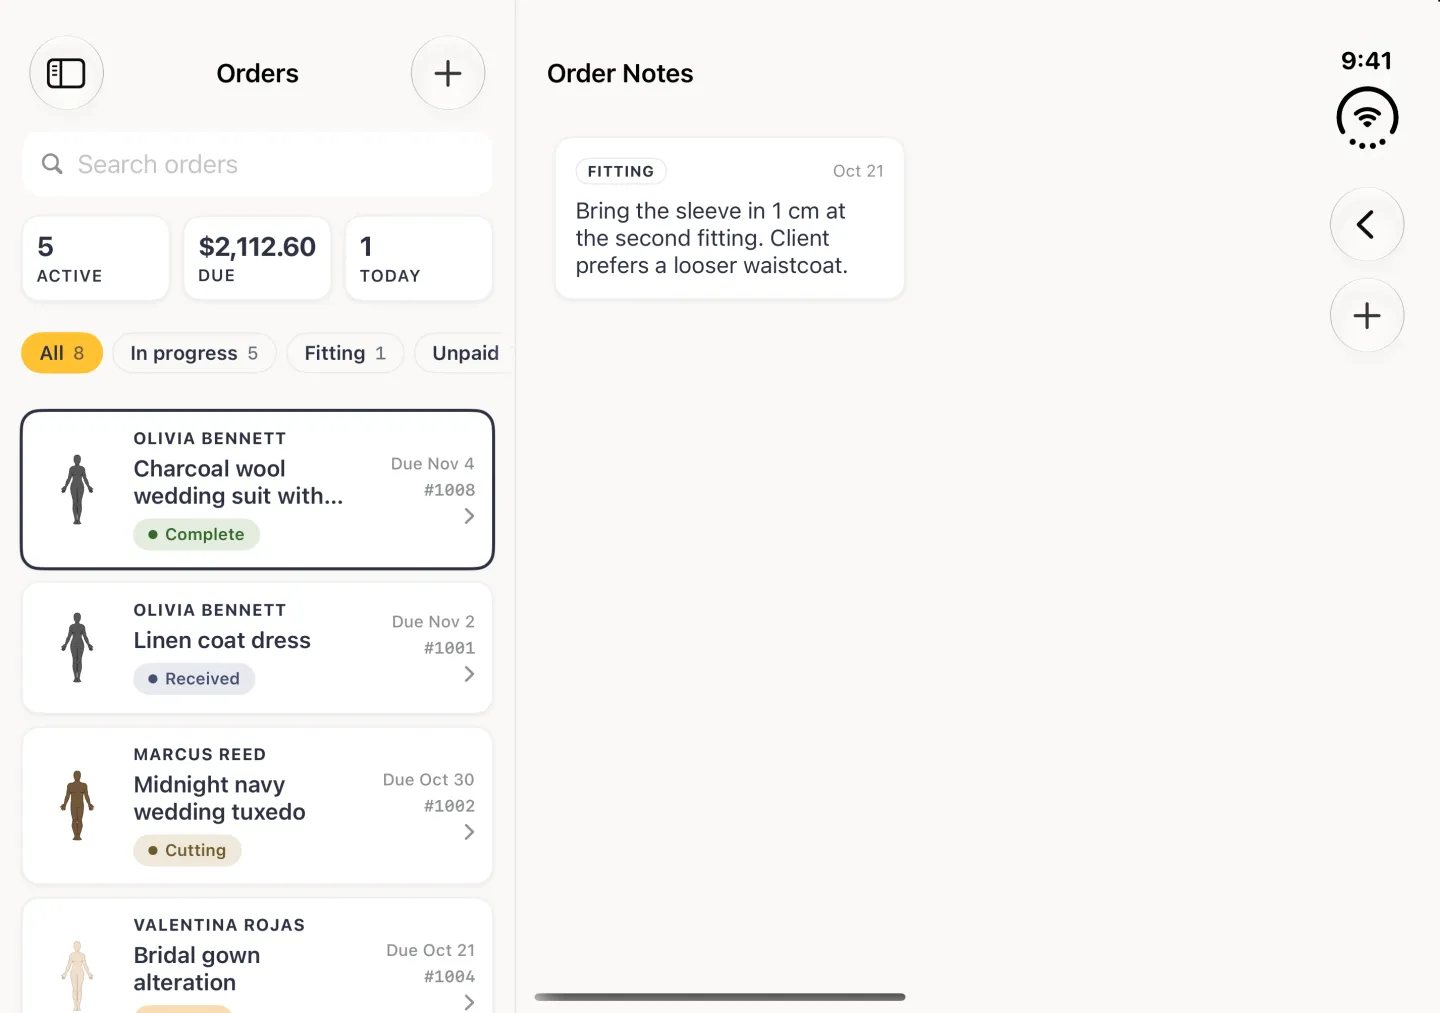
Order Notes screen with an Add a note button and, below it, one saved note tagged Fitting and dated.
Order Notes pane showing one saved note tagged Fitting and dated Sep 18, below the dashed Add a note button.
Order Notes screen with the dashed Add a note button at the top and one saved note below it, tagged Fitting and dated Sep 25, 2026, reading Bring the sleeve in 1 cm at the second fitting. Client prefers a softer shoulder.
Order Notes screen beside the navigation rail showing one saved note under the dashed Add a note button, tagged Fitting in a pale gold pill, dated Sep 25, 2026, reading Bring the sleeve in 1 cm at the second fitting. Client prefers a looser jacket.
Notes stack up newest first, each with its tag and date.
Order Notes screen with a note held down and a small menu open under it offering Edit and Delete.
Order Notes pane dimmed behind a lifted note card that spreads across the sidebar, with a small menu below it offering Edit and a red Delete.
Order Notes screen with a small menu open under the Fitting note offering Edit and, in red, Delete.
Order Notes screen with a small menu open under the note, offering Edit and, in red, Delete.
Press and hold a note to edit or delete it.