Tailor Shop
Track orders through the workshop
The Orders tab holds every garment you have in hand, with six stages from received to done, and a detail screen that reaches the fitting, the invoice and the client.
Available on
- iPhone
- iPhone Duo
- iPad
- Android
- Tailor Shop feature
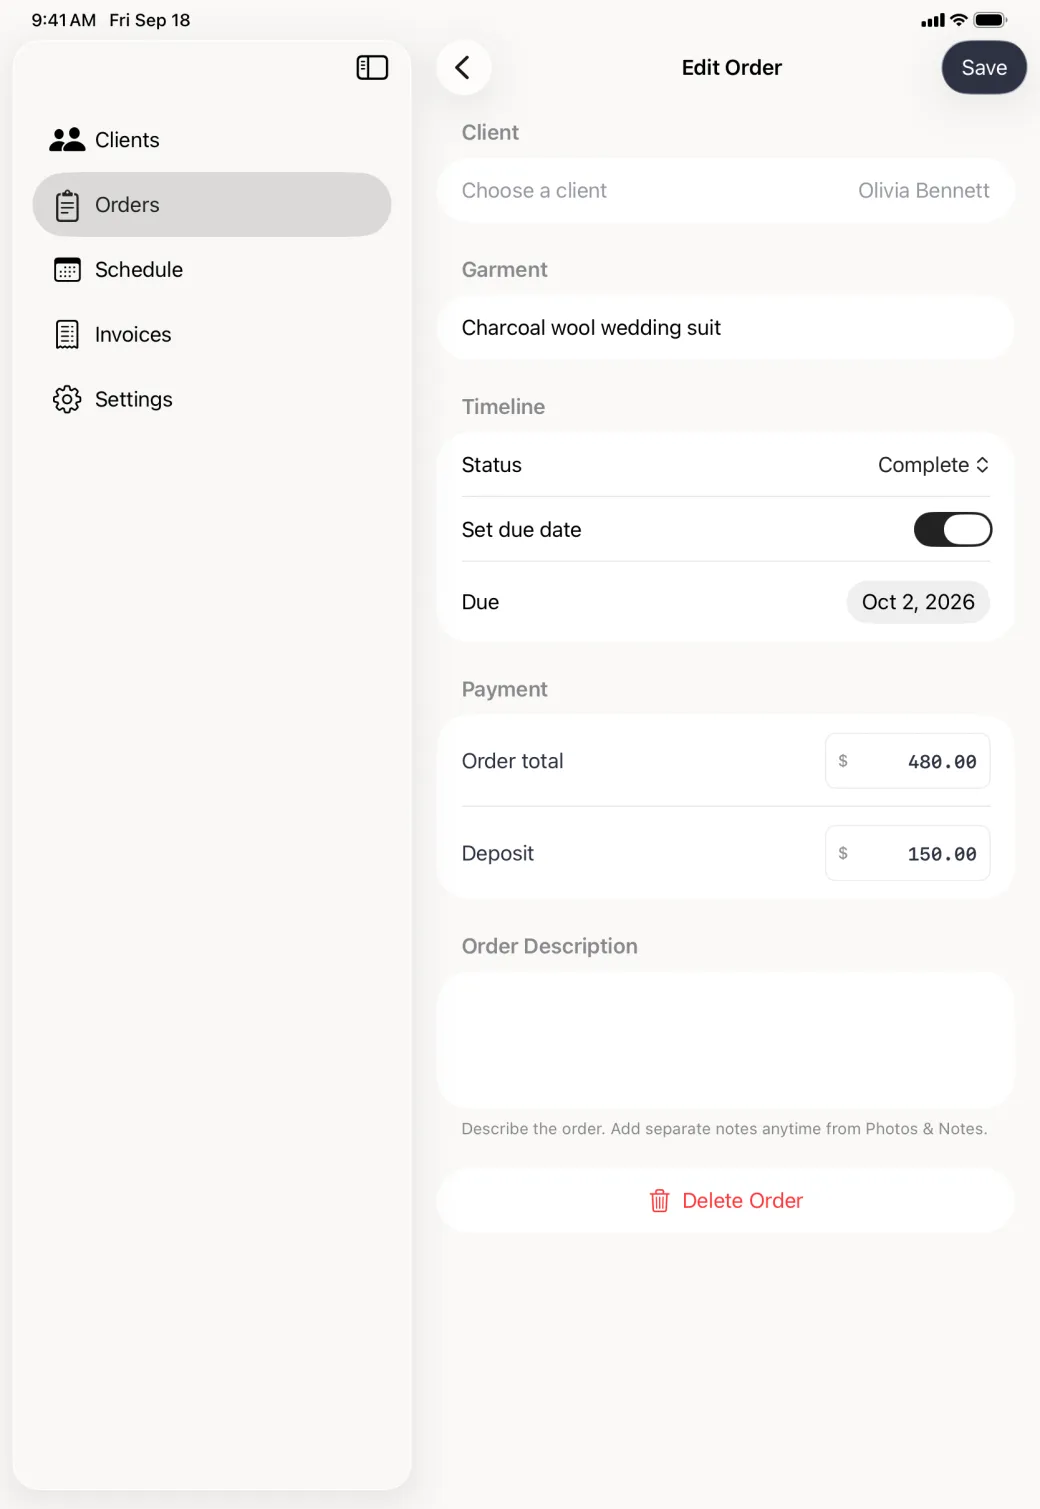
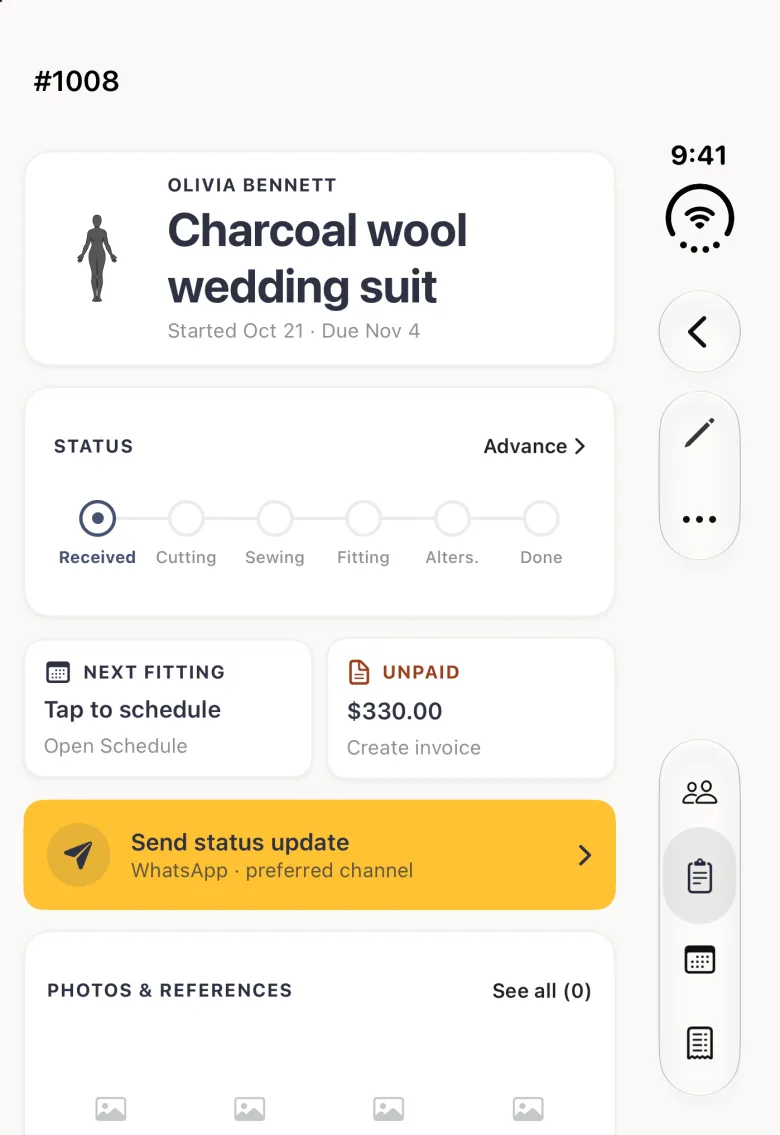
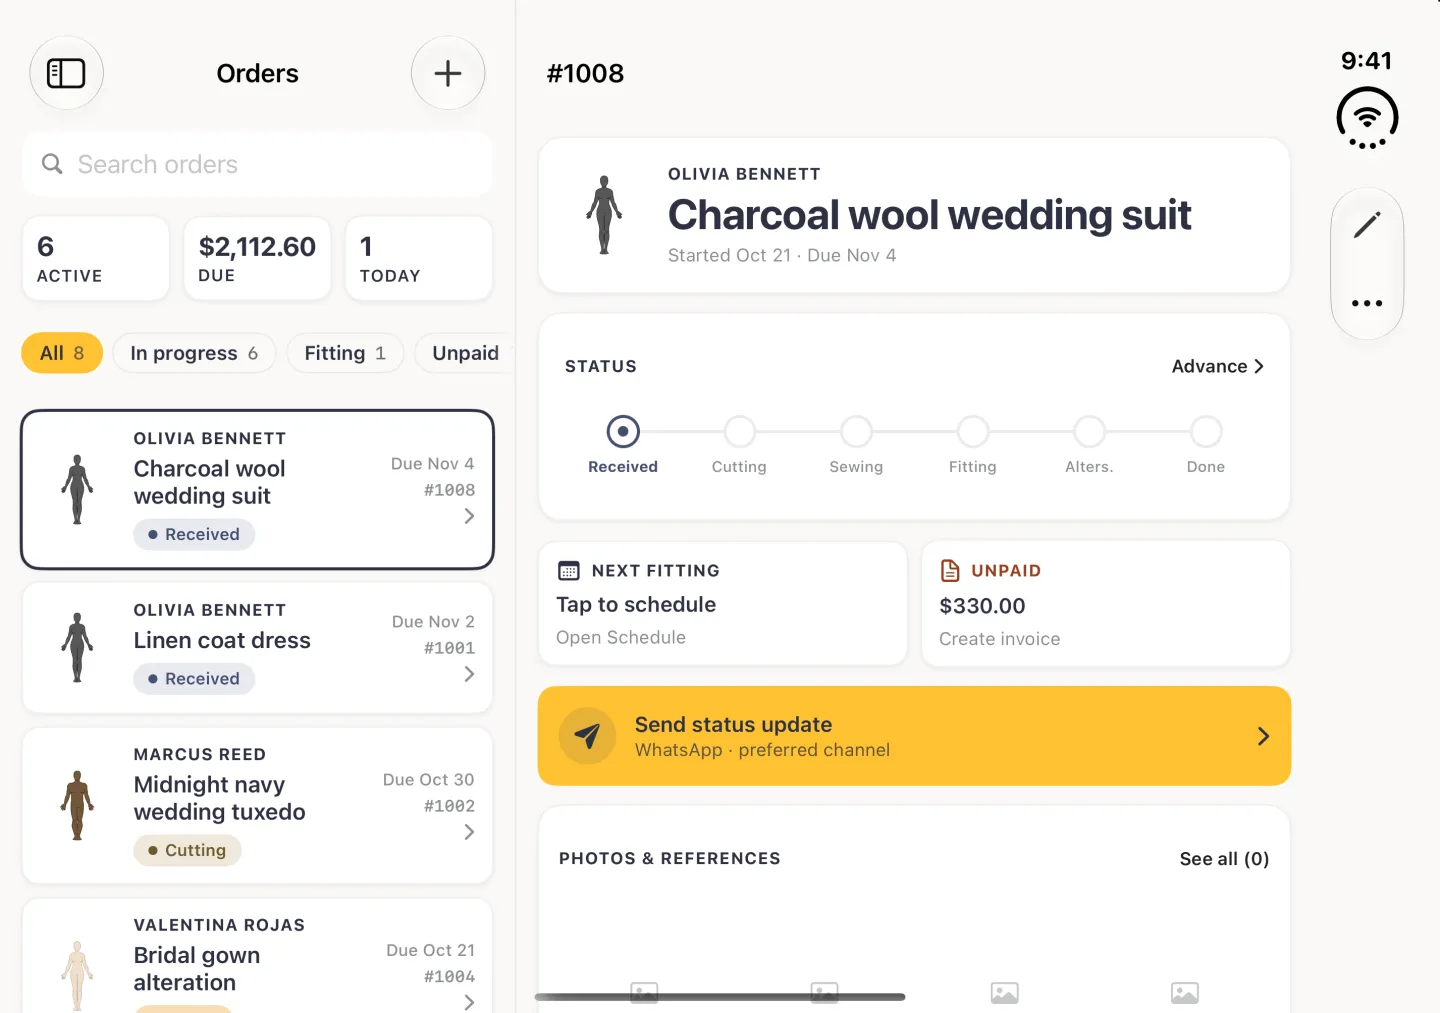
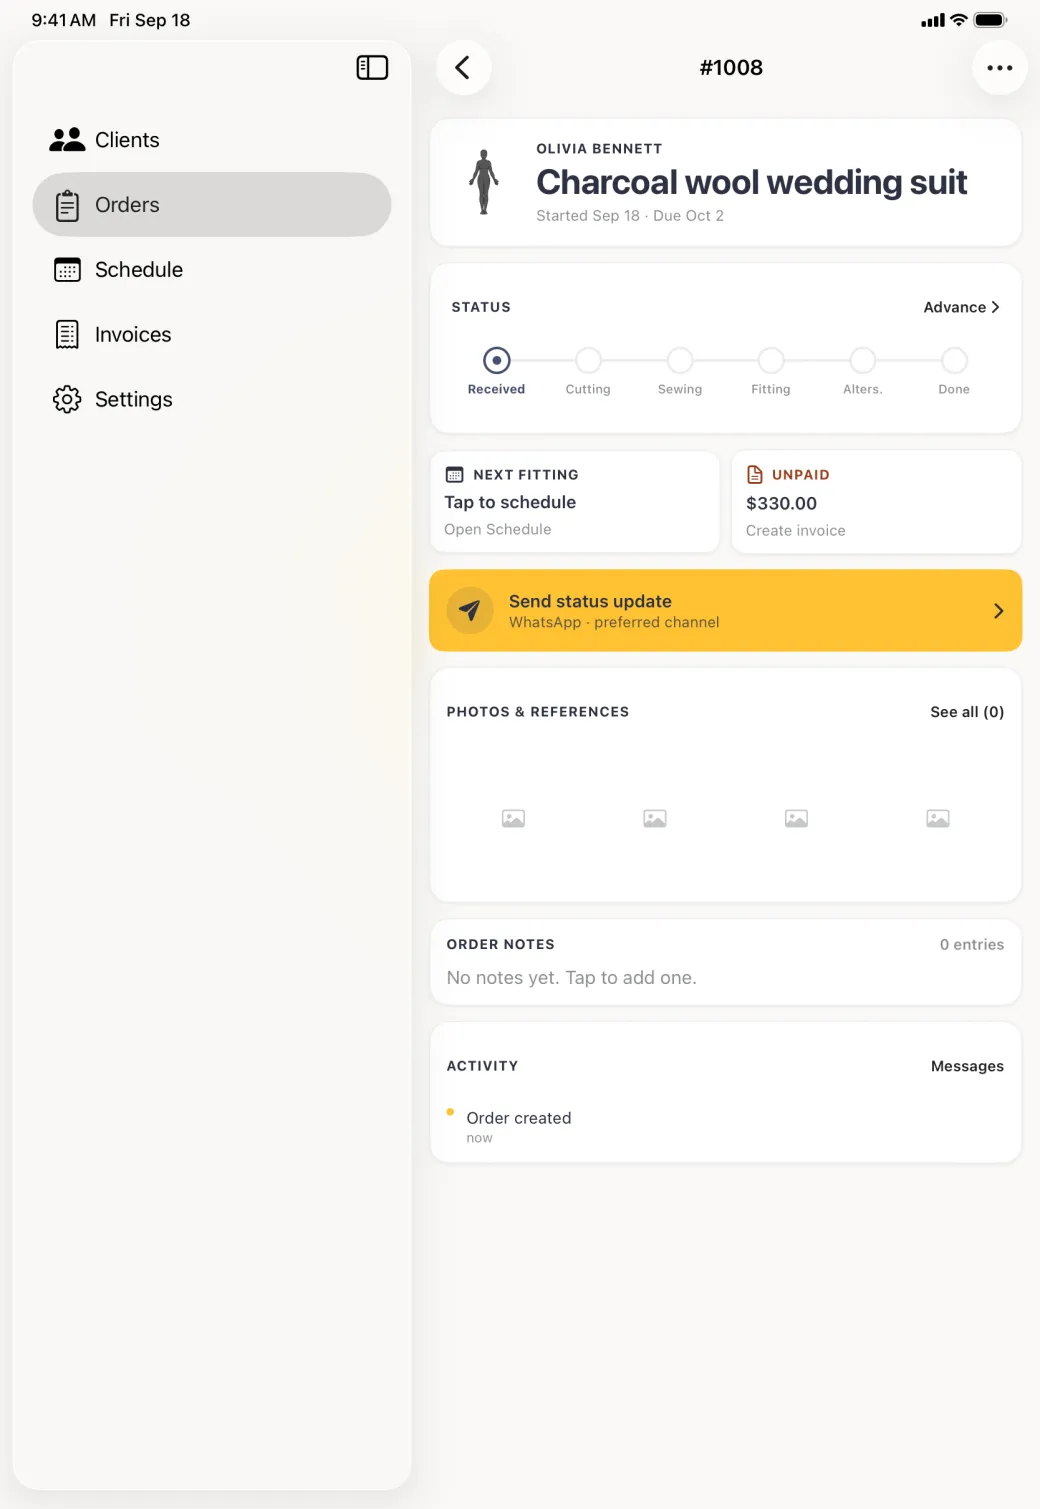
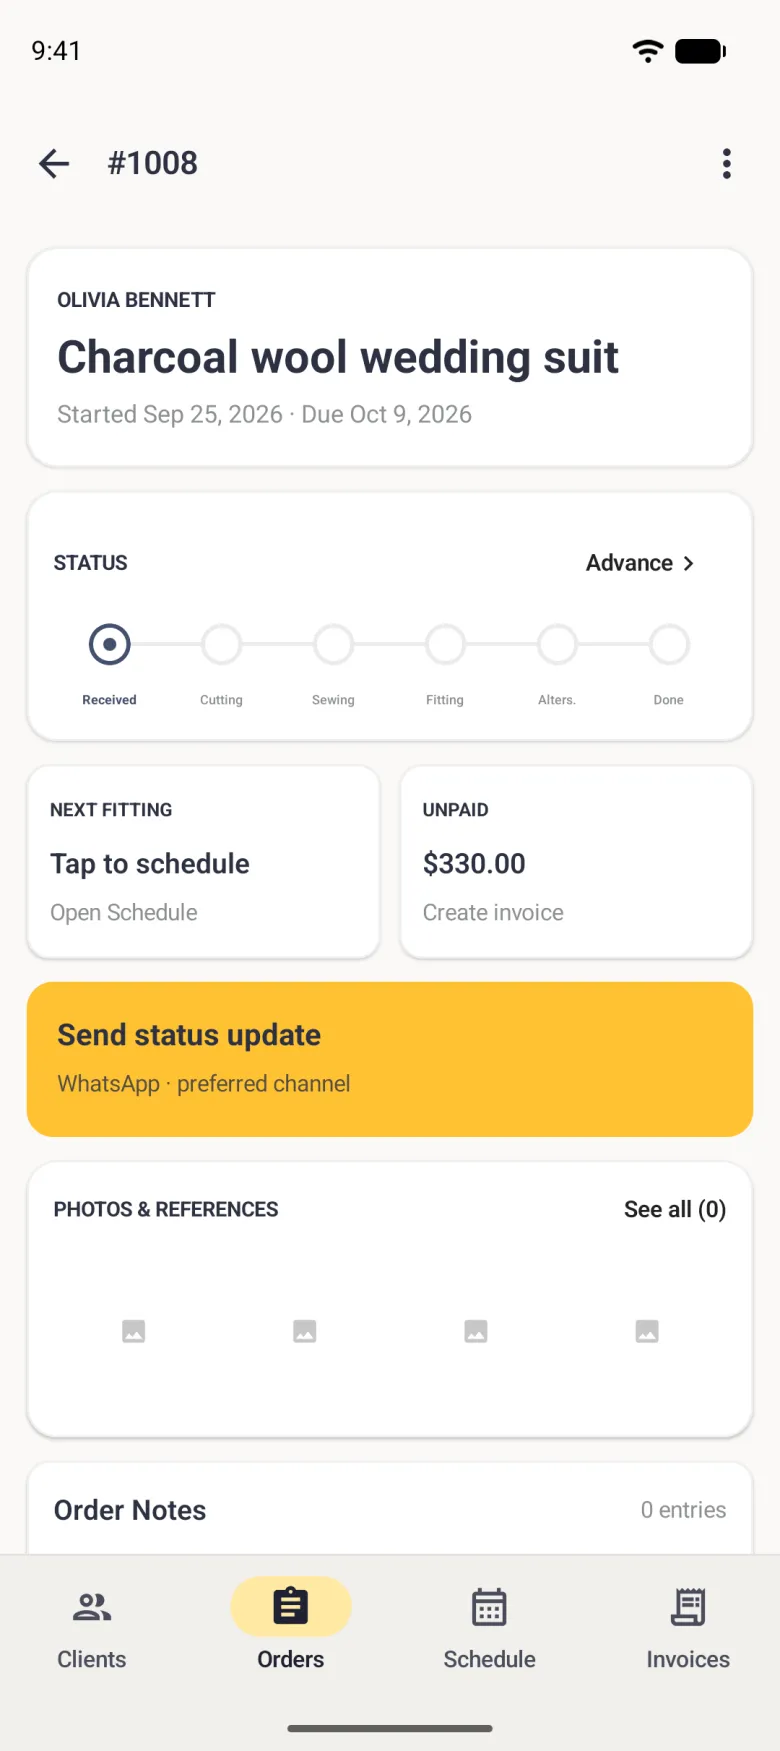
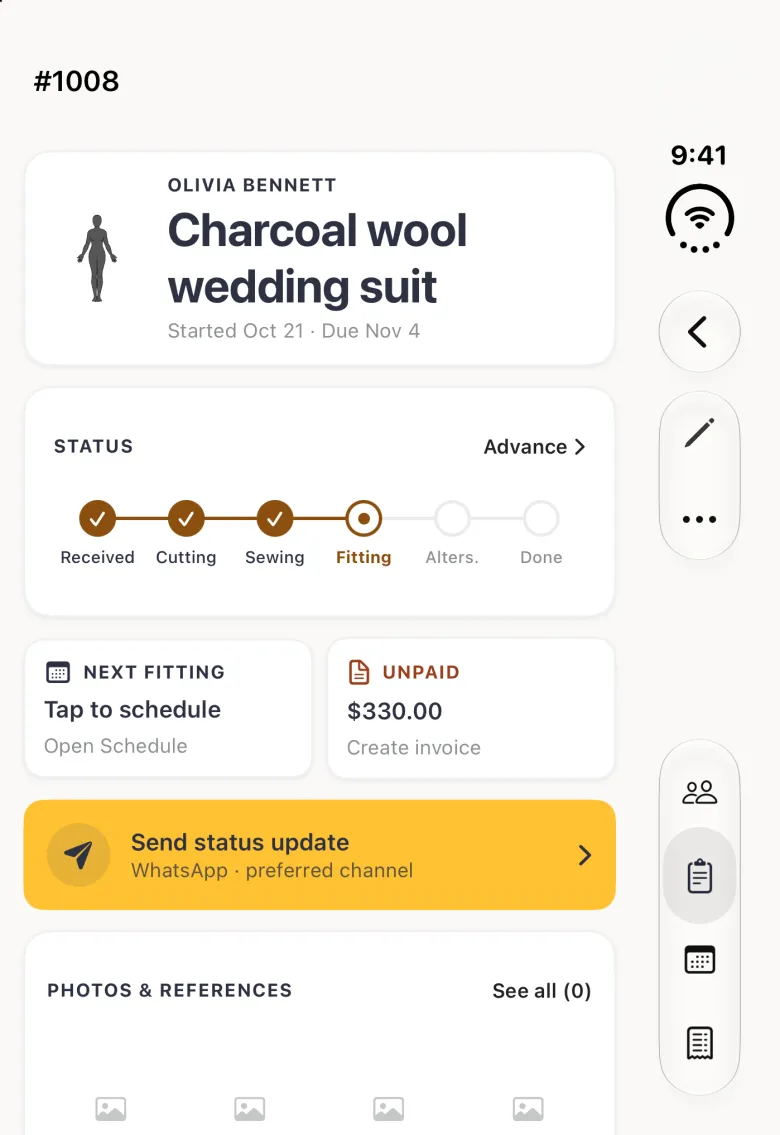
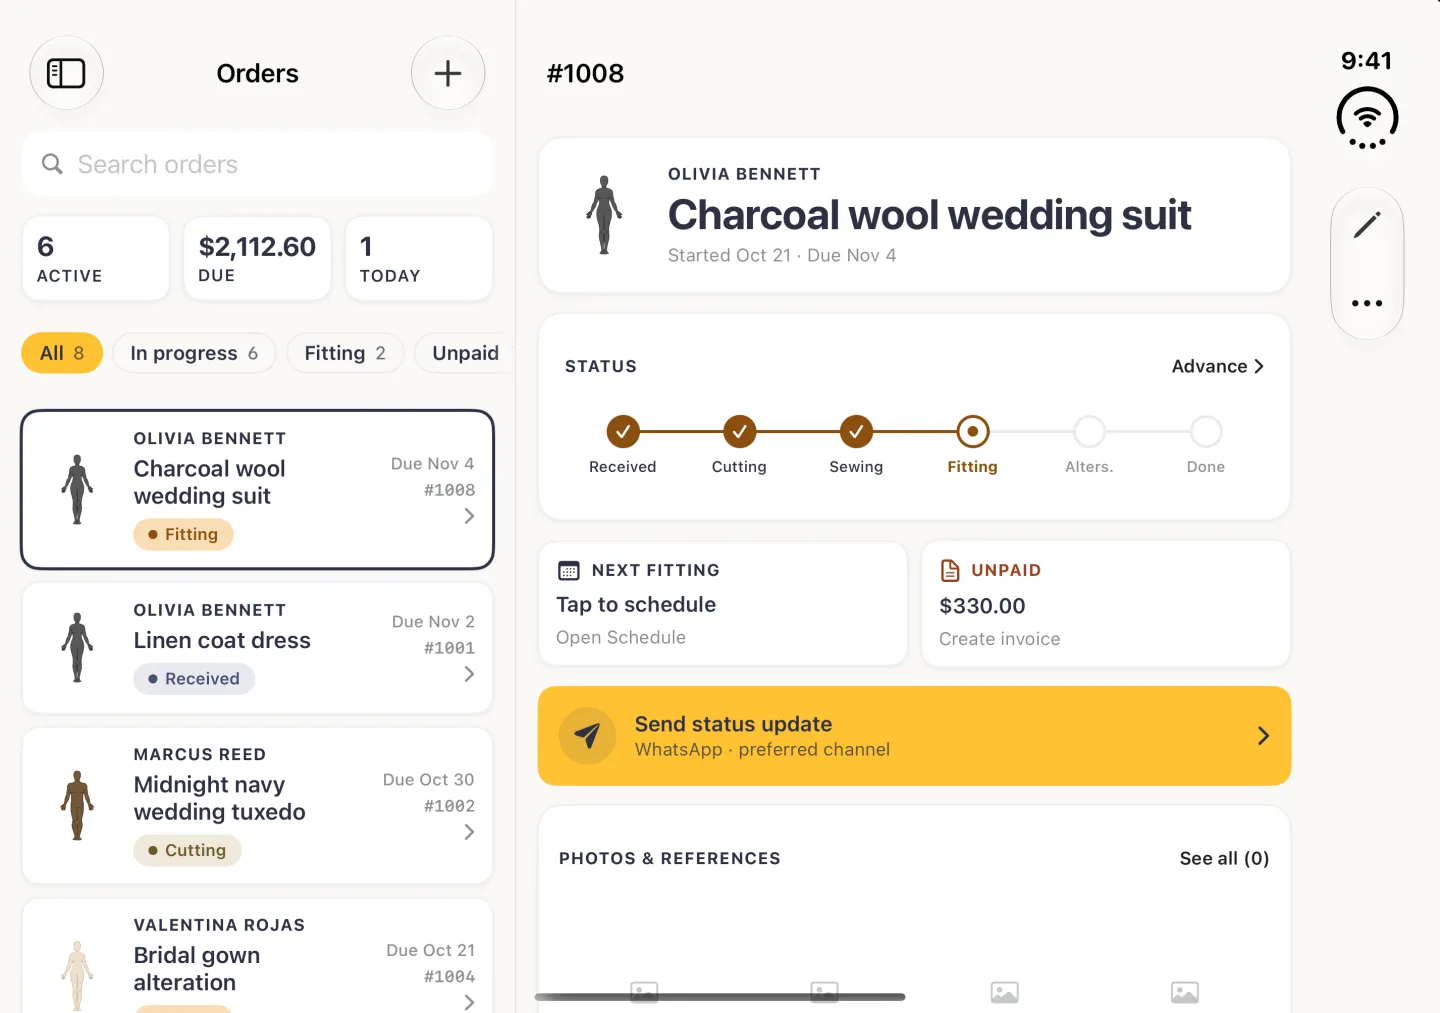
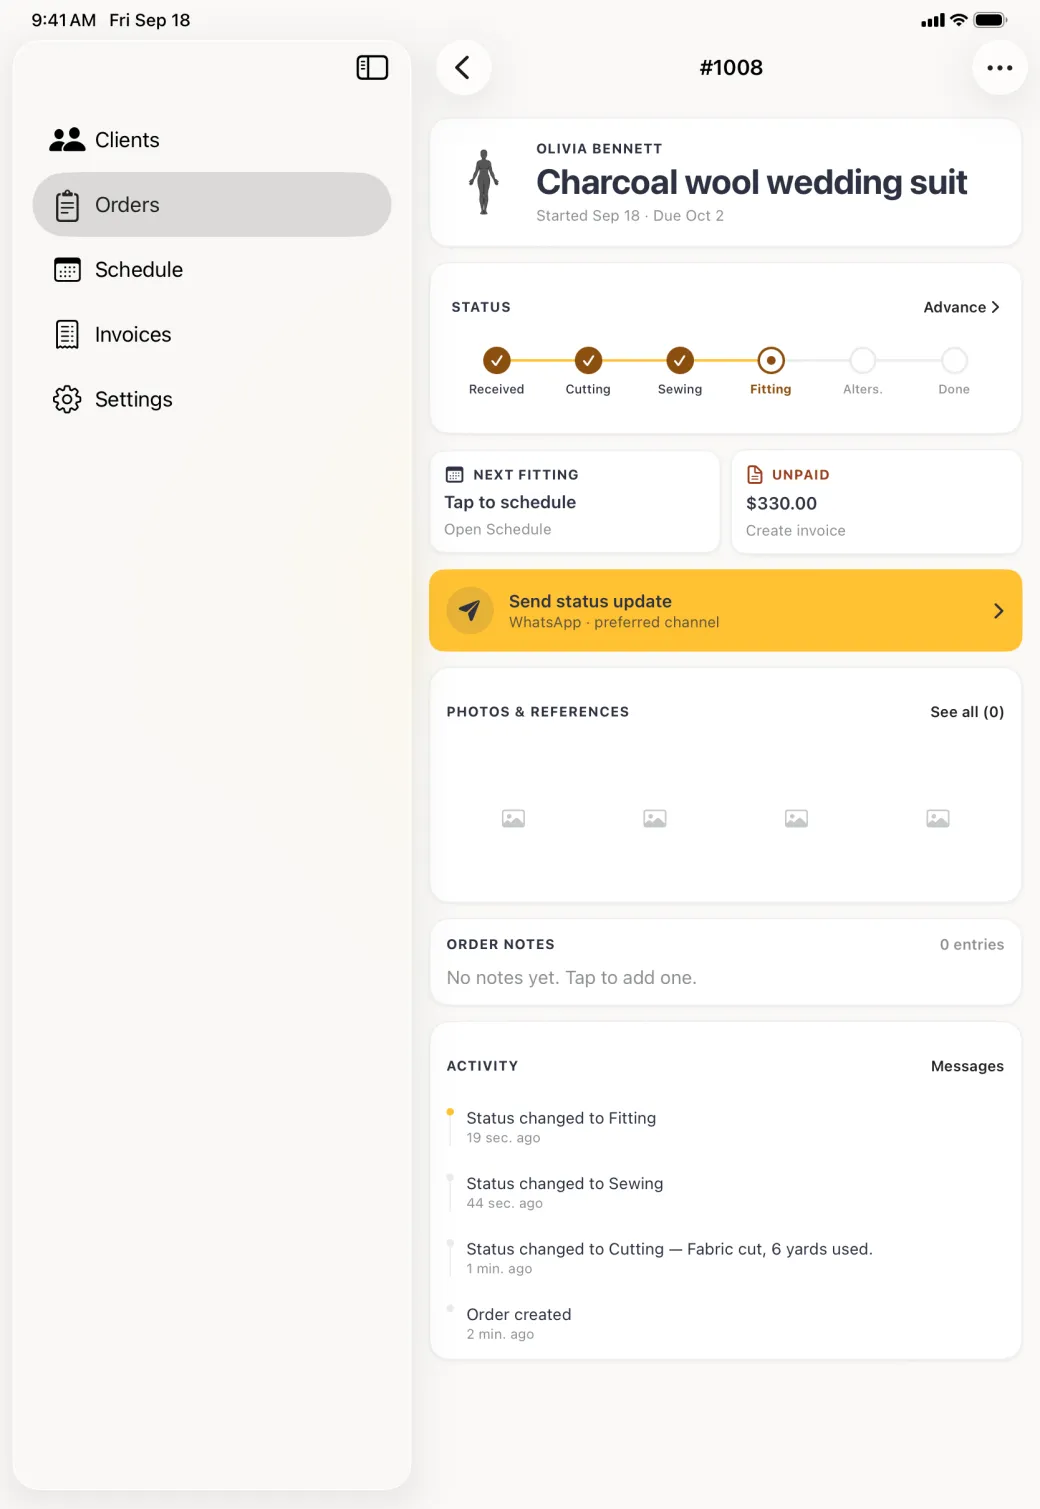
The Tailor Shop tools described here are on iPhone, iPad and Android. On iPad the tabs are a sidebar on the left. On Android the tabs are a bar along the bottom of a phone, and a rail down the left on a tablet. On iPhone Duo, opened, the list sits beside the page, the tabs sit behind the sidebar button at the top left and the bar buttons move to a strip on the right; closed, it works like an iPhone with the buttons and the four tabs in a strip on the right. Orders is the second tab of the four-tab bar that appears once the subscription is on.
How to find an order
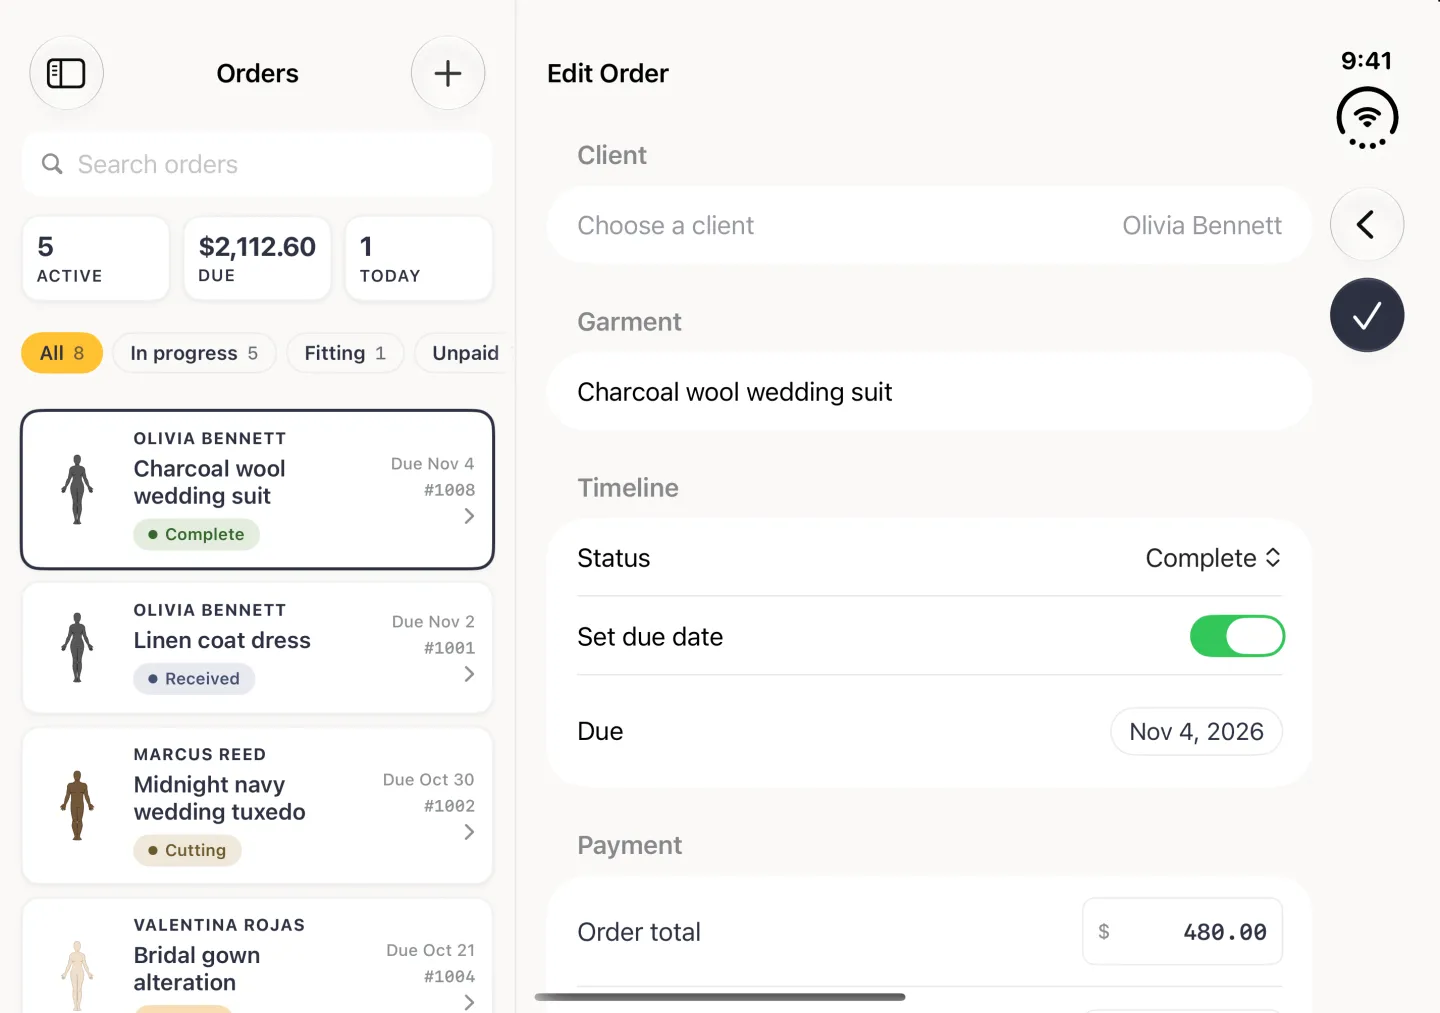
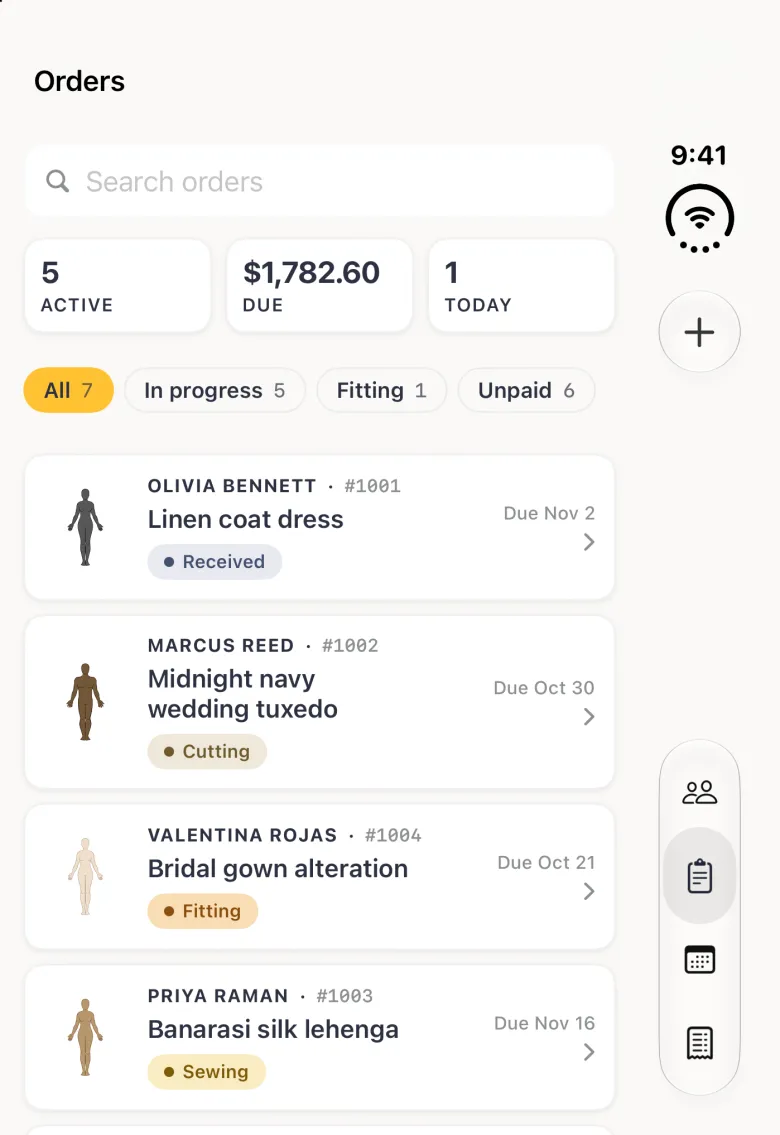
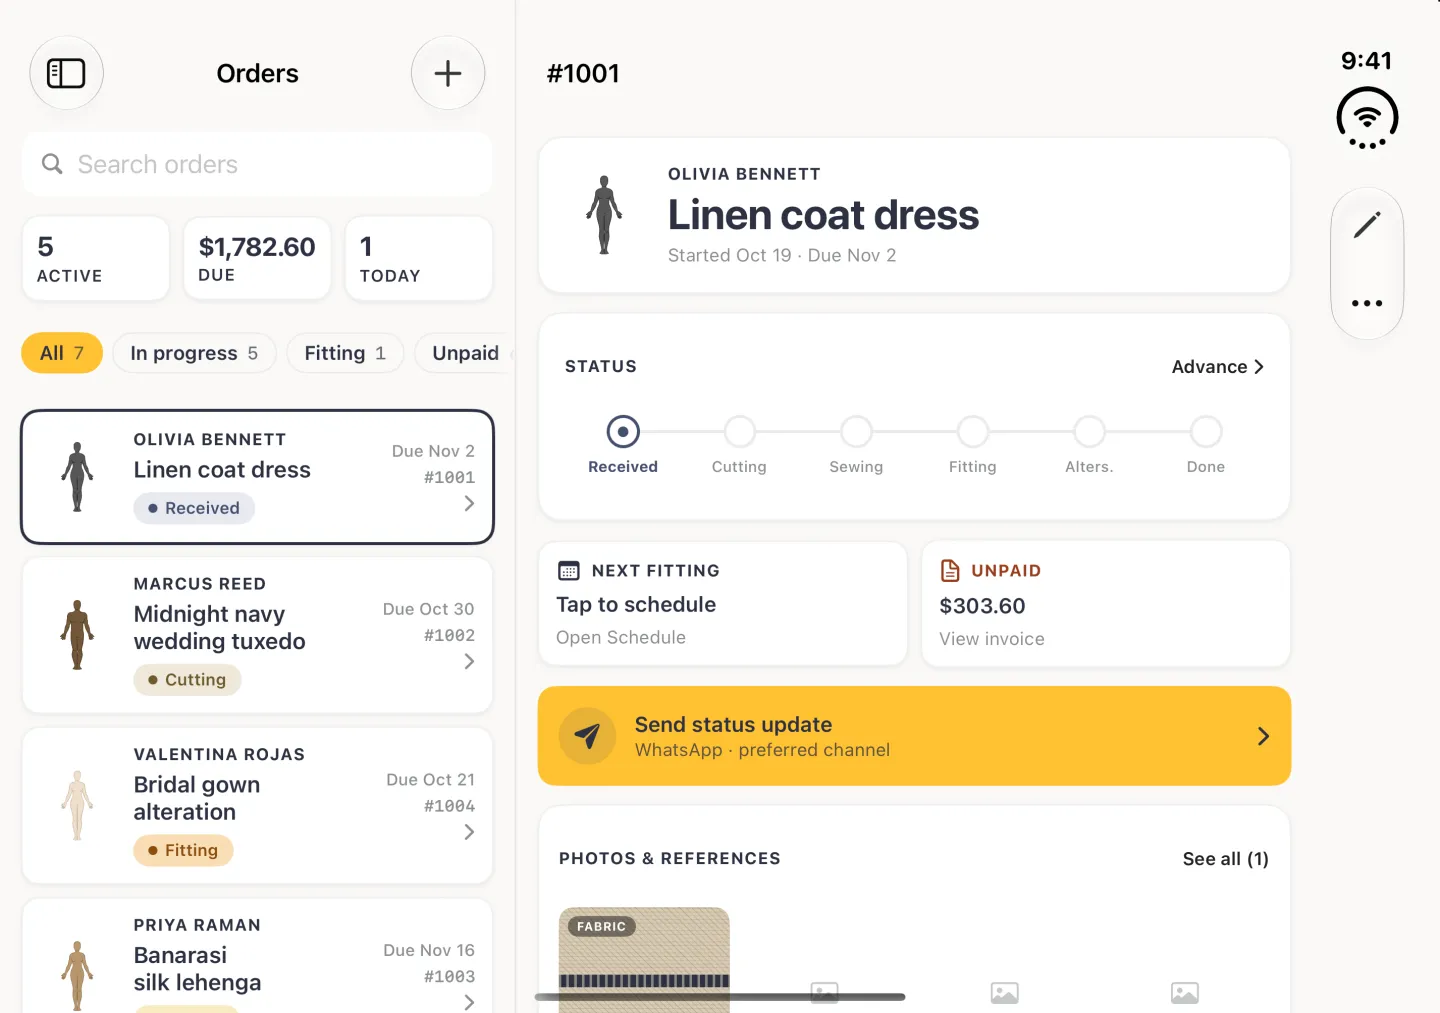
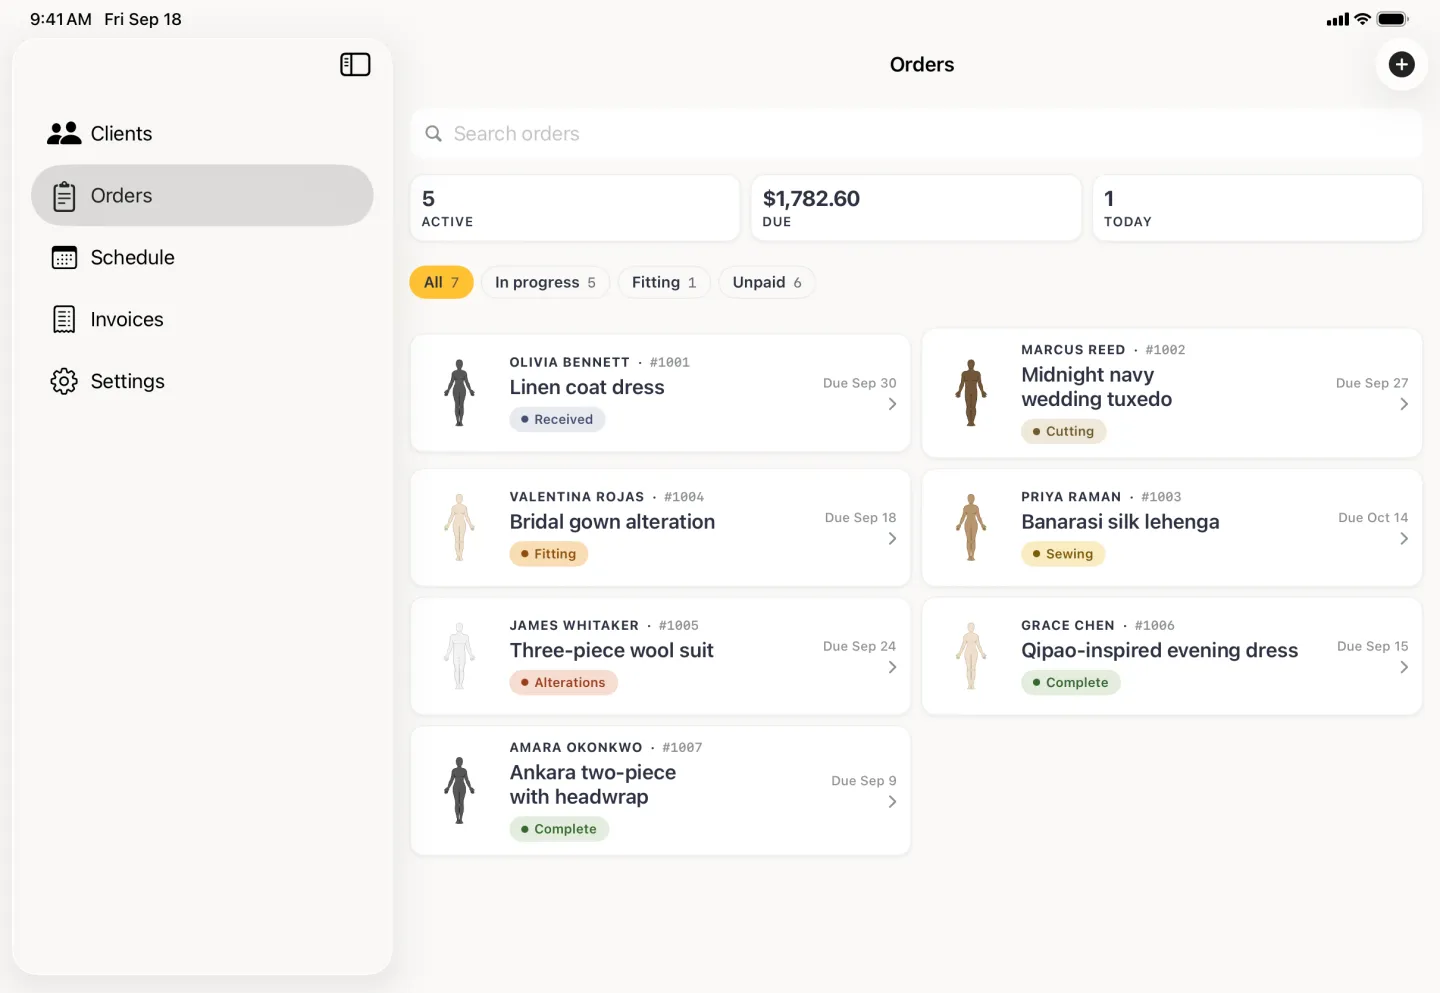
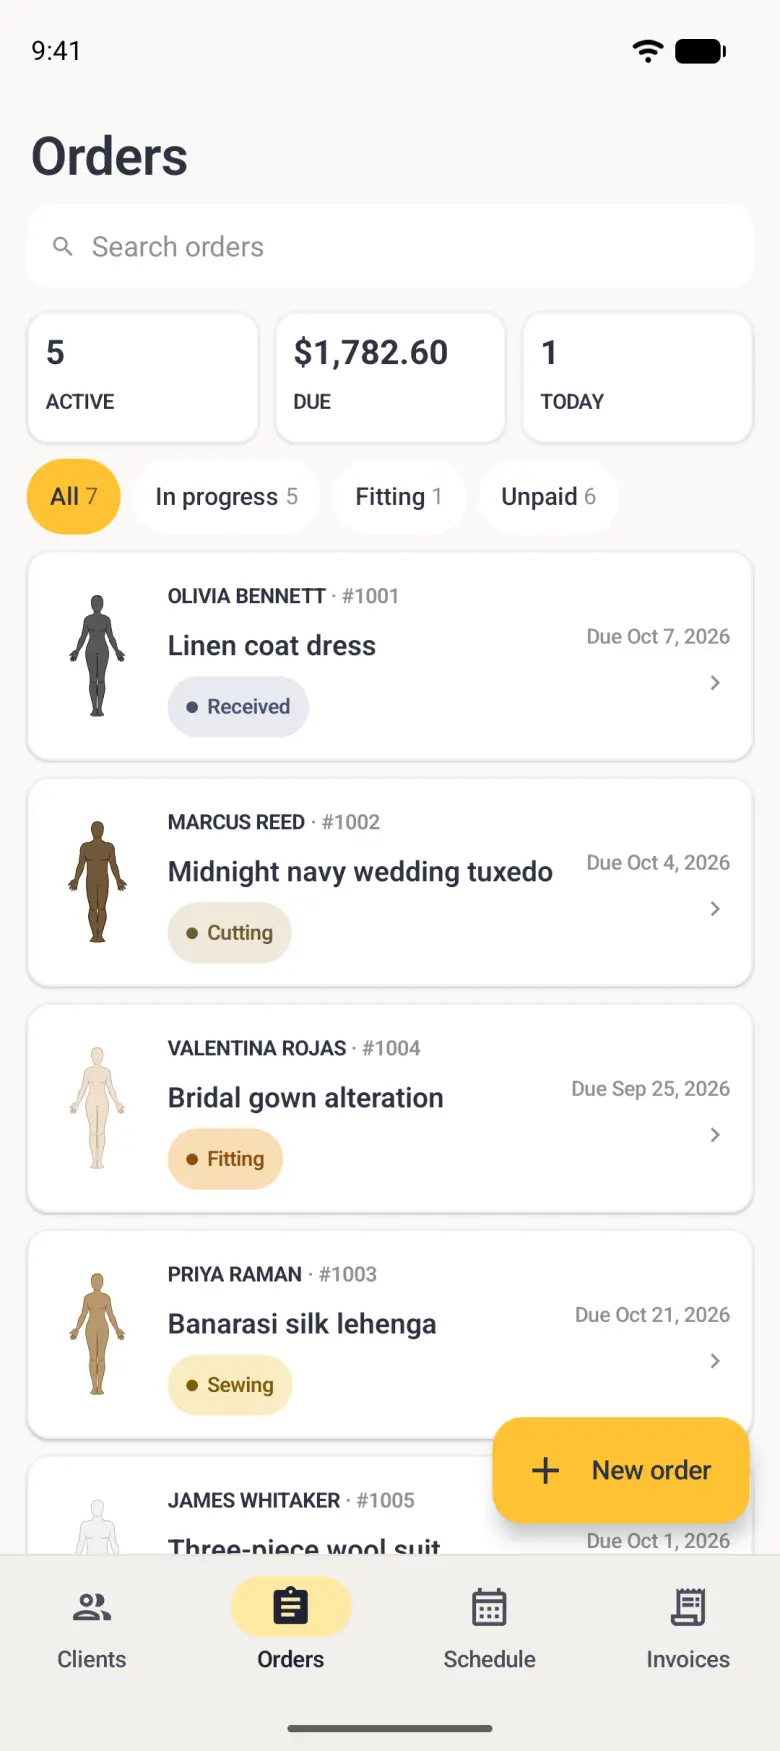
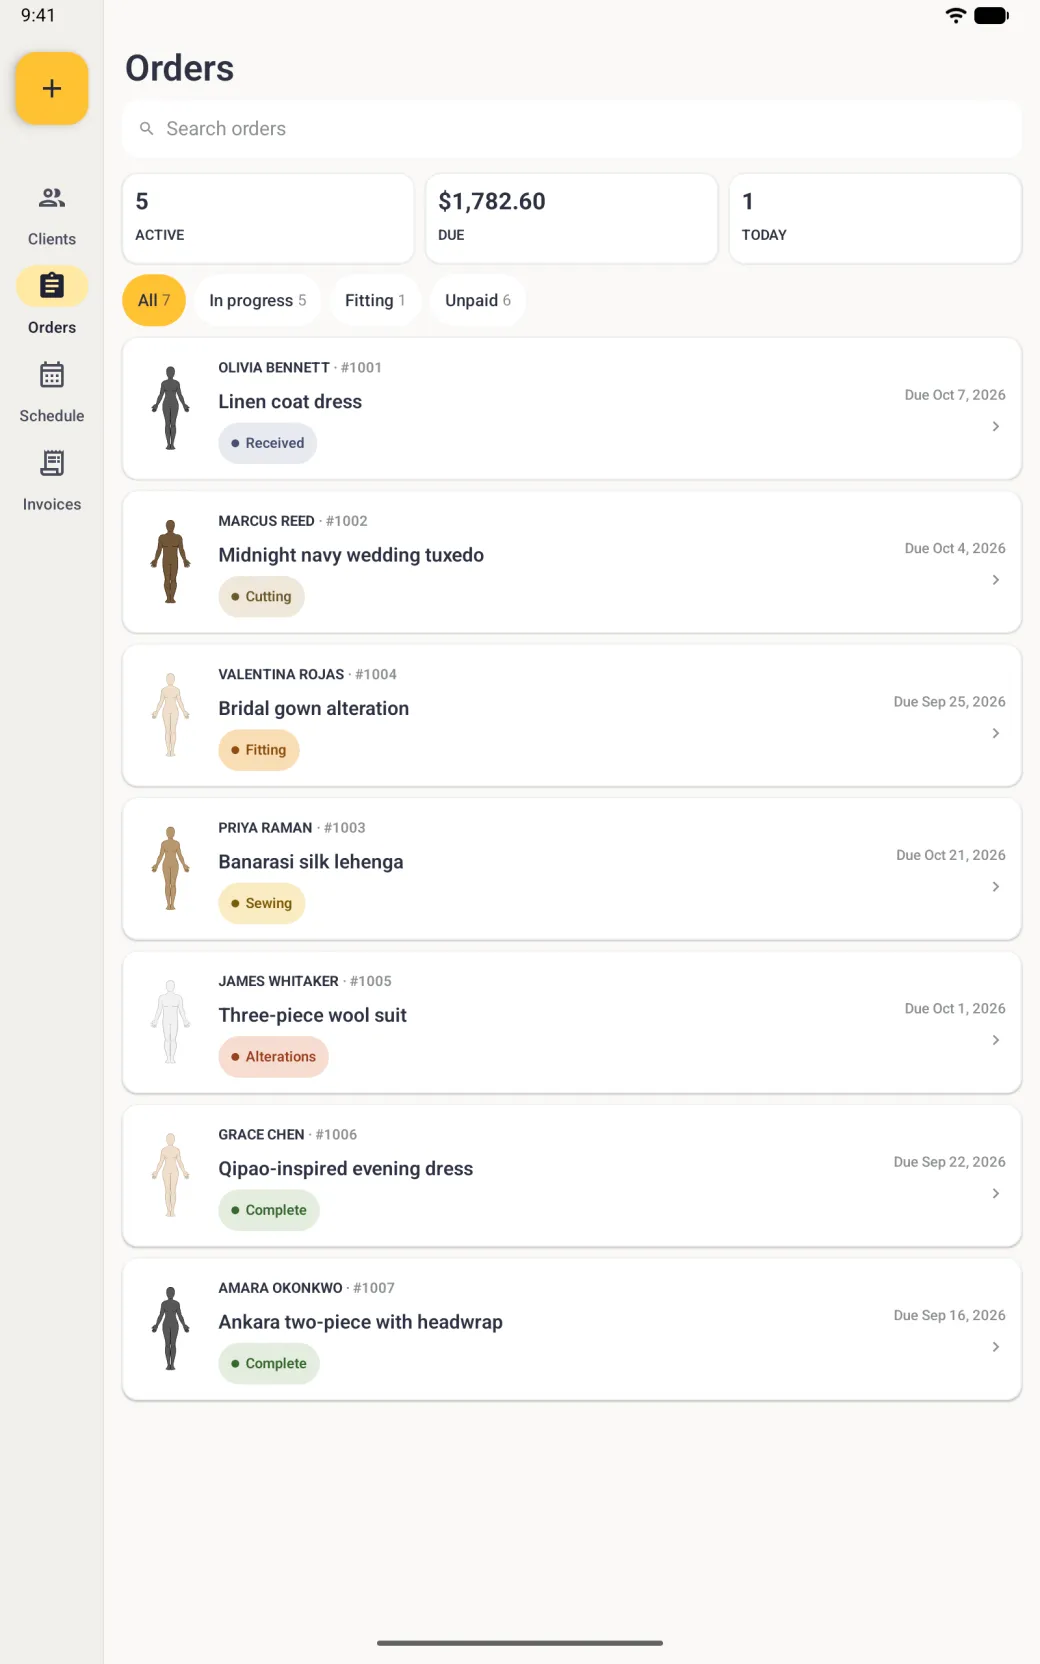
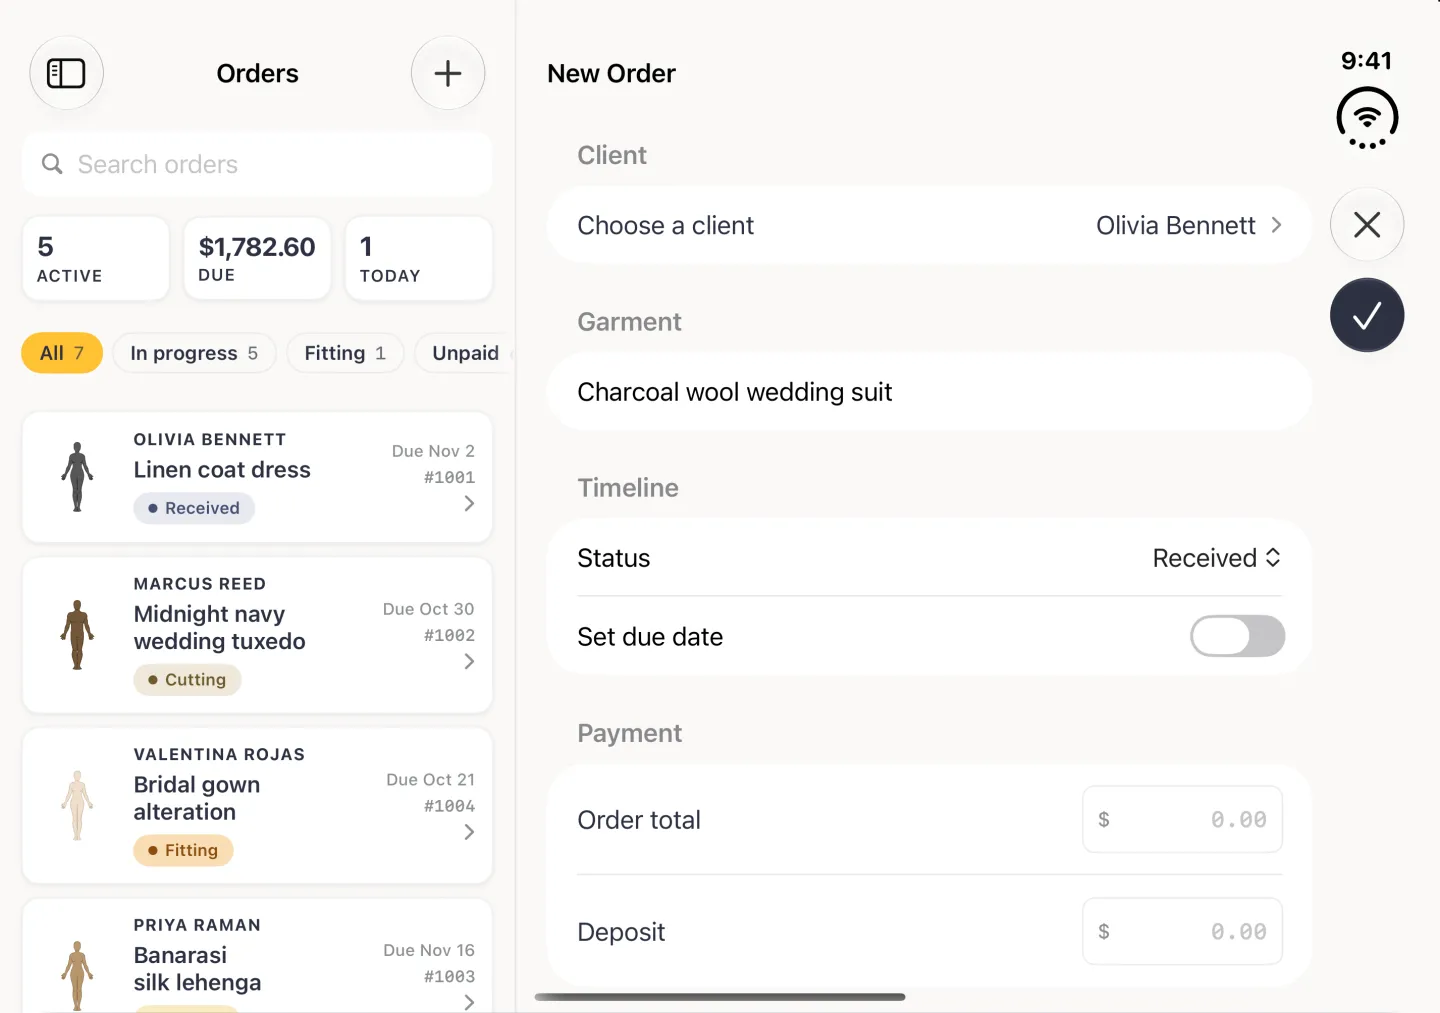
The Orders tab opens on every order in the shop, newest first, under a search field, three summary cards and a row of filter chips. Active counts the orders that have not reached the last stage, Due totals the balance still owed across every order, and Today counts the orders due today. The chips narrow the list to In progress, Fitting or Unpaid, and All puts it back.
Search matches the garment, the client name and the order number, so a word from any of the three finds the job.







How to create an order
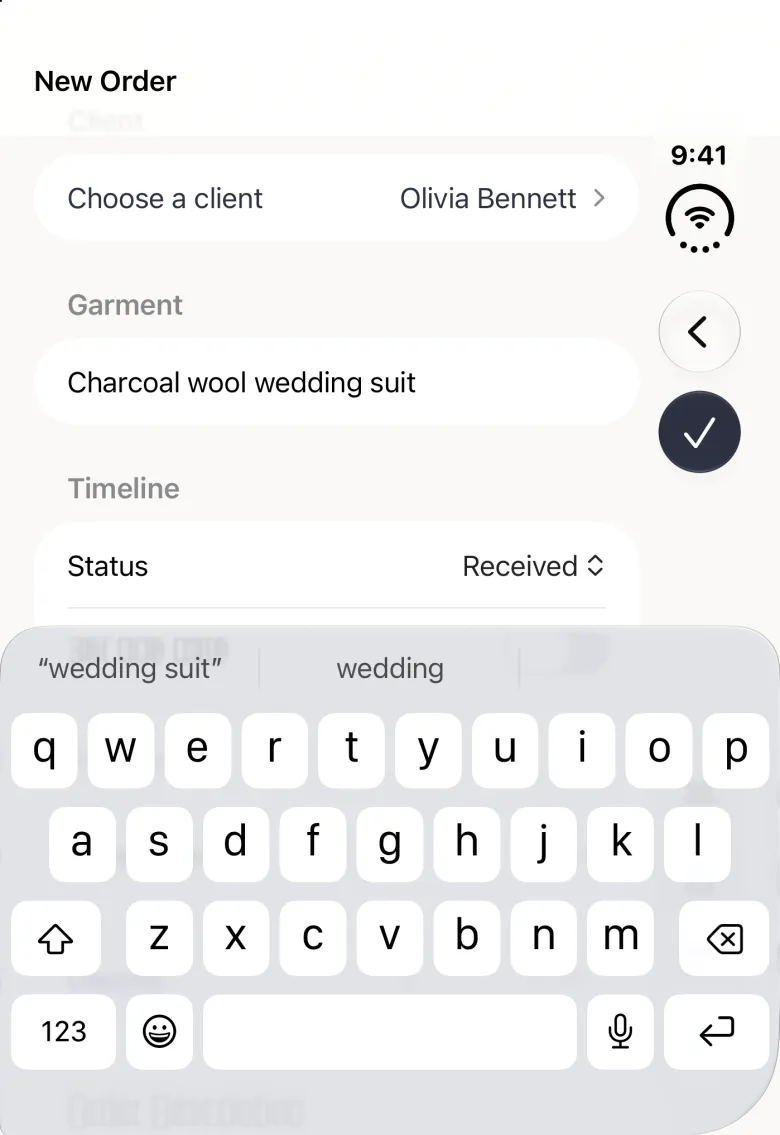
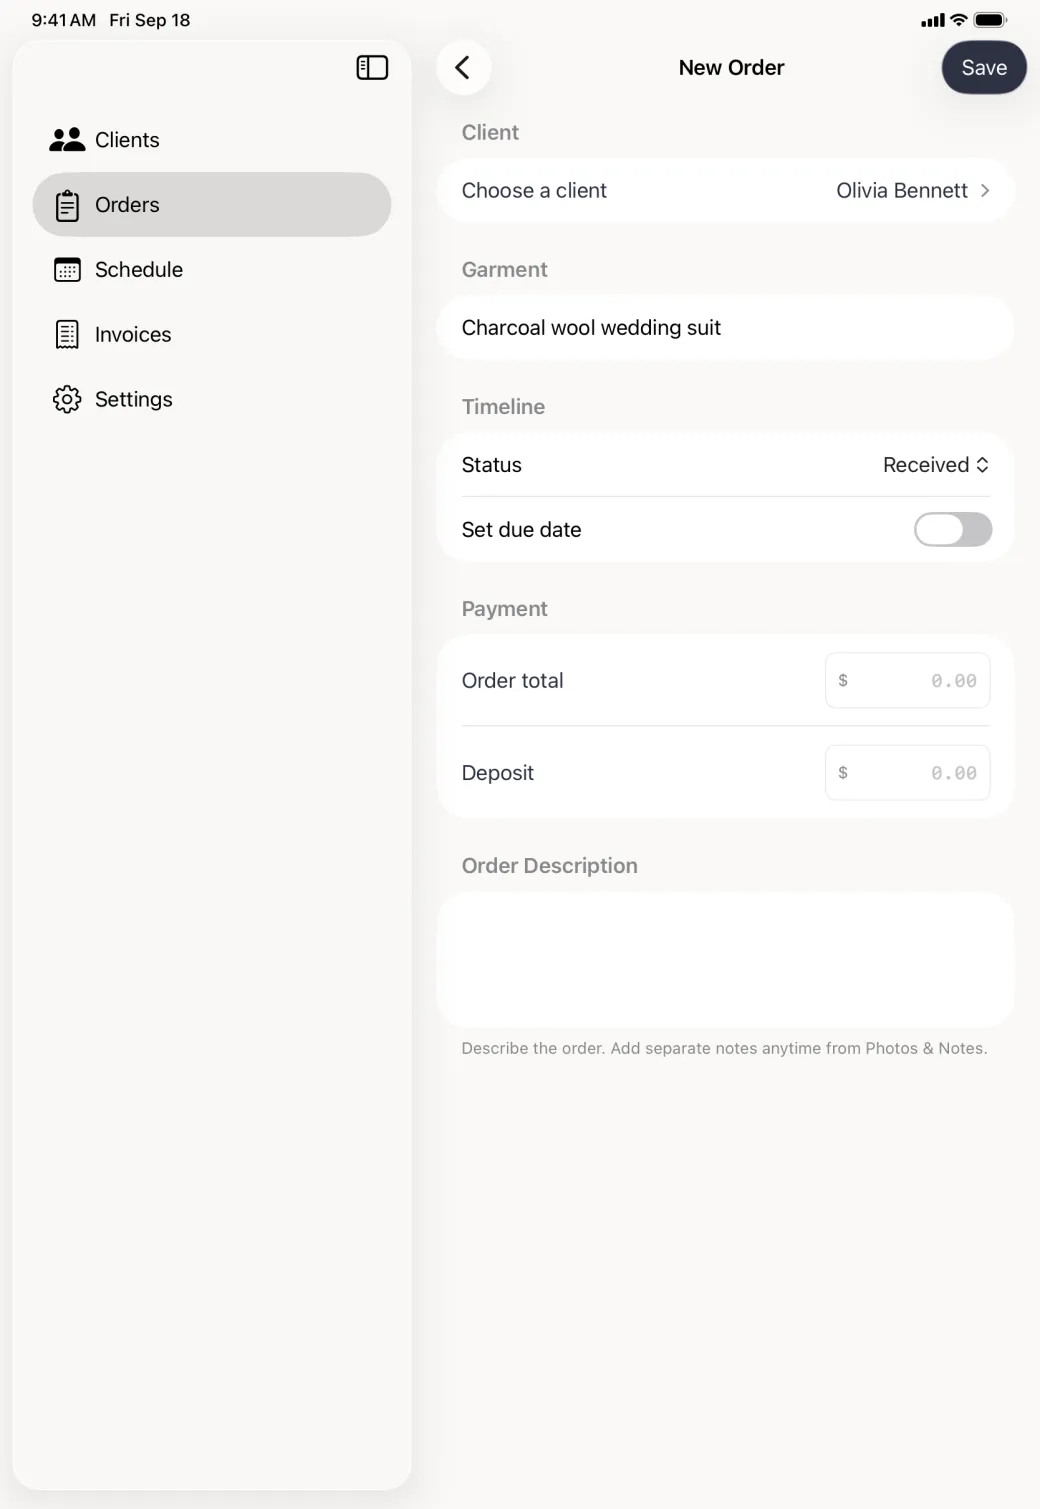
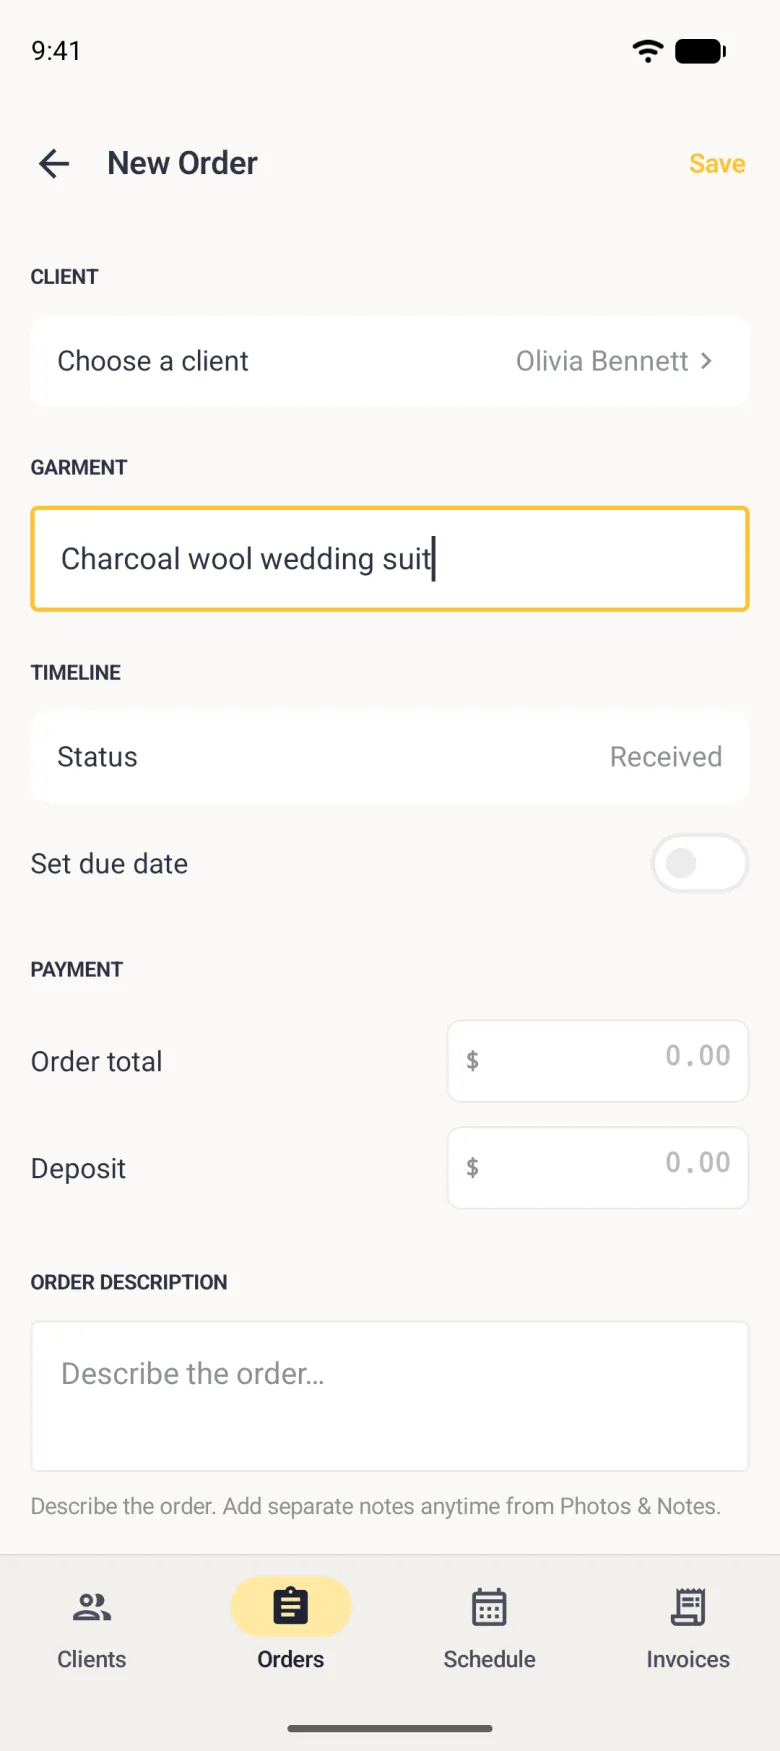
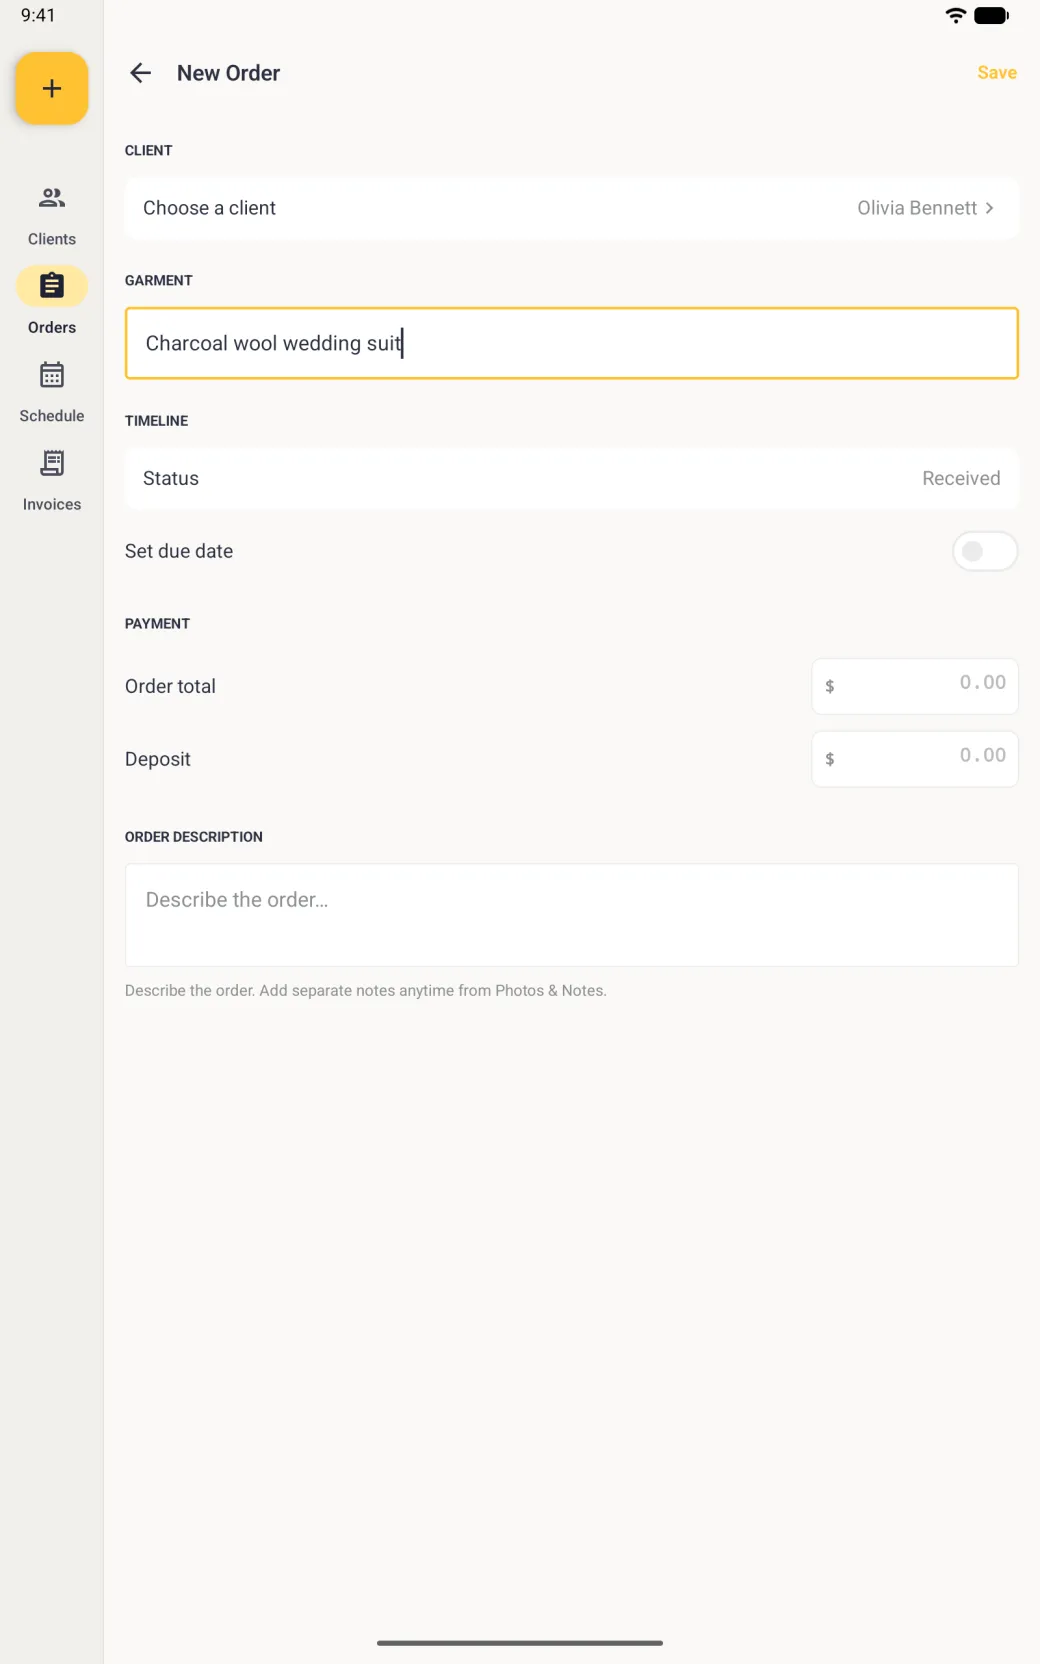
An order needs a client and a garment. Everything else, including the due date and the money, is optional at this point and can be added later. Orders carry a single total and a deposit rather than a priced list: line items, quantities and tax belong to the invoice you raise from the order.
- Tap the plus button at the top right of the Orders tab. On Android, tap the gold New order button at the bottom right of the Orders tab instead; the same button sits at the top of the navigation rail on a tablet.
- Tap the Choose a client row and pick the client, or search for them by name.
- Type the garment. Autocorrect is switched off in this field, so lehenga, gele and cummerbund stay as you typed them.
- Turn on Set due date if the job has a deadline, then tap the date to pick a day in the calendar.
- Fill in the order total and any deposit taken up front. The deposit is subtracted later when you raise the invoice.
- Tap the checkmark at the top right, or Save on Android. The order takes the next number in sequence and its detail screen opens.



What the six stages mean and how to advance one
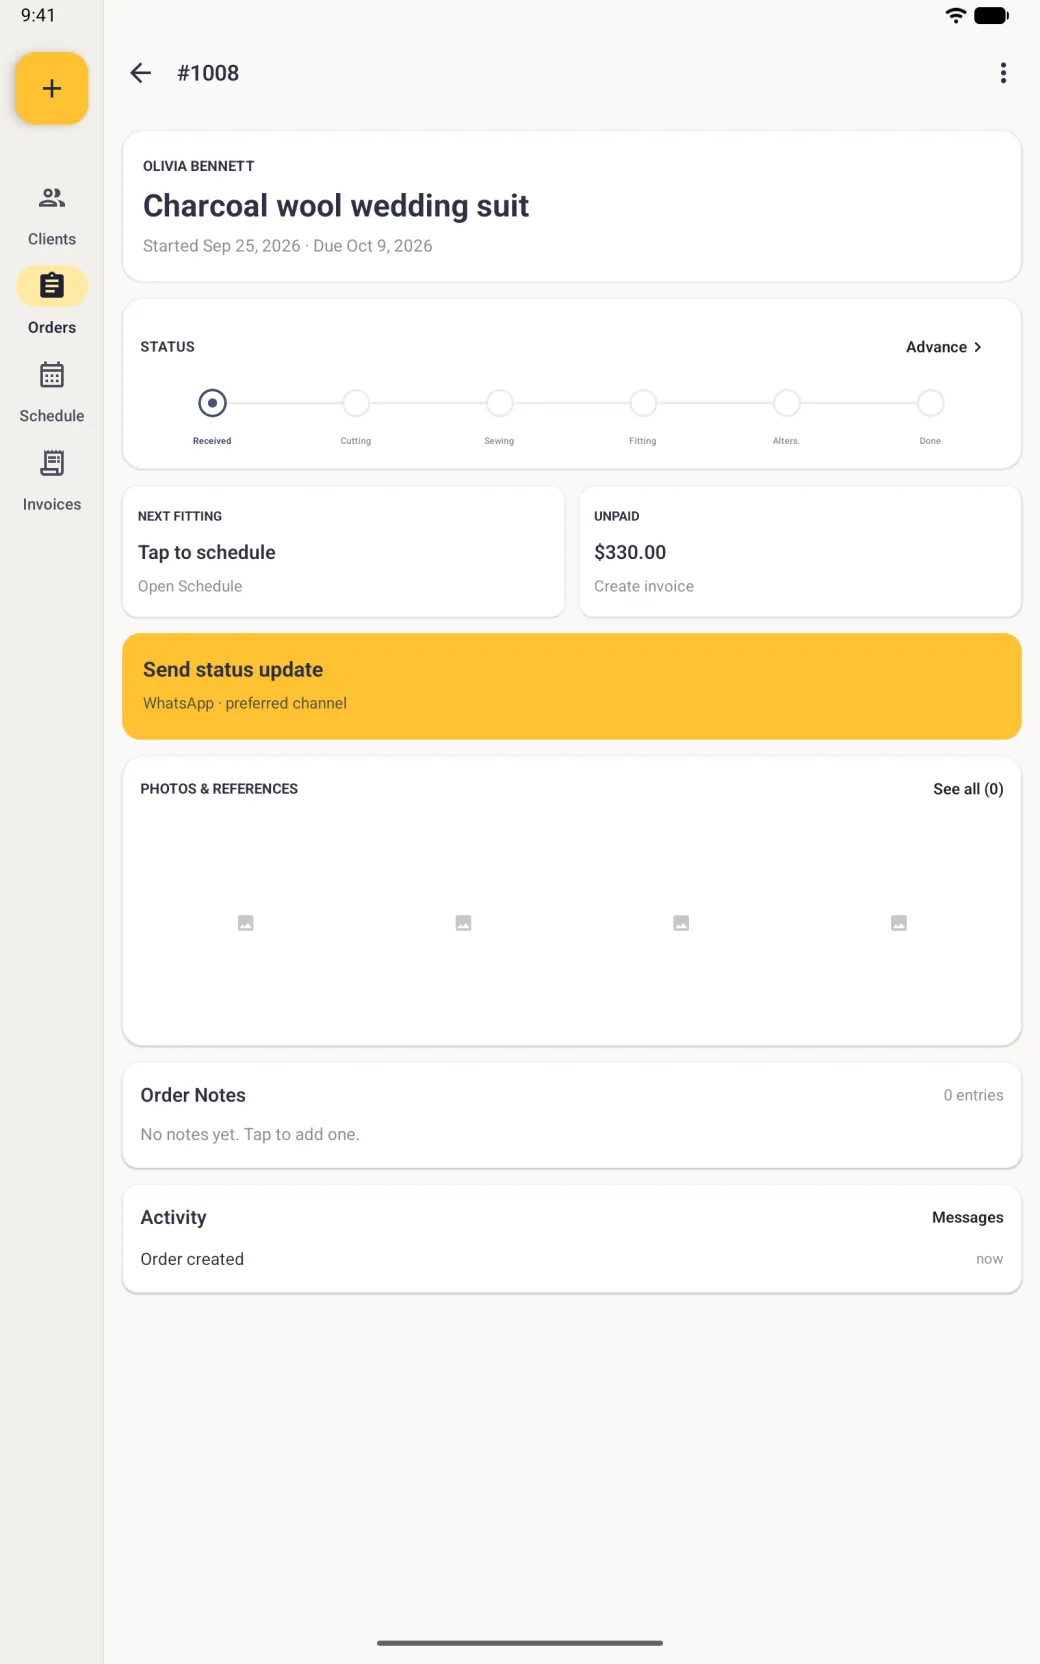
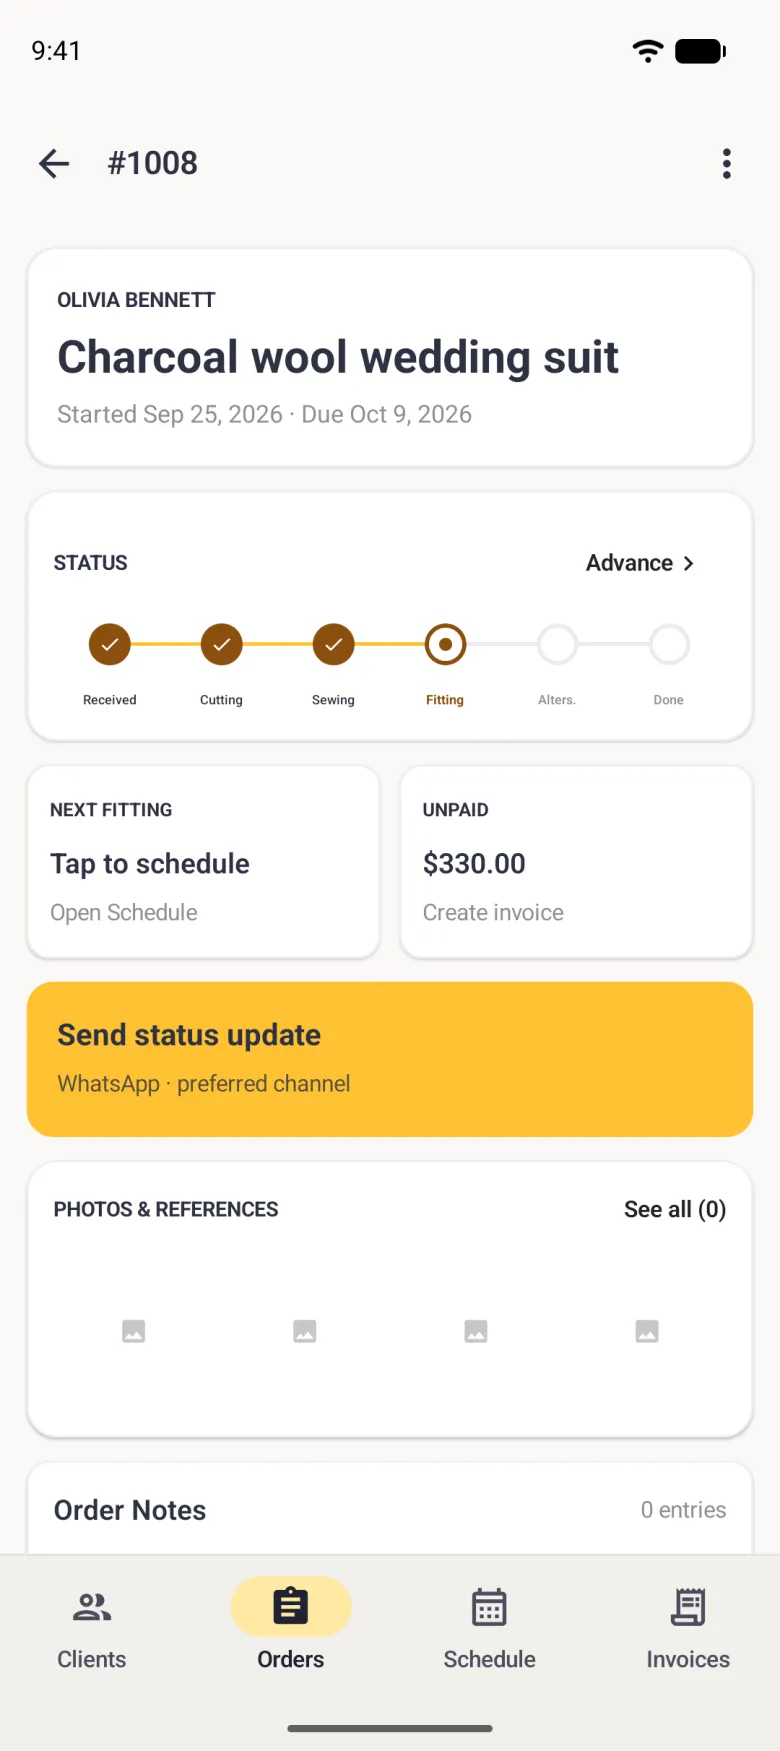
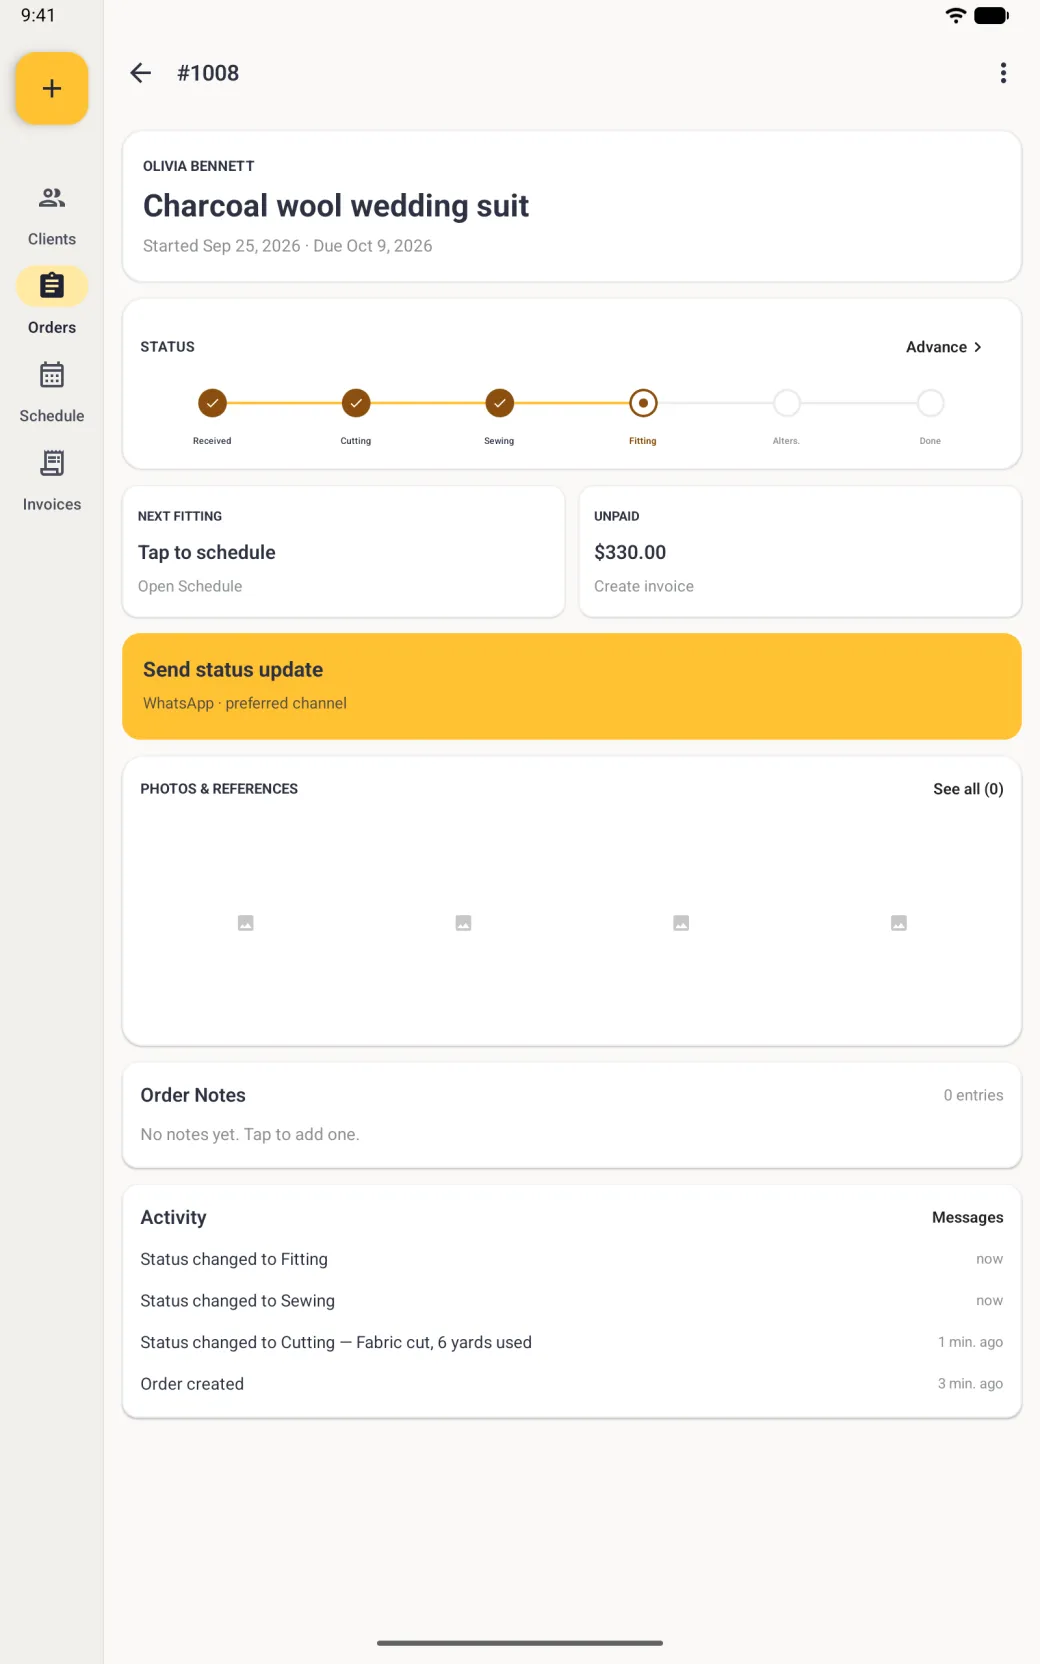
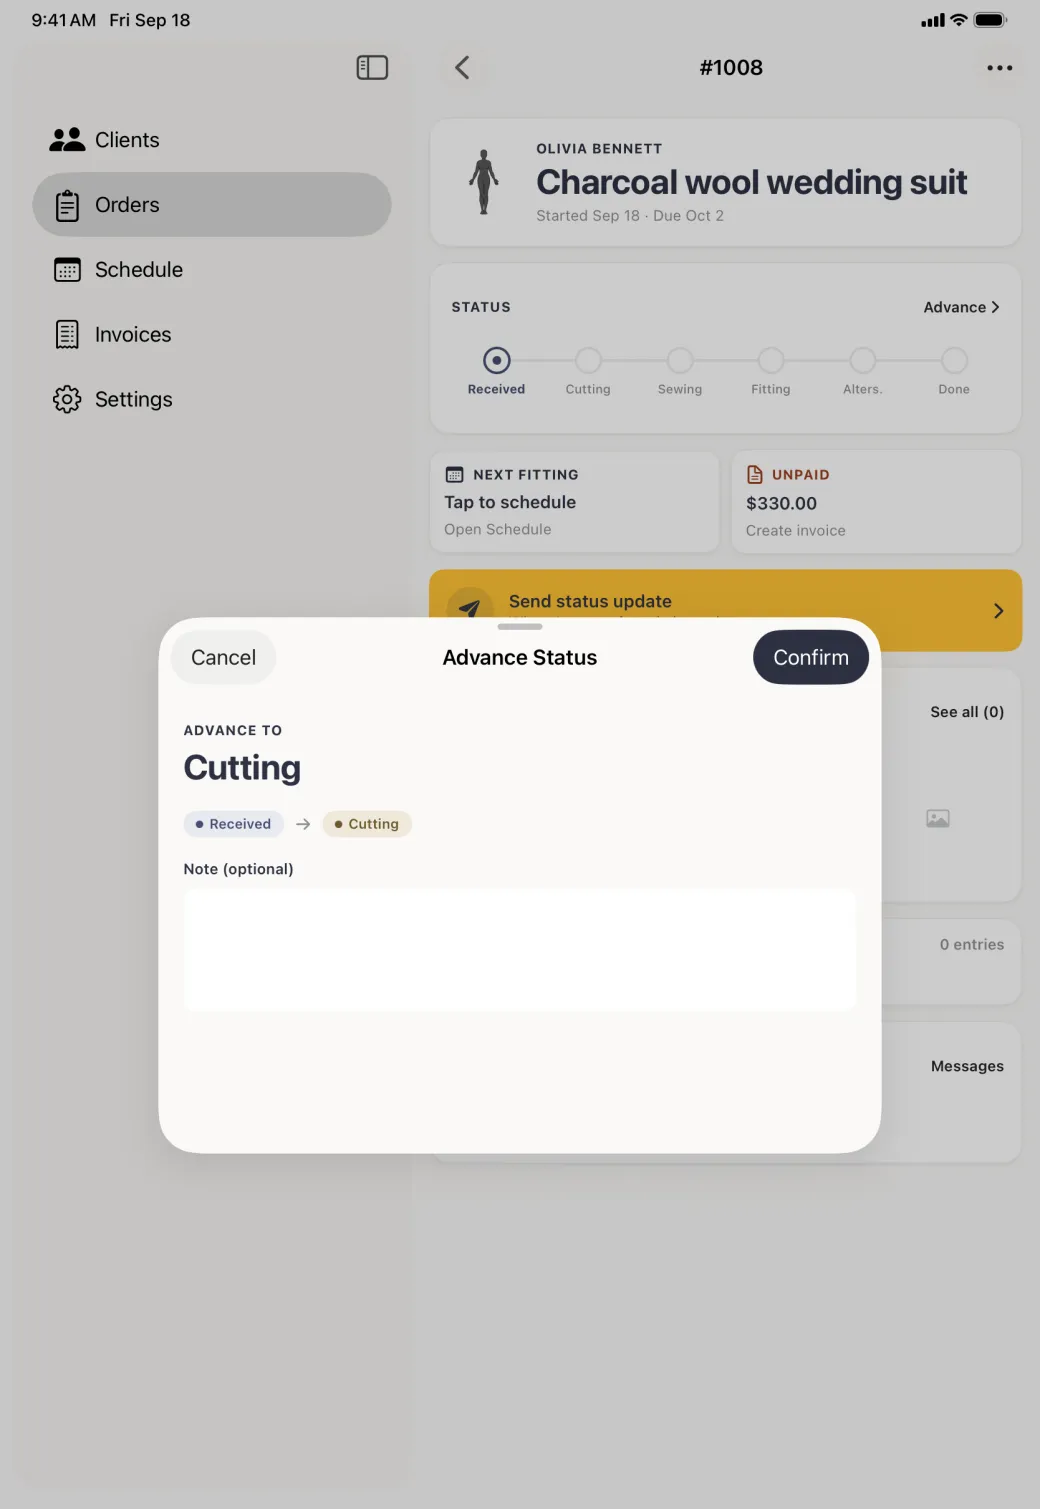
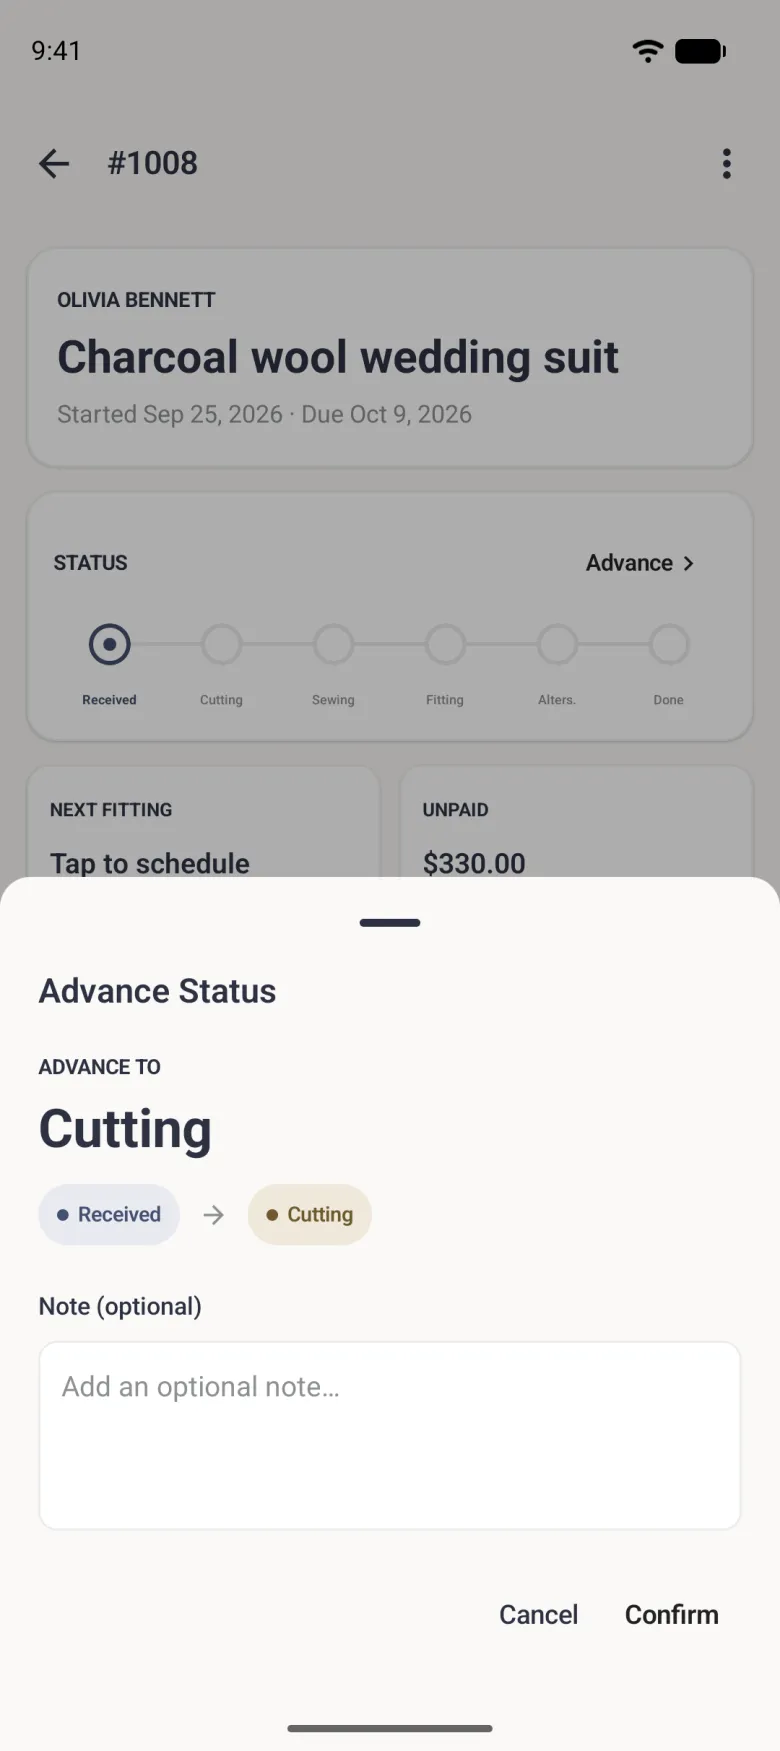
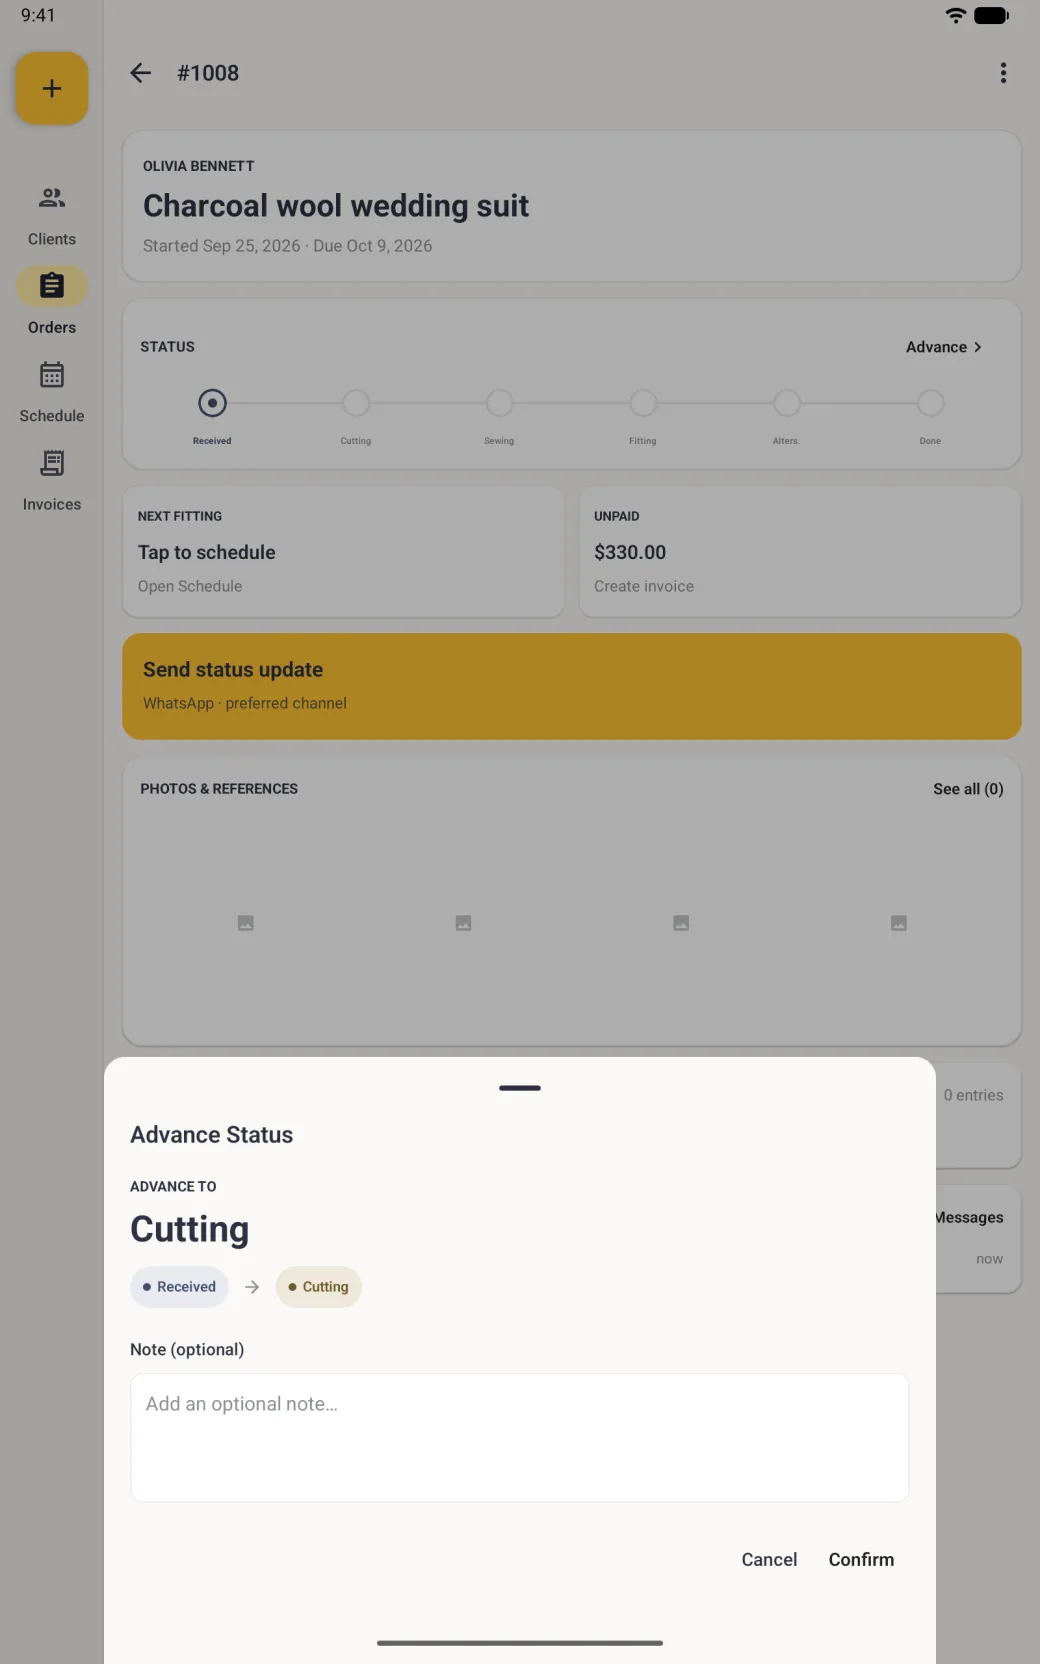
Every order runs through Received, Cutting, Sewing, Fitting, Alterations and Done. The bar at the top of the order is a display, not a set of buttons: the ringed dot is where the work has got to, ticked circles are behind it, and the Advance link at the right of the card is the only way forward. On the order, Advance moves it one stage at a time, forward only. The Status row on Edit Order is where you set a different stage by hand.
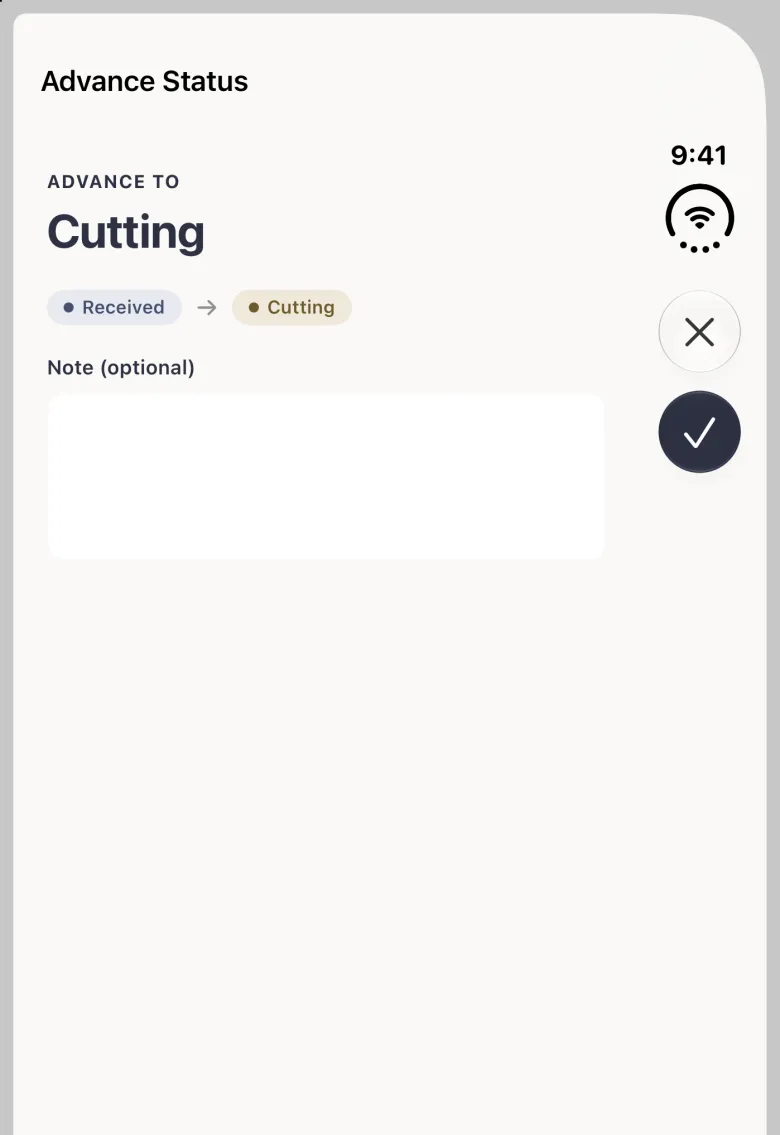
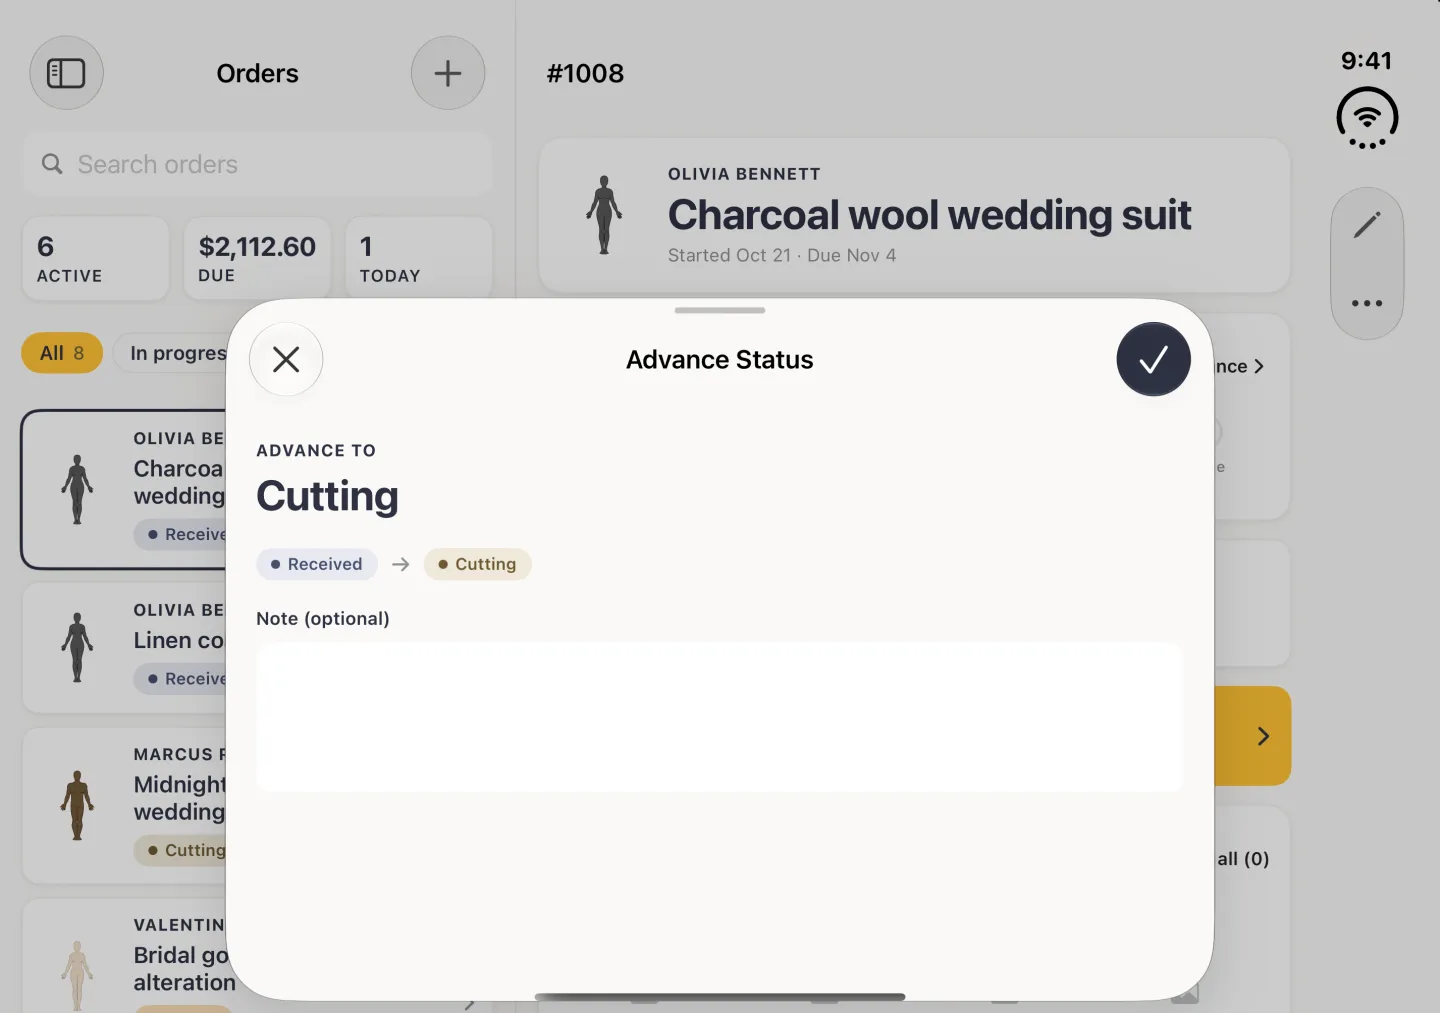
- Tap Advance at the right of the status card. A sheet names the stage the order is about to move to.
- Add a note if you want a record of what happened at this stage. It is kept in the order’s activity list rather than in your order notes.
- Tap the checkmark at the top right of the sheet, or Confirm on Android. The status bar moves on one step.
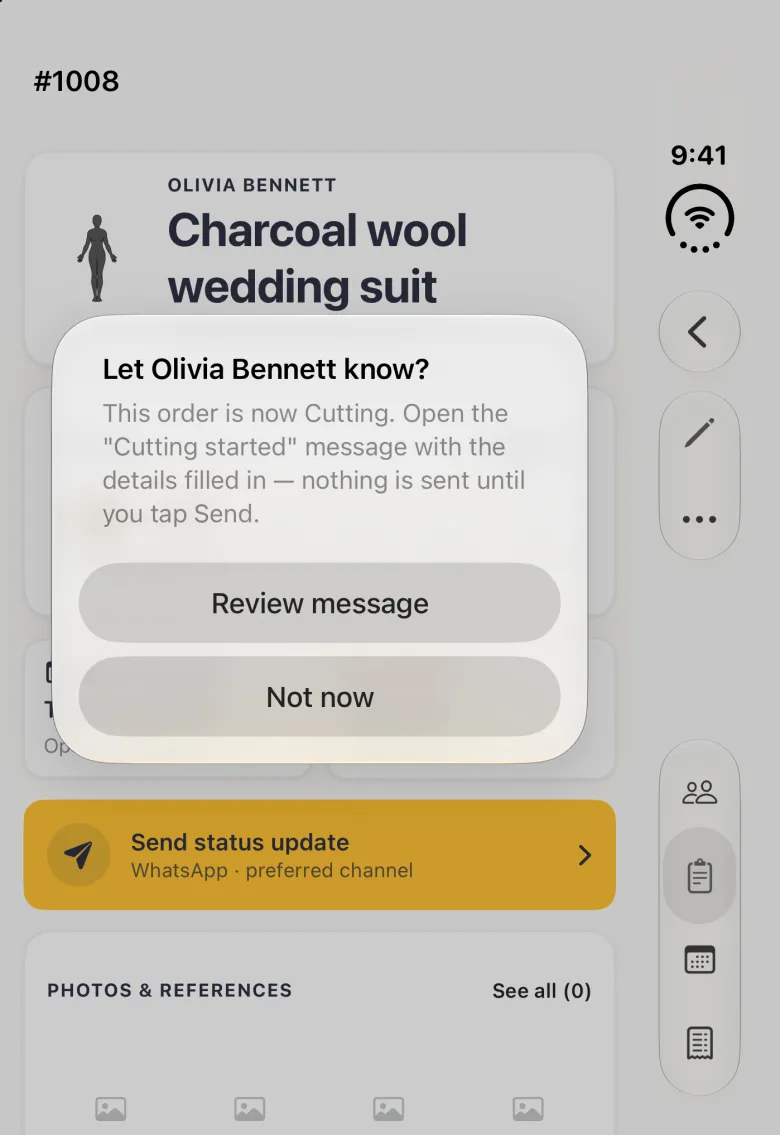
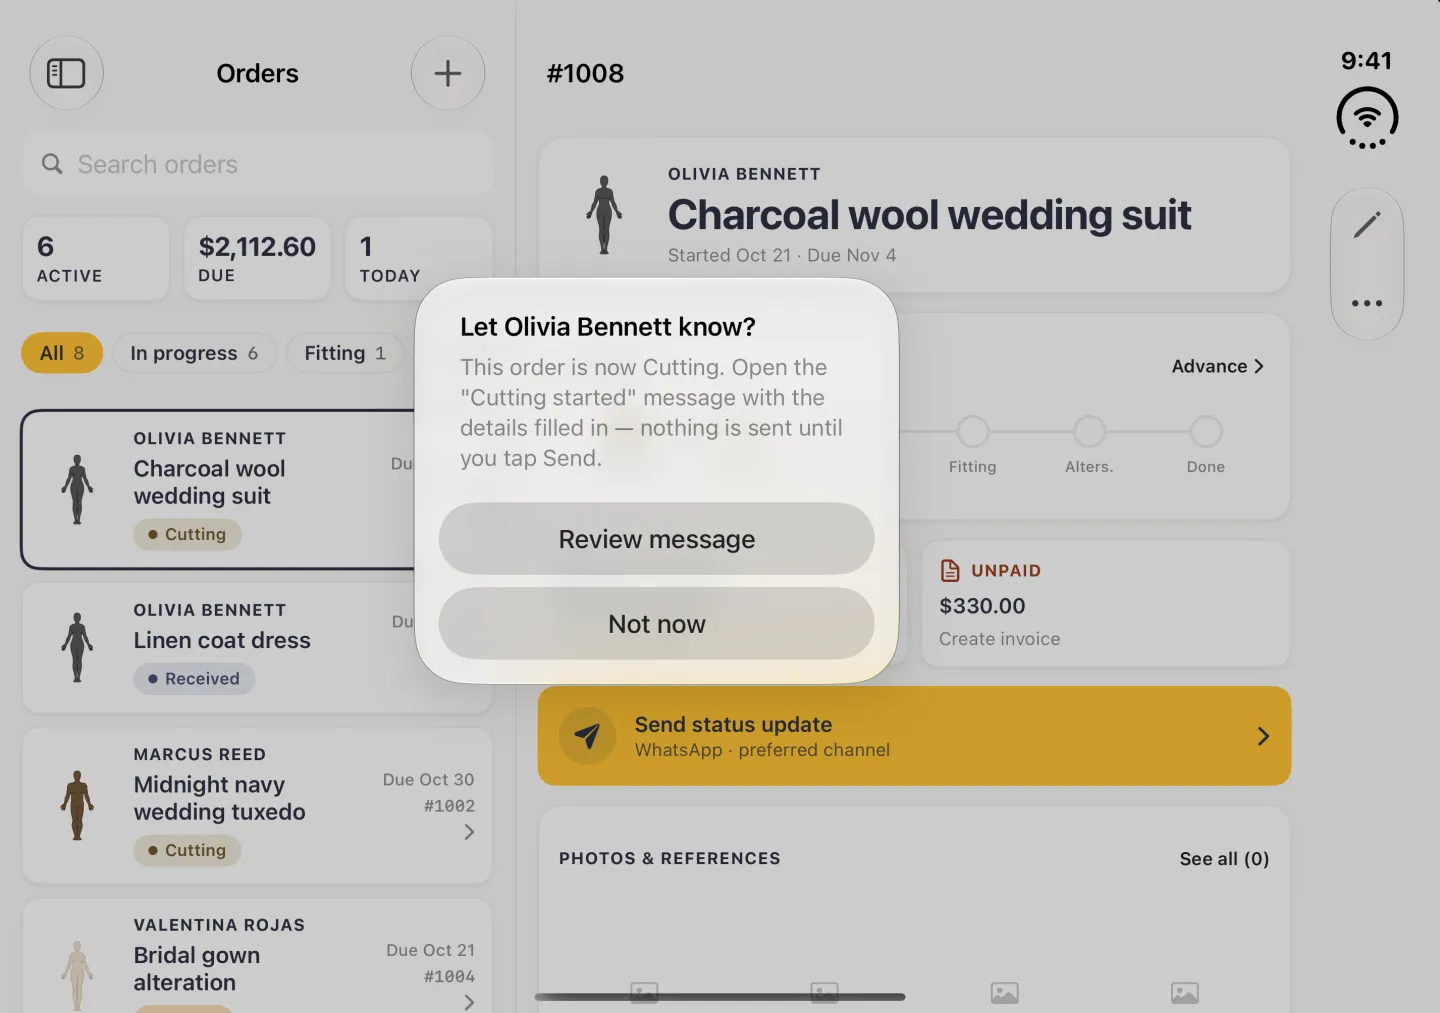
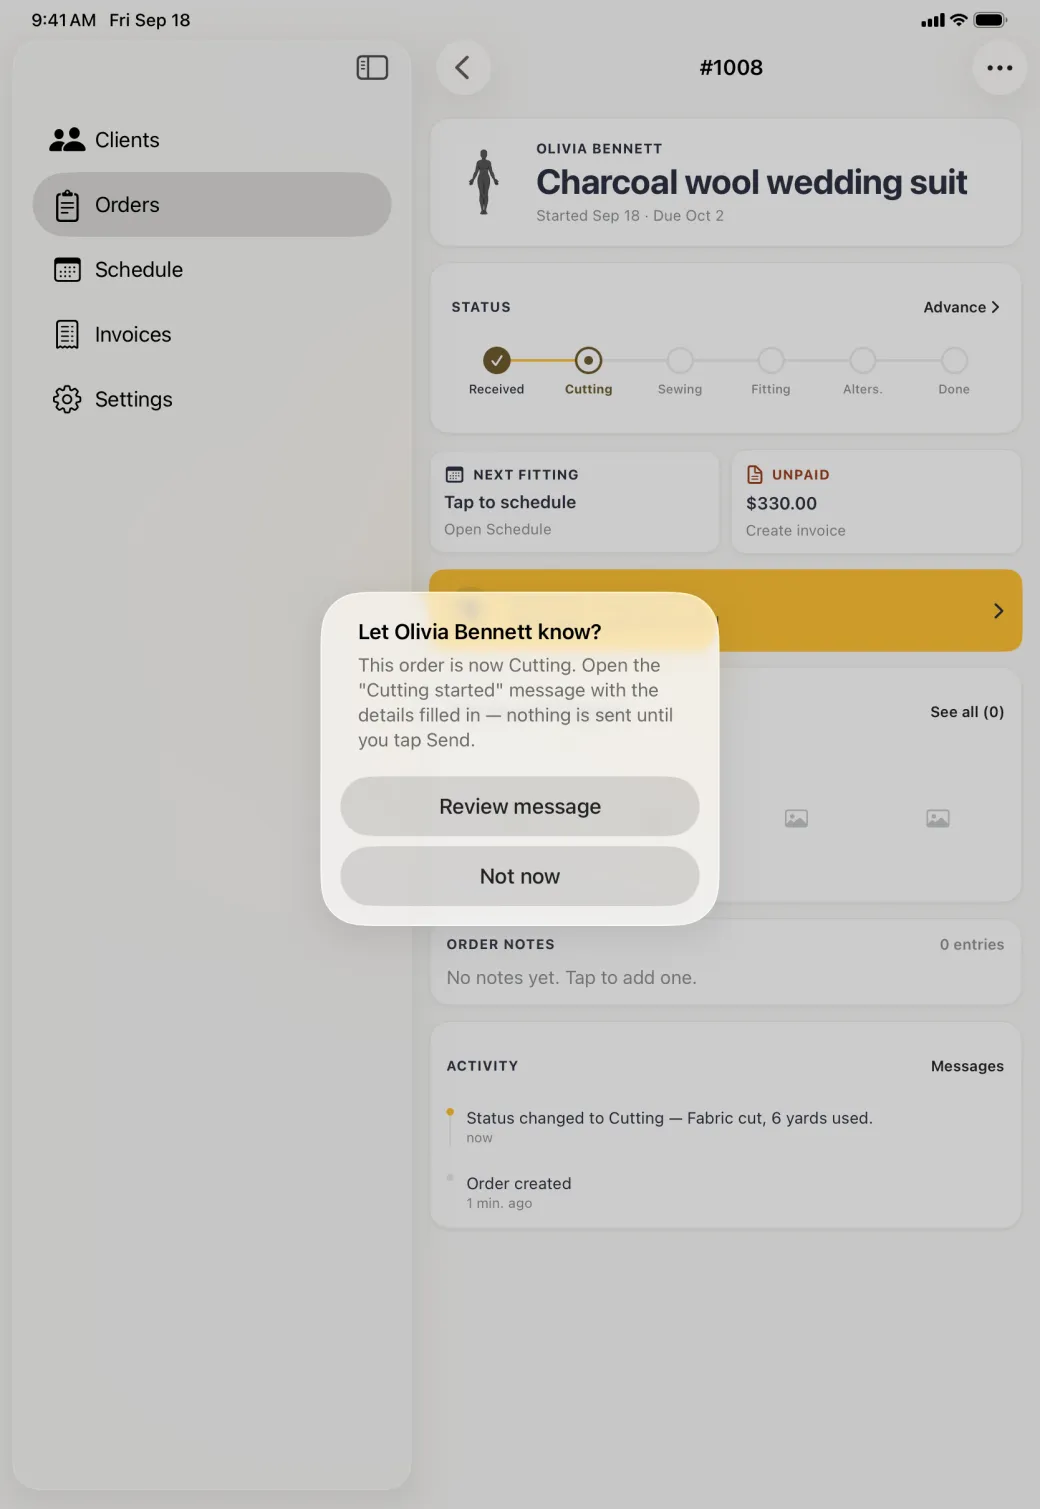
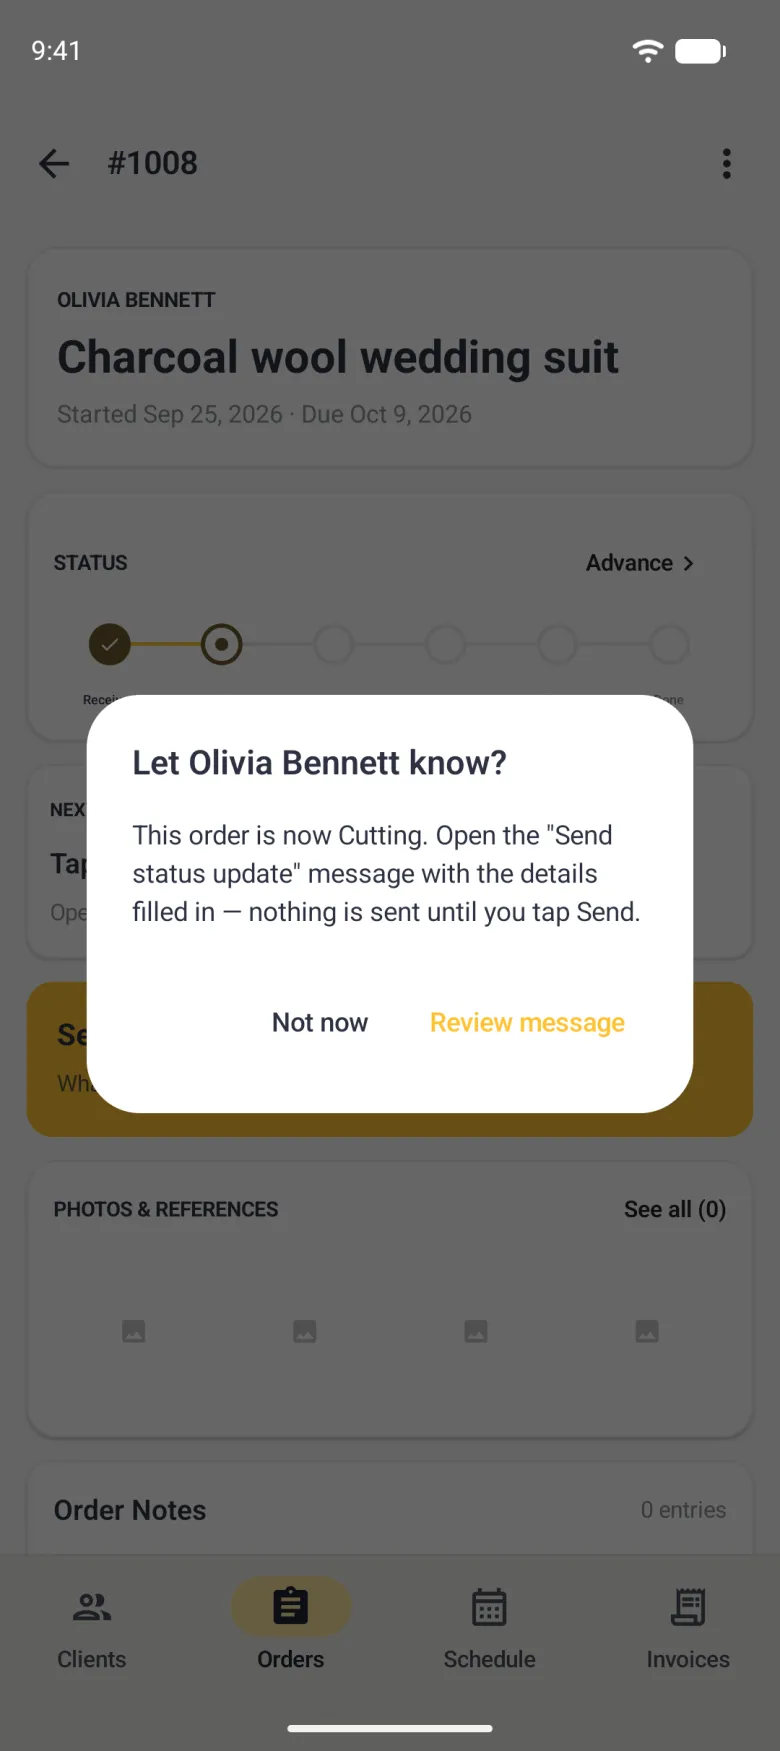
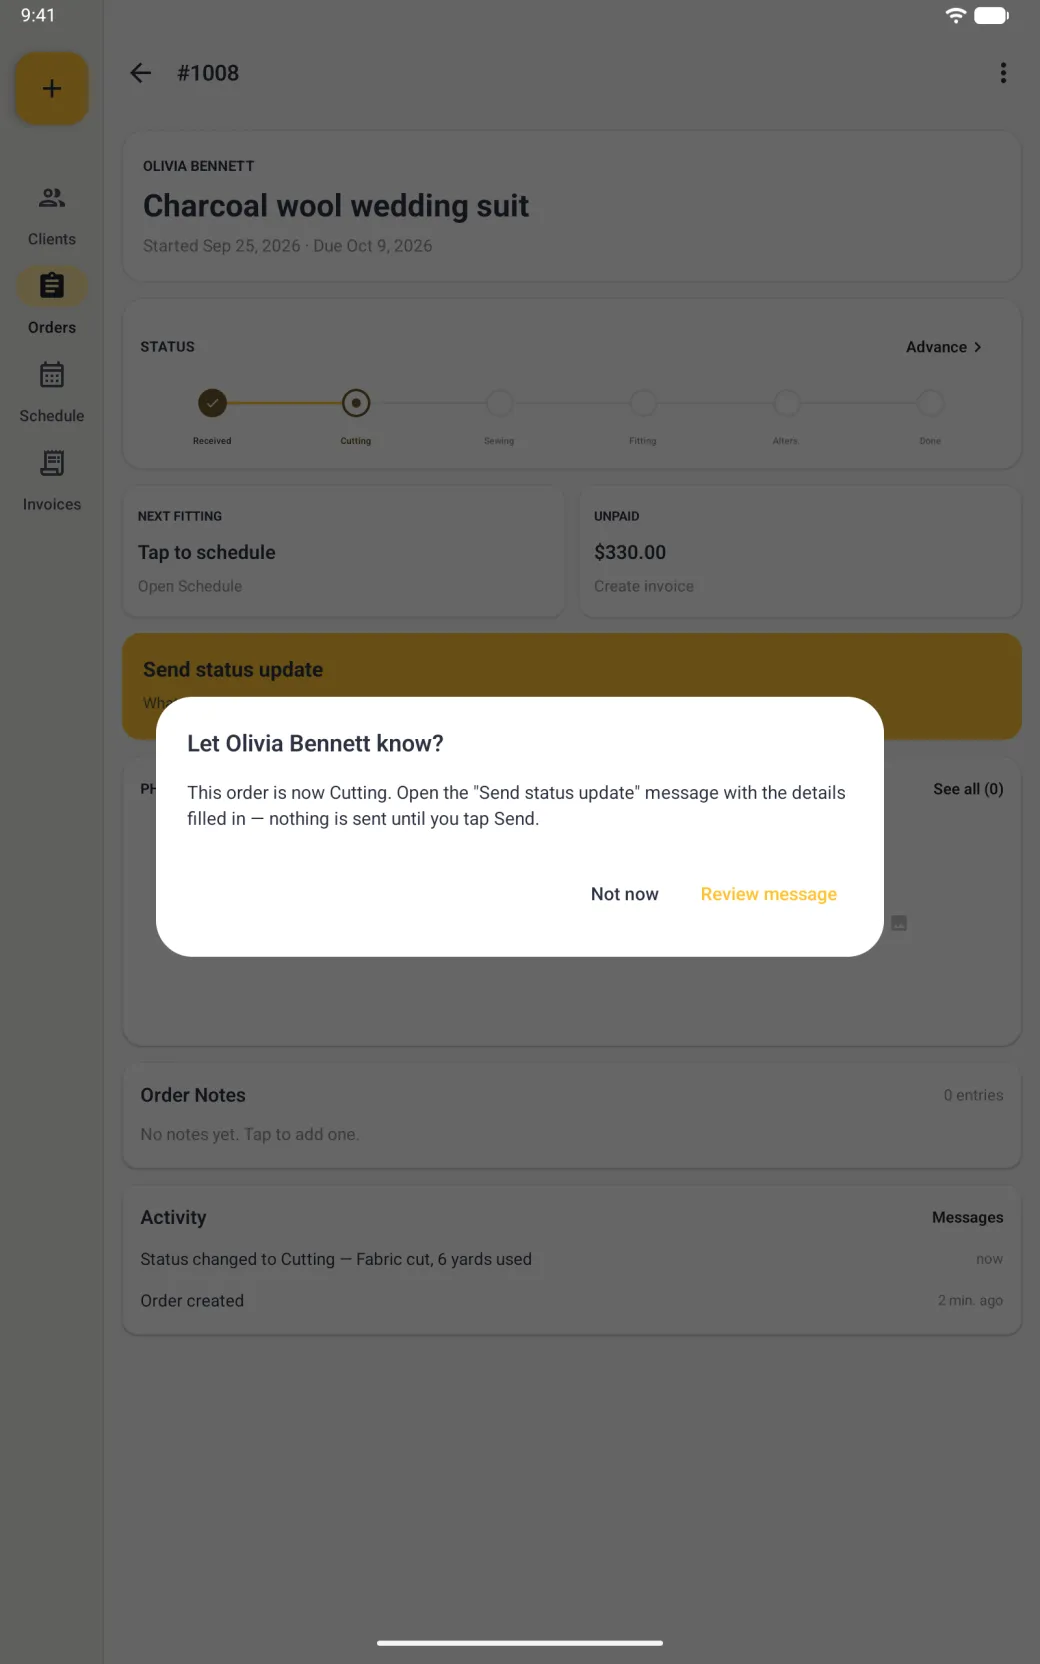
- For the stages that have a message template (Cutting, Fitting and Done), the app then asks whether to let the client know. Review message opens the matching update with the details filled in, and nothing is sent until you tap Send. Not now closes the prompt and leaves the stage change in place.
At the last stage the whole bar turns green and the Advance link goes away, because there is nothing left to advance to. Scroll to the Activity card at the foot of the order to see every stage change, newest first, with the notes you left and, at the bottom, the moment the order was created.



How to follow up from an order
The order detail is the starting point for the three things you do next, and each one arrives with the order’s details already in place. The next fitting card opens a new appointment attached to this order, so there is no order to pick. The unpaid card raises an invoice built from the garment, the price and the deposit. The gold bar opens a message to the client on the channel they prefer.
The schedule guide, the invoices guide and the messaging guide cover each of those in full.
How to change or delete an order
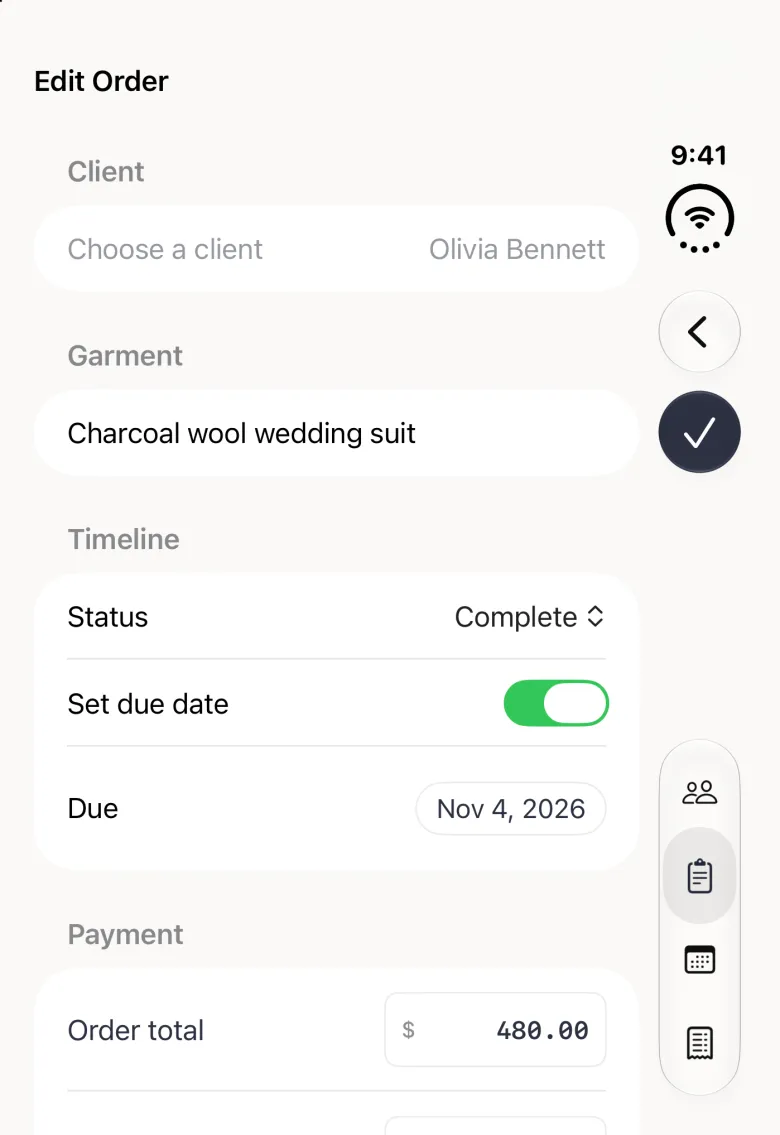
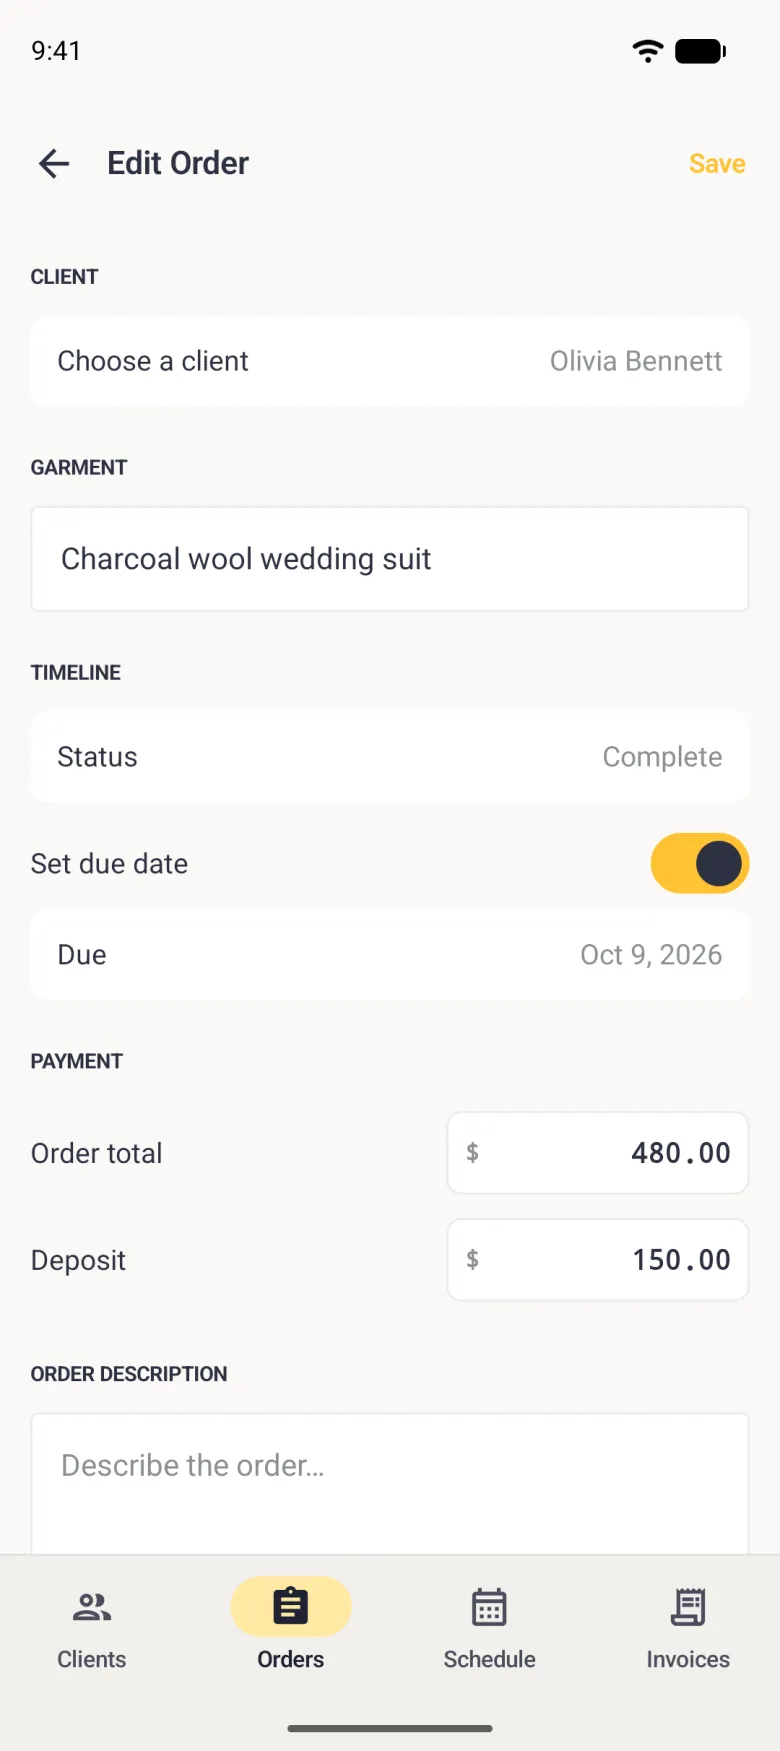
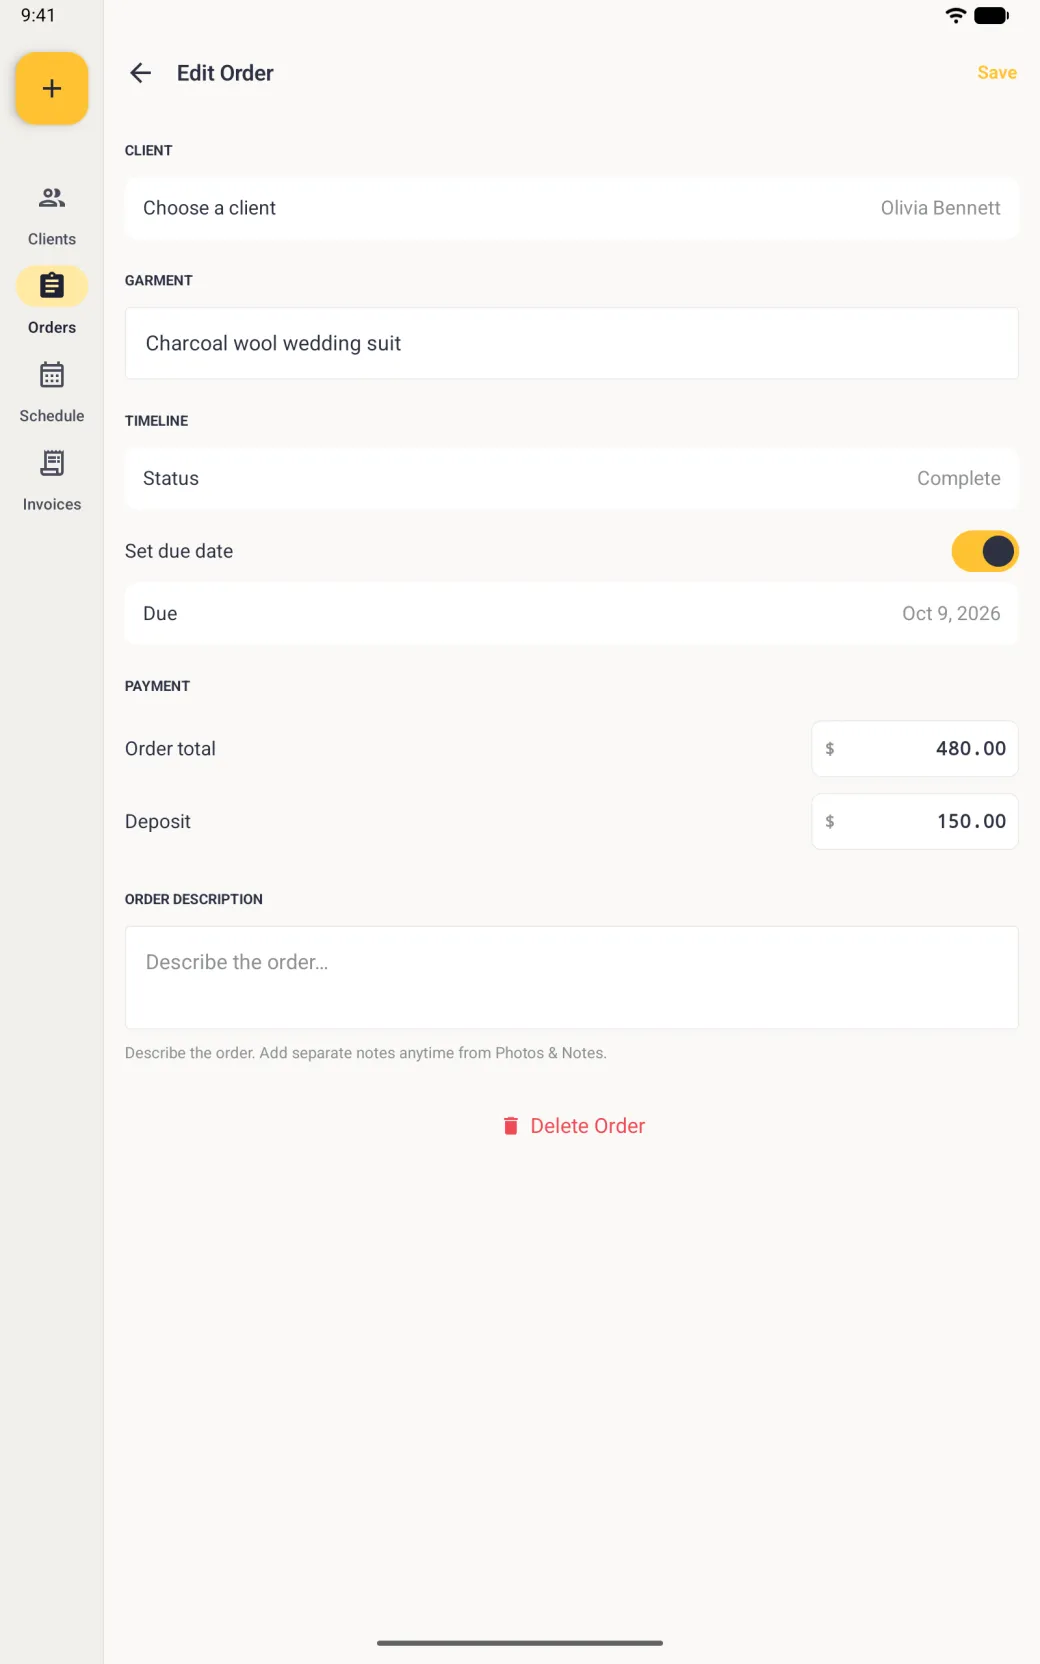
To edit an order, tap the pencil at the top right. The three-dot button beside it holds Delete Order, and on a complete order also Archive Order, which takes it off the dashboard without deleting it. On Android, Edit Order and Delete Order both sit in the three-dot menu. Edit reopens the same form with the current values filled in. The client row is greyed out, because an order stays with the client it was taken for. Tap the checkmark (Save on Android), and the detail screen picks up the change straight away.
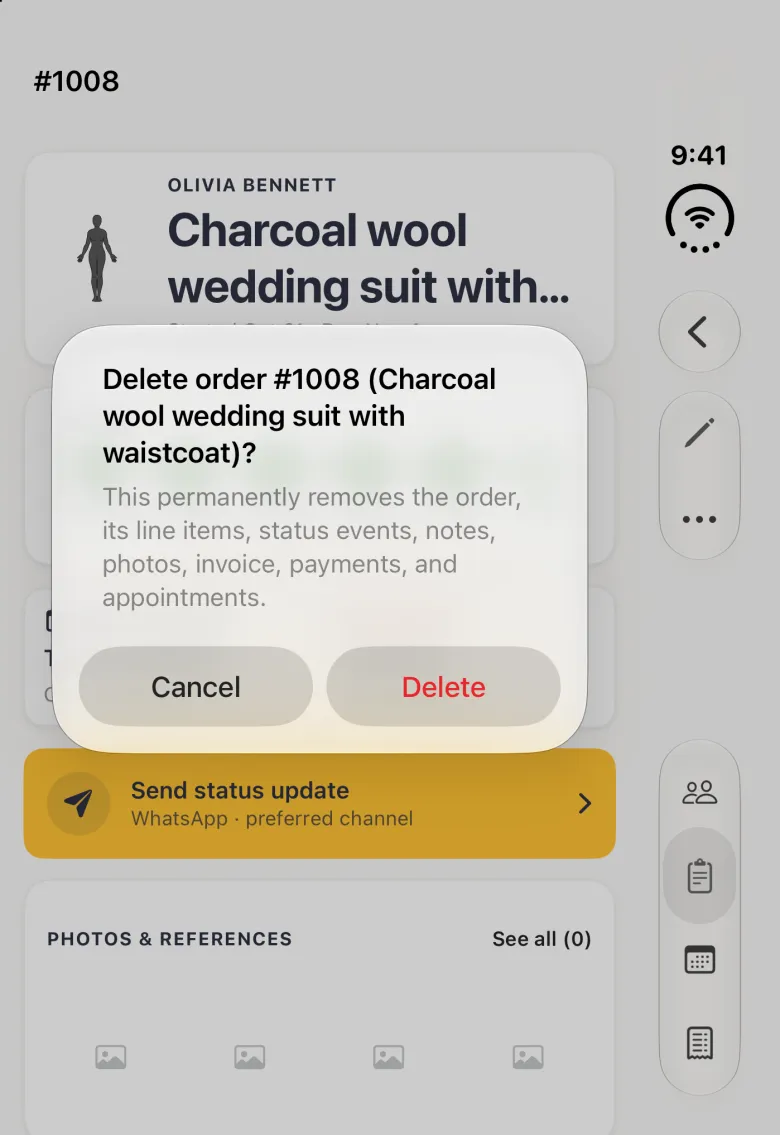
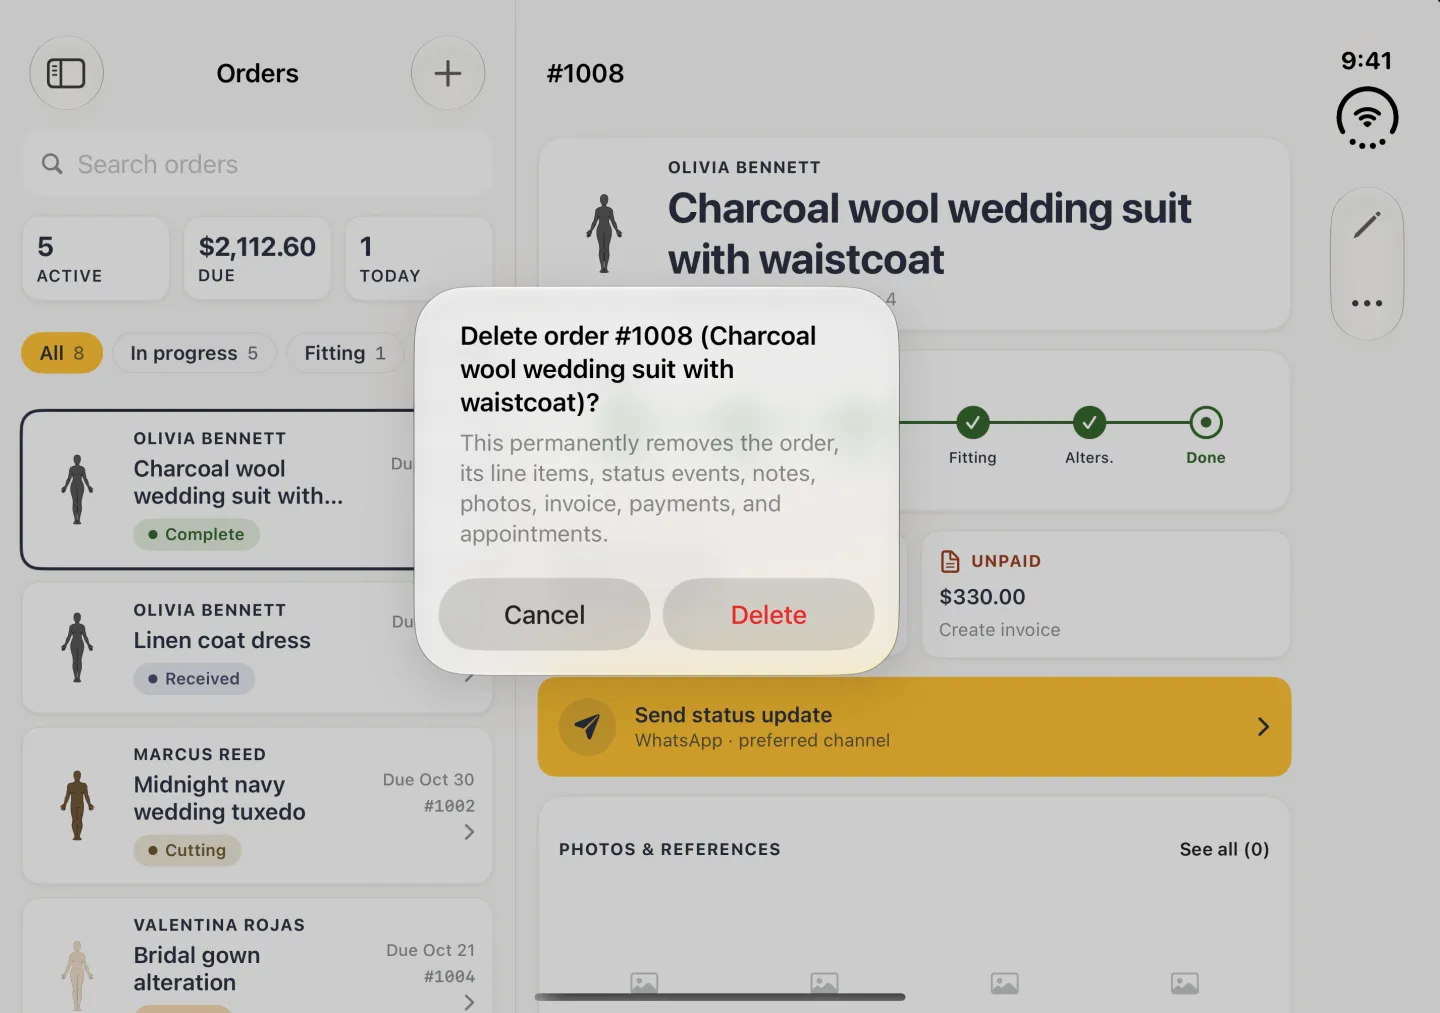
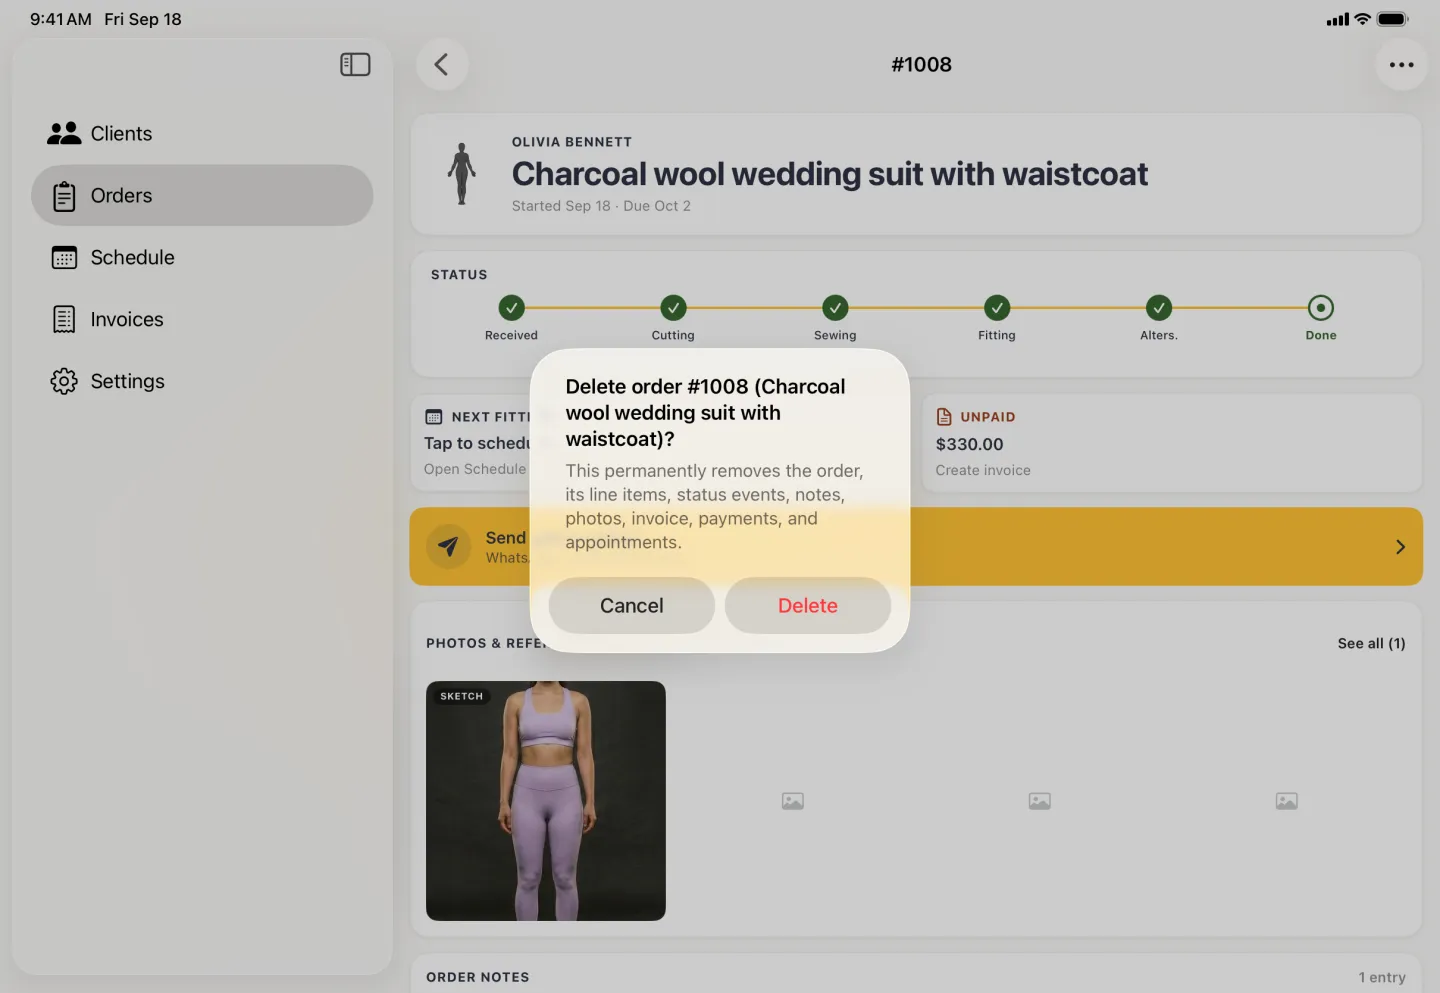
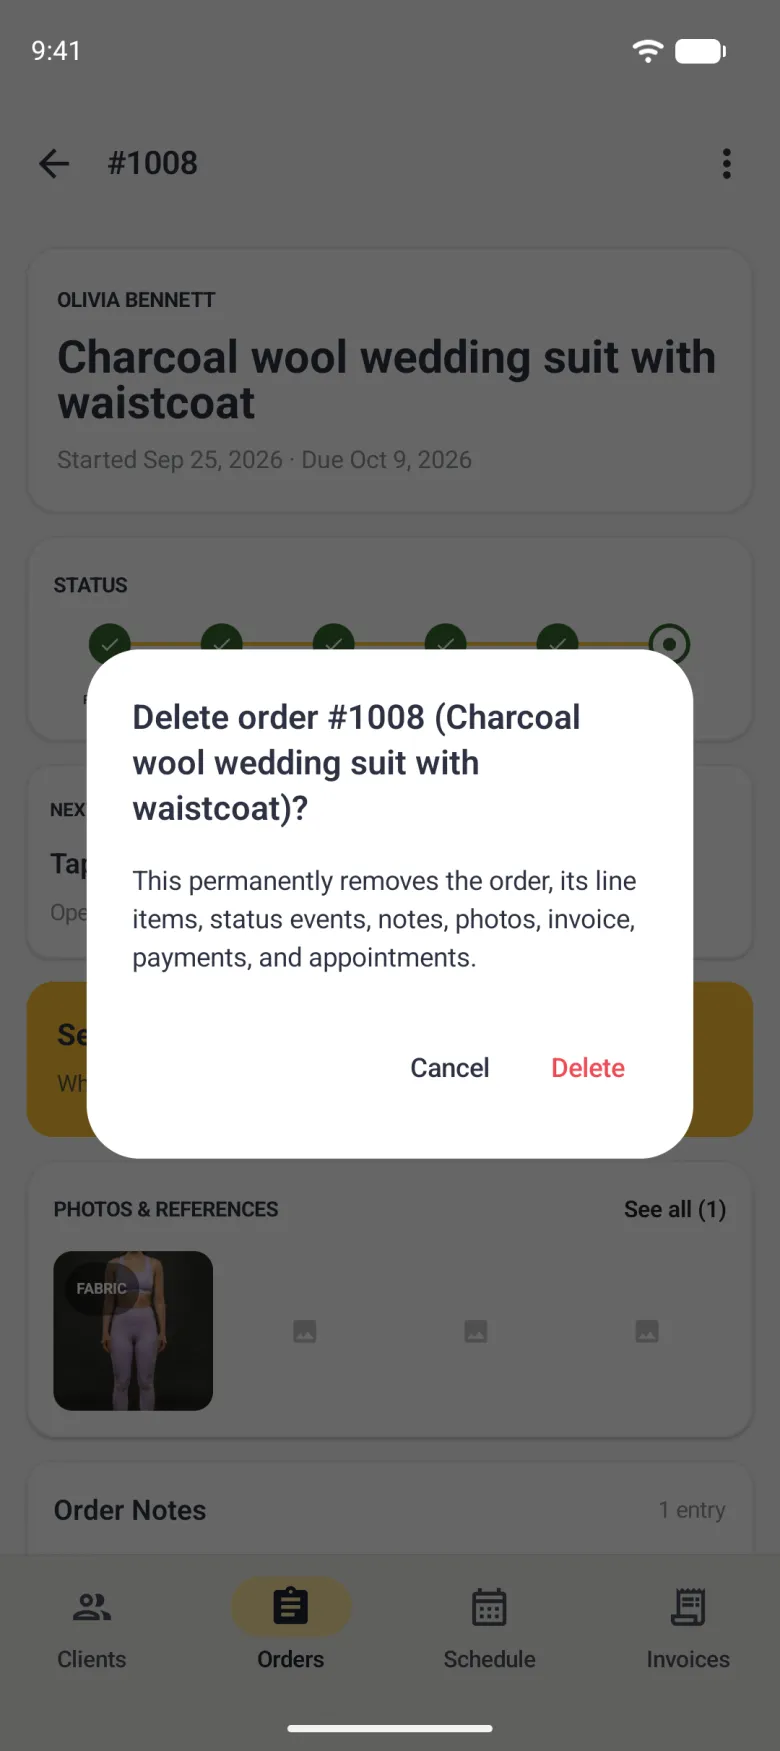
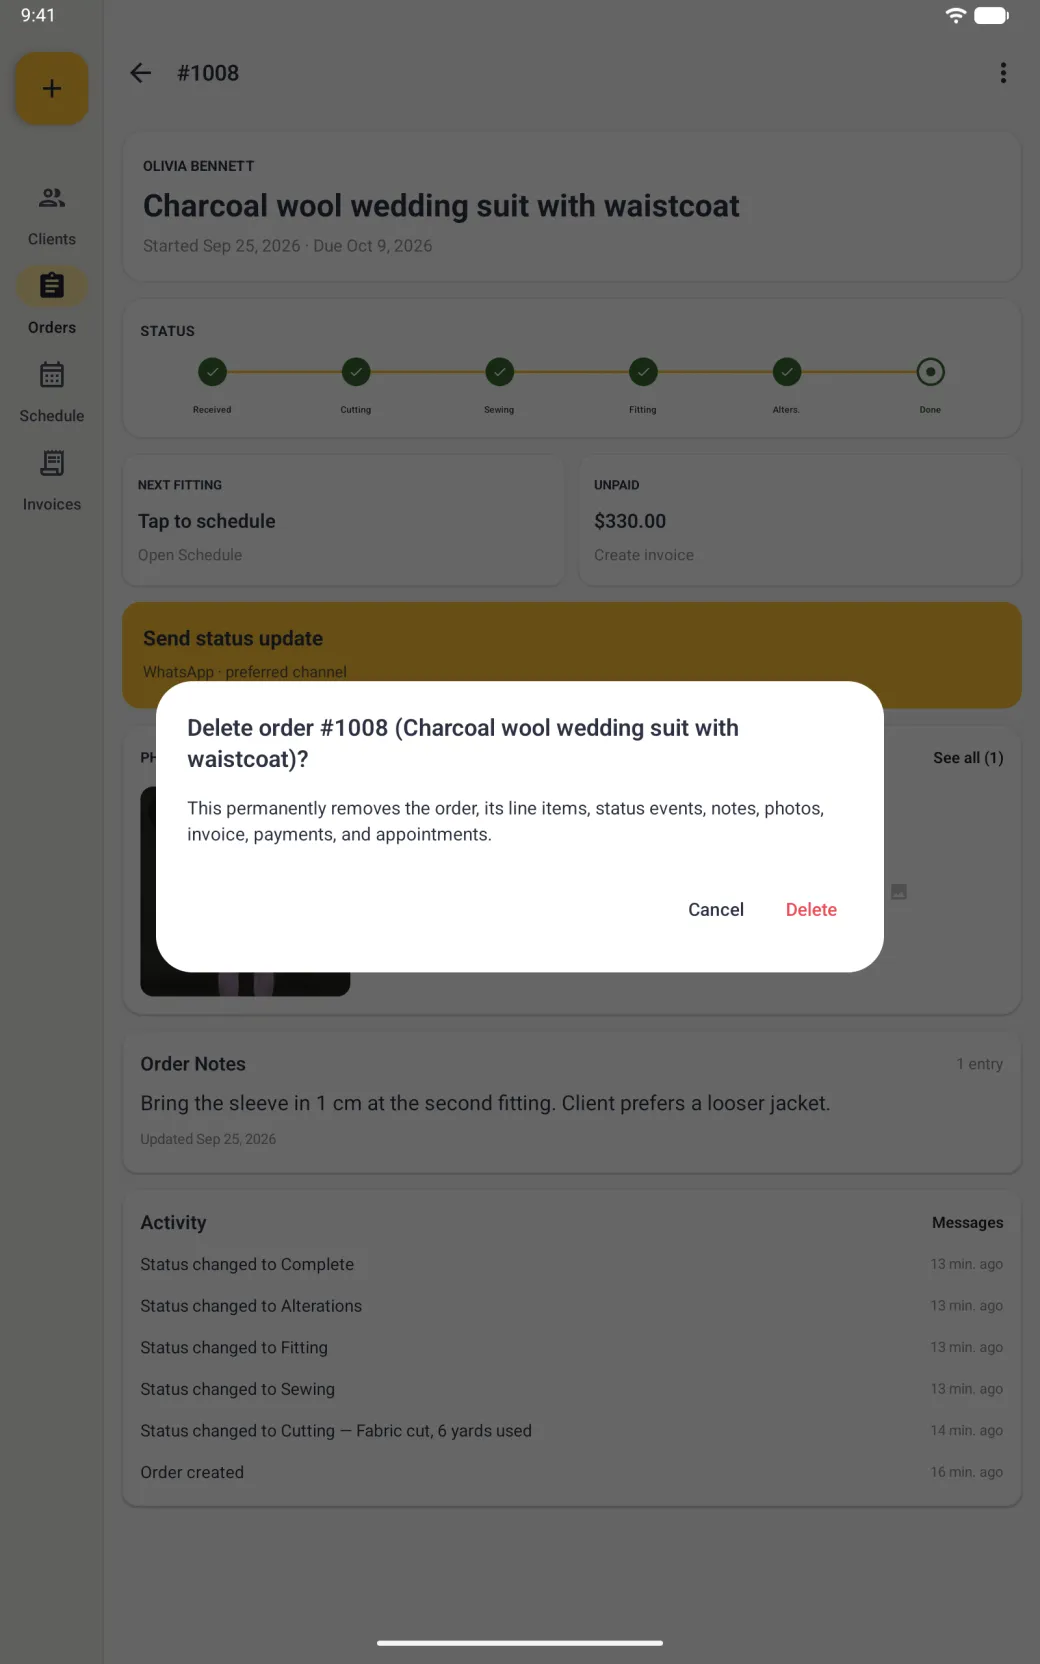
Deleting cannot be undone, and the confirmation lists what goes with the order: its line items, status events, notes, photos, invoice, payments and appointments. Confirm, and the Orders list shows the counts and the Due total already adjusted.