Profile management
App settings and profile settings
Set your default units, appearance, cloud sync and measuring guides for the whole app, and change one profile's name, units, skin tone or fit preference.
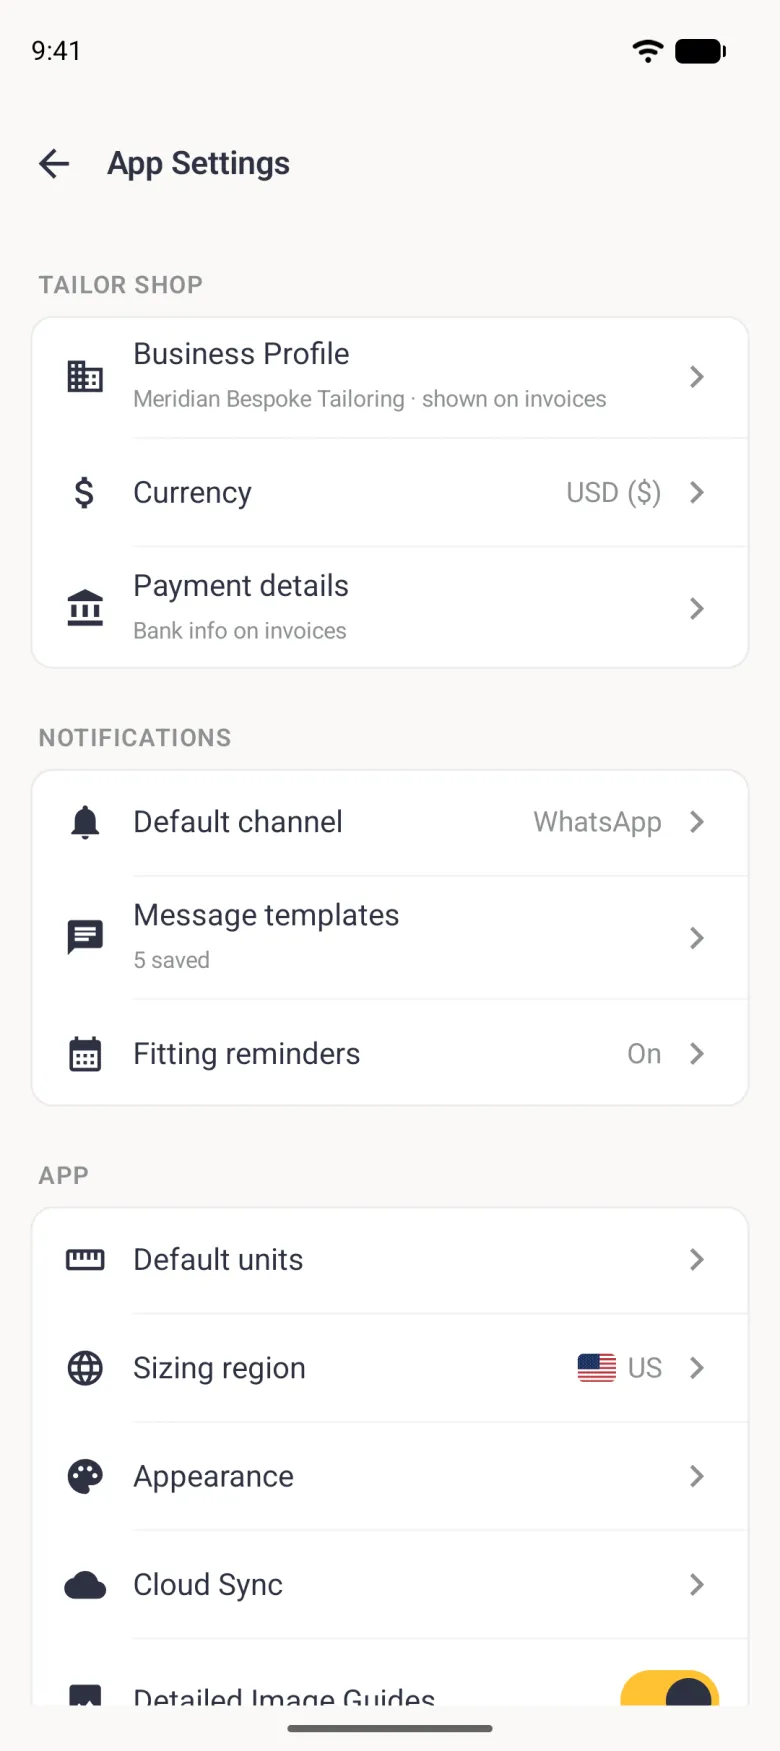
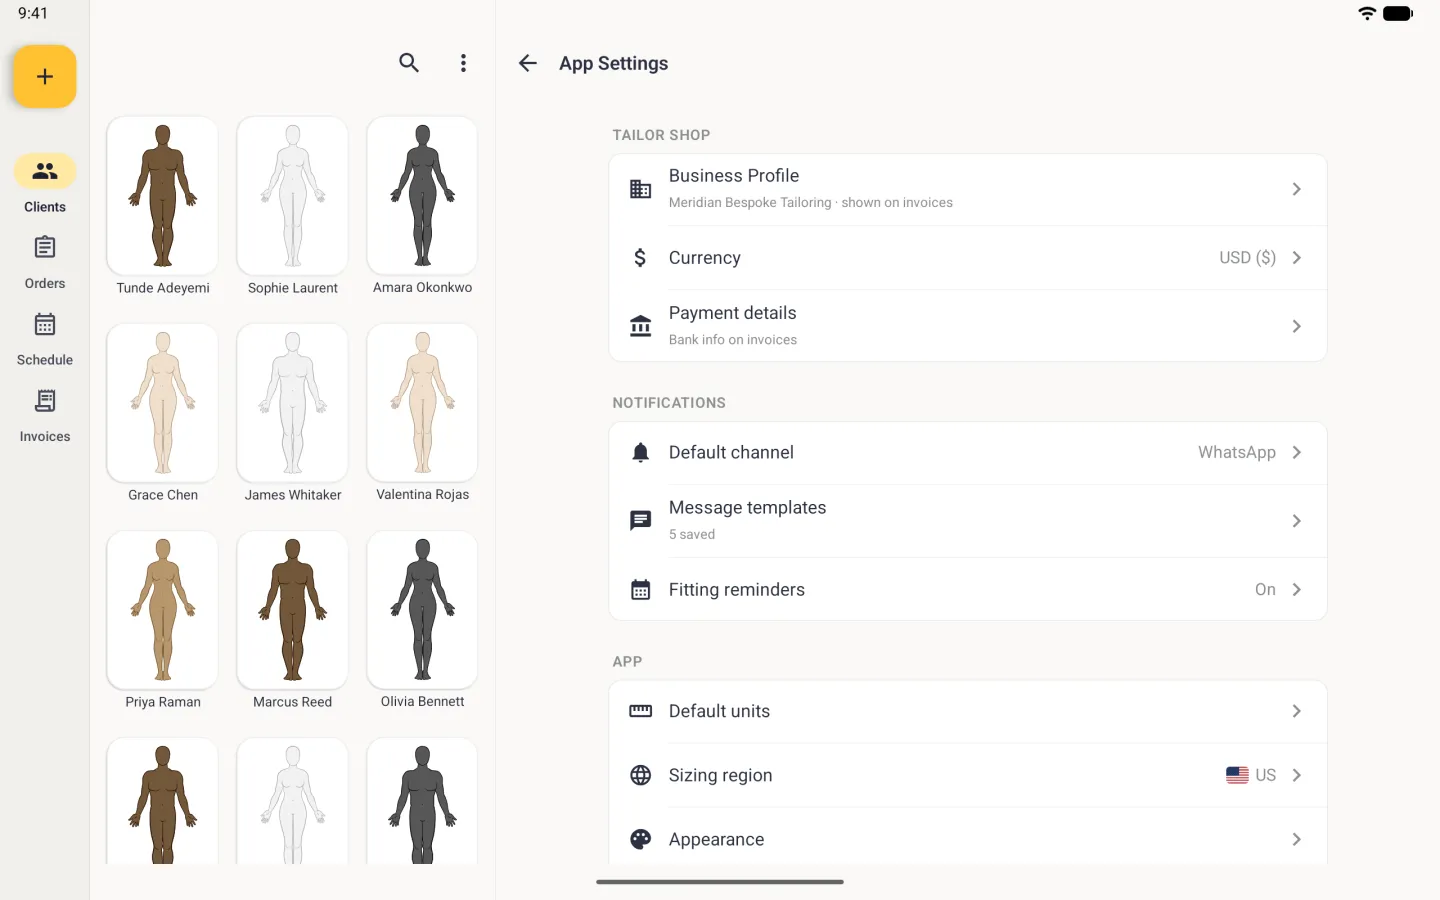
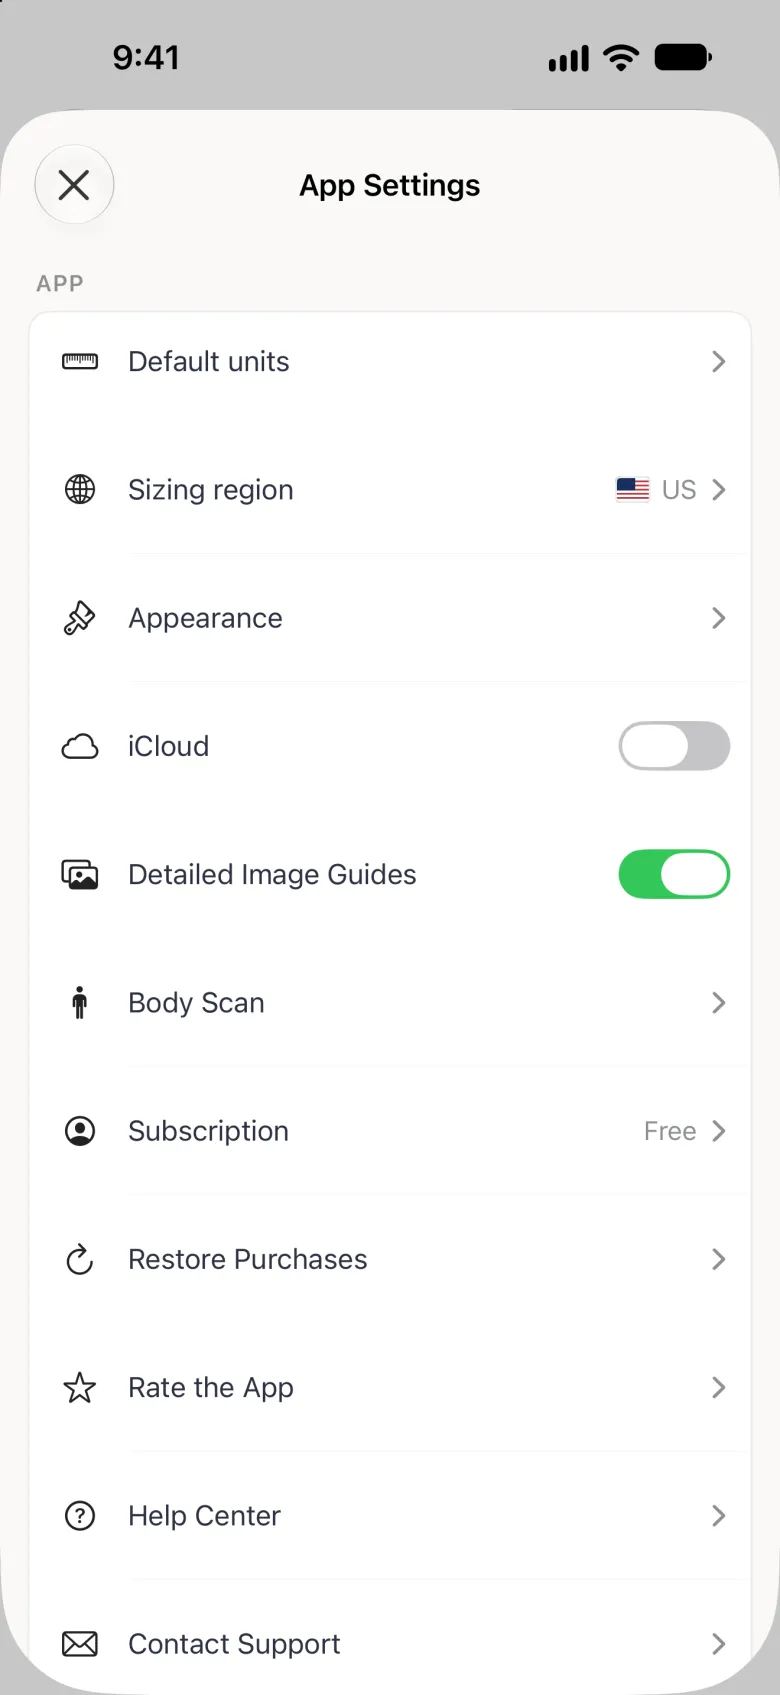
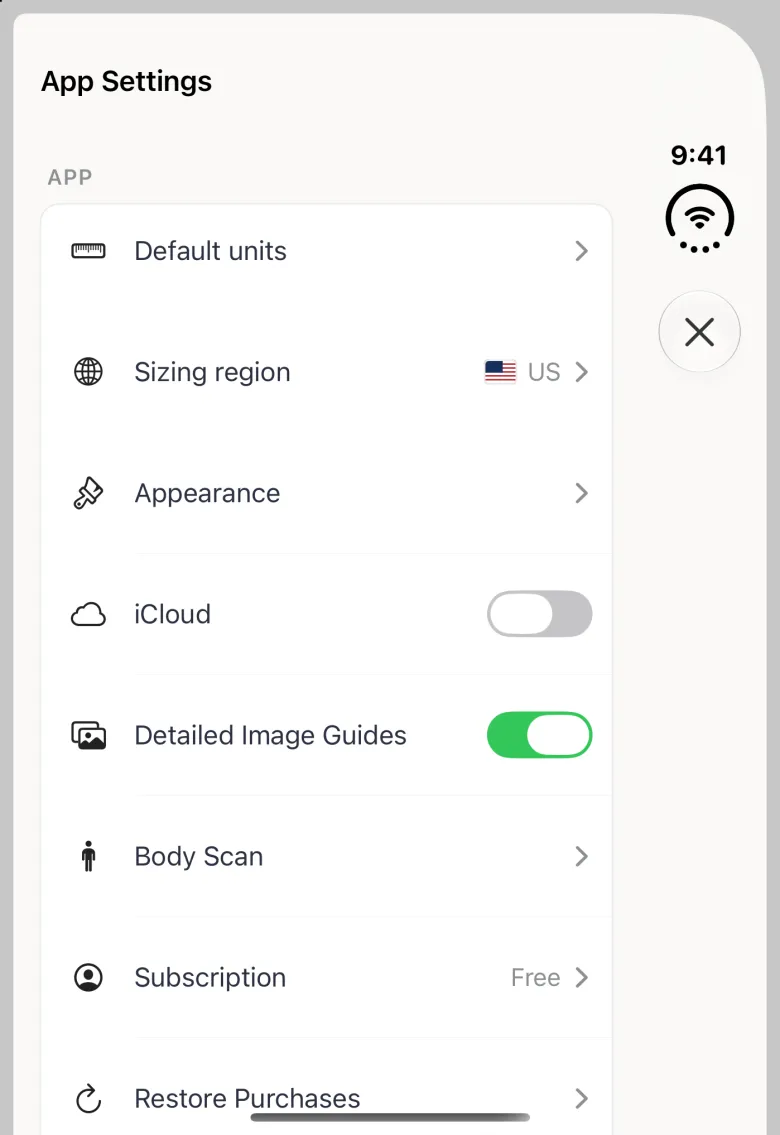
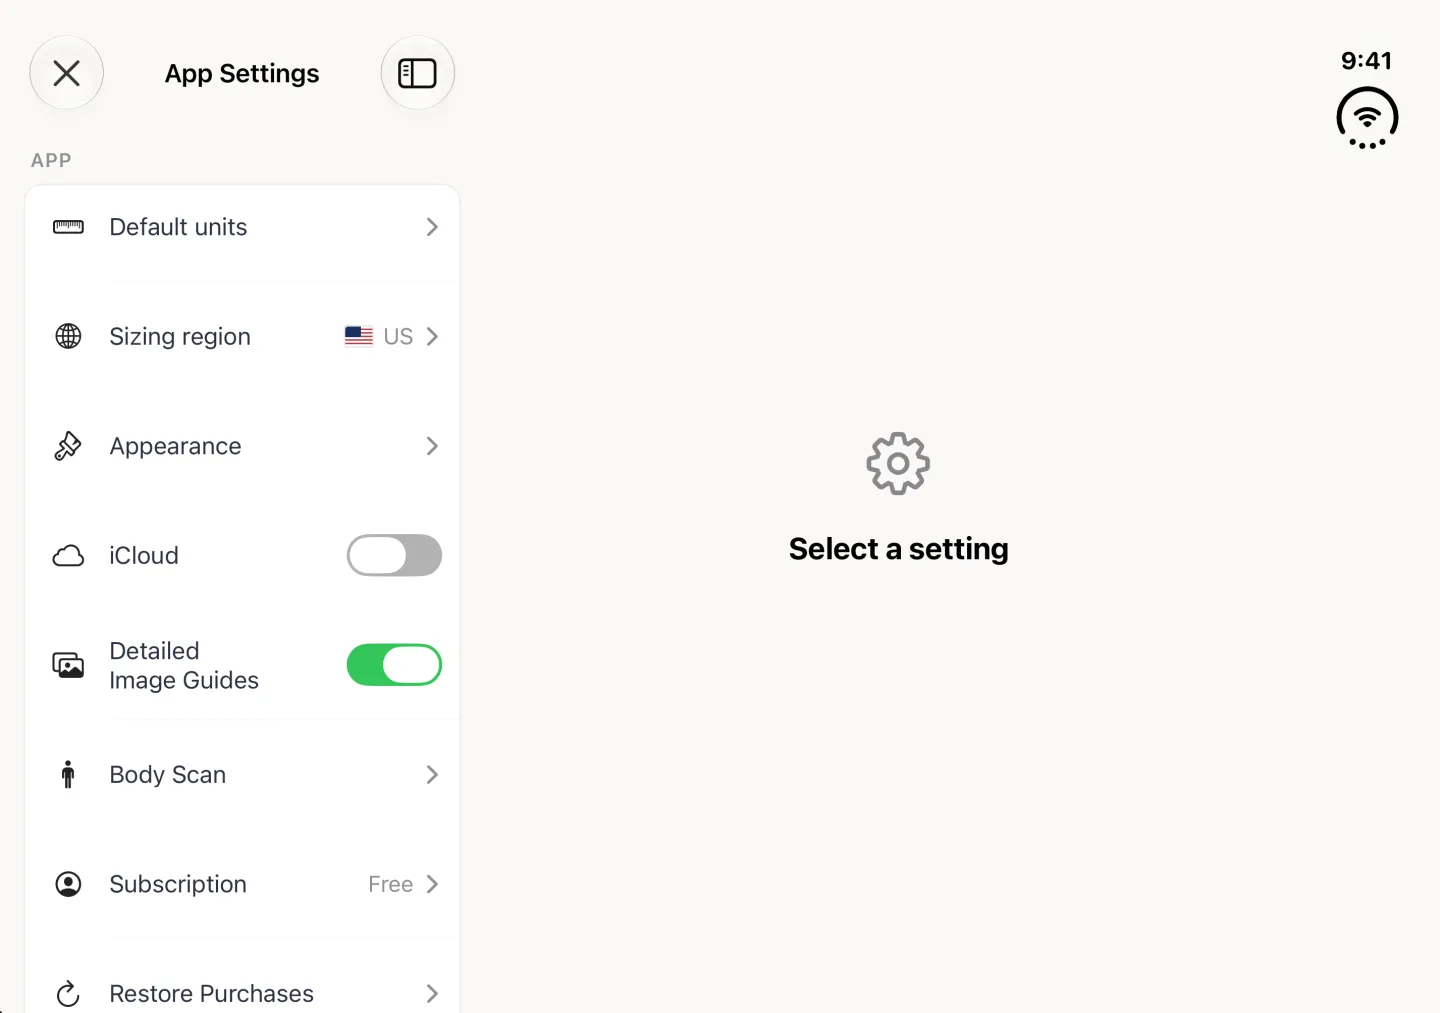
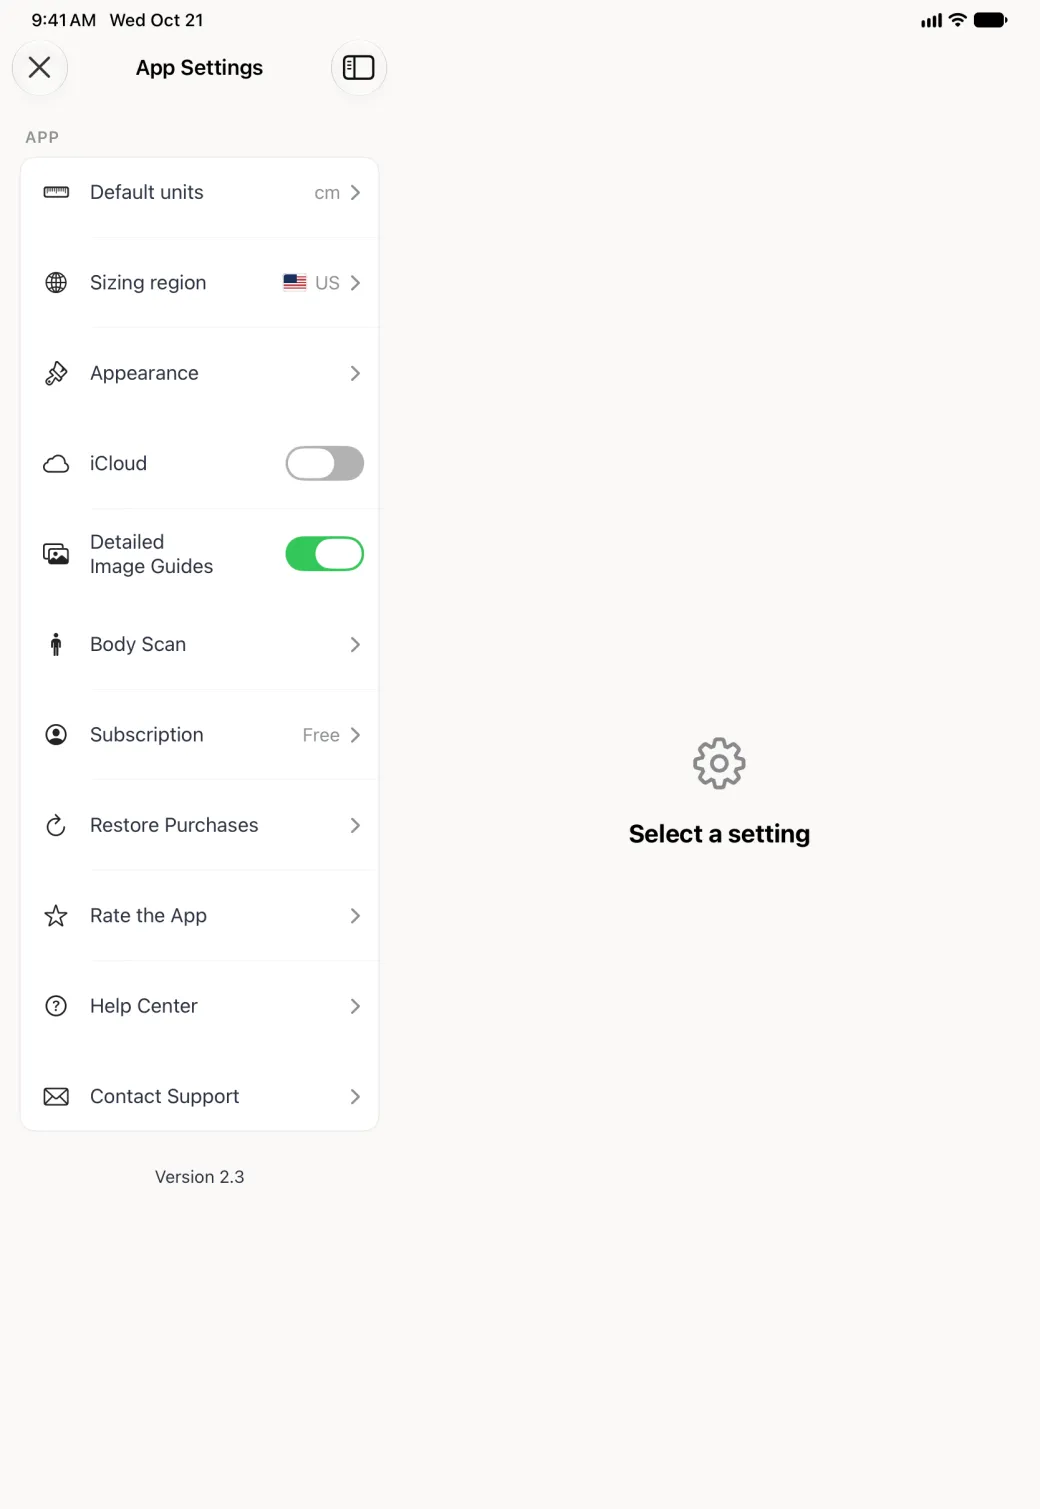
Dress Measurement keeps settings in two places. App Settings apply to the whole app, and Profile Settings apply to the one profile you have open. The screenshots below are from the iPhone app, and the toggle above each set swaps them for the same screens on iPhone Duo, on iPad, where the tabs are a sidebar on the left, on Android and on an Android tablet. Some are taken on a Tailor Shop subscription, which is why those show extra sections at the top; the sizing region and Body Scan screens are from the free plan.
How do you open App Settings?
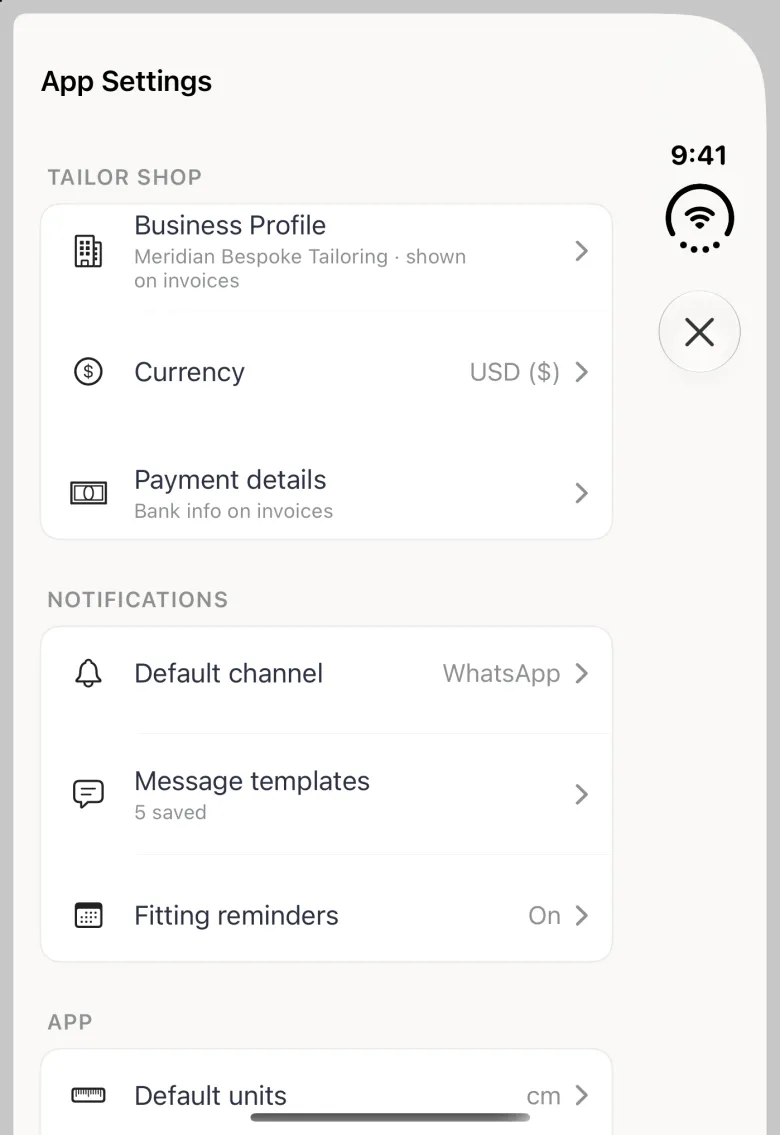
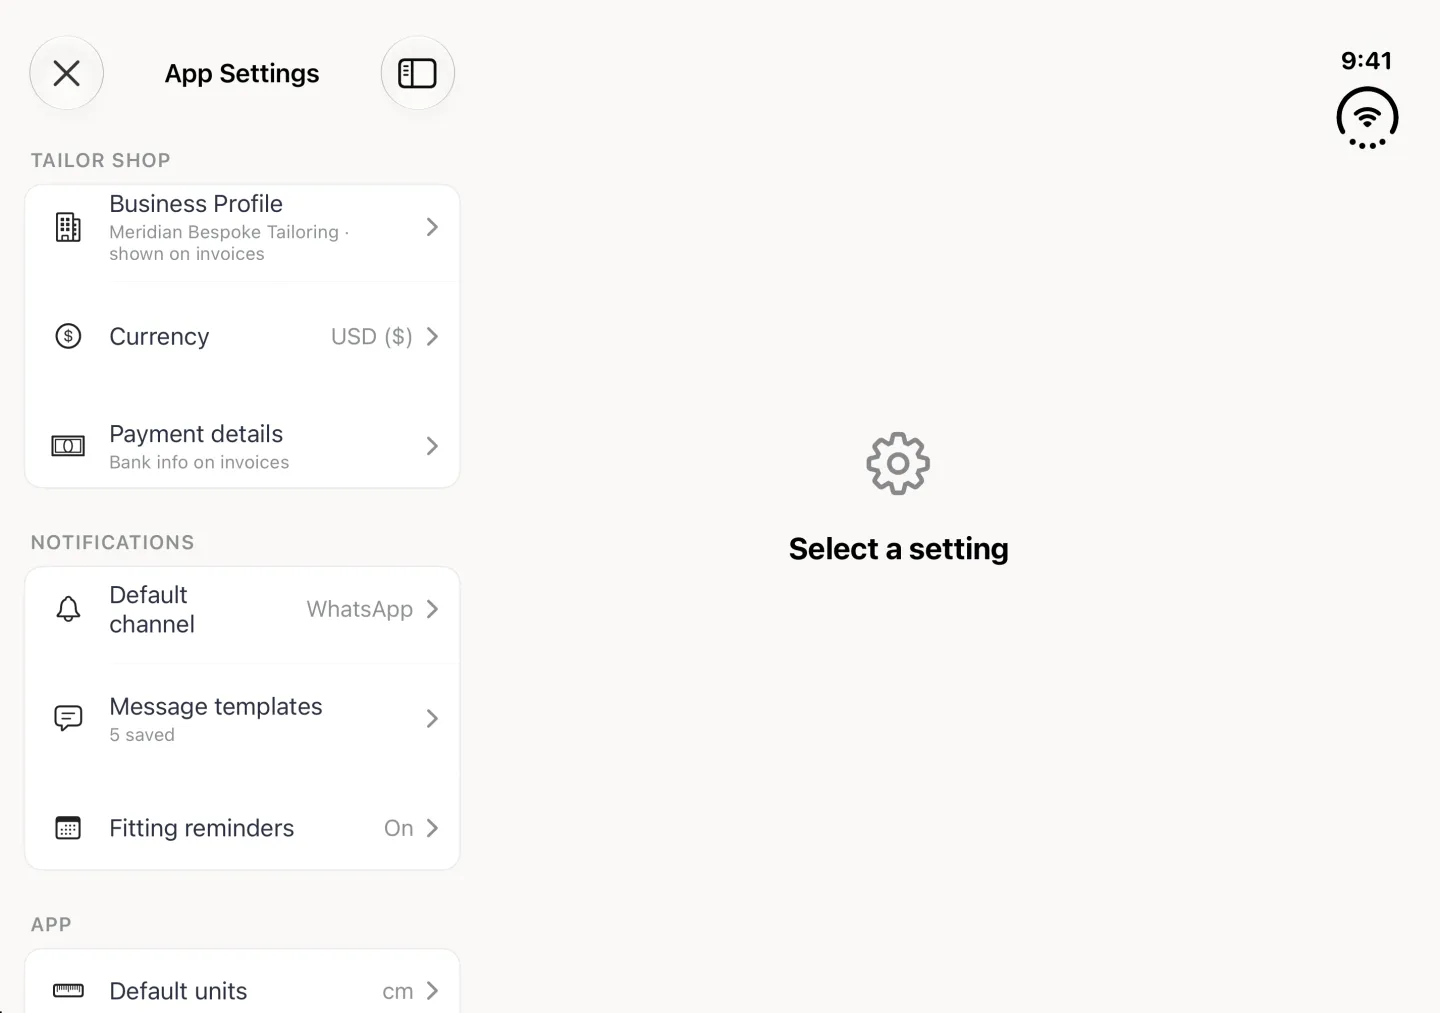
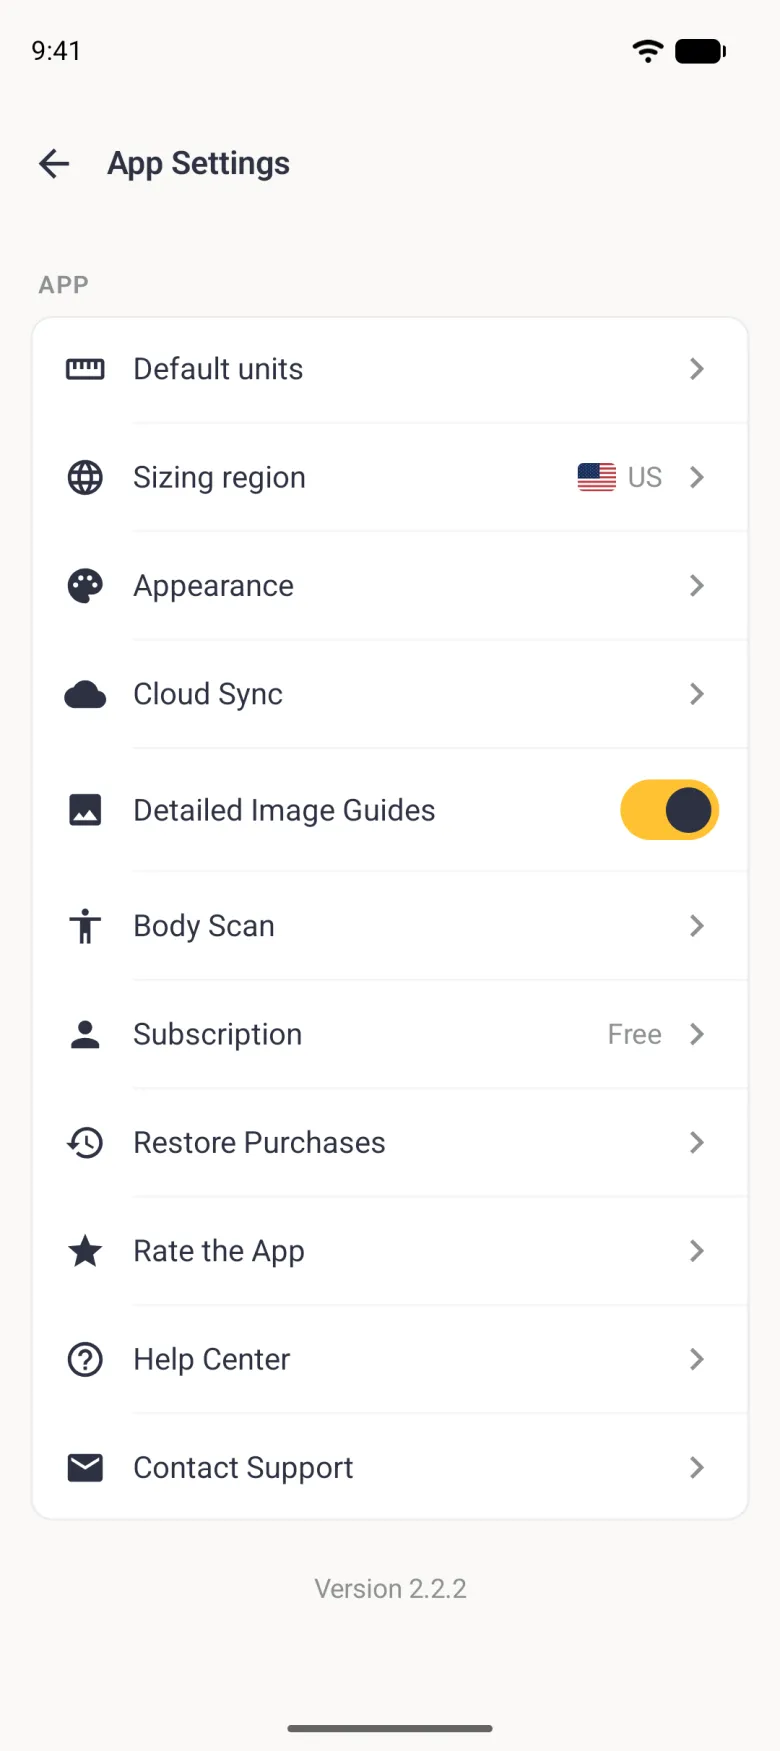
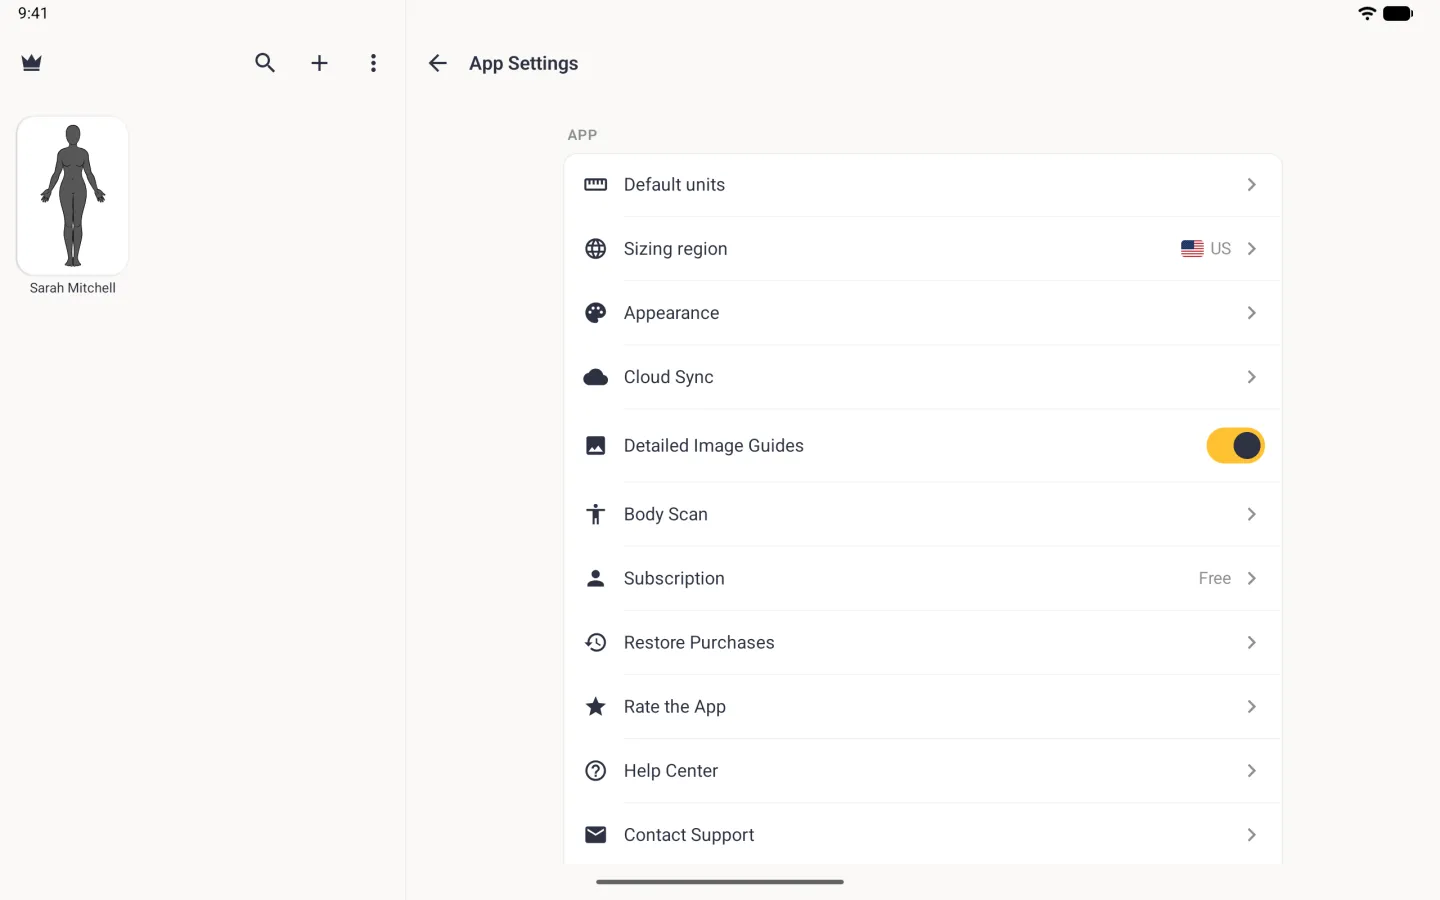
App Settings sits in the more menu (three dots) at the top right of the profile grid, or of the Clients tab if you have Tailor Shop, and in the Profile Options menu (three sliders) on an open profile. On Android it is in the ⋮ menu in each of those places. On iPhone App Settings opens as a sheet with a close button at the top left, and each row opens its page inside the sheet with a back button. What you see there depends on your plan: everyone gets the App section, and two further sections, Tailor Shop and Notifications, appear above it for Tailor Shop subscribers on iPhone, iPad and Android. Every row has a plain icon, and the on and off switches use your phone’s own switch style. On Android App Settings opens as a full page with a back arrow, and on an Android tablet it opens in the right-hand pane.
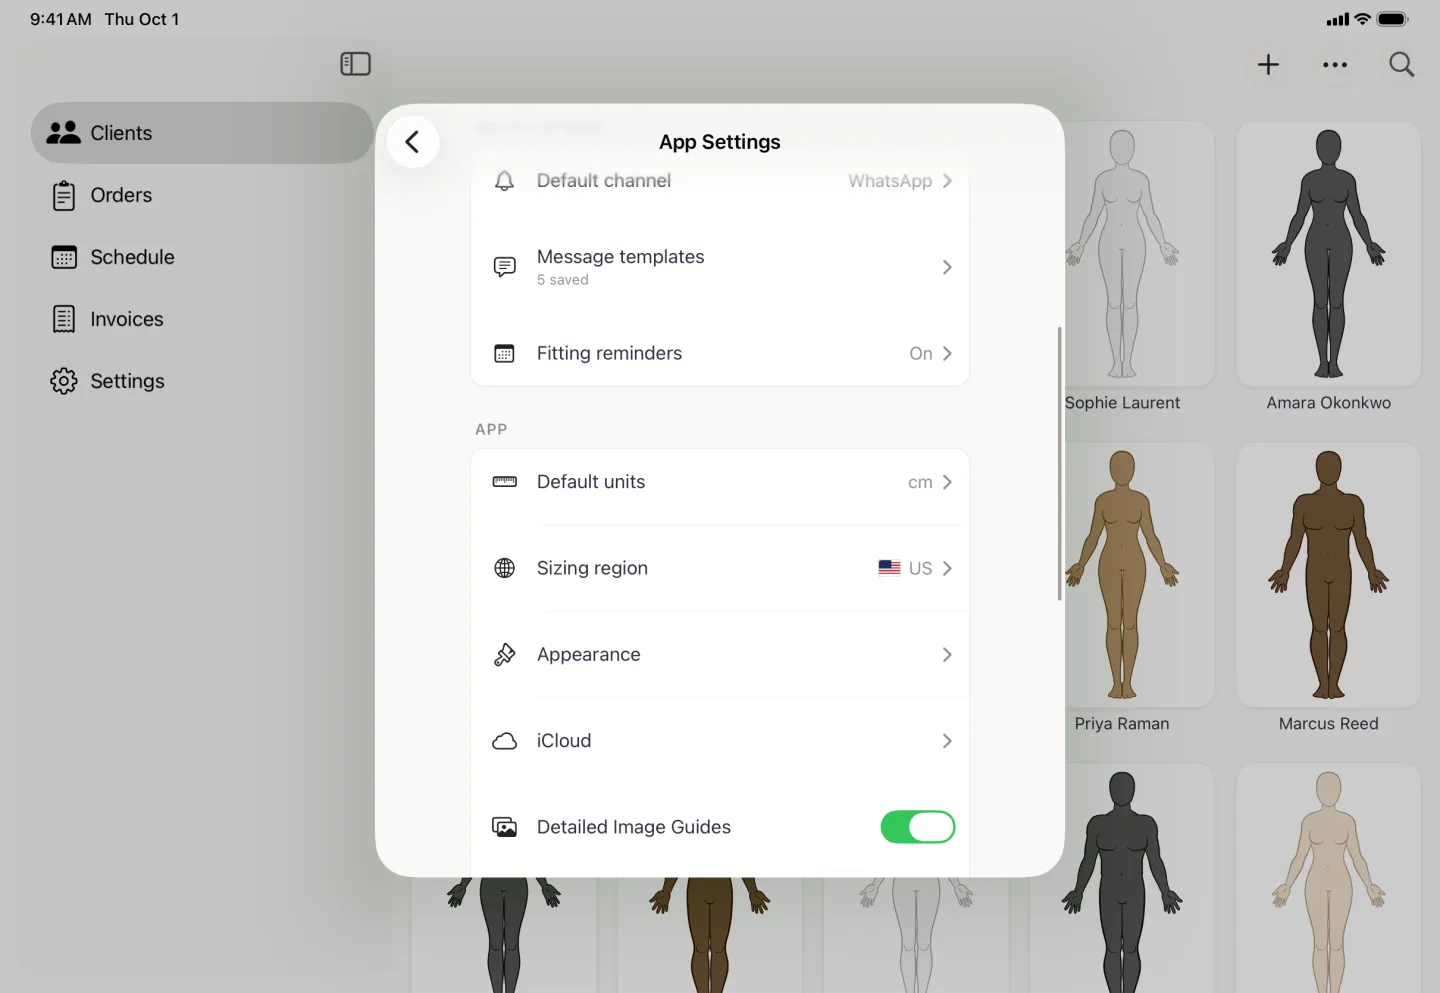
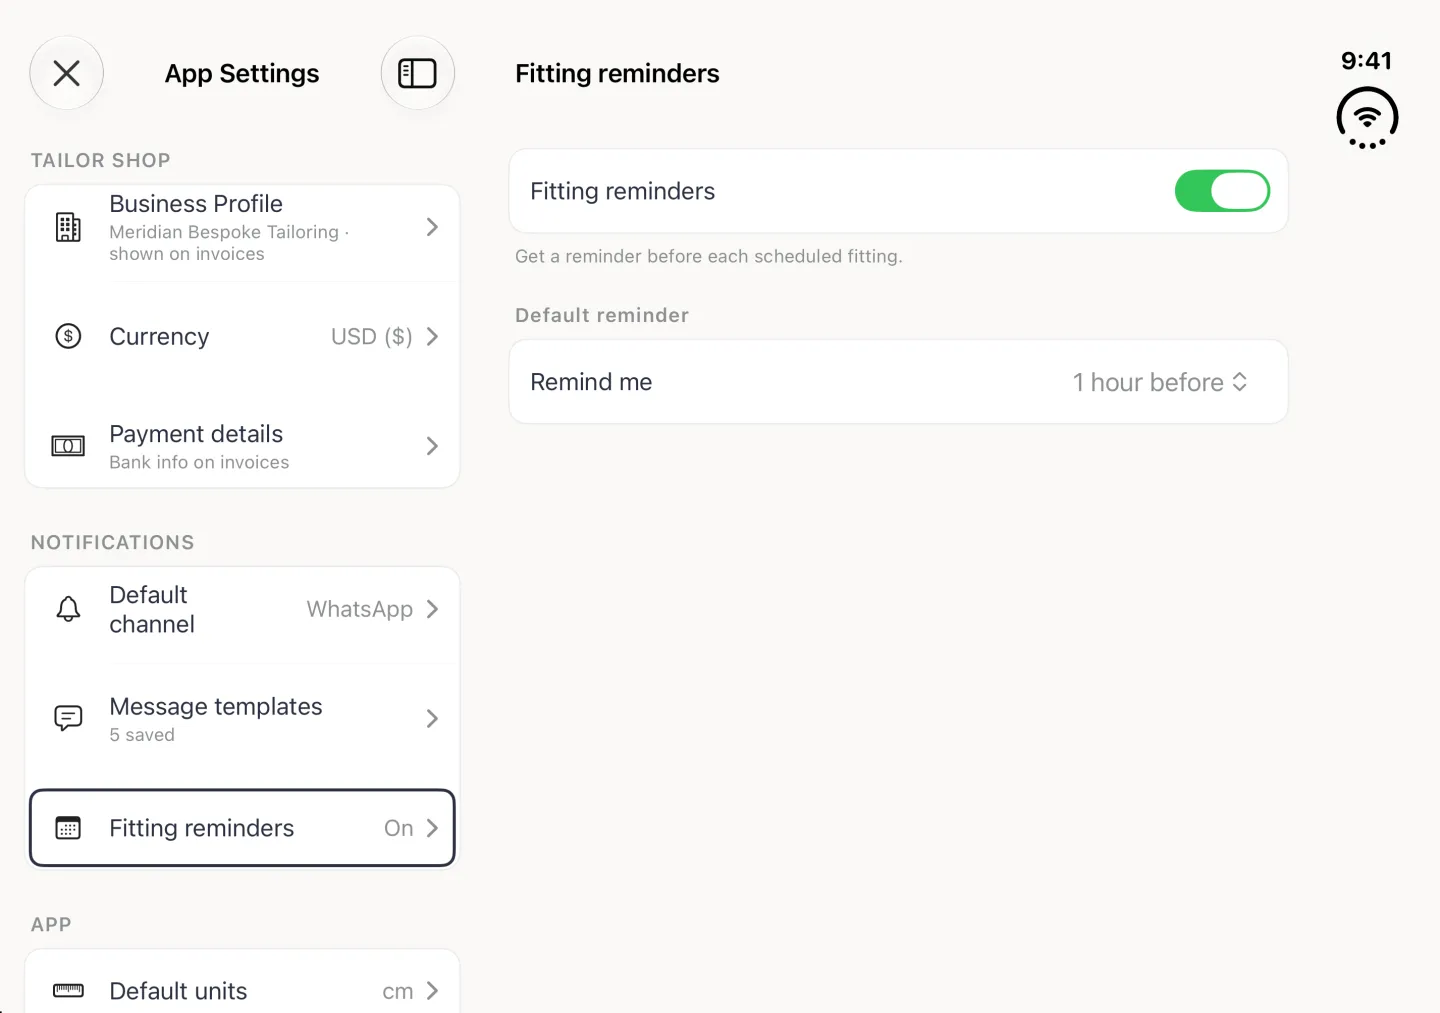
On iPad App Settings fills the screen as a split view: the list on the left and, on the right, the page for the row you pick, or Select a setting until you pick one. On iPhone Duo, opened, App Settings is the same split view, with the checkmark of a page you can save in the strip on the right edge; closed, it works like an iPhone with the close, back and checkmark buttons in the strip on the right.

What is in the App section?
The App section is the part every user gets, on iPhone, iPad and Android. It also holds your subscription and the support links, but a handful of rows are the ones you are most likely to change. Each takes effect as soon as you set it.
- Default units. Nothing is chosen until you tap a unit. Tap one to make it the starting choice for new profiles. Each profile keeps its own units, so this is not a conversion and existing profiles are not changed.
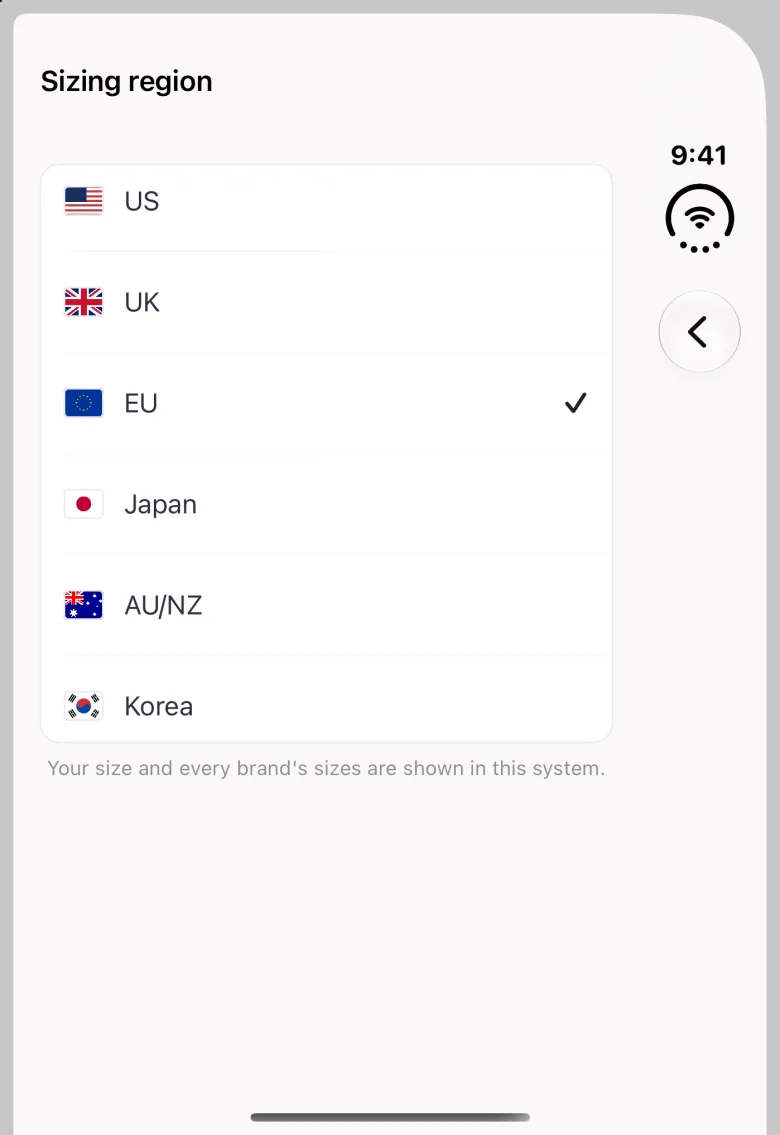
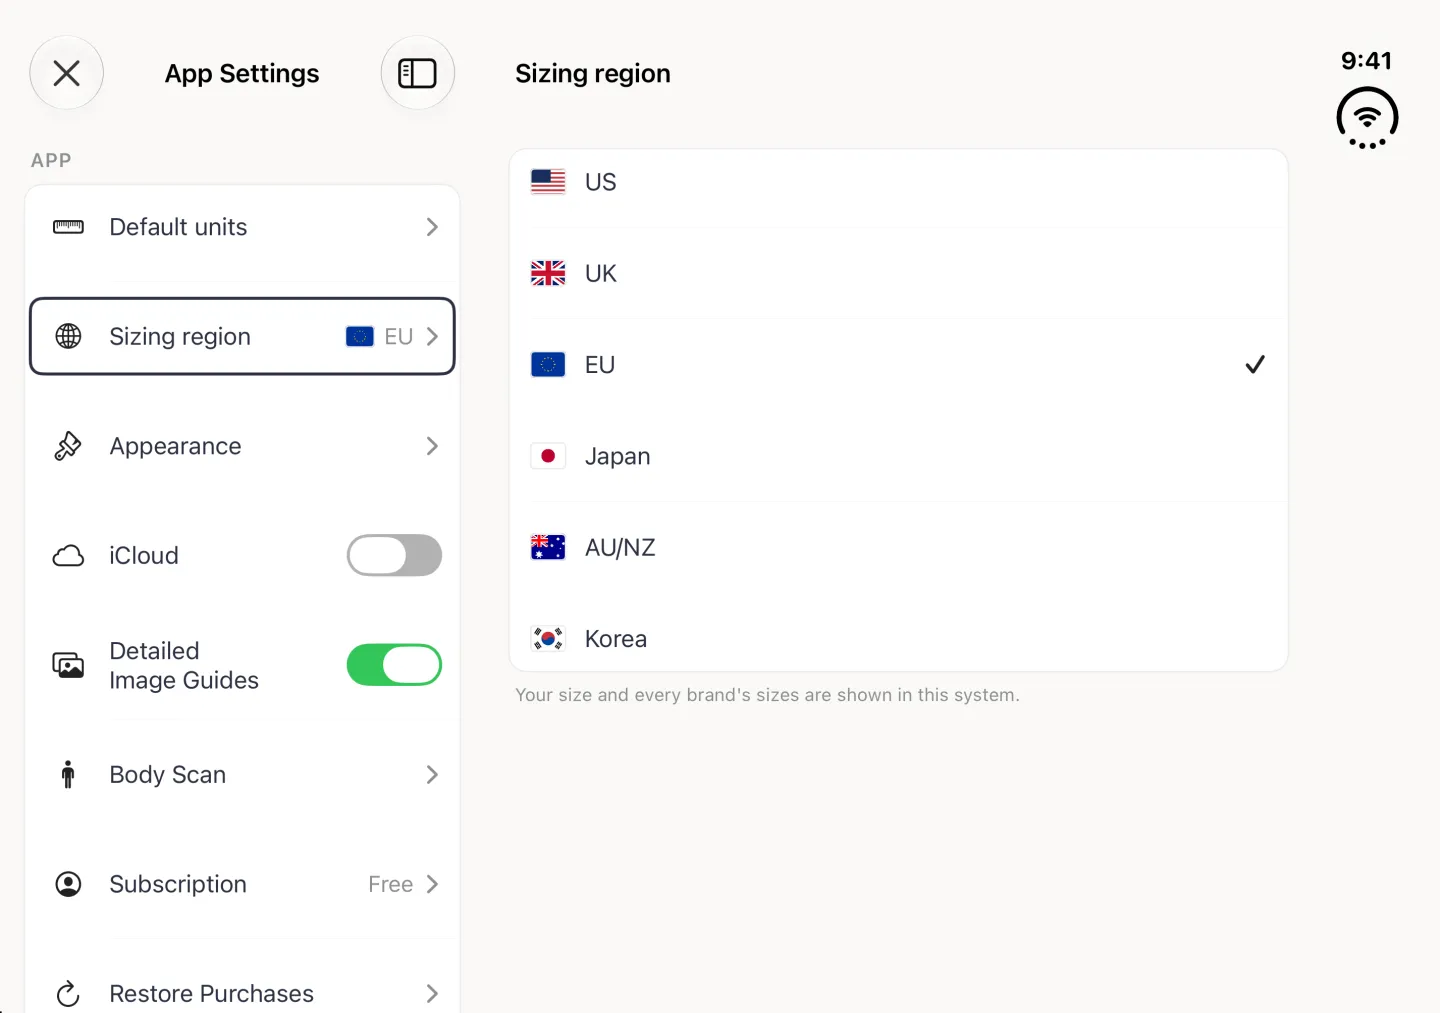
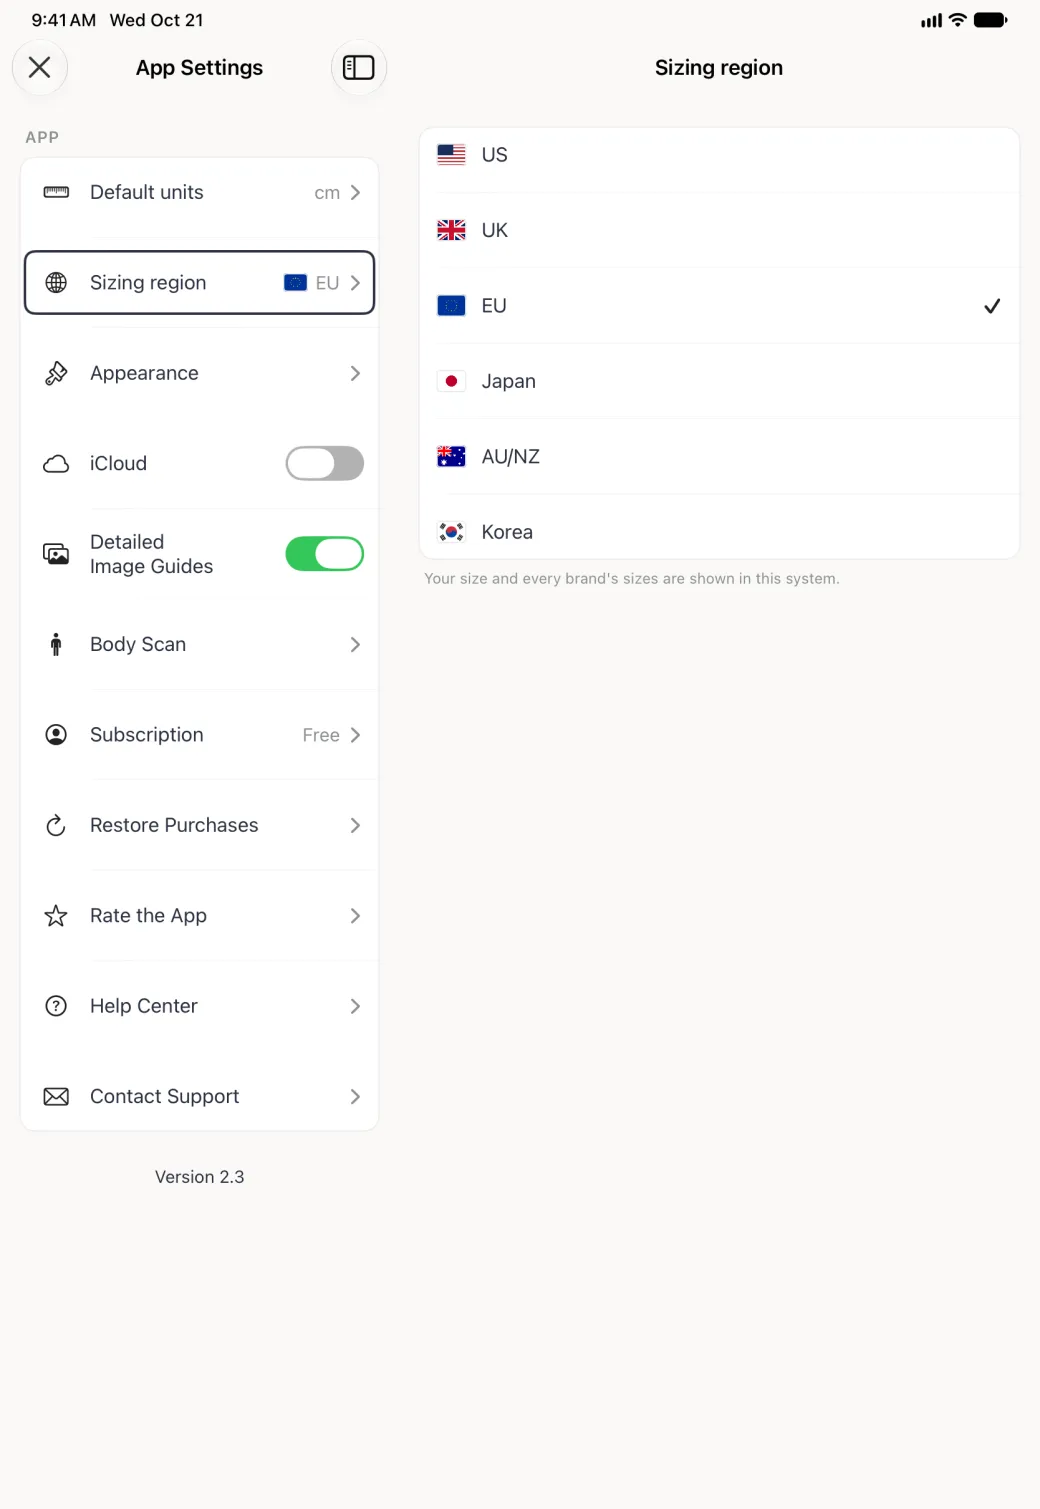
- Sizing region. The sizing system your sizes are shown in, with its flag and code at the right of the row. It is covered in the next section.
- Appearance. Light mode, dark mode, or Automatic, which follows your phone.
- iCloud. Cloud backup and sync, on iPhone and iPad. On the free plan this row is a switch. With Tailor Shop it opens a fuller iCloud settings page, covered in Sync and backup.
- Cloud Sync. On Android the App section has a Cloud Sync row in place of iCloud, also covered in Sync and backup.
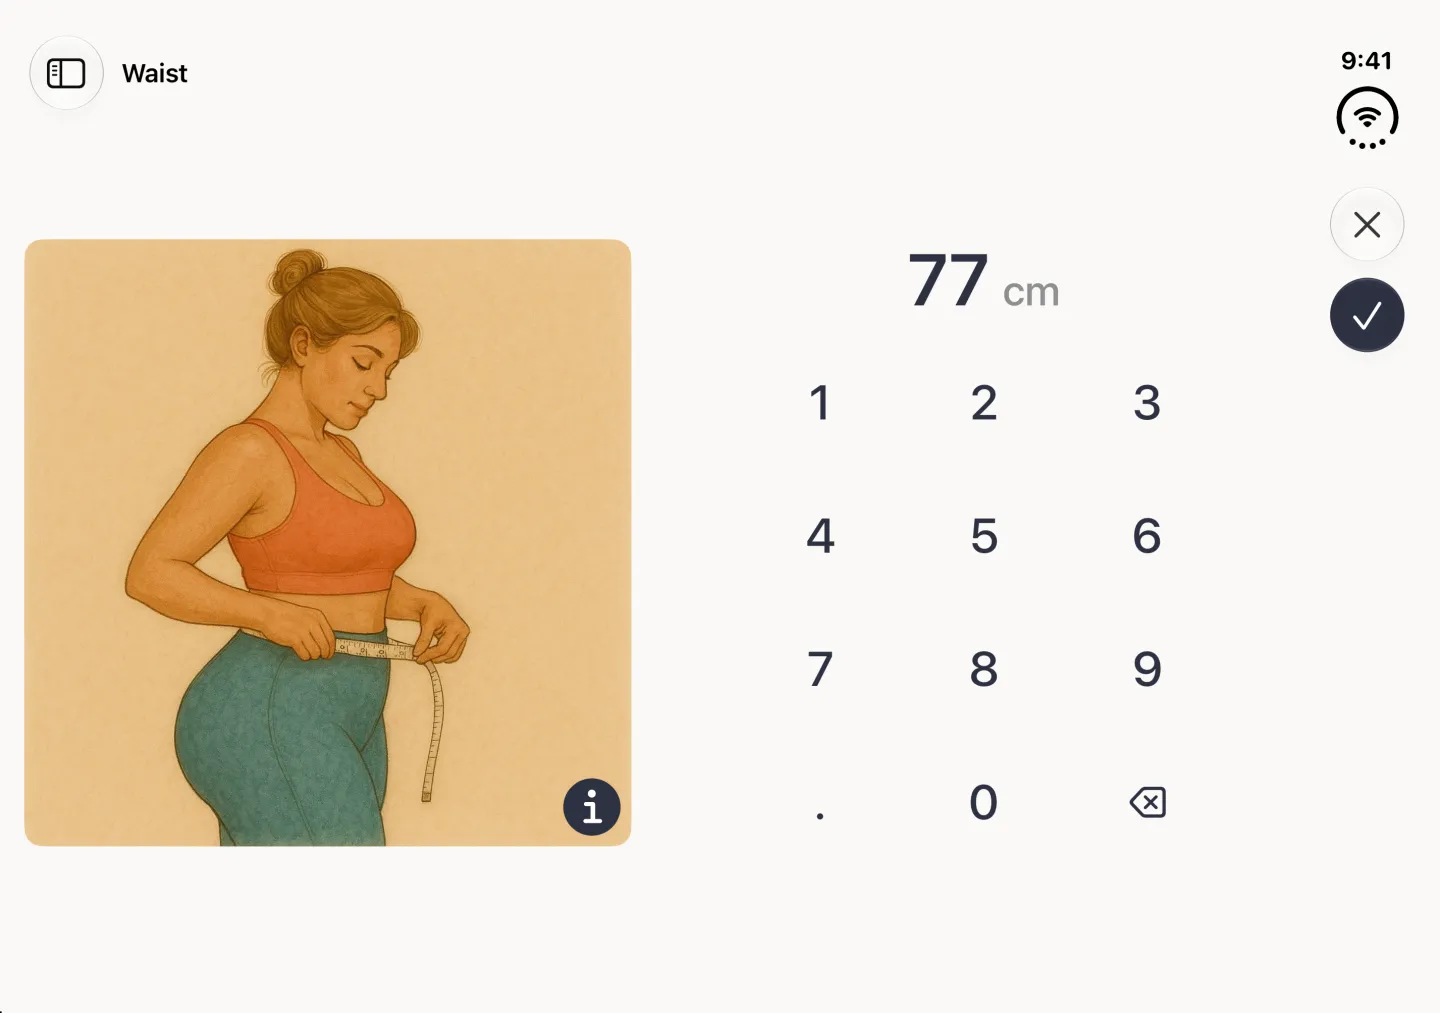
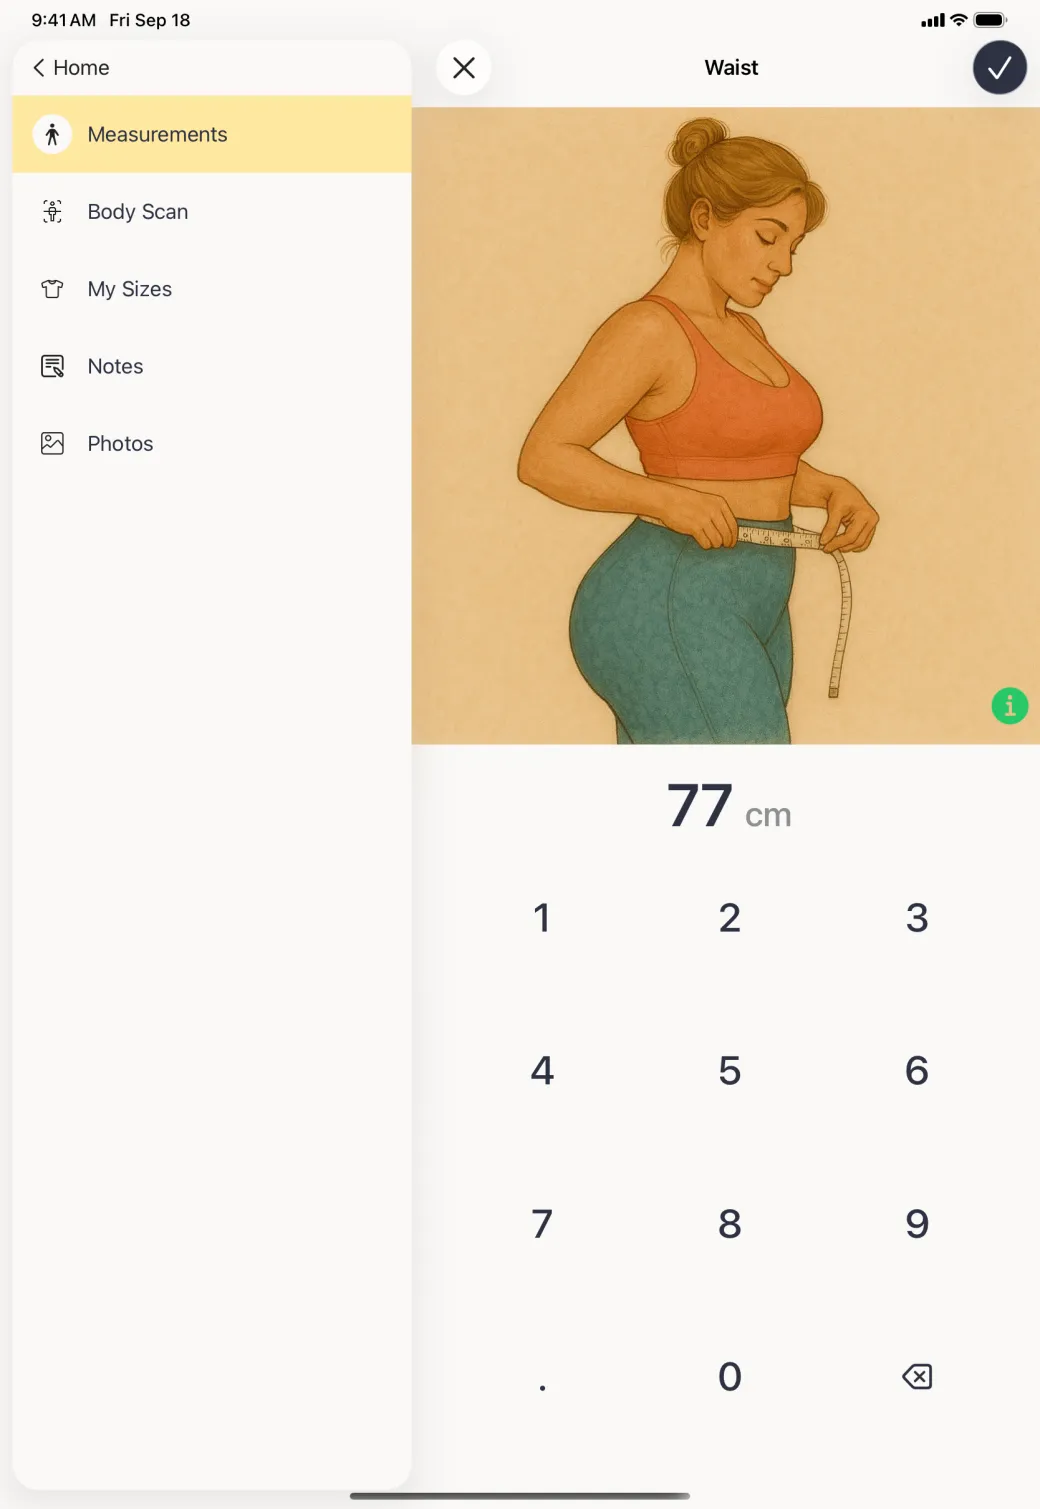
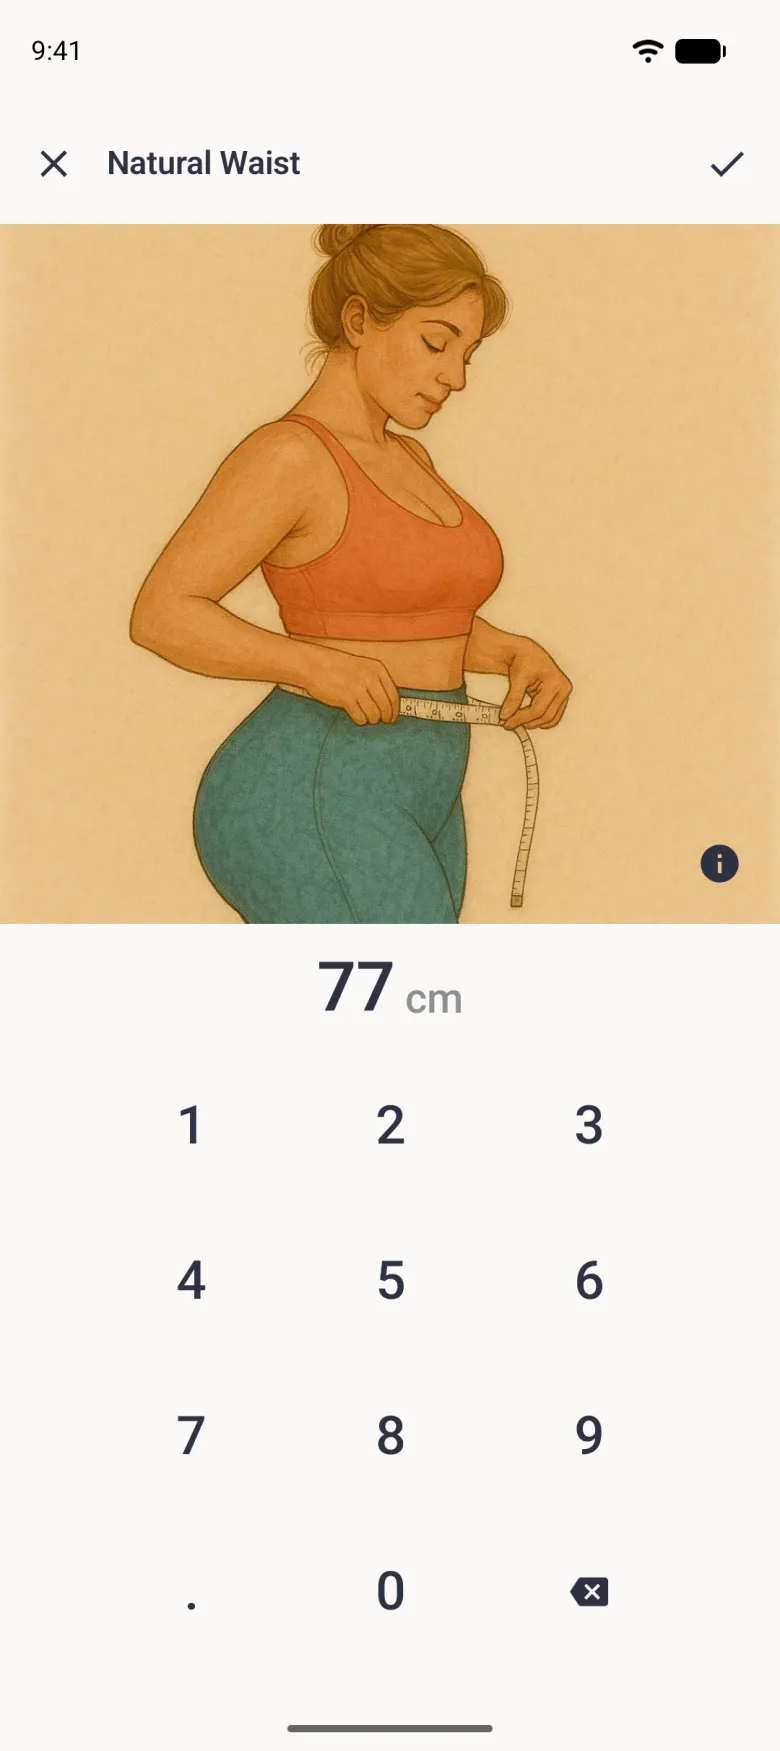
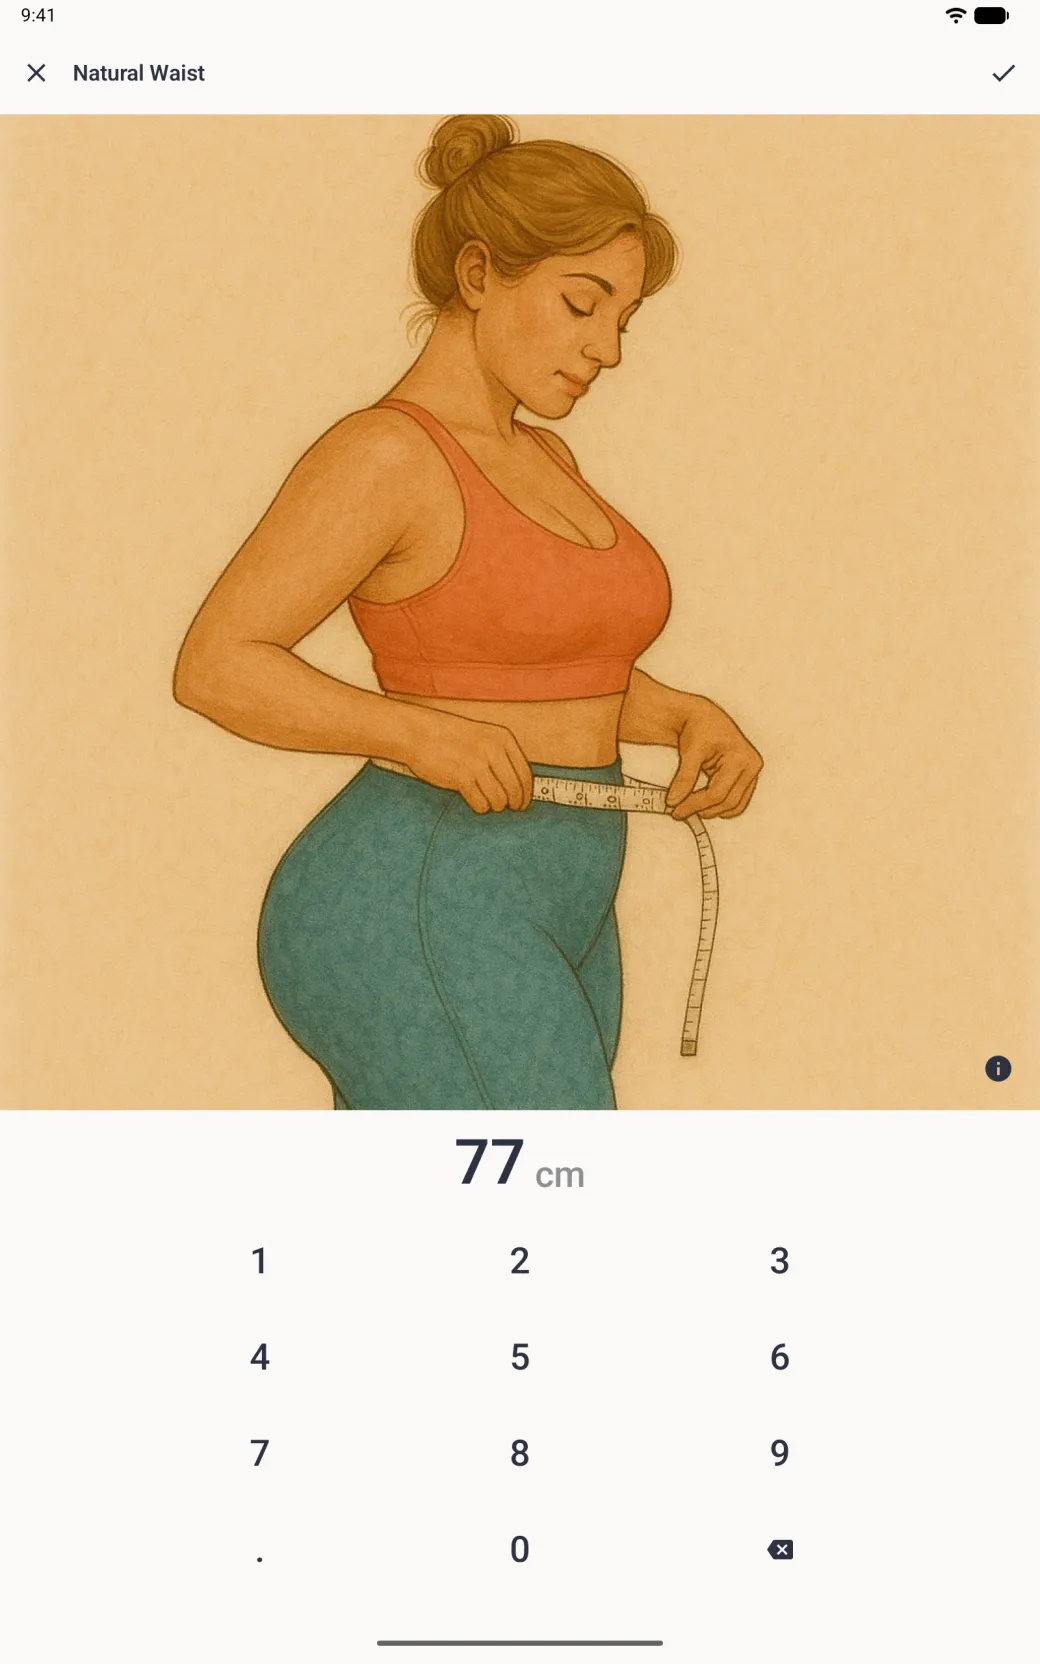
- Detailed Image Guides. The artwork on the measurement entry screen, described below.
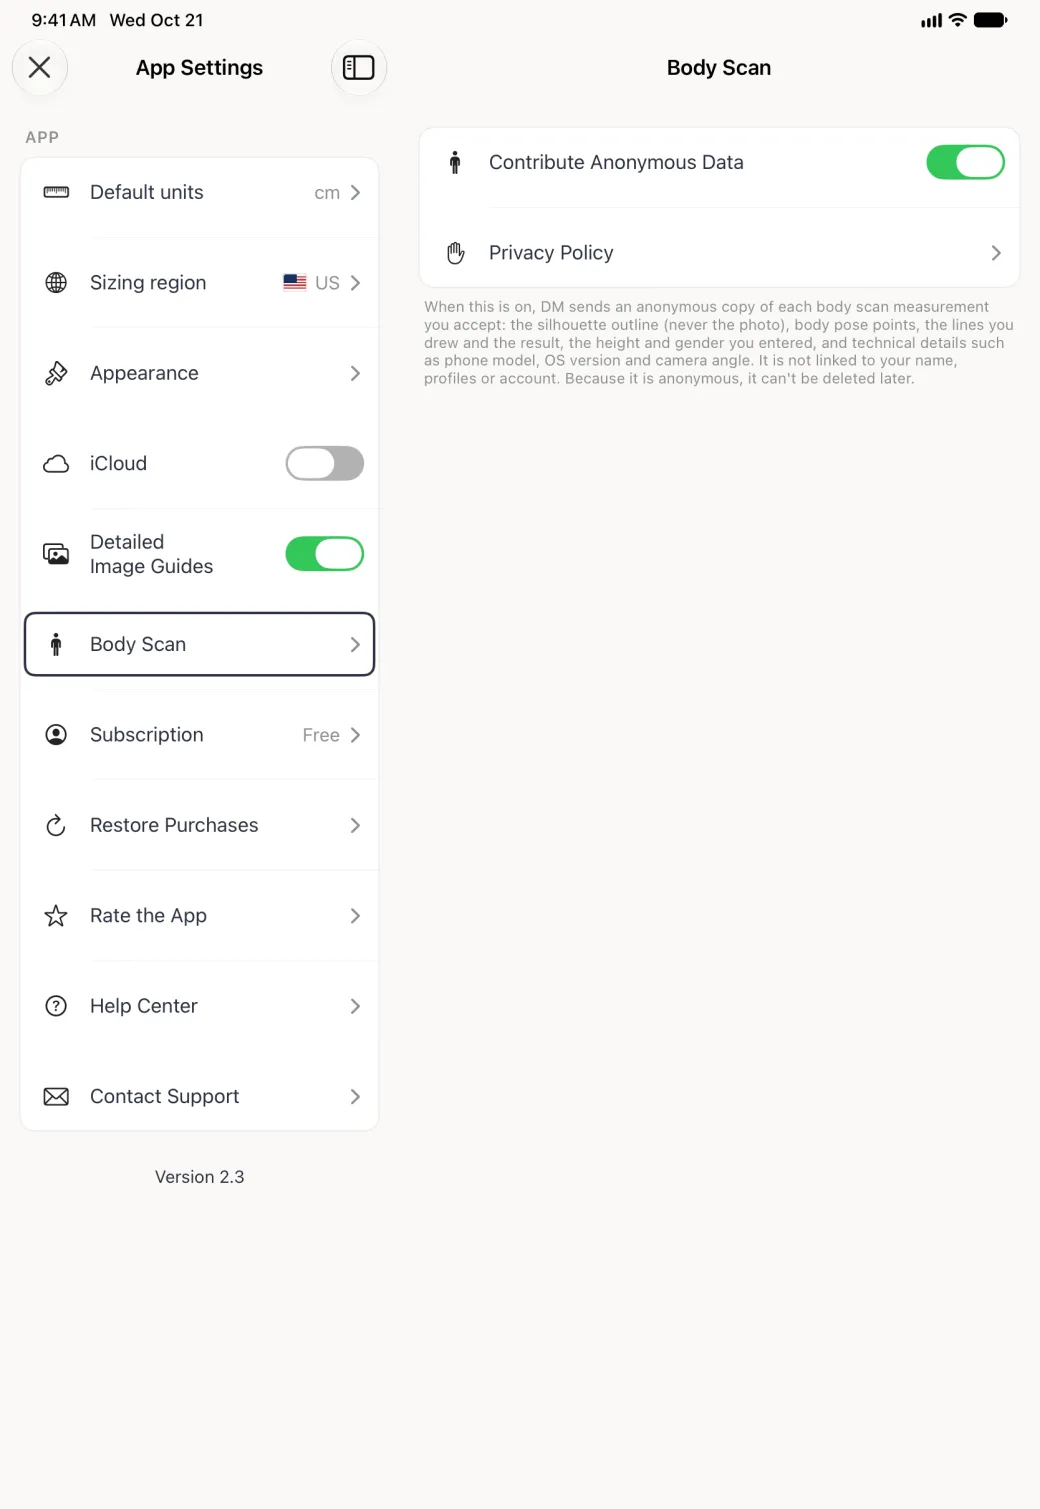
- Body Scan. Holds the optional anonymous data sharing switch, covered in the section after next.
Which sizing region should I choose?
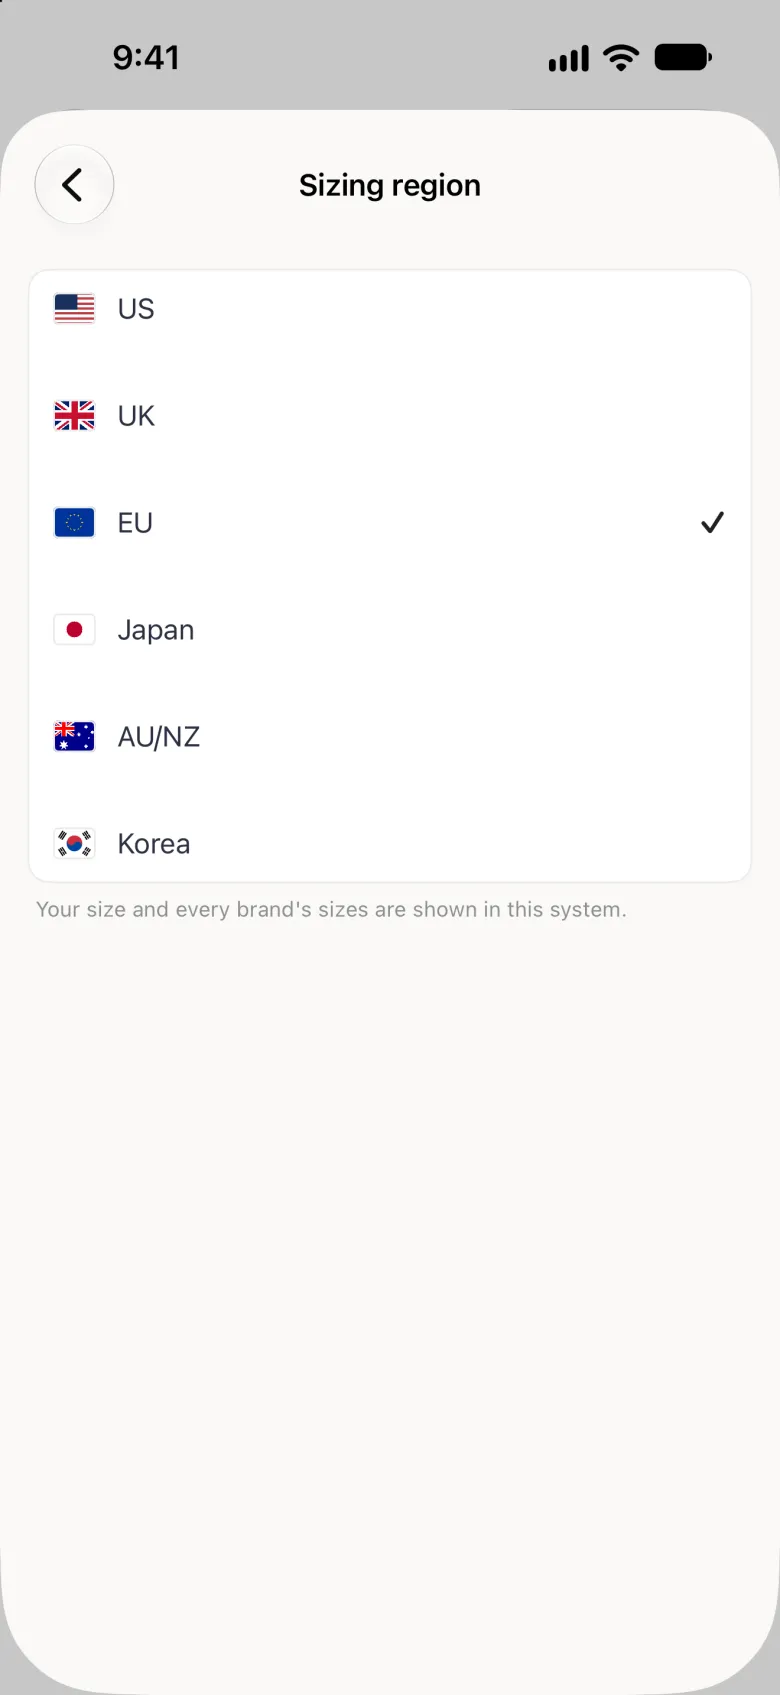
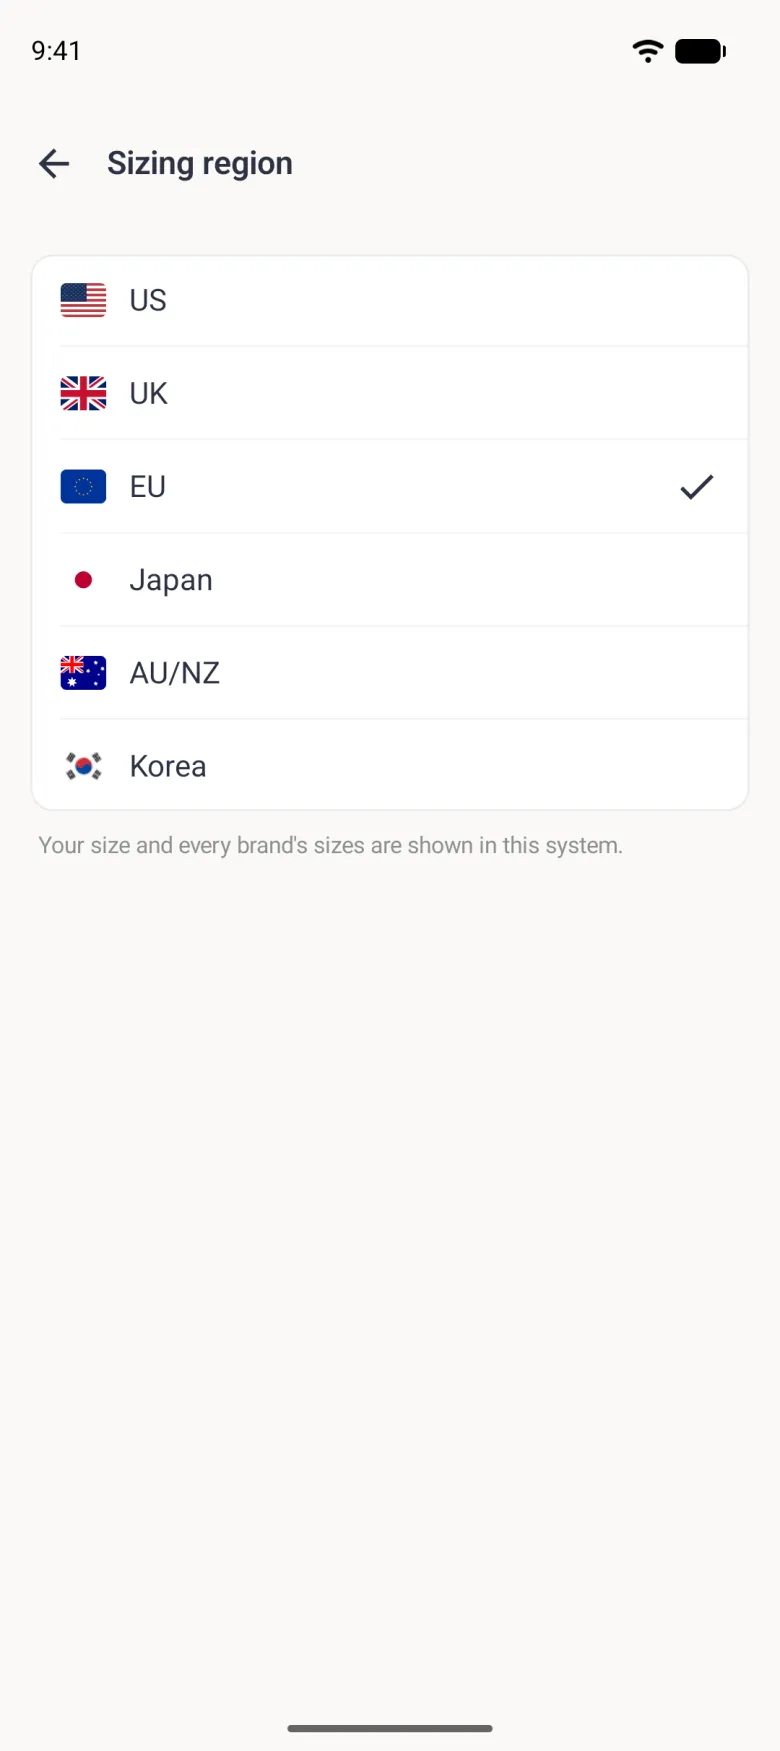
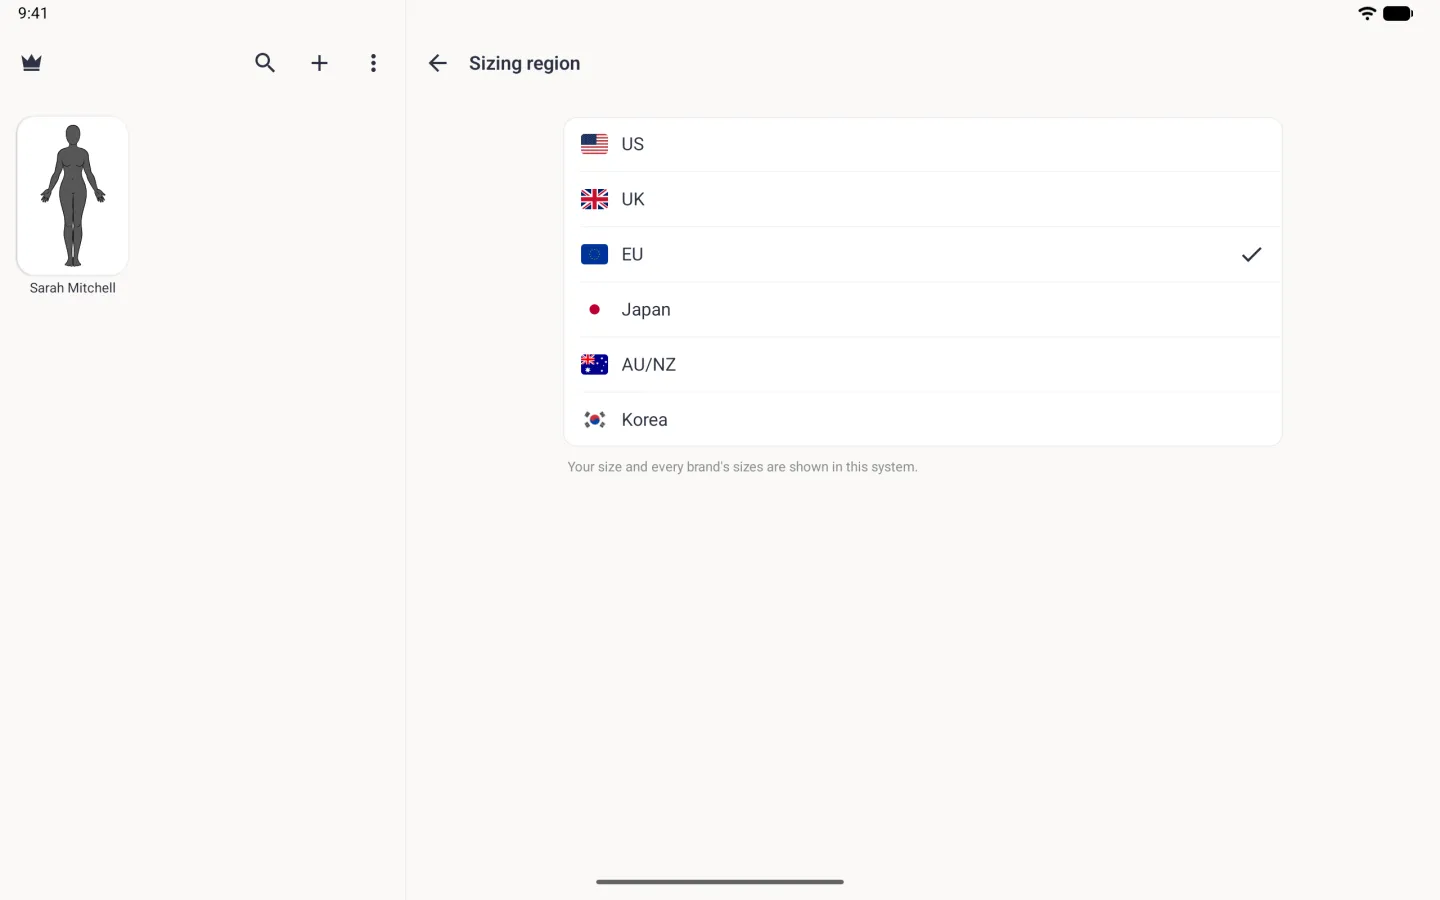
Choose the sizing system you shop in: US, UK, EU, Japan, AU/NZ or Korea. Your own size and the brand sizes on the Sizes tab are shown in that system, so a UK shopper sees a size such as UK 12 where a US shopper sees a US 8. Setup asks you once, and the phone’s own region is used until you choose.
- Open App Settings and tap Sizing region in the App section. The row shows the current region’s flag and code.
- Tap the region you want. The tick moves to it at once and the screen stays open.
- Tap the back button to return to App Settings, where the row now shows the new flag and code.
On iPad and on iPhone Duo, opened, the Sizing region page opens beside the list, so there is no back button to tap: the row on the left shows the new flag and code as soon as you pick a region.
Changing the region does not change your measurements, only how the sizes are written. You can also switch it from the International Sizes tiles on the Sizes tab, which is covered in Getting a size recommendation.
Where do I turn anonymous scan sharing on or off?
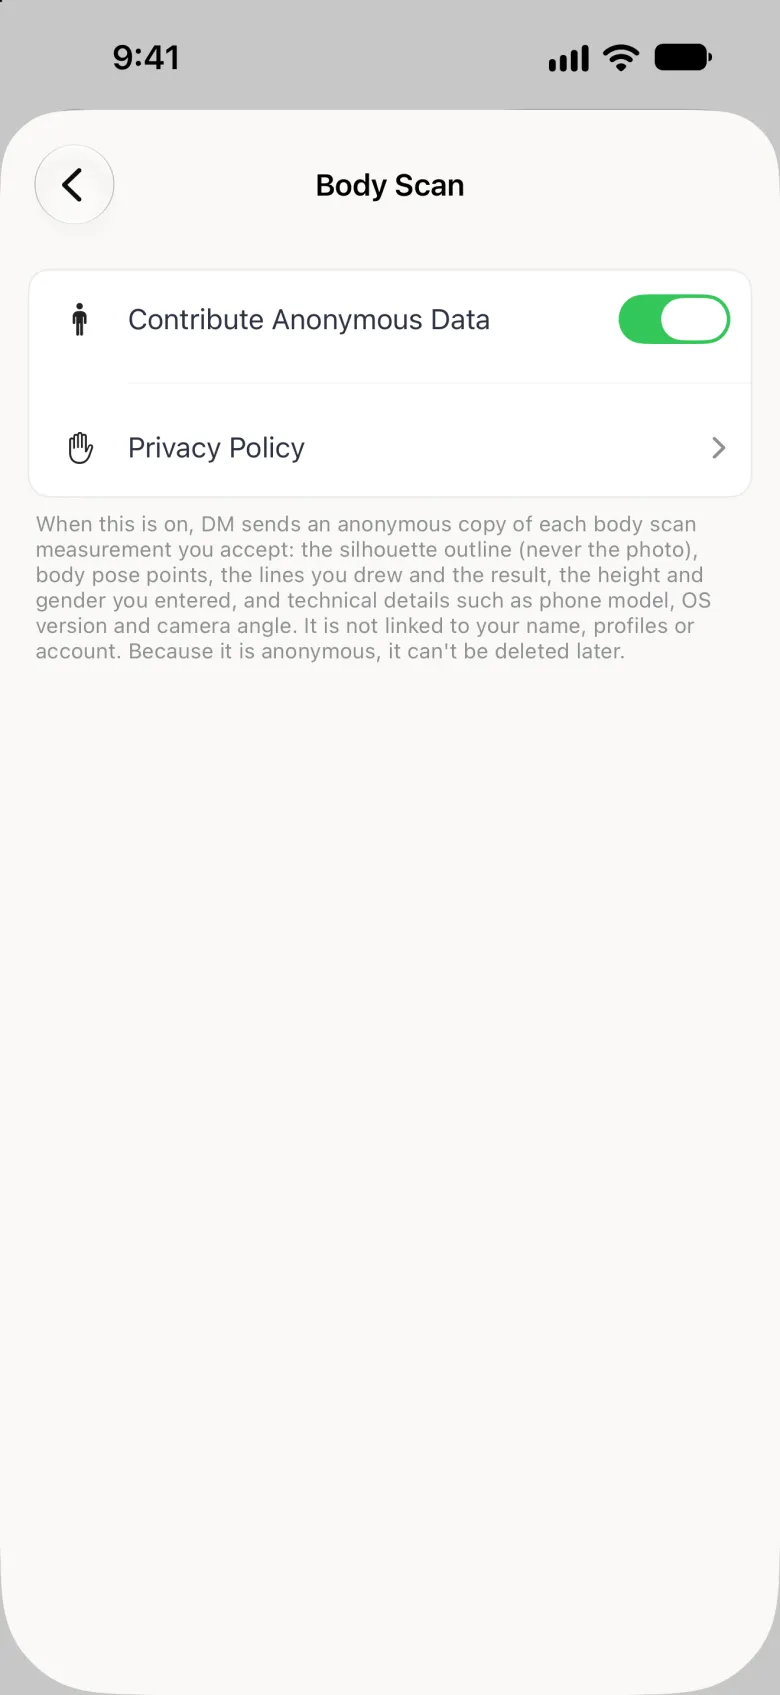
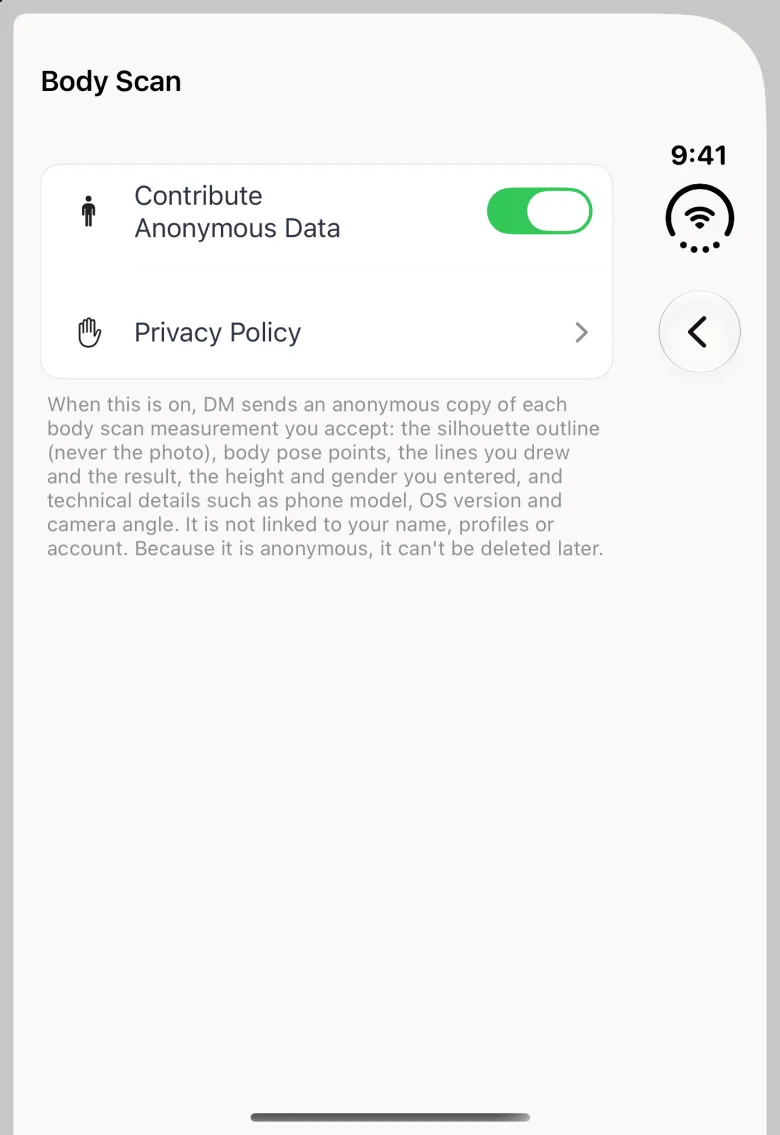
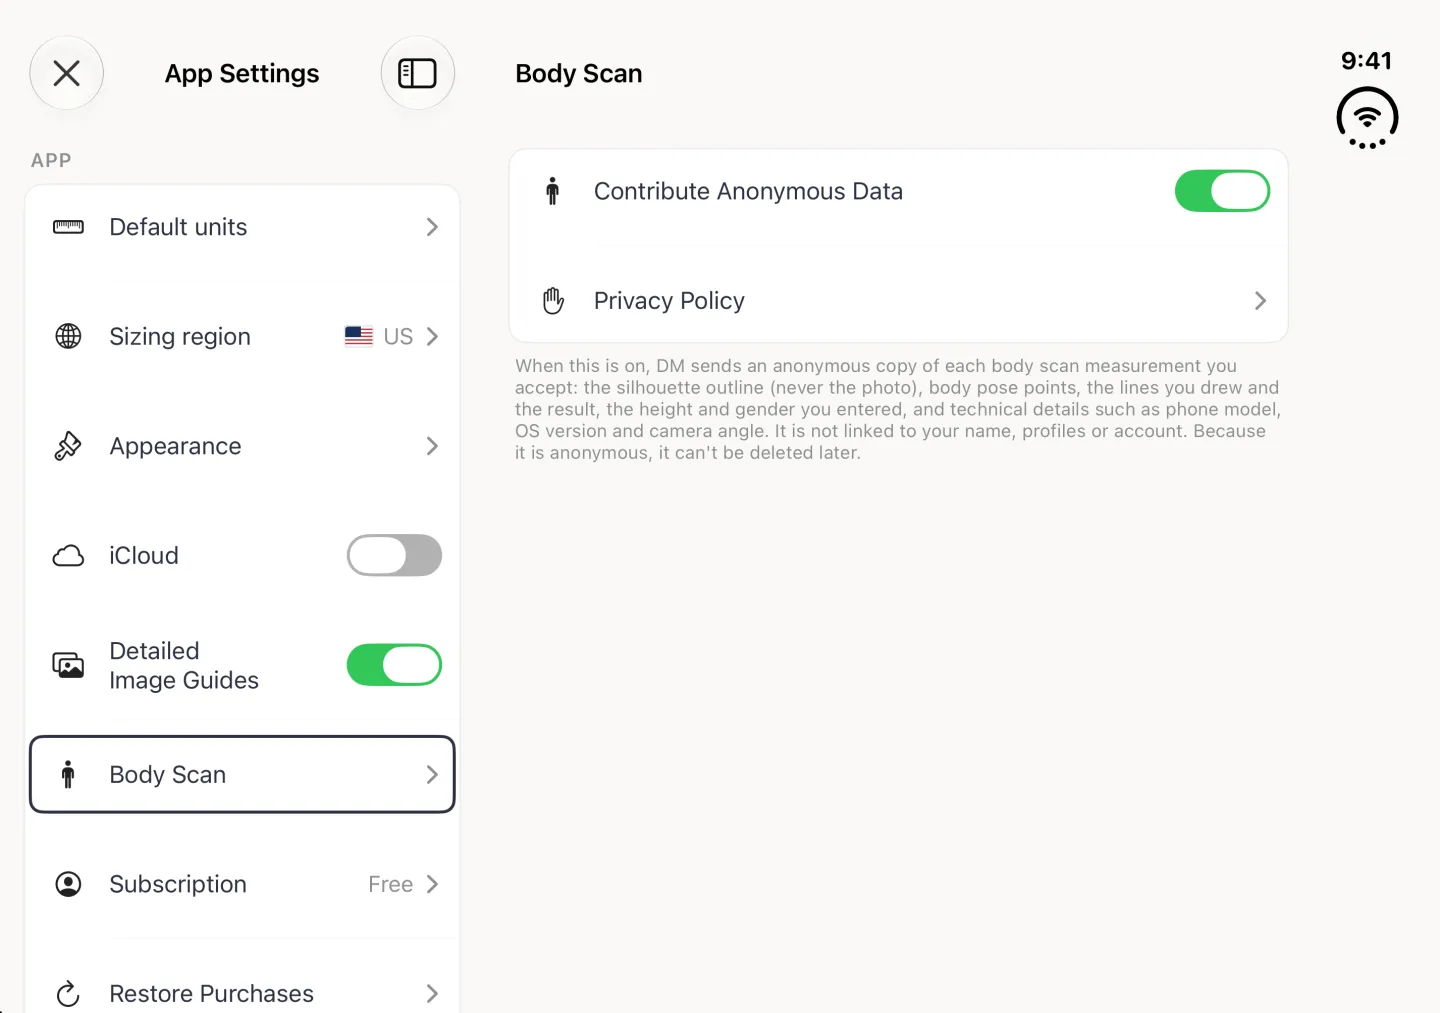
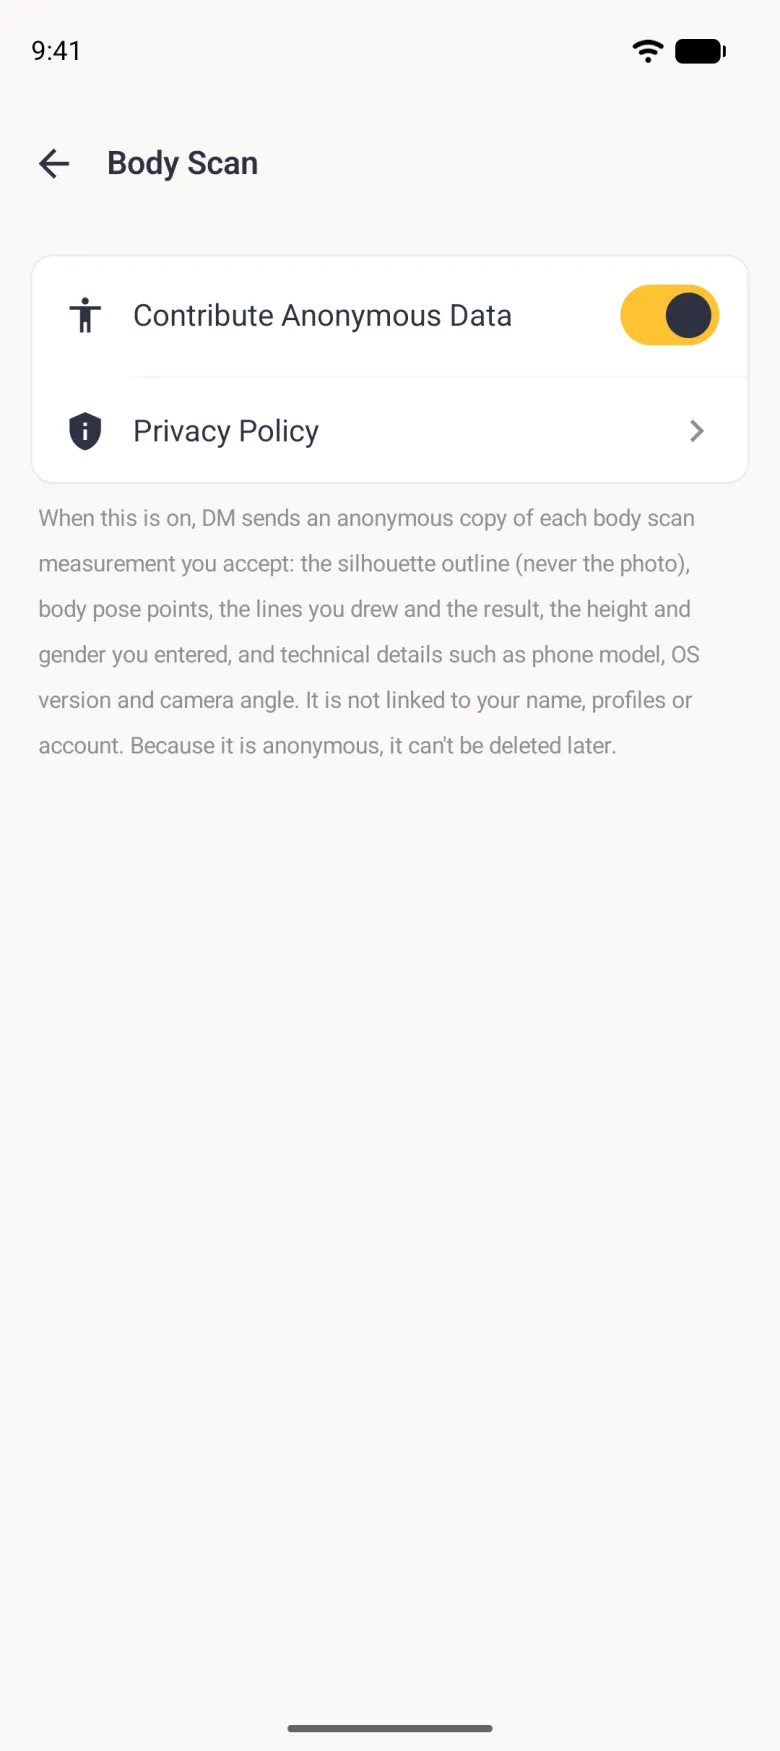
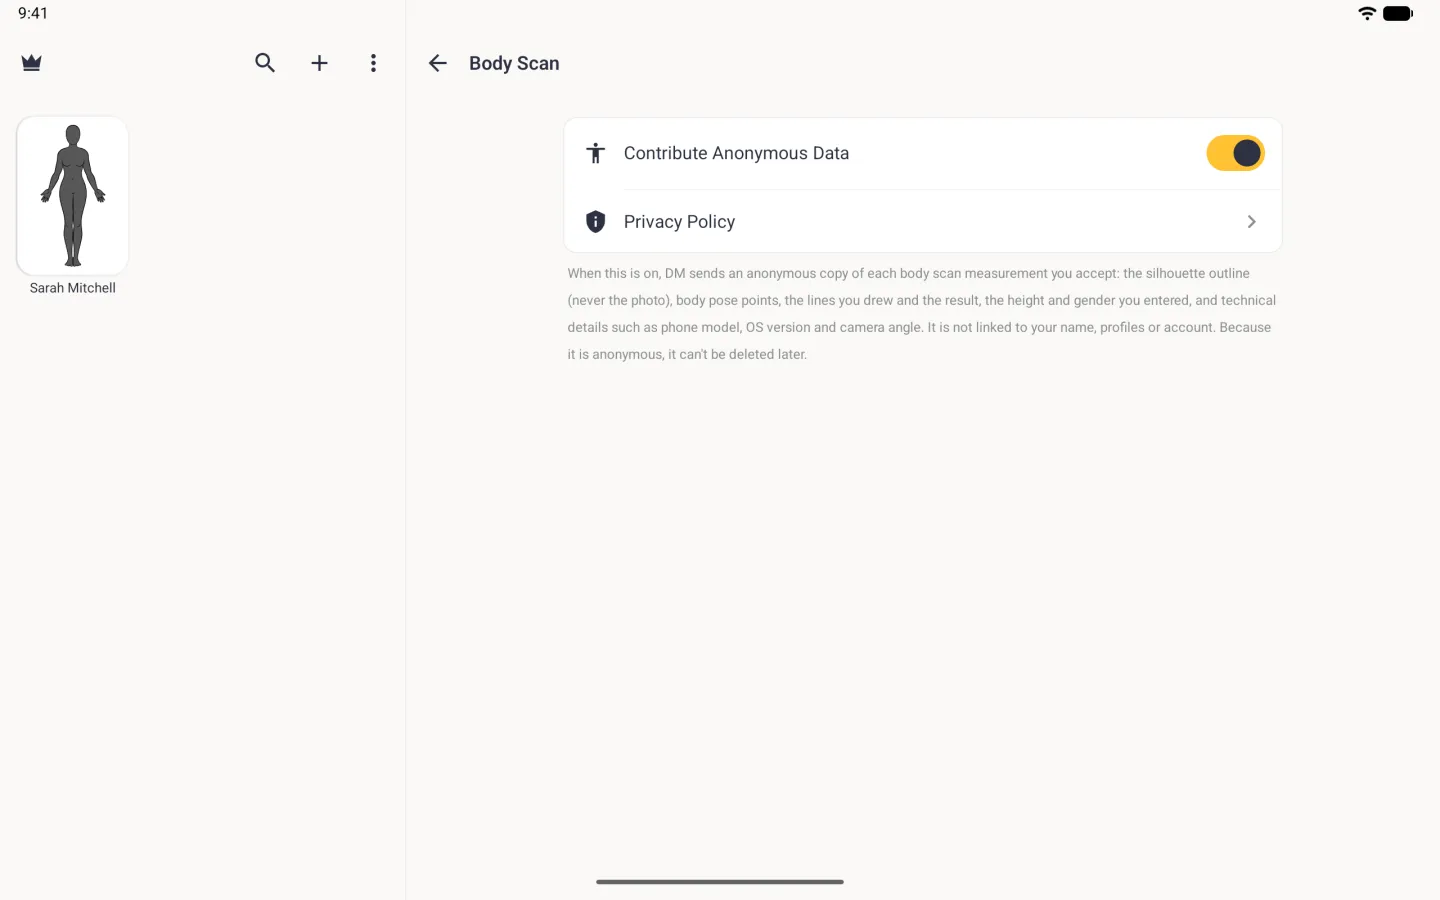
Open App Settings and tap Body Scan. The Contribute Anonymous Data switch there is off unless you agreed to sharing when Dress Measurement asked or switched it on here, and you can flip it at any time. Once you have contributed, the row also counts how many measurements have been shared, and a Privacy Policy row opens our privacy page. Sharing scan data explains exactly what is and is not sent.
Which measuring guide do you want to see?
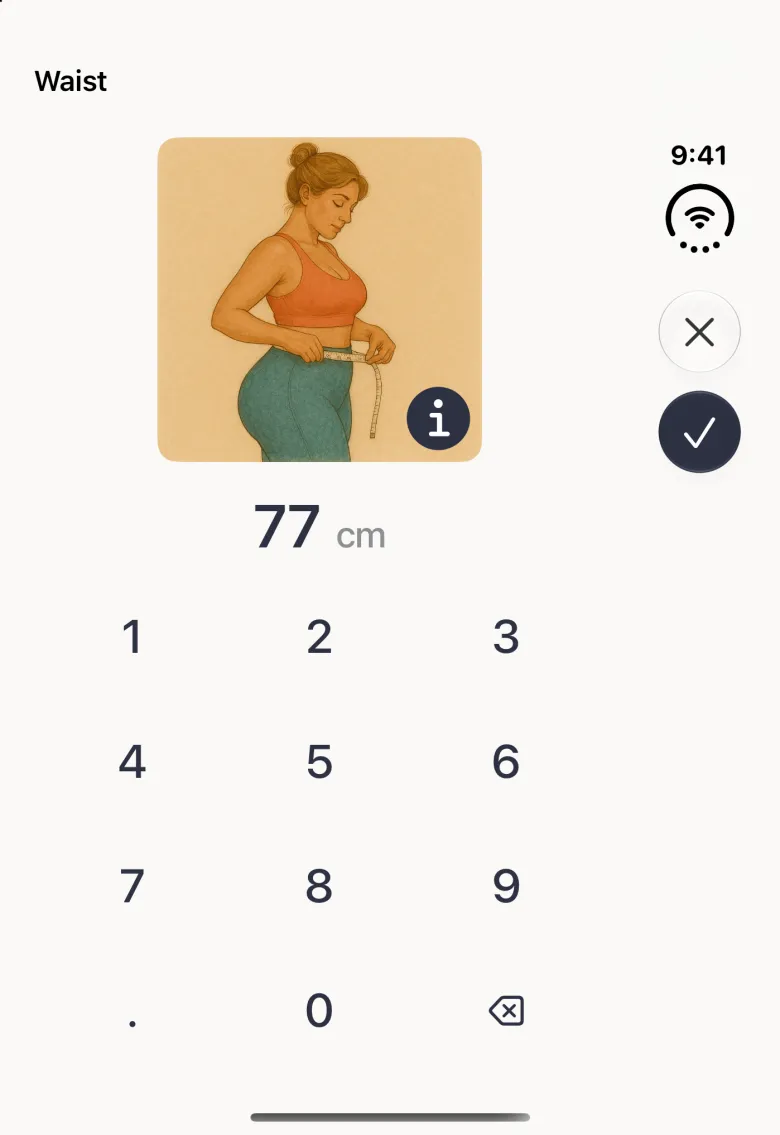
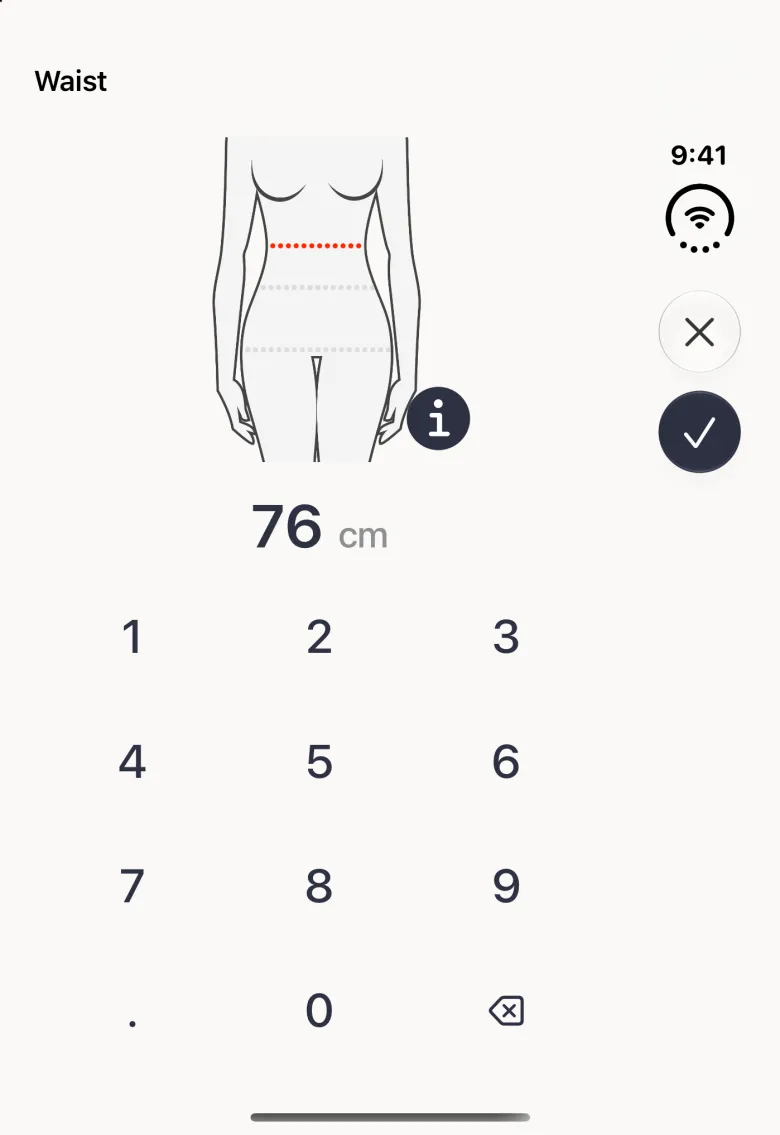
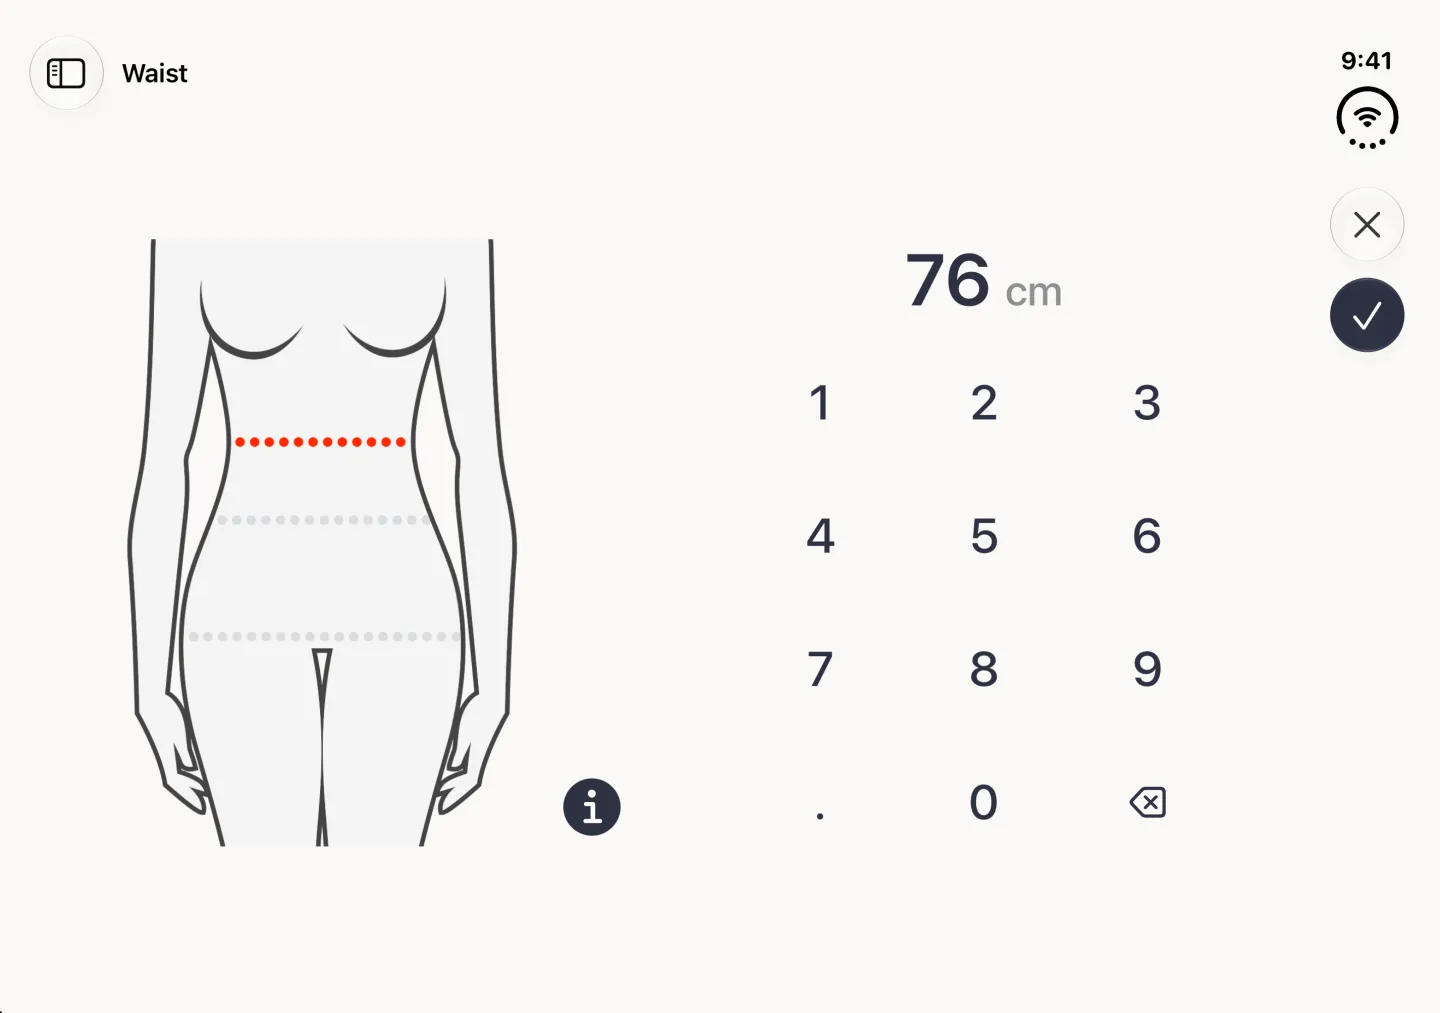
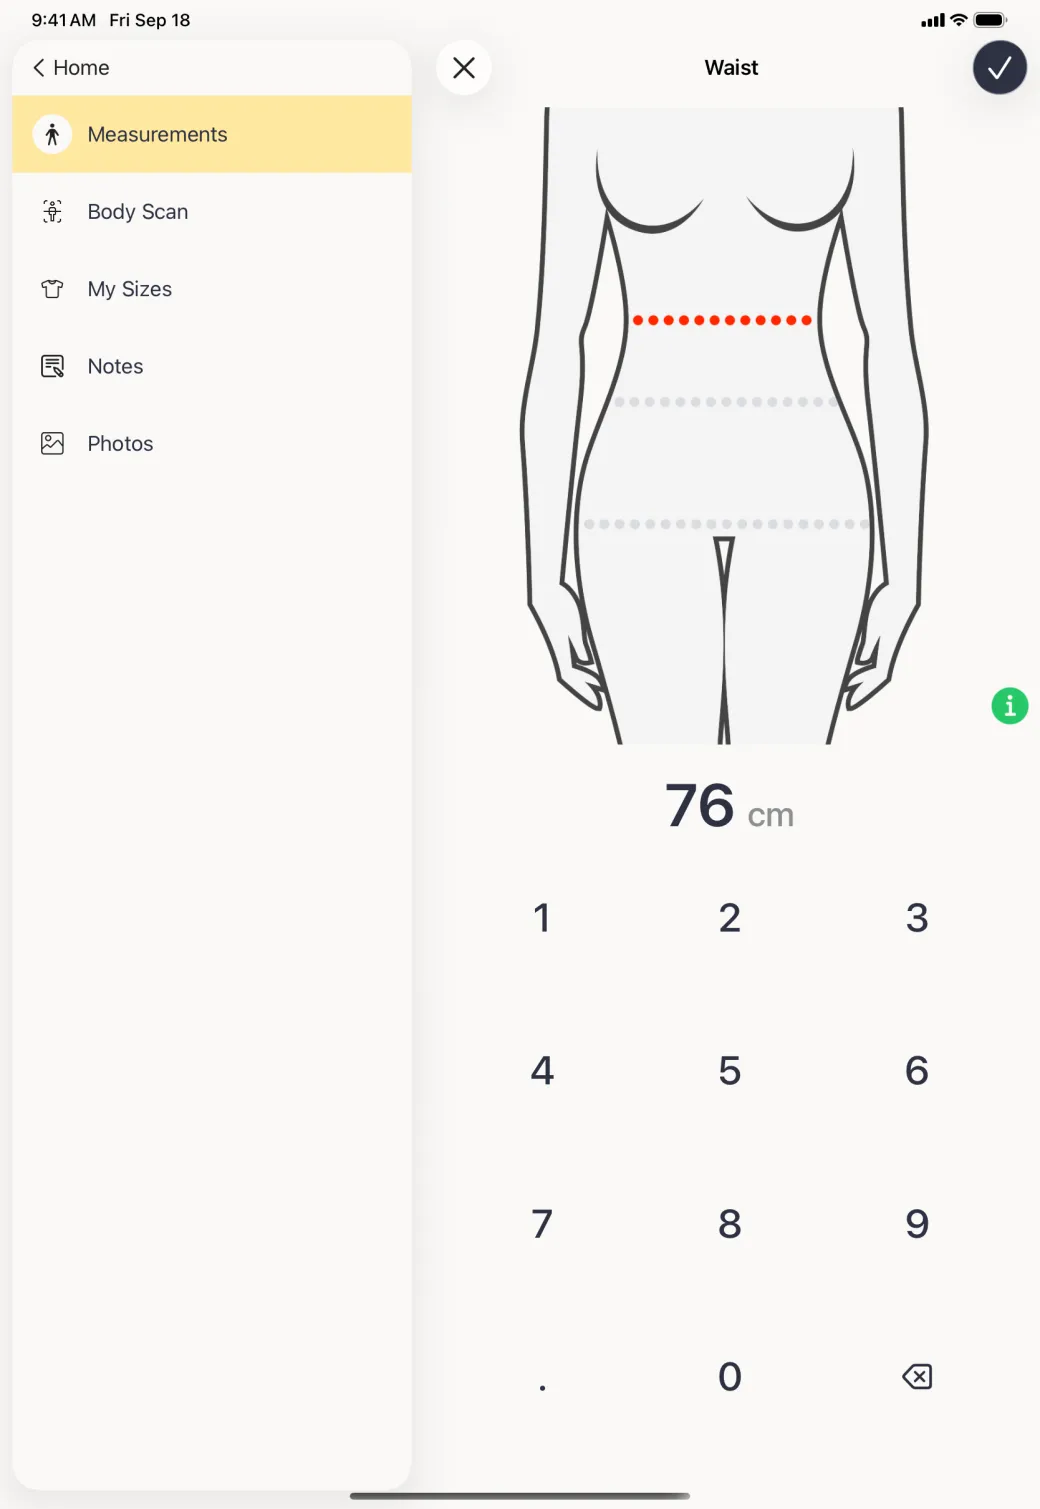
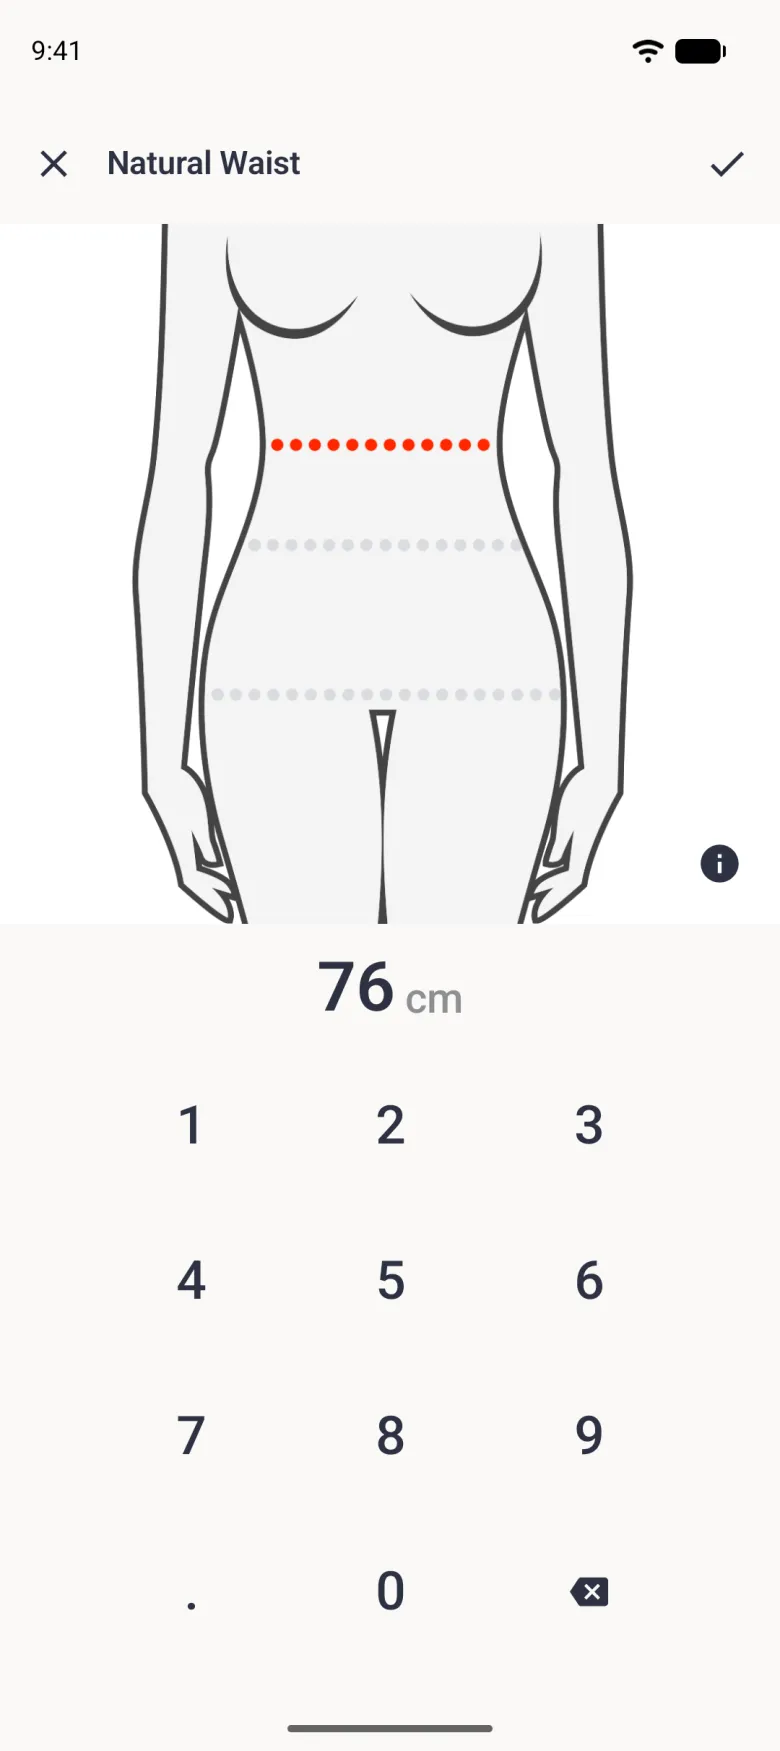
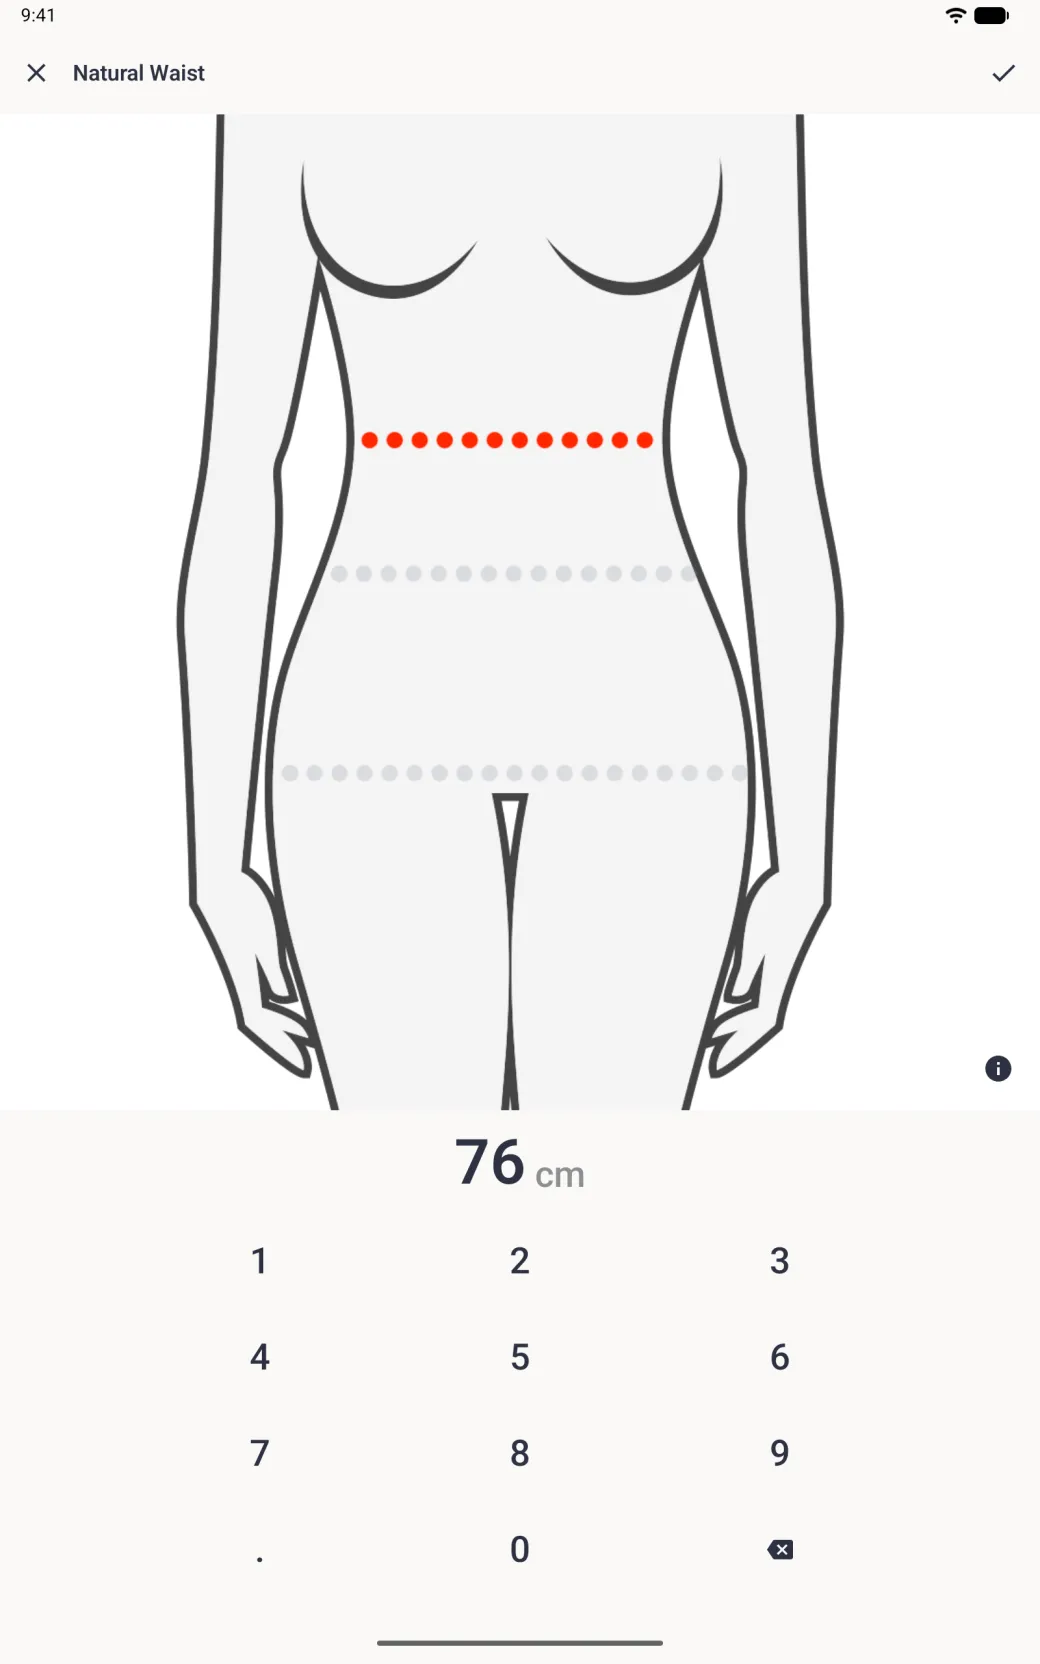
Detailed Image Guides is on by default, and it gives every measurement entry screen a painted illustration of a person being measured, so you can see how the tape should sit. Turn it off and the same screen shows a plain line drawing of the body with the measured line picked out in red. Both are shipped artwork and both mark the same place. Pick whichever you read faster.
To switch: open App Settings, scroll to the App section, and tap the Detailed Image Guides switch. The next measurement you open uses the new style.


What do the Tailor Shop and Notifications sections do?
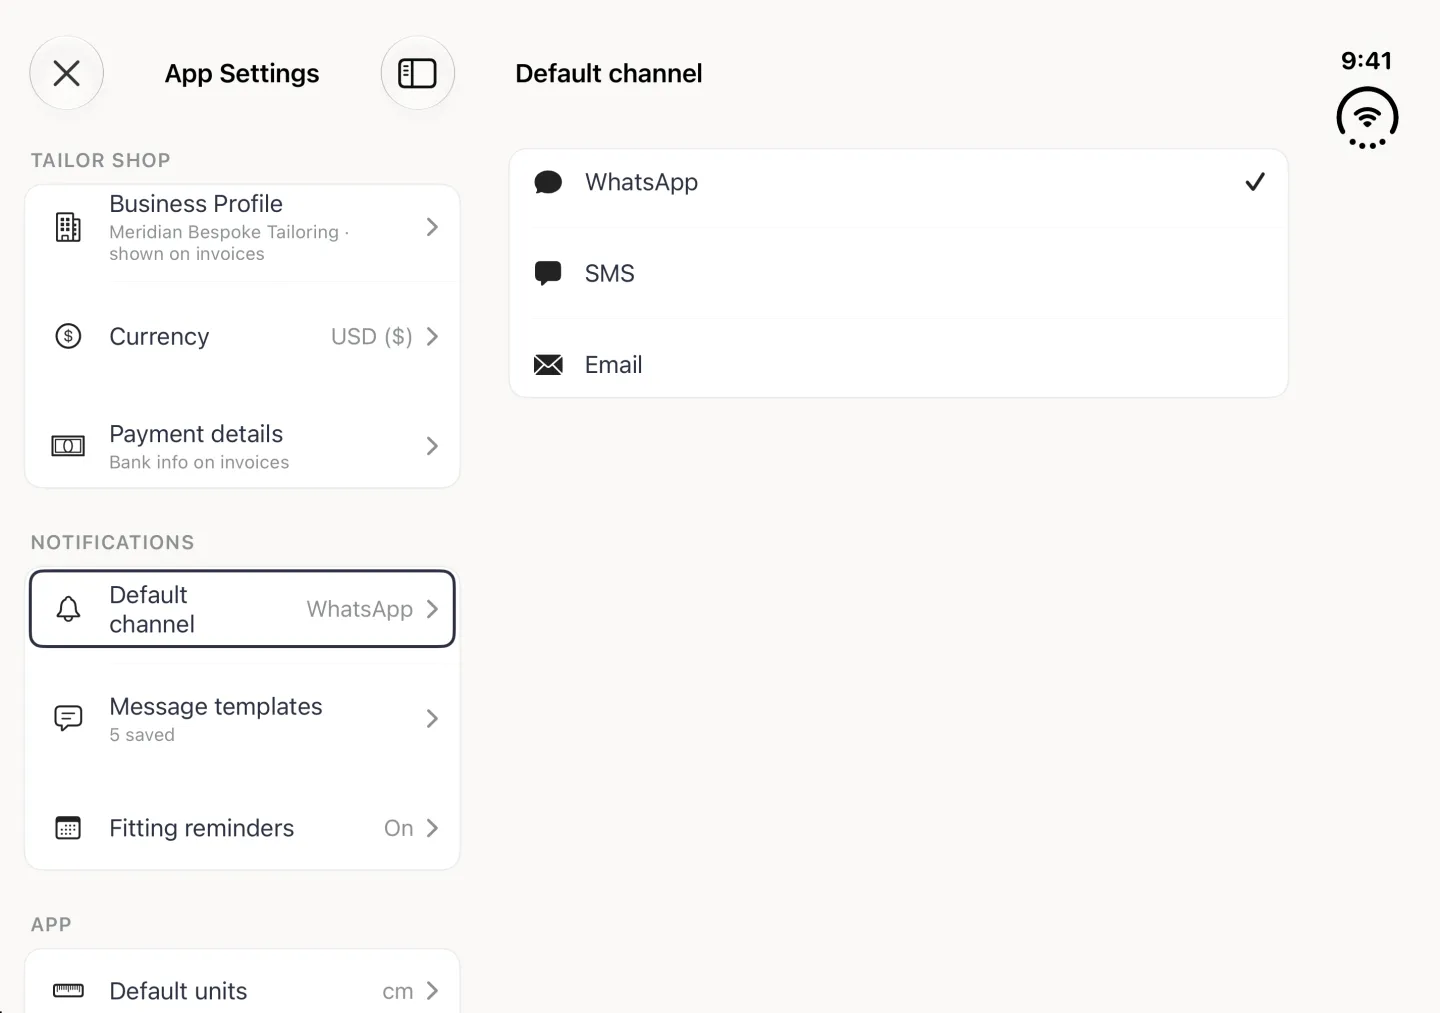
These two sections belong to the Tailor Shop subscription and are on iPhone, iPad and Android. Tailor Shop holds the details clients see: your Business Profile, your Currency, and your Payment details, which is where your bank information, a default disclaimer and your tax rate live.
Currency changes the symbol your amounts are drawn with, and the screen says so in as many words: “Changing the currency relabels existing amounts. It does not convert them.” Set it once, before you record any money.
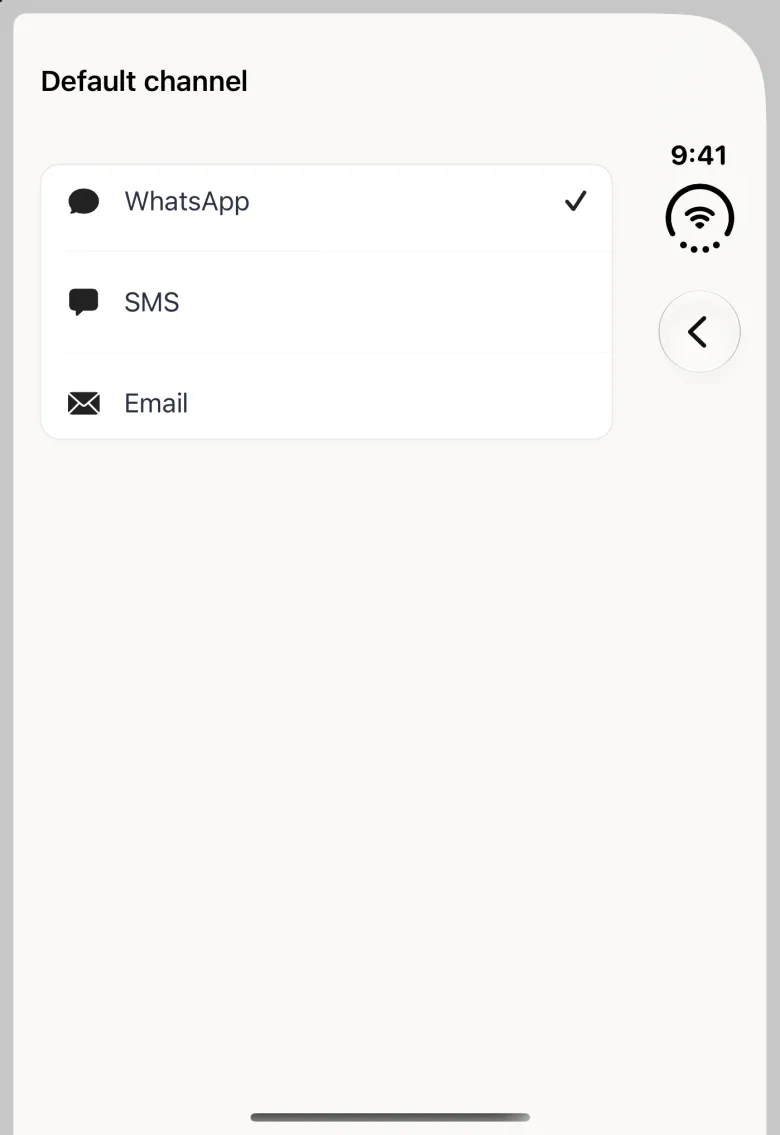
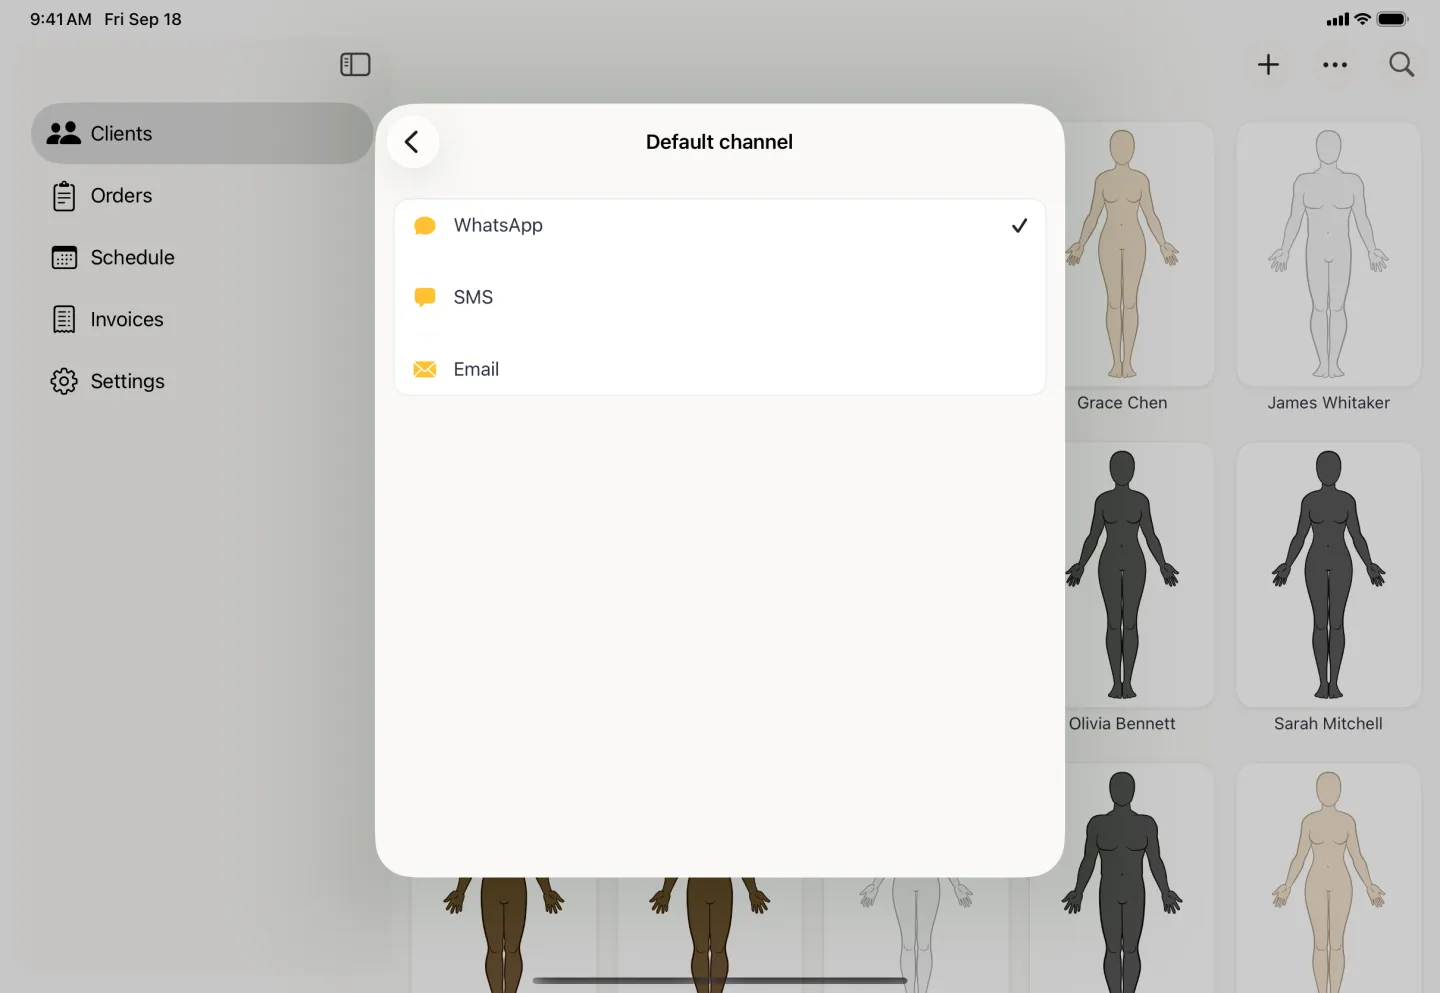
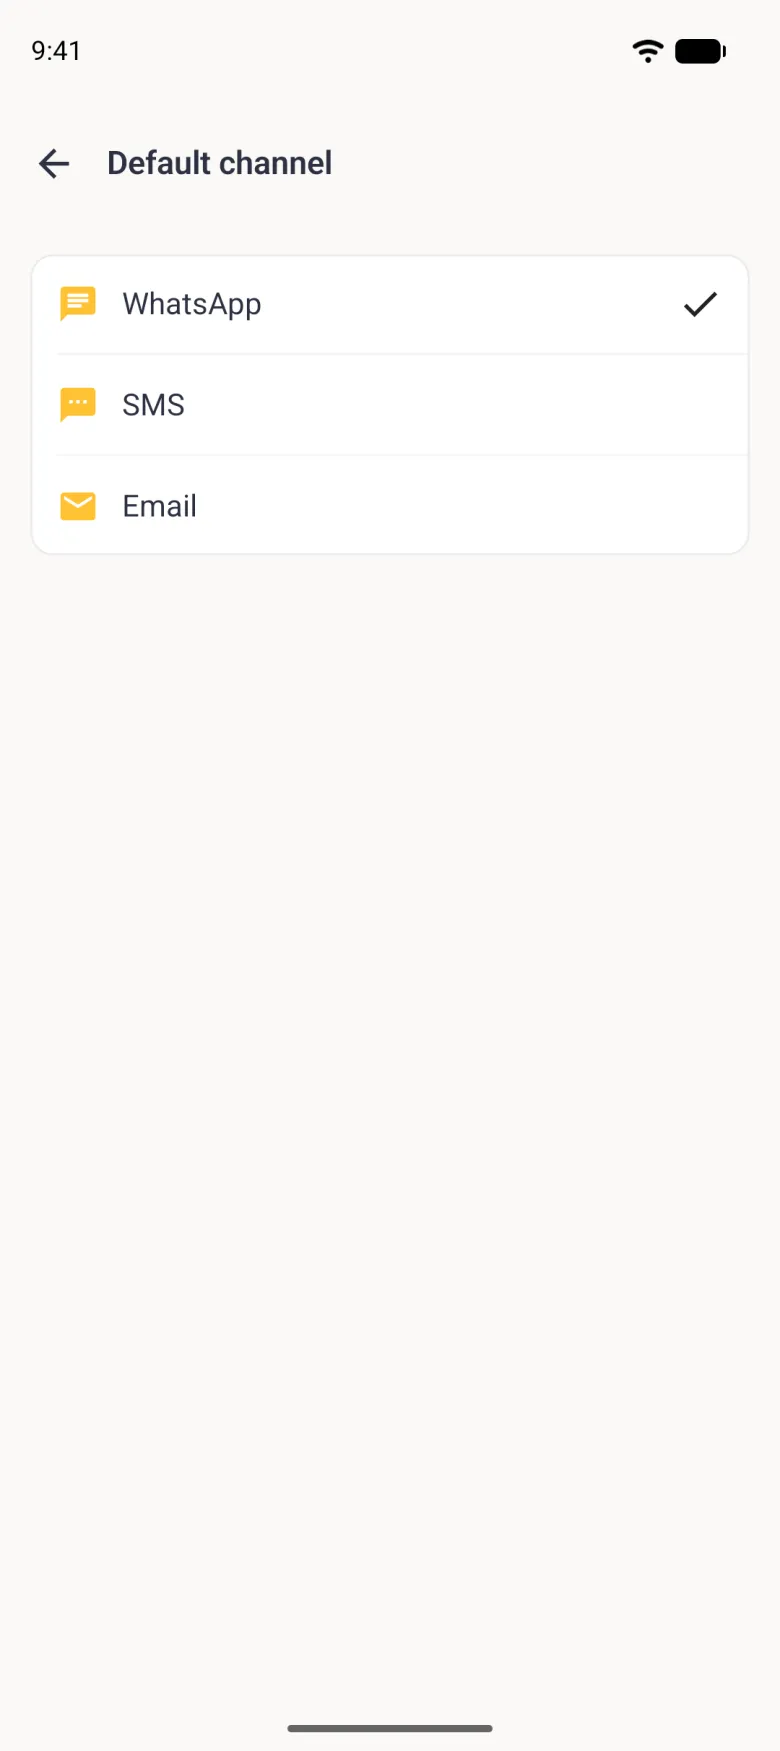
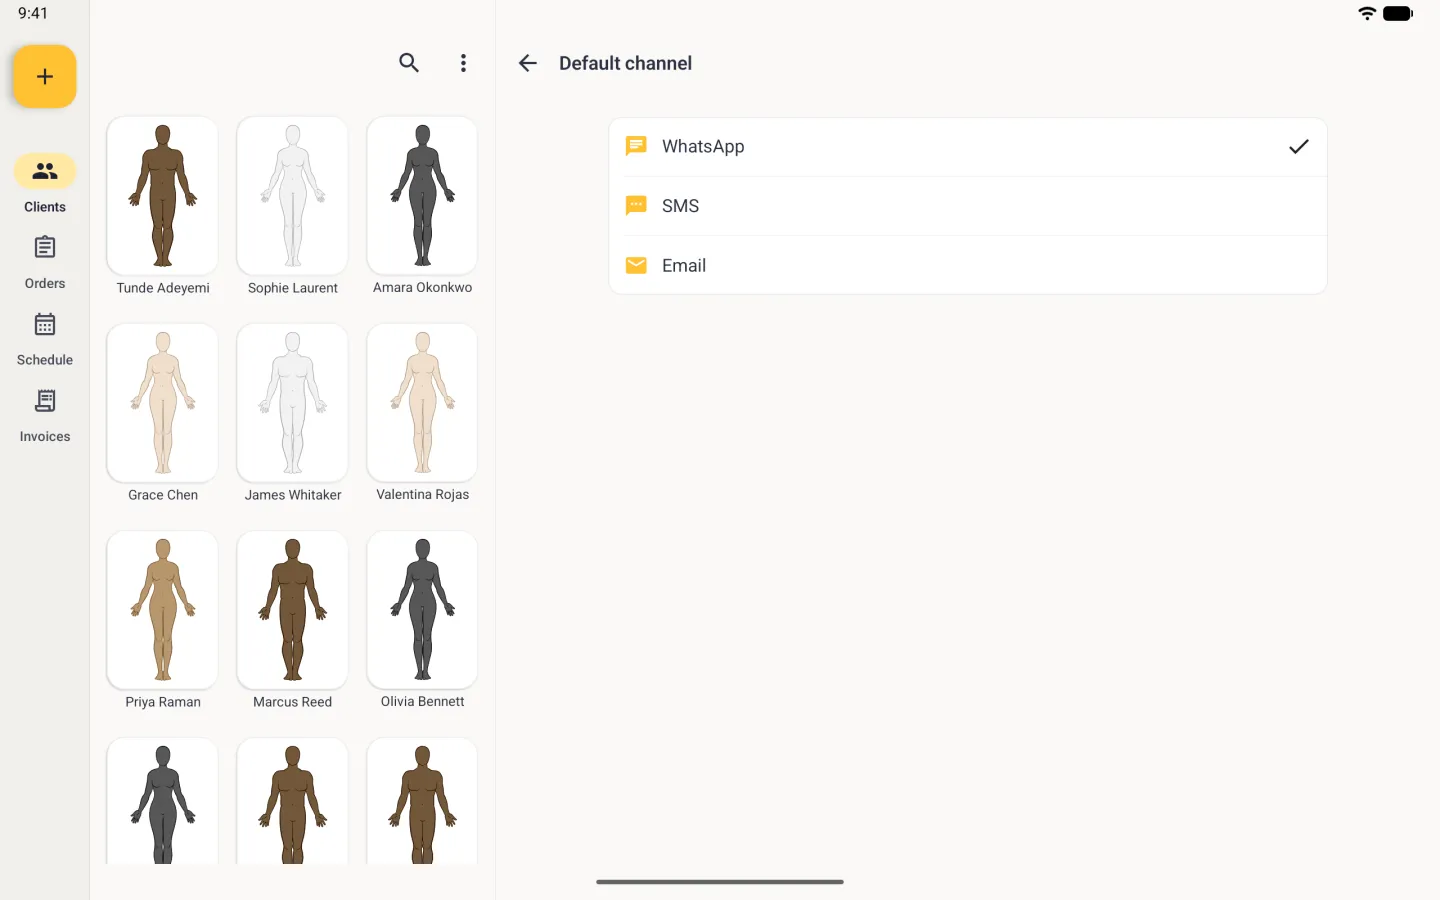
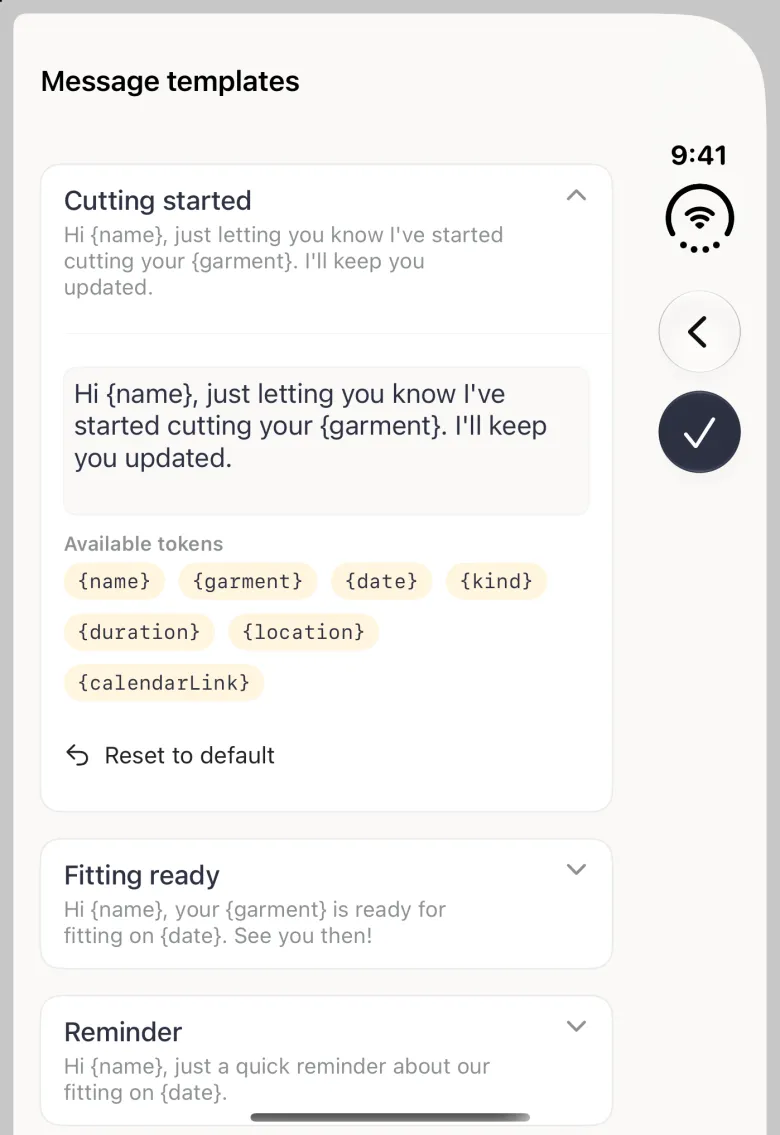
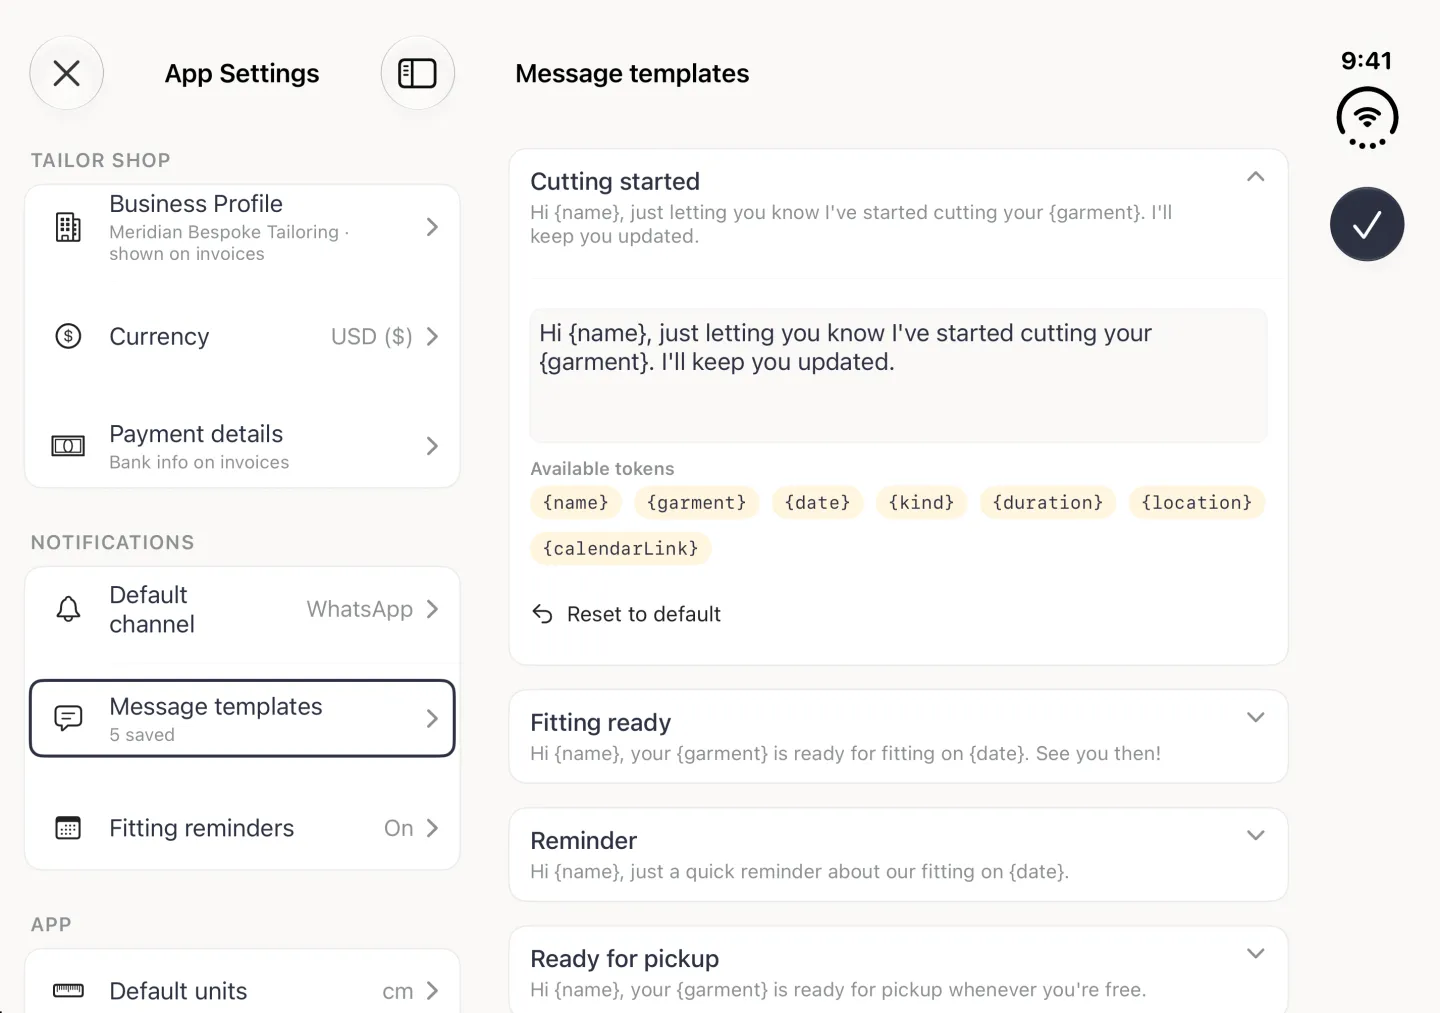
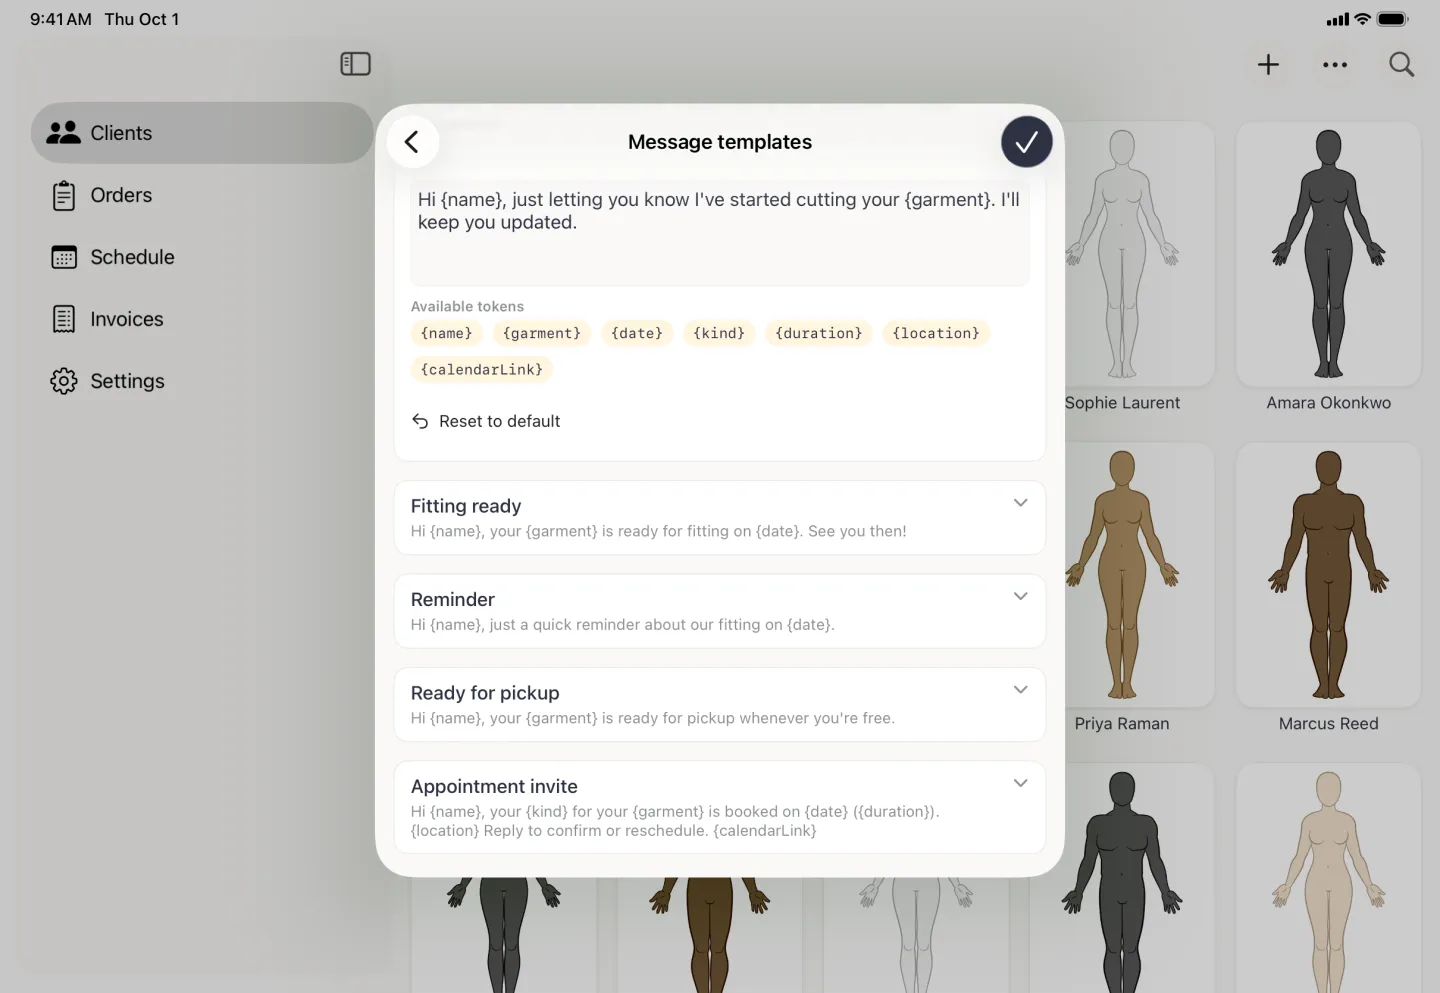
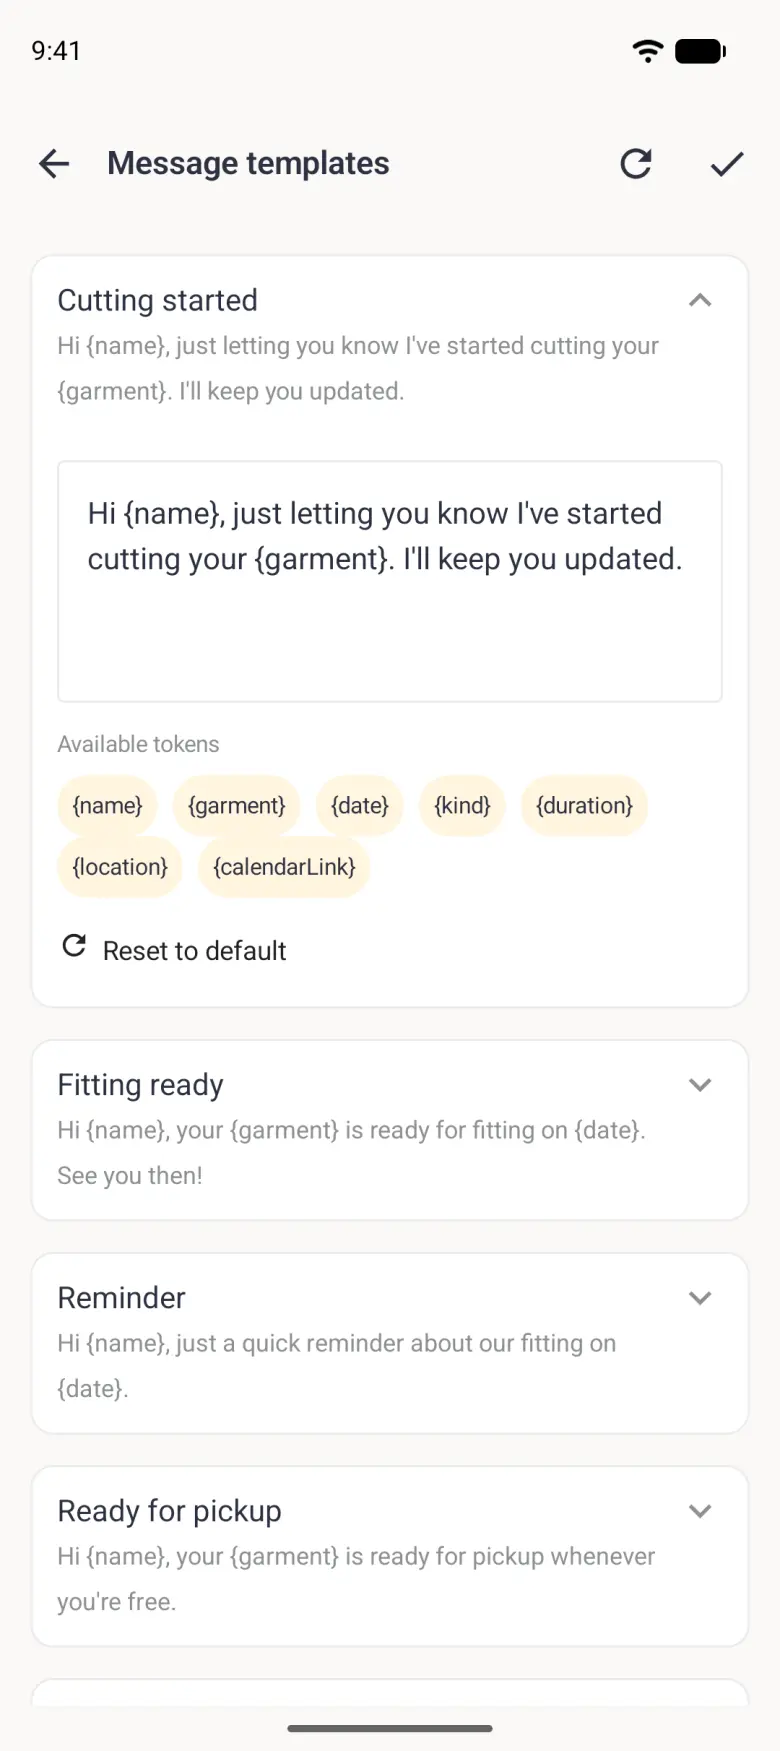
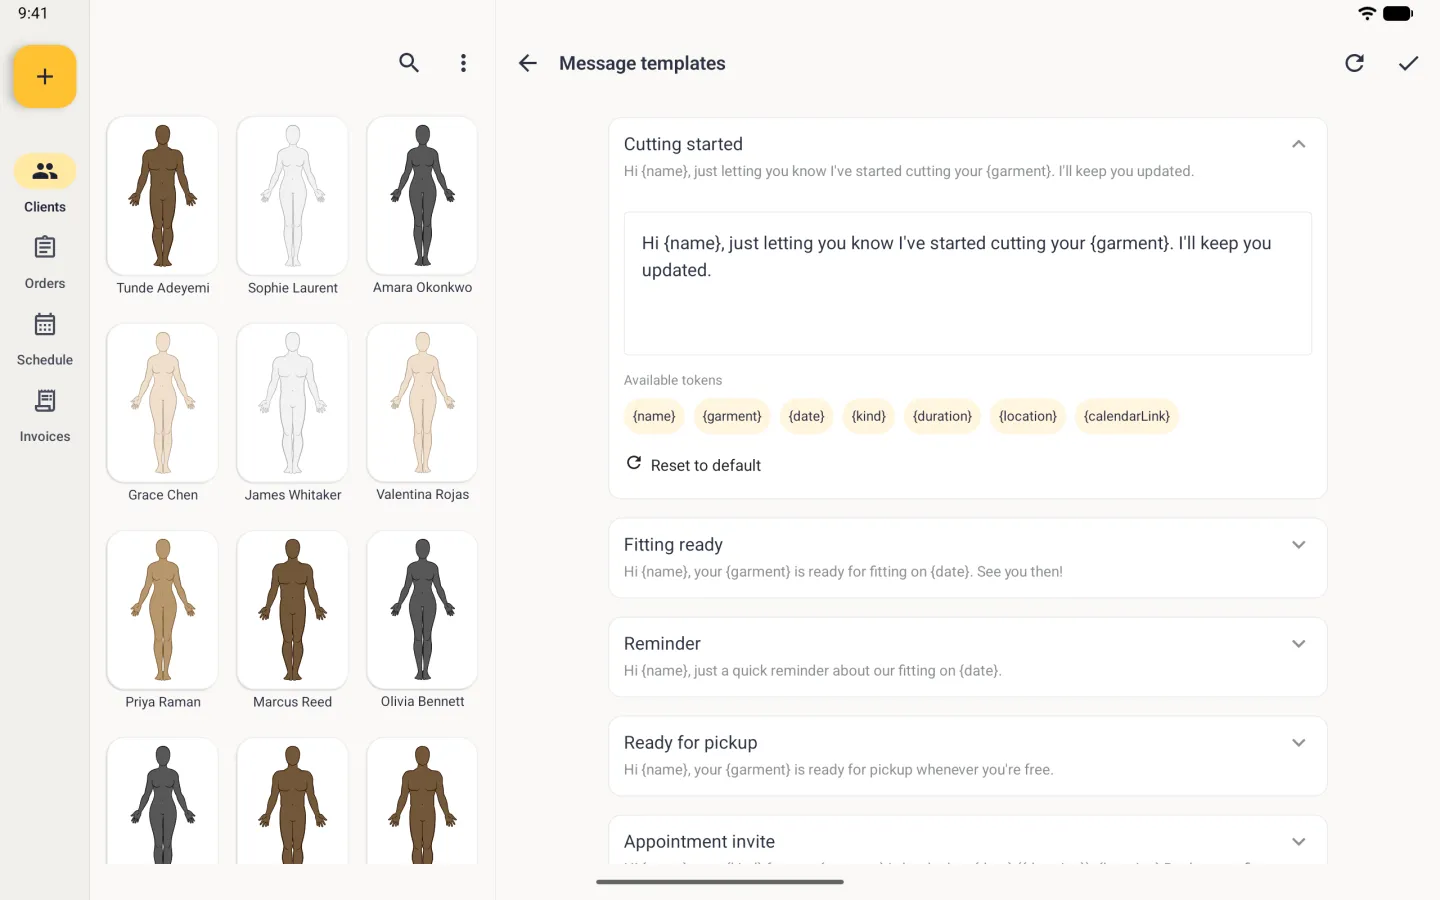
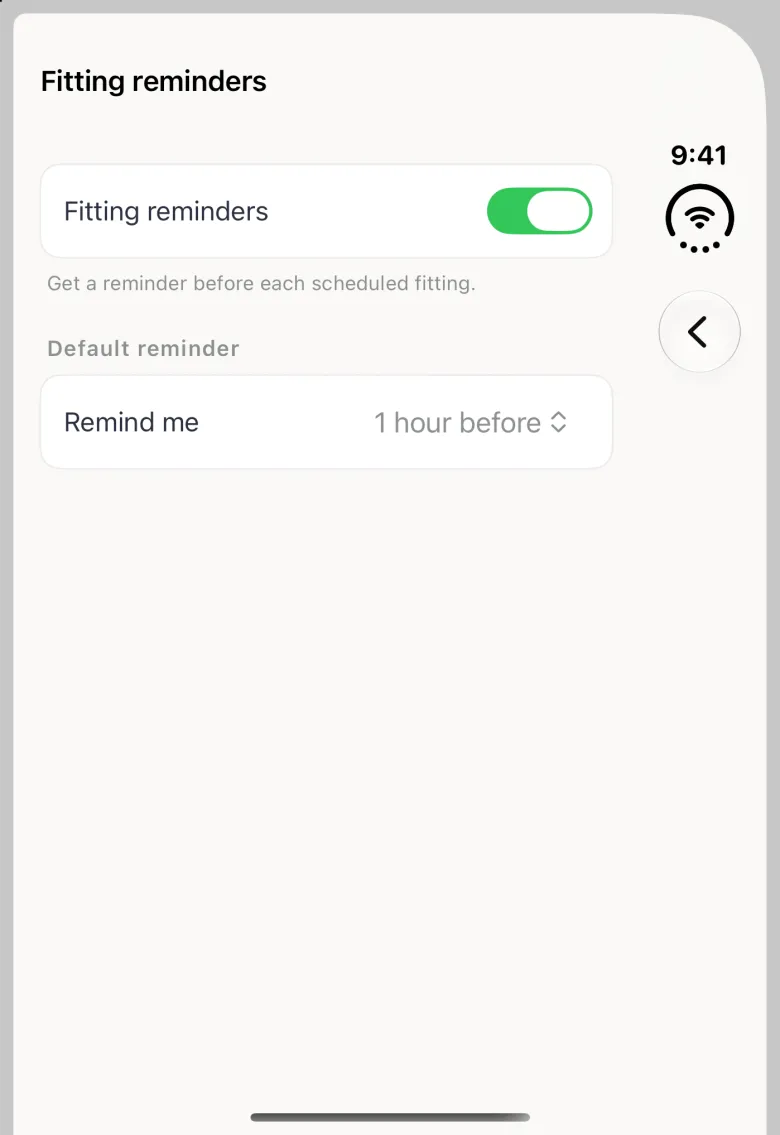
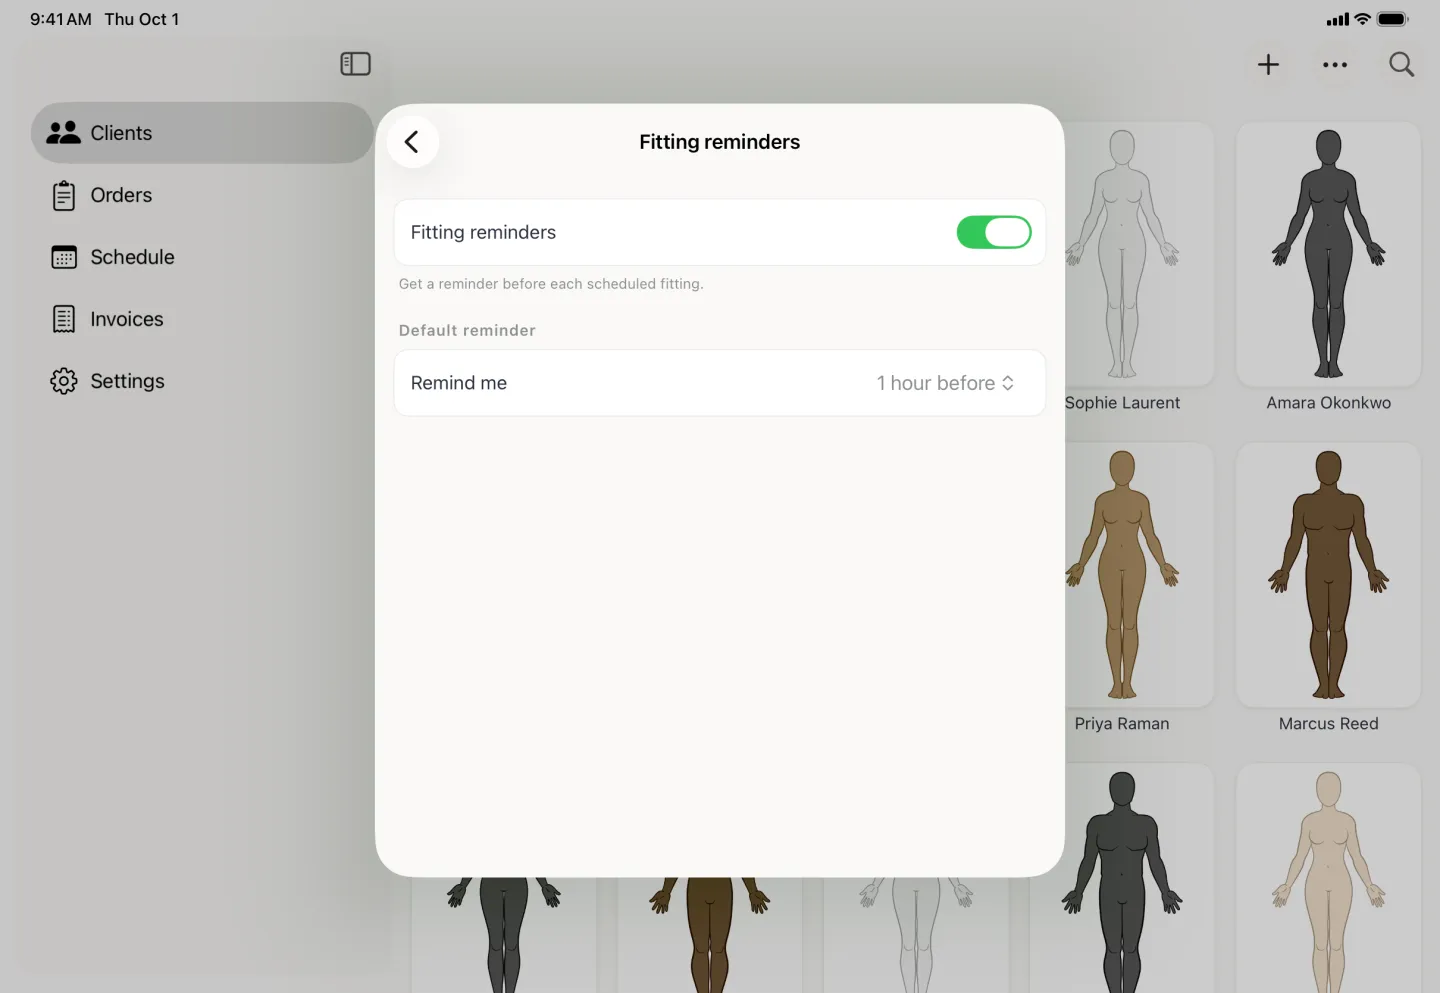
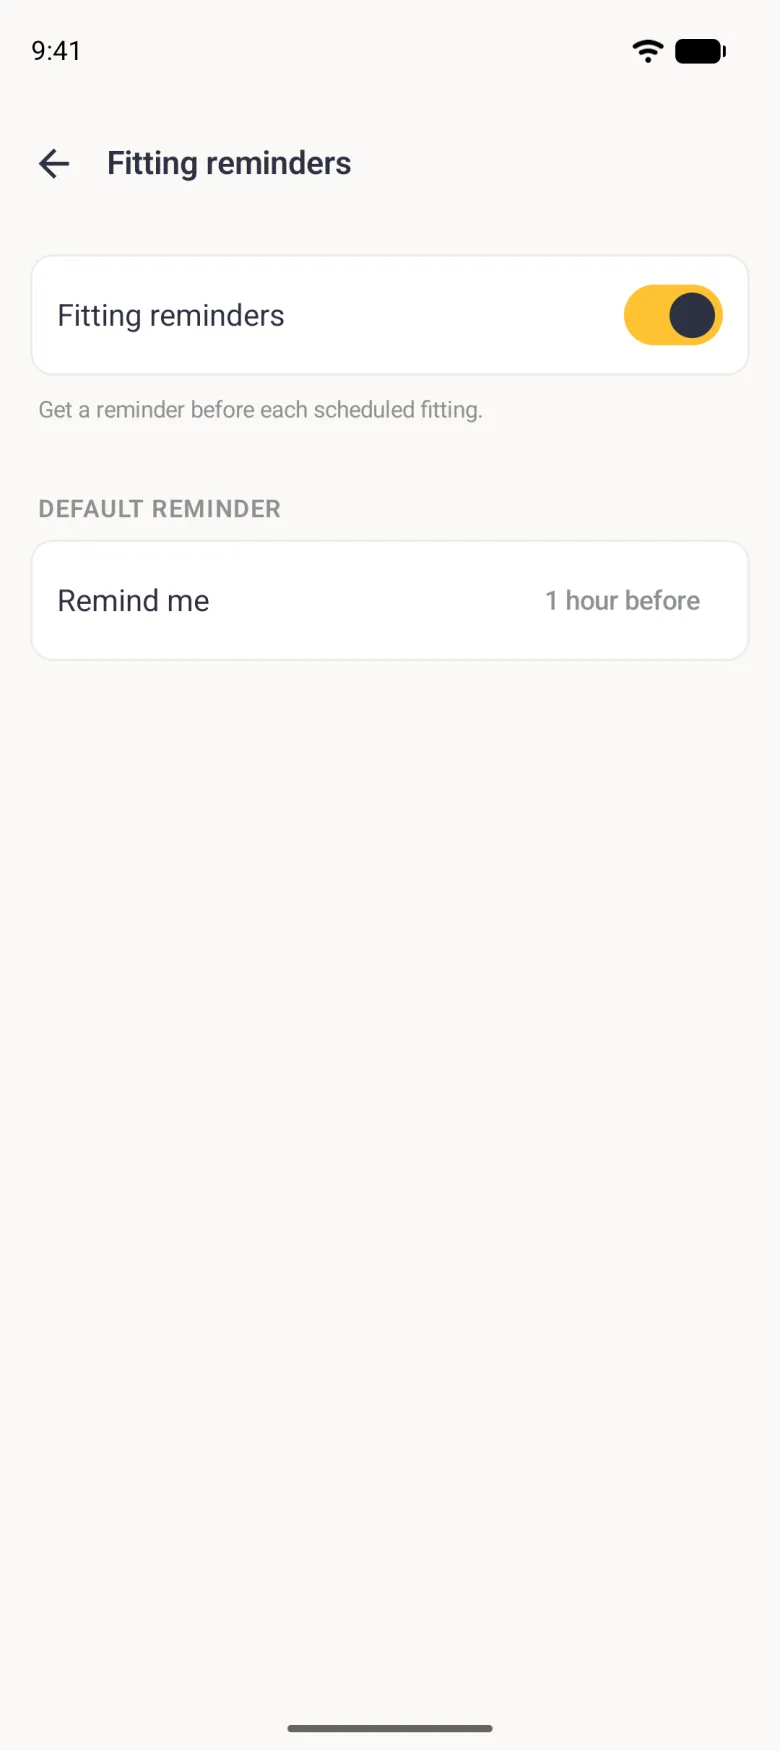
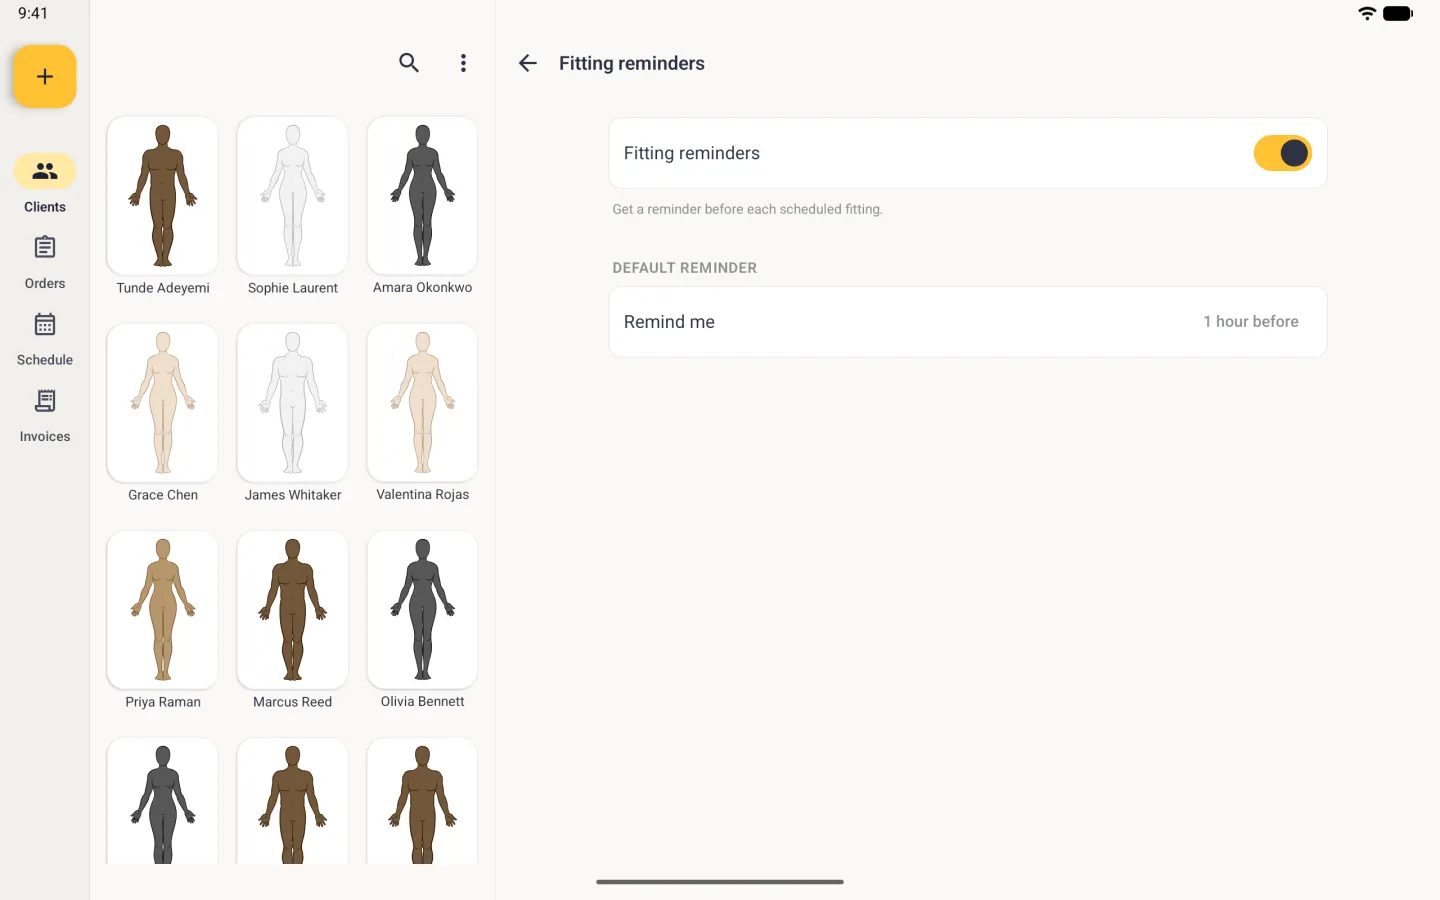
Notifications holds how you reach clients. Default channel picks WhatsApp, SMS or email for status updates, and you can still change it for an individual client. Message templates ships five ready-made messages, Cutting started, Fitting ready, Reminder, Ready for pickup and Appointment invite, each editable and each able to drop in {name}, {garment}, {date}, {kind}, {duration}, {location} and {calendarLink} tokens, with Reset to default if you want the original wording back. Fitting reminders turns on a reminder before each scheduled fitting and sets how far ahead it arrives. Payment details and Message templates save with the checkmark at the top right; leaving Payment details with the back button discards your changes.



What can you change in Profile Settings?
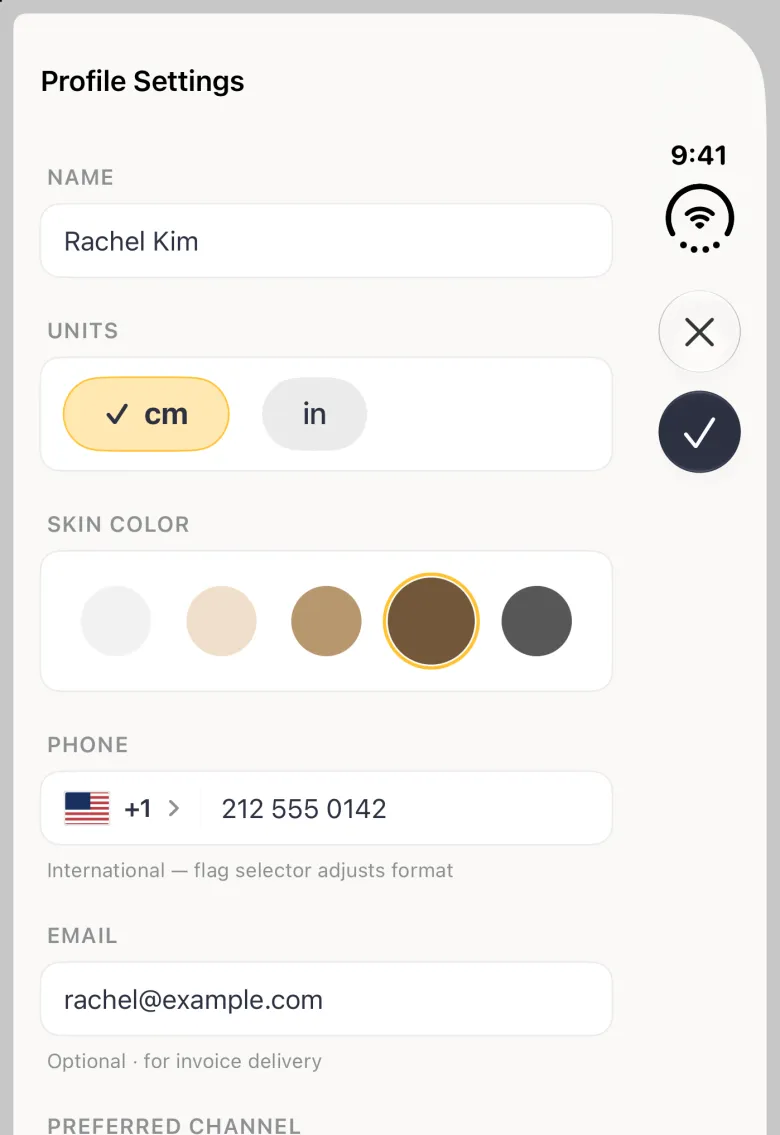
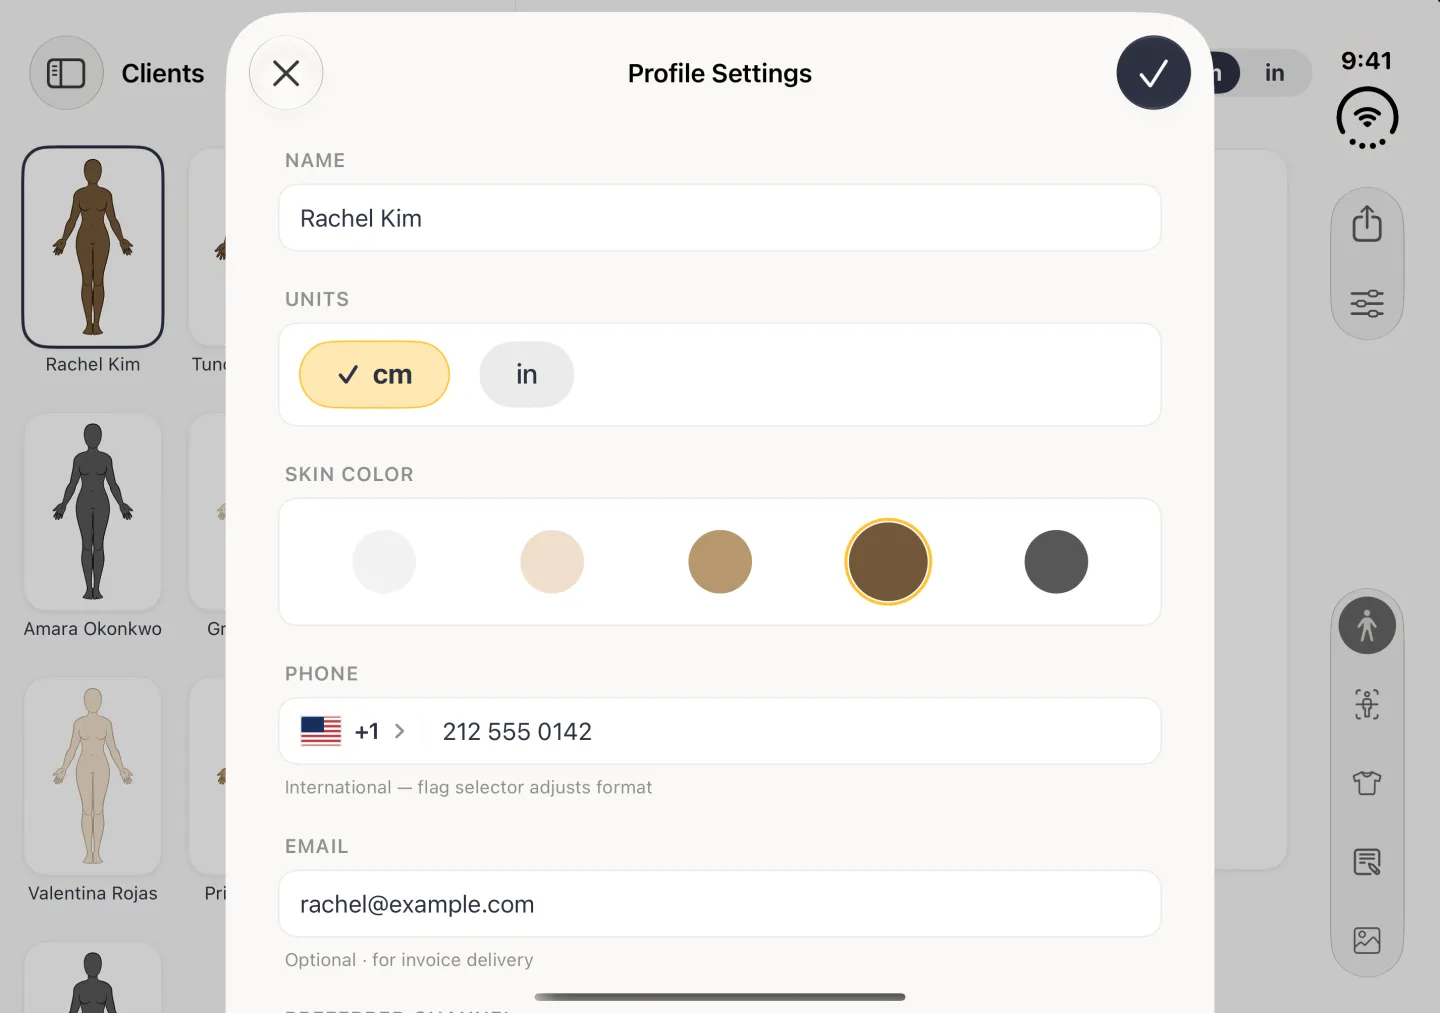
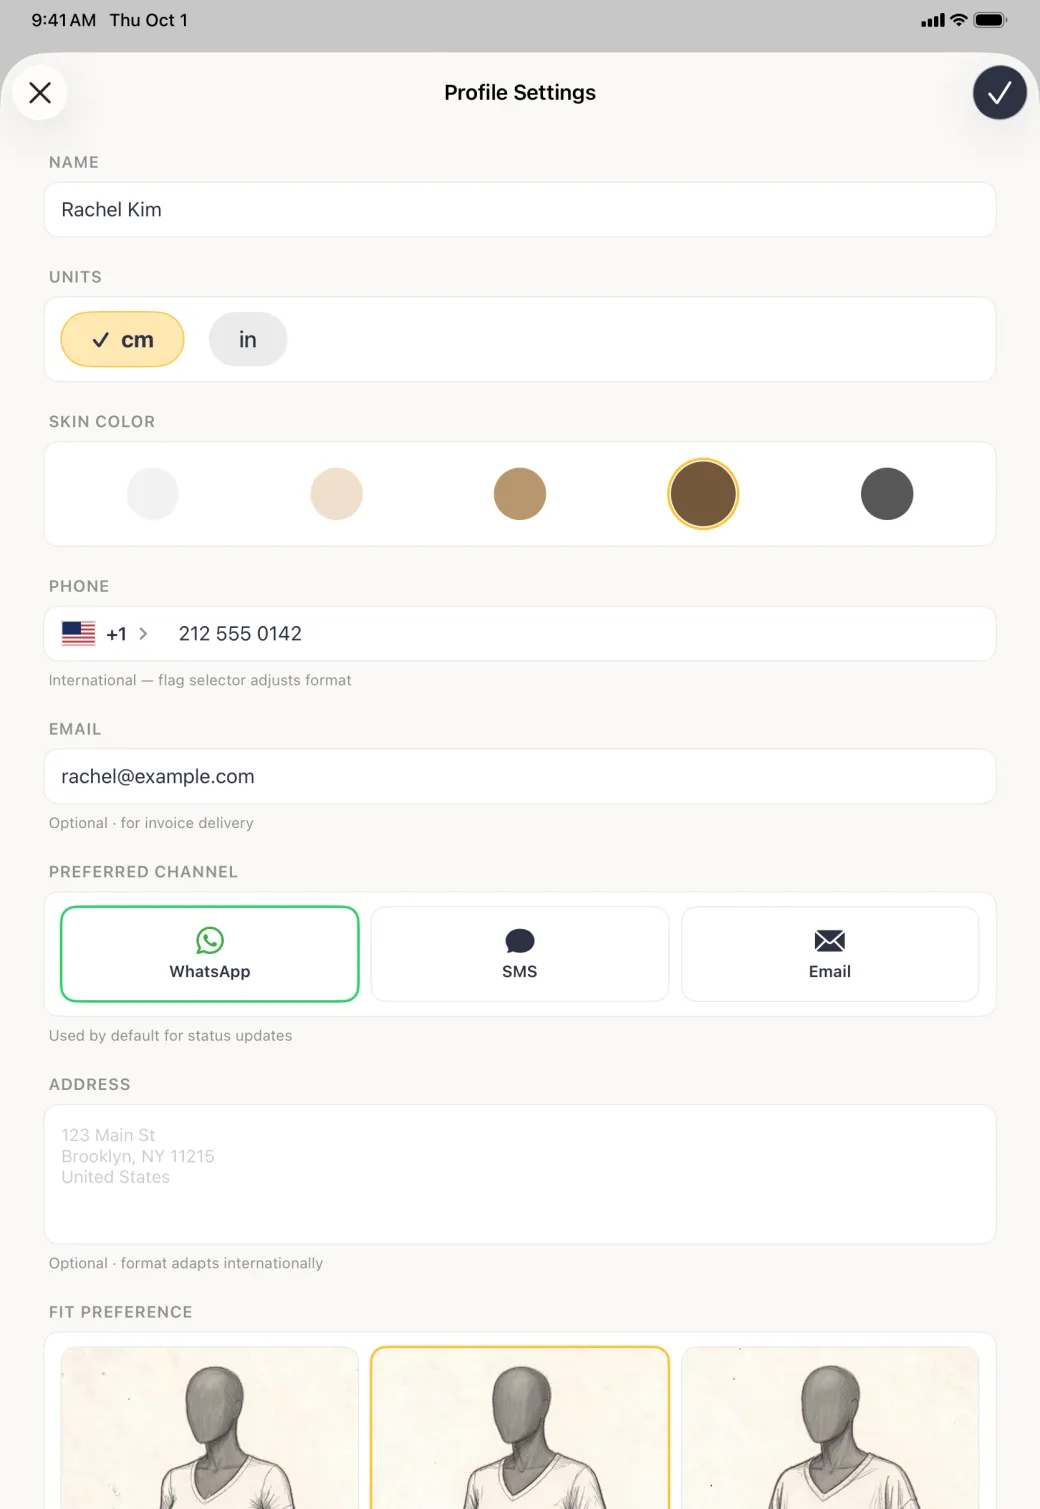
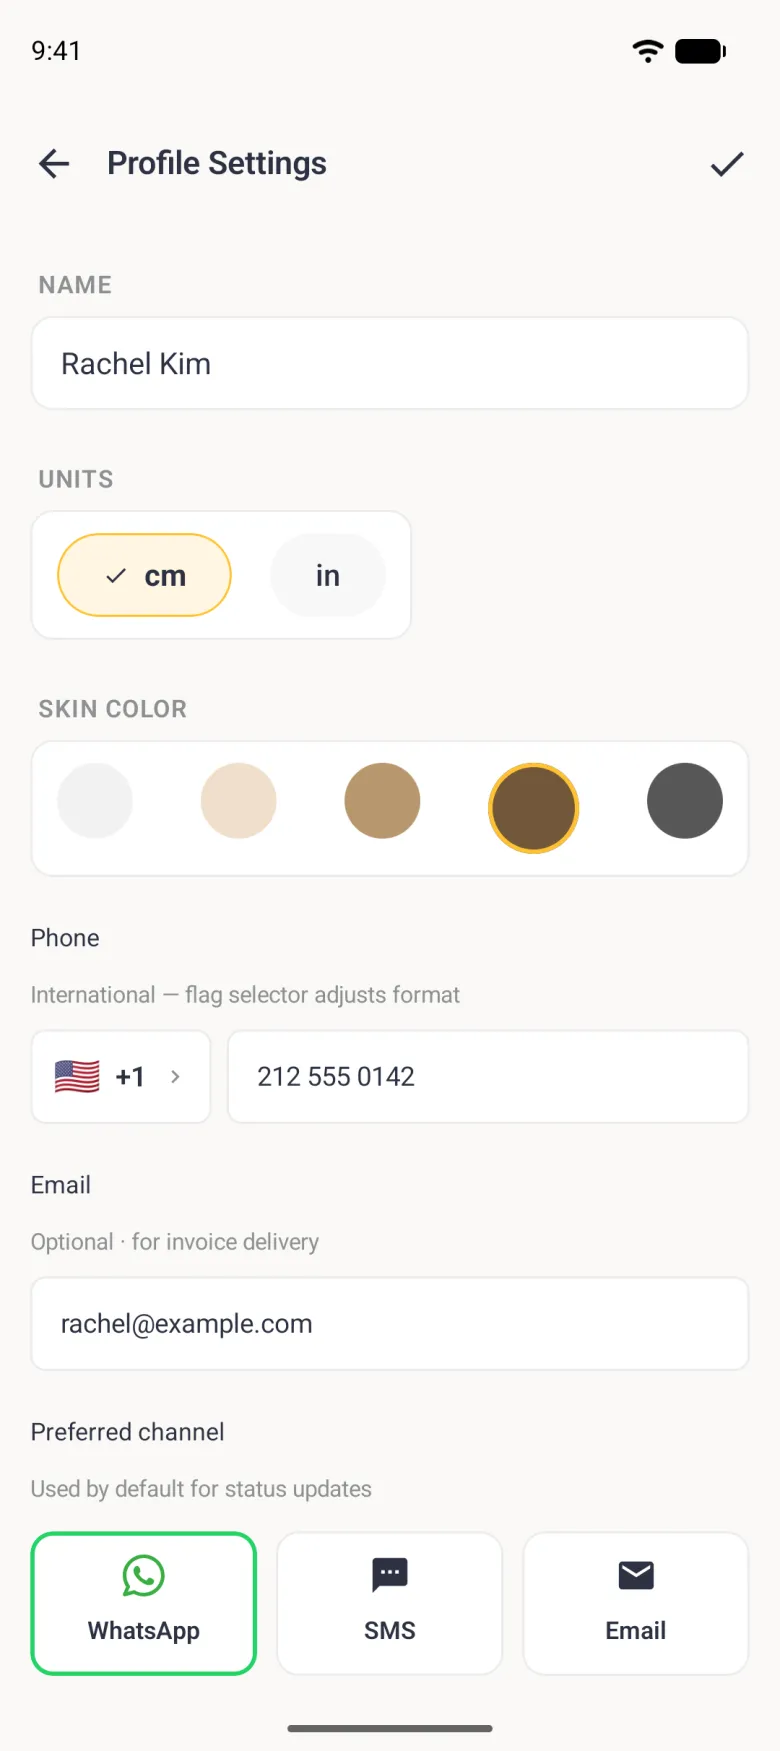
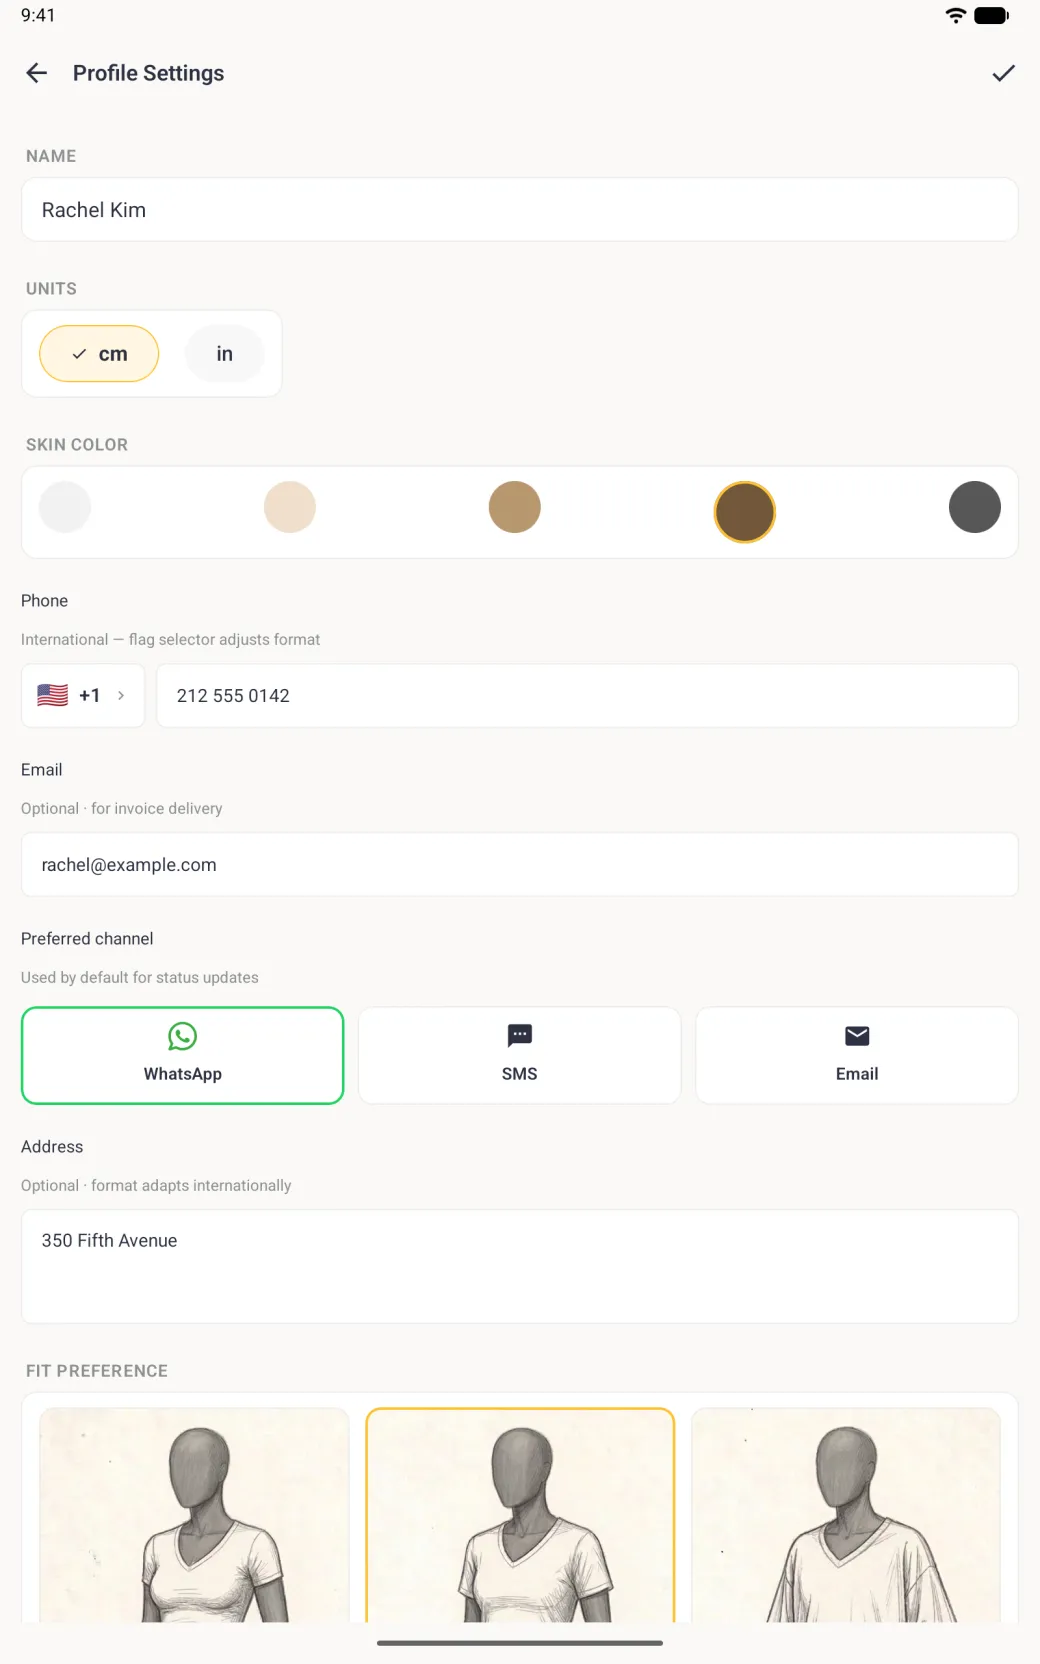
Profile Settings changes one person’s record rather than the app. Open the profile, tap the Profile Options button (three sliders) at the top right, and choose Profile Settings; on Android it is in the ⋮ menu. The screen opens with the name field, the cm and in buttons, and the five skin tones, then a fit preference chooser lower down. Tap the checkmark at the top right to save, or the cross at the top left to leave without changing anything. On iPhone Duo, opened, the Profile Options button sits in the strip on the right edge; closed, Profile Settings is in the more menu (three dots) in that strip, and the cross and the checkmark sit together in the strip too.
- Name and units. The unit here controls how that profile’s measurements are displayed. Switching it does not rewrite what you stored.
- Skin tone and fit preference. The skin tone sets how the avatar is drawn. Fit preference records whether this person wears clothes Slim, Regular or Relaxed.
- Phone, email, preferred channel, address, birthday and tags. These appear with a Tailor Shop subscription and hold the contact details for a client.
- Delete Profile. At the bottom of the screen, behind a confirmation.