Measurement features
Custom measurements
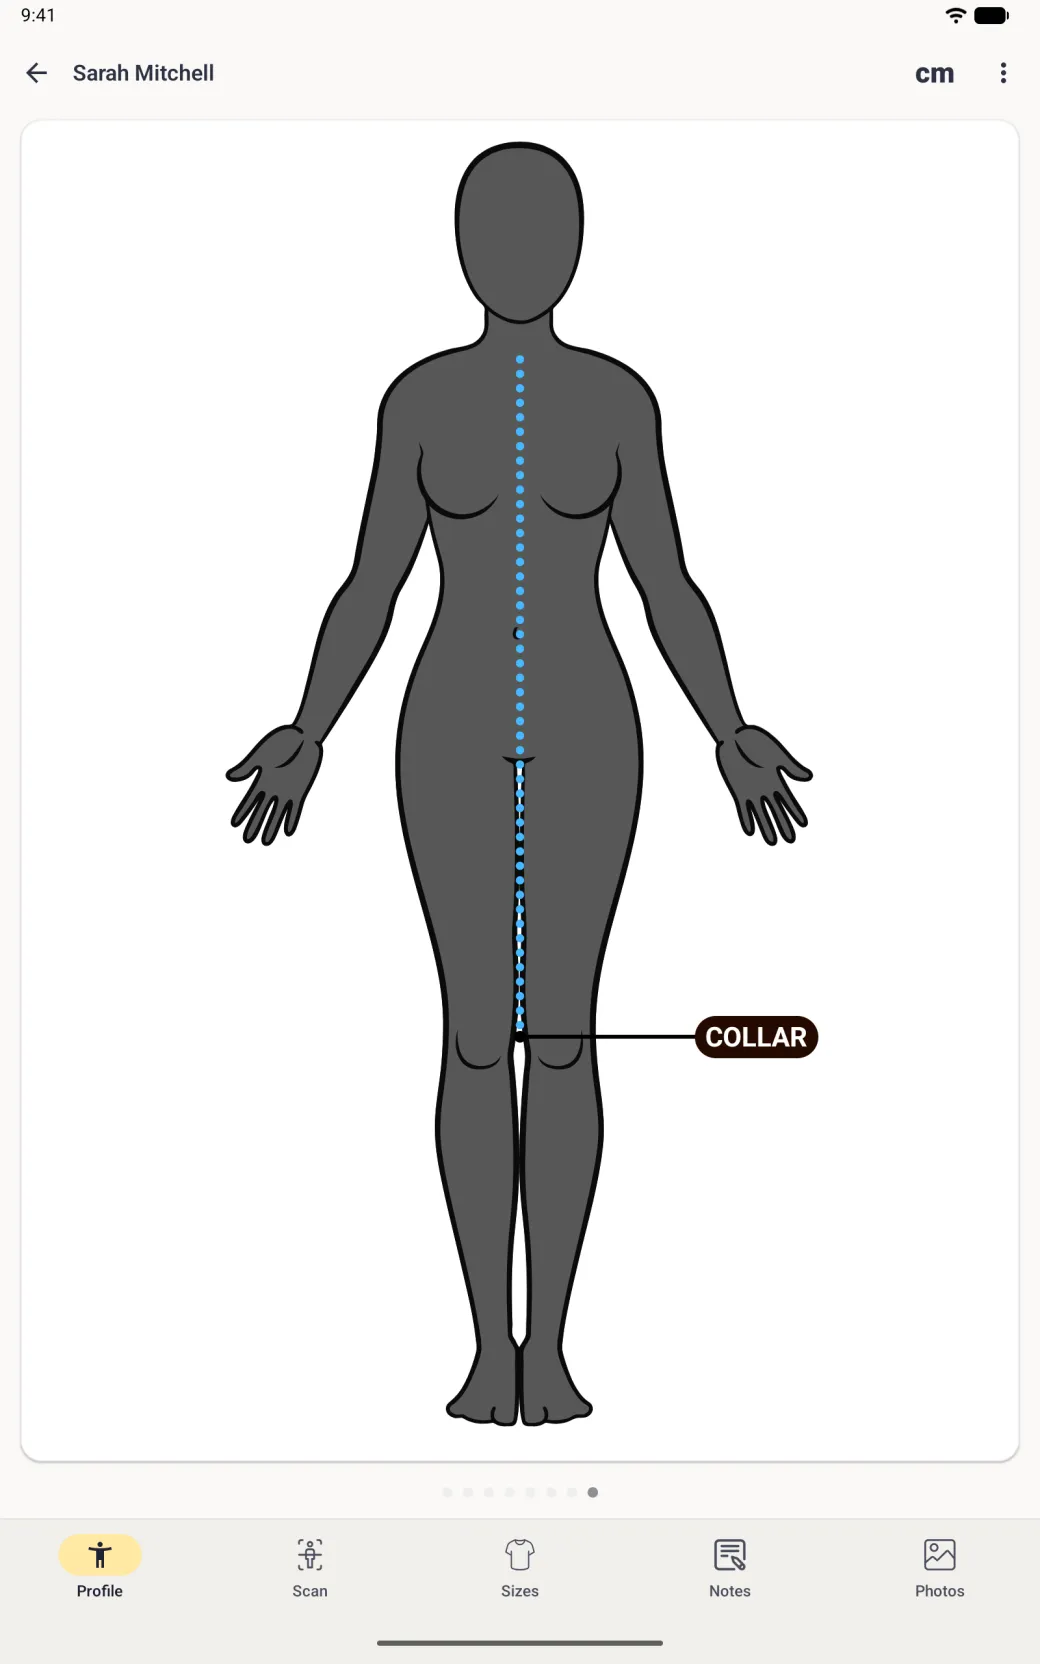
Draw a measurement your shop actually uses on a page of its own, name it, add instructions and a reference photo, then enter it like any built-in measurement.
Available on
- iPhone
- iPhone Duo
- iPad
- Android
- Tailor Shop feature
The built-in measurements cover the usual ones. A custom measurement is for everything else: the collar-to-hem your shop cuts to, a sleeve taken the way your cutter takes it, a garment measurement no chart has a name for. Custom measurements are part of the Tailor Shop subscription, and they live on pages you add yourself rather than on the built-in ones.
How do I create a custom measurement?
You add a page, choose which view of the body to draw on, draw the line the tape follows, then name it. The editor tells you which step you are on: the button at the bottom changes its label each time, from Continue to Save Measurement to Set Label.
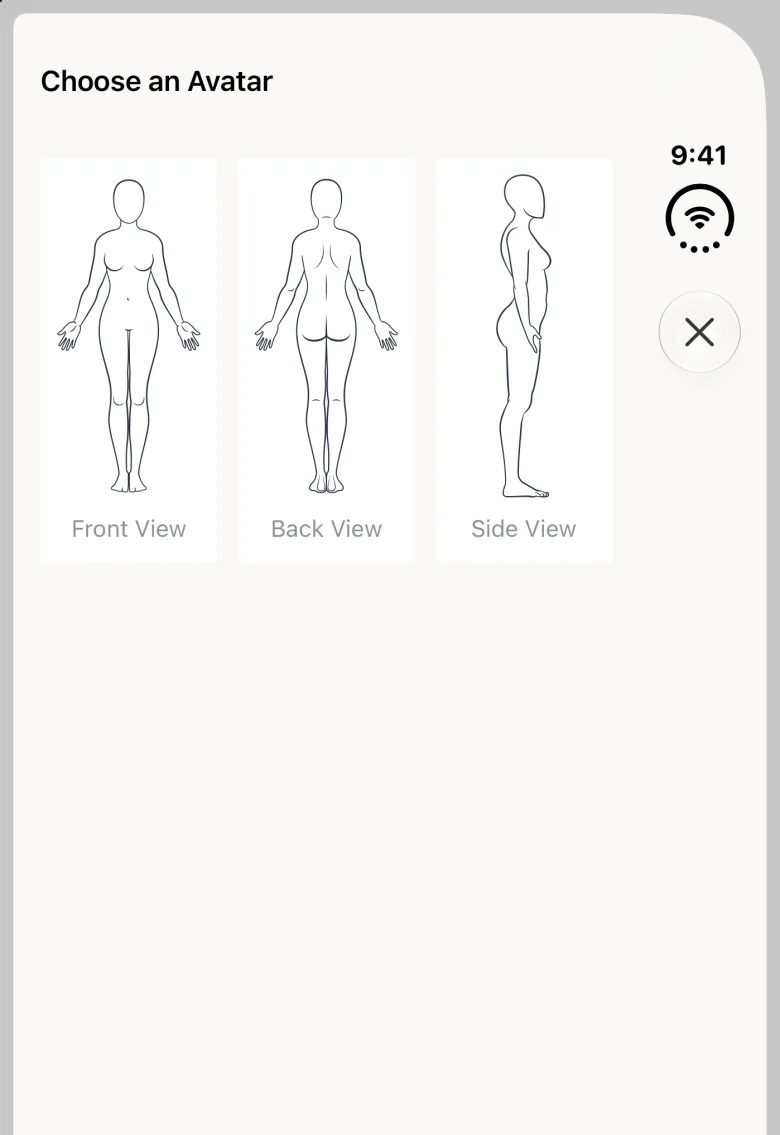
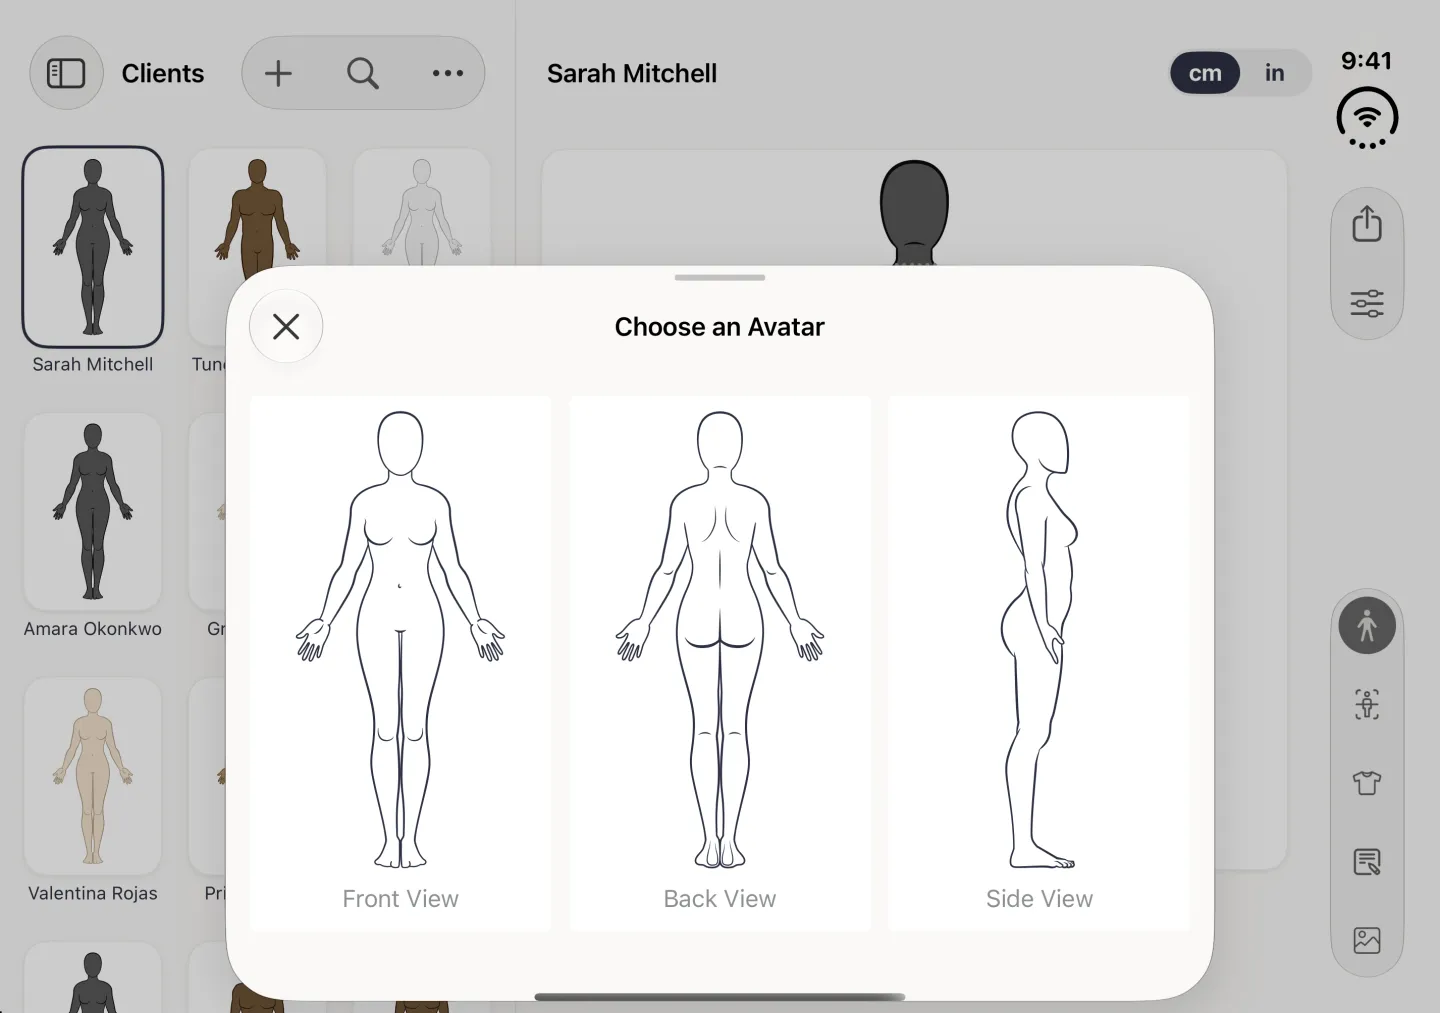
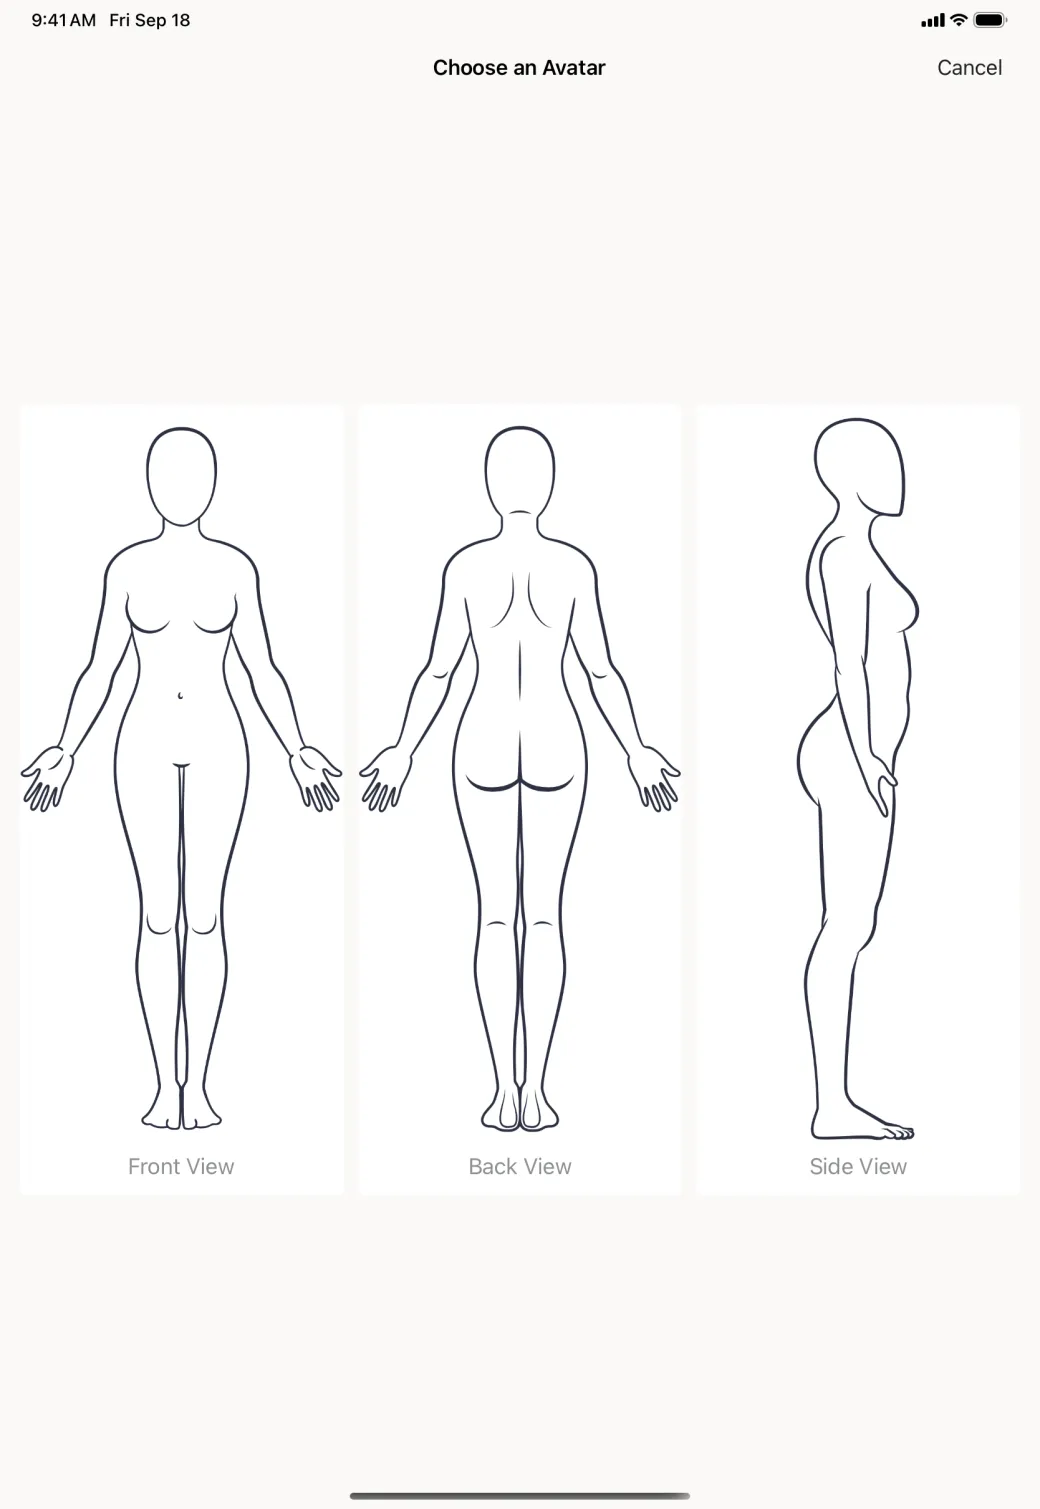
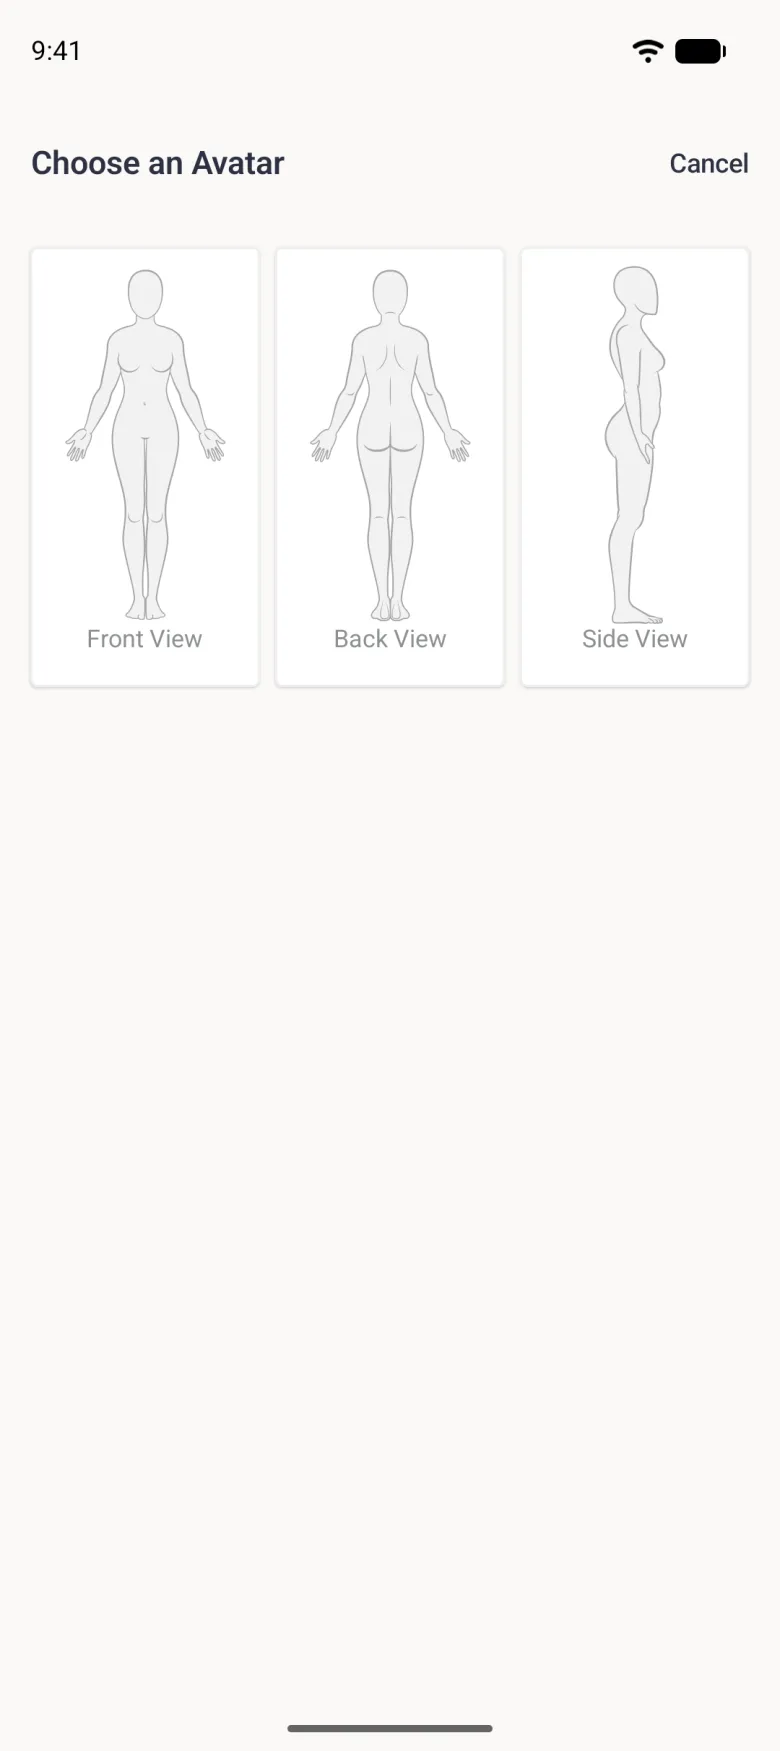
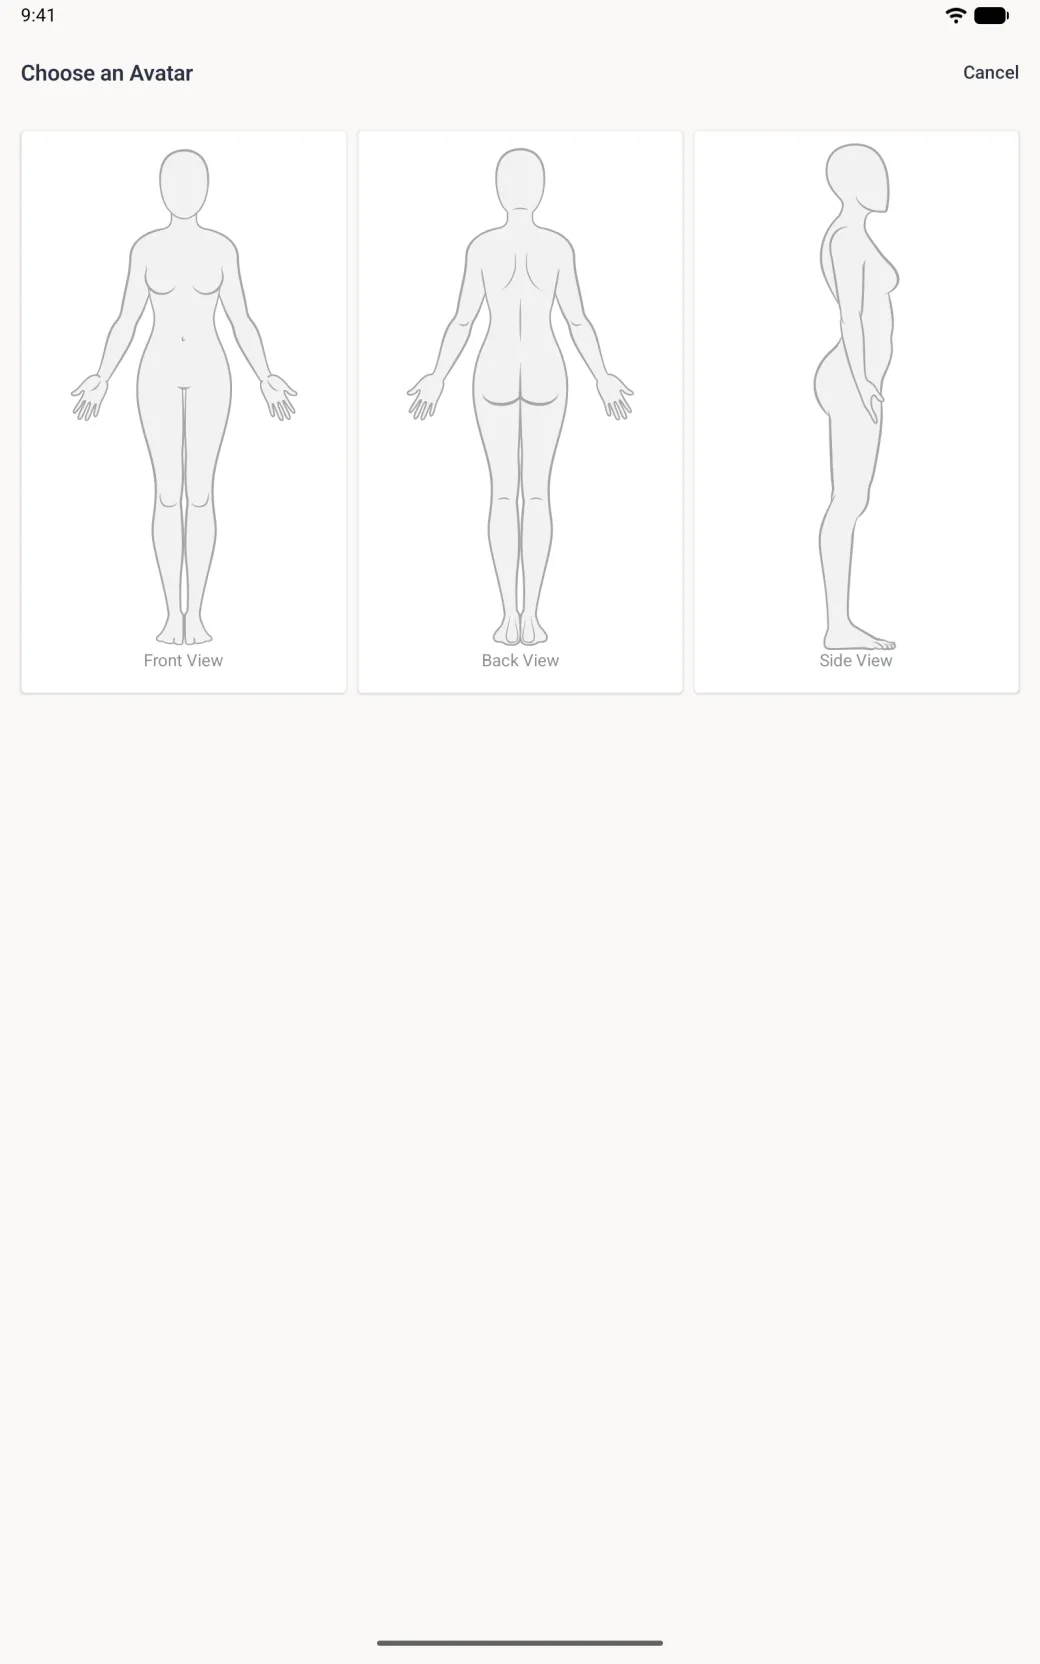
- Open a profile, tap the options button (three sliders) at the top right and choose Add New Page. The Choose an Avatar sheet opens straight away.
- On Choose an Avatar, pick Front View, Back View or Side View. The new, empty page opens in the editor.
- Tap the plus button at the top right. A point appears on the body. Drag it to where the measurement starts, then tap Continue.
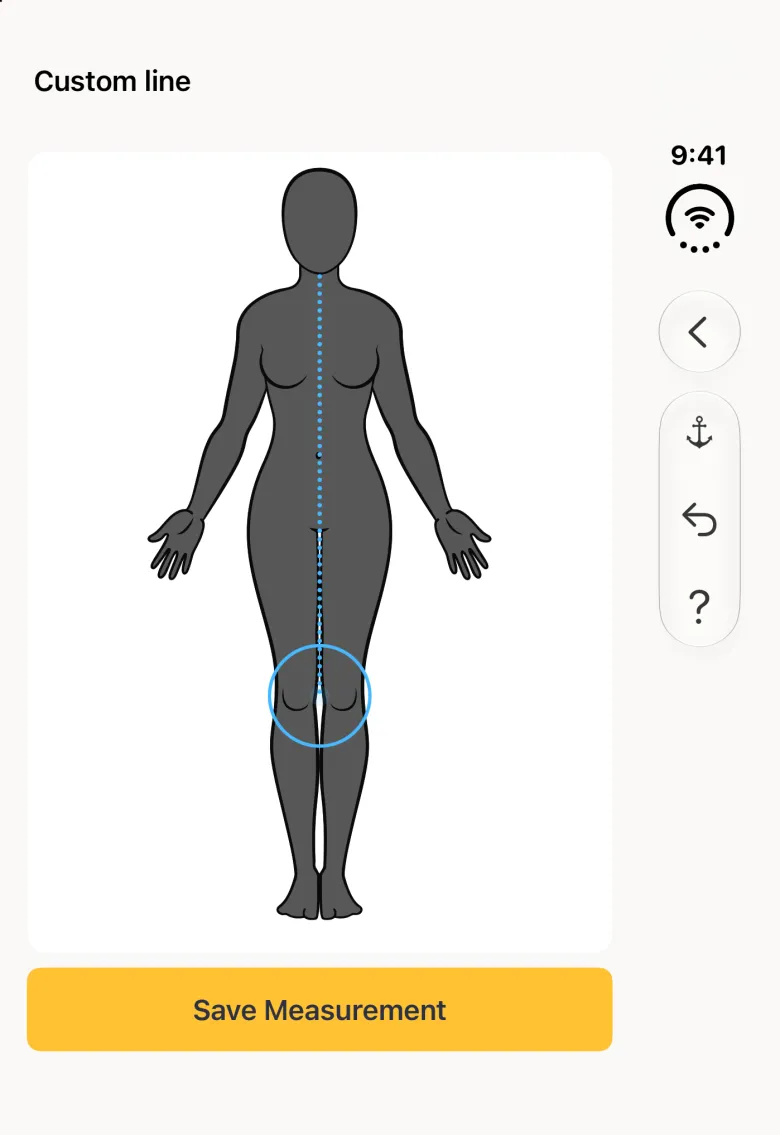
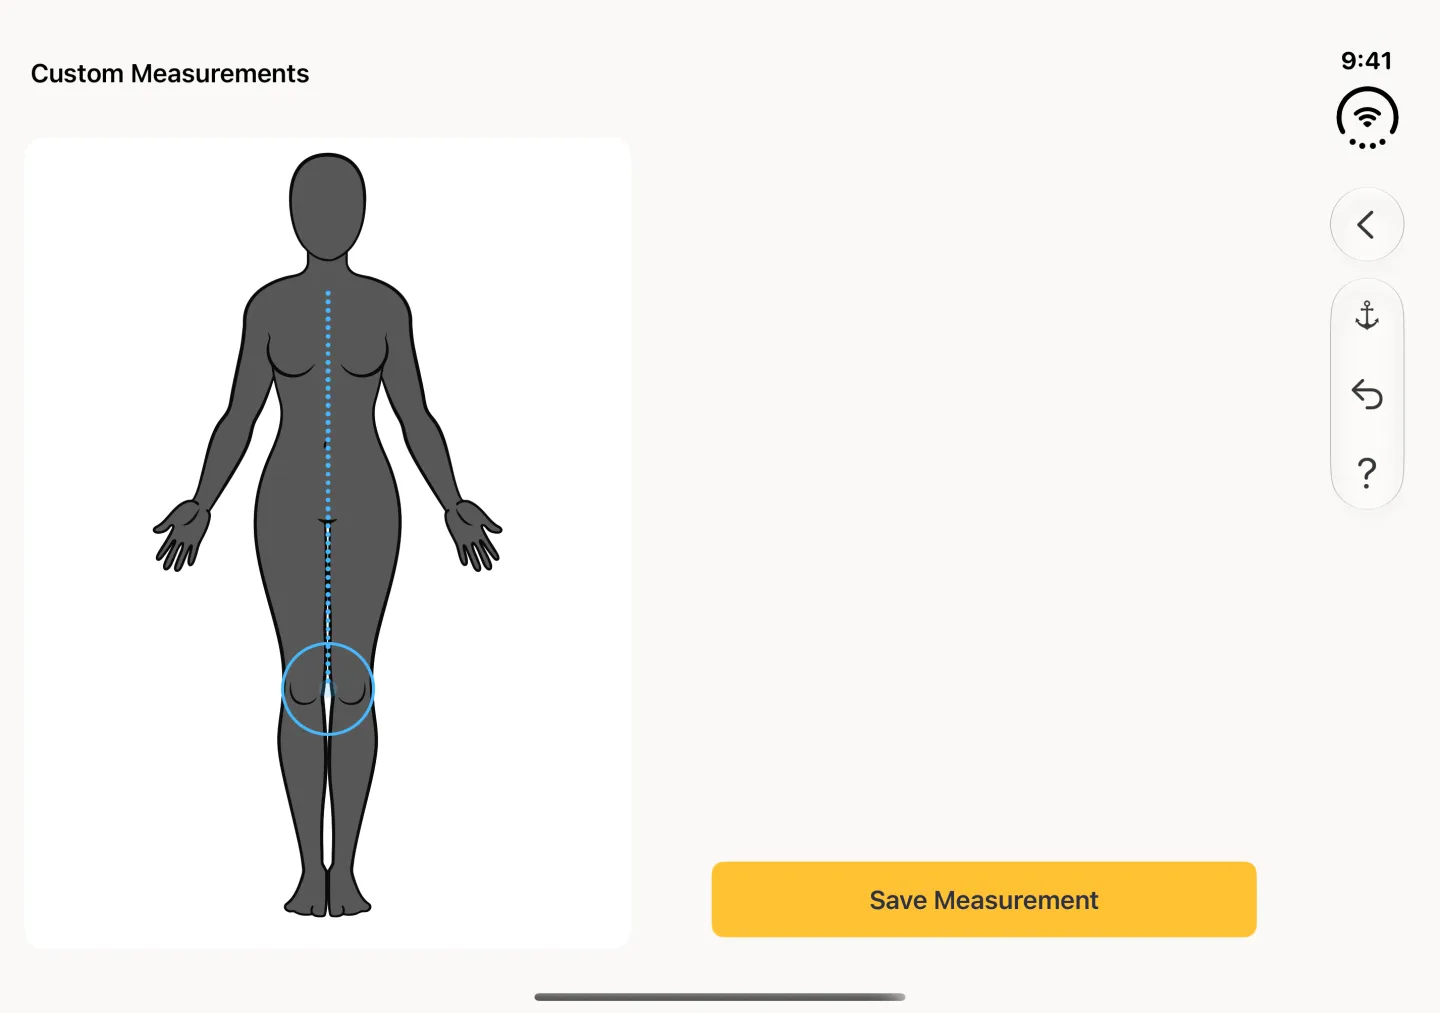
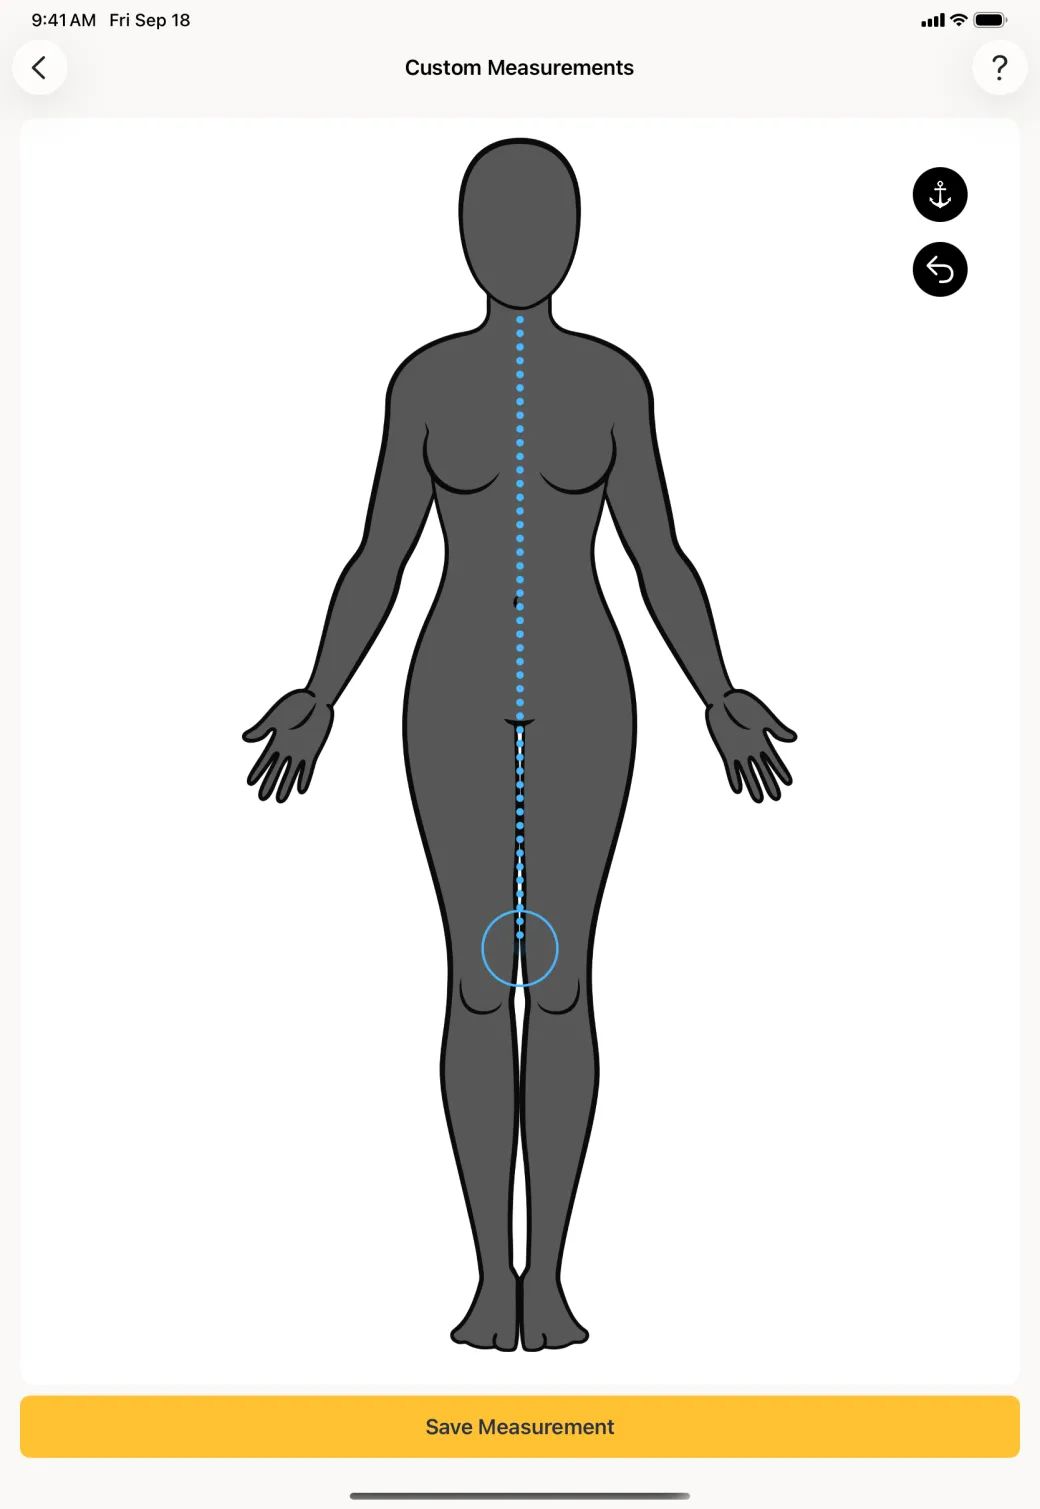
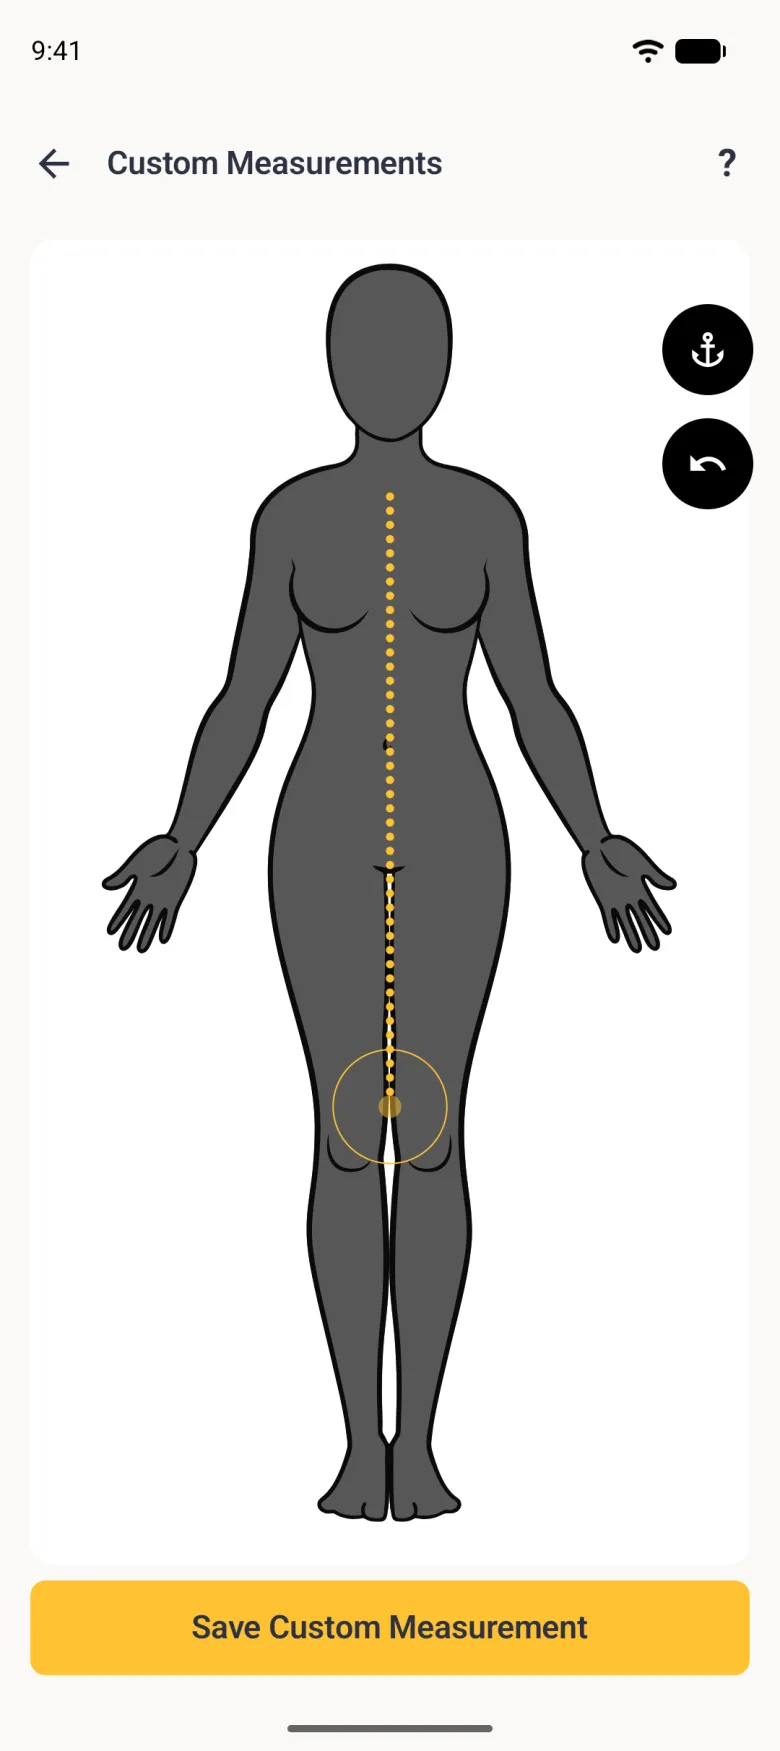
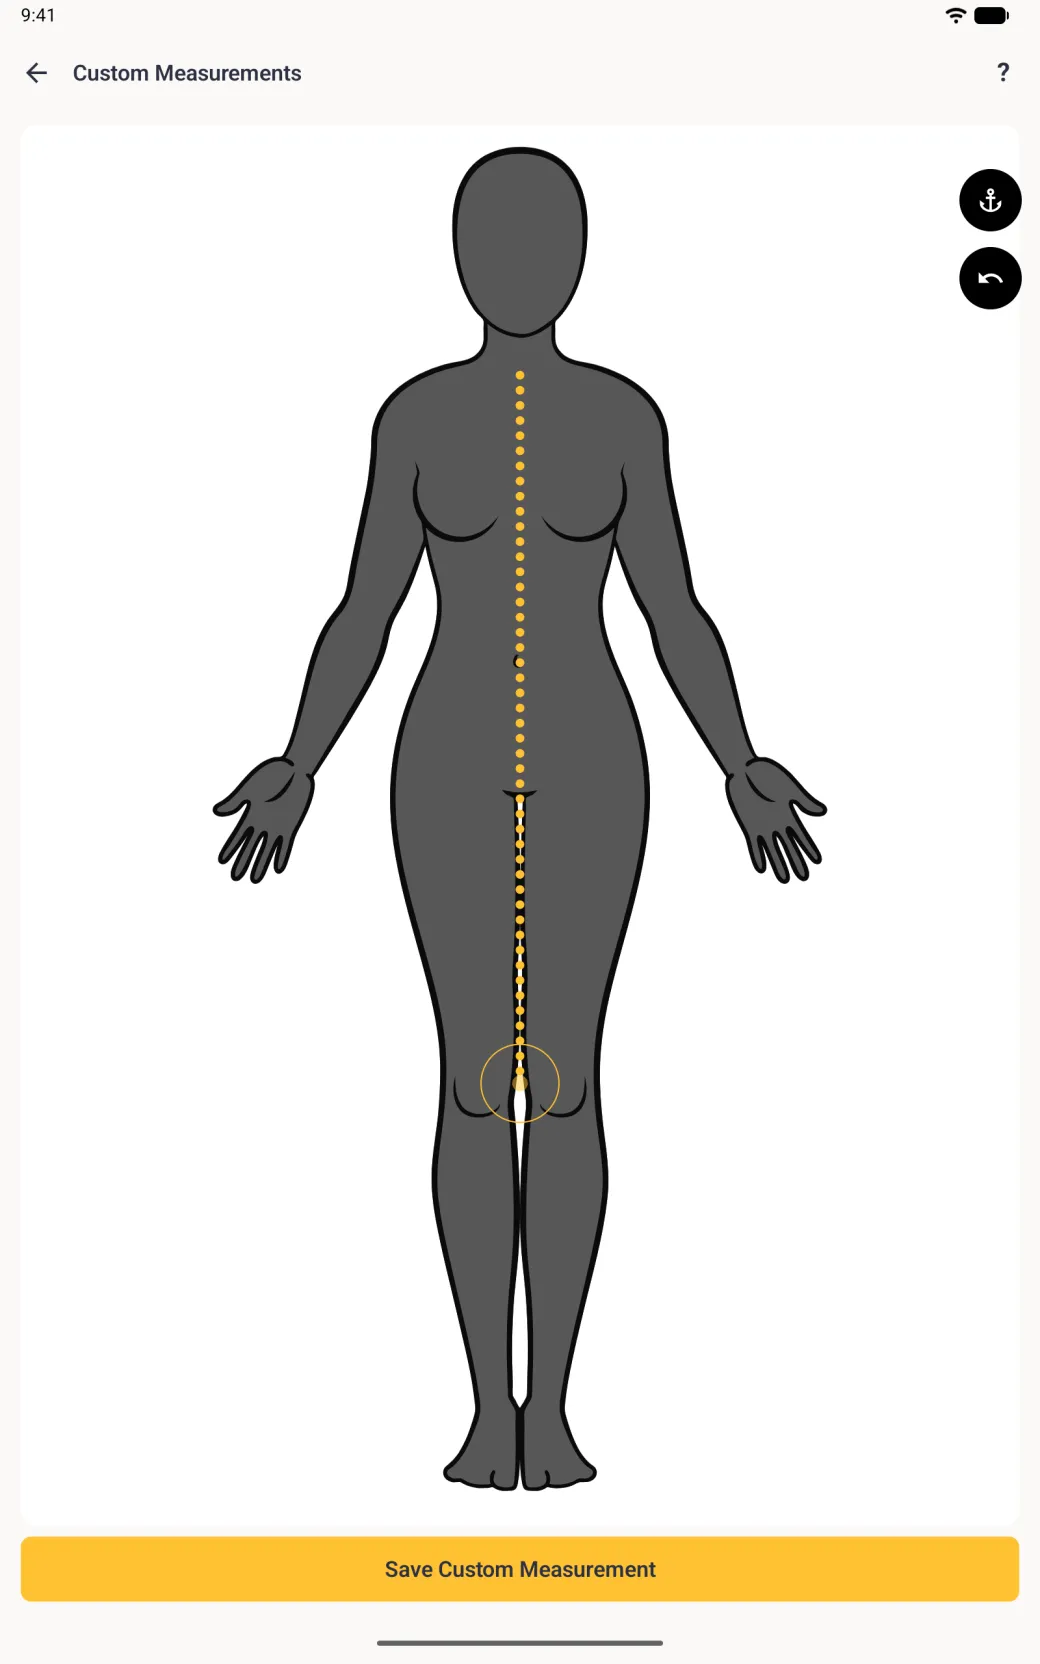
- Drag from the point along the path the tape takes. A dotted line follows your finger, and the title reads Custom line while you draw. The undo button steps back to the point if you want to reposition it rather than start again.
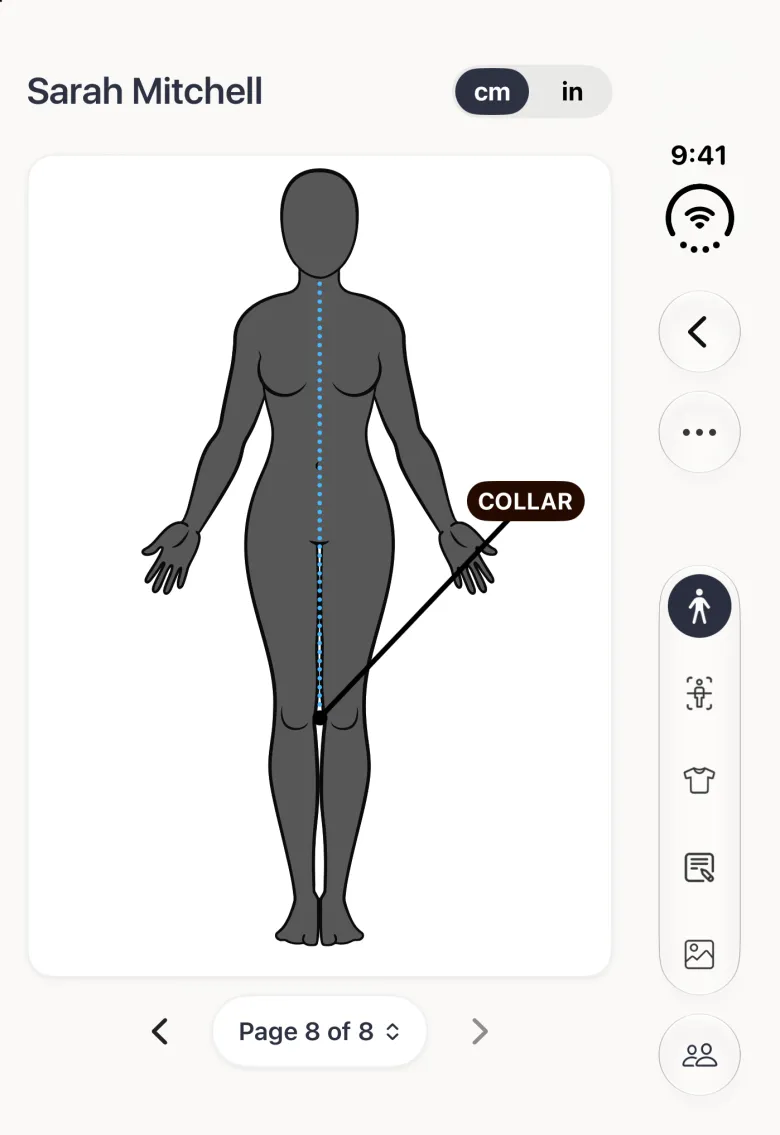
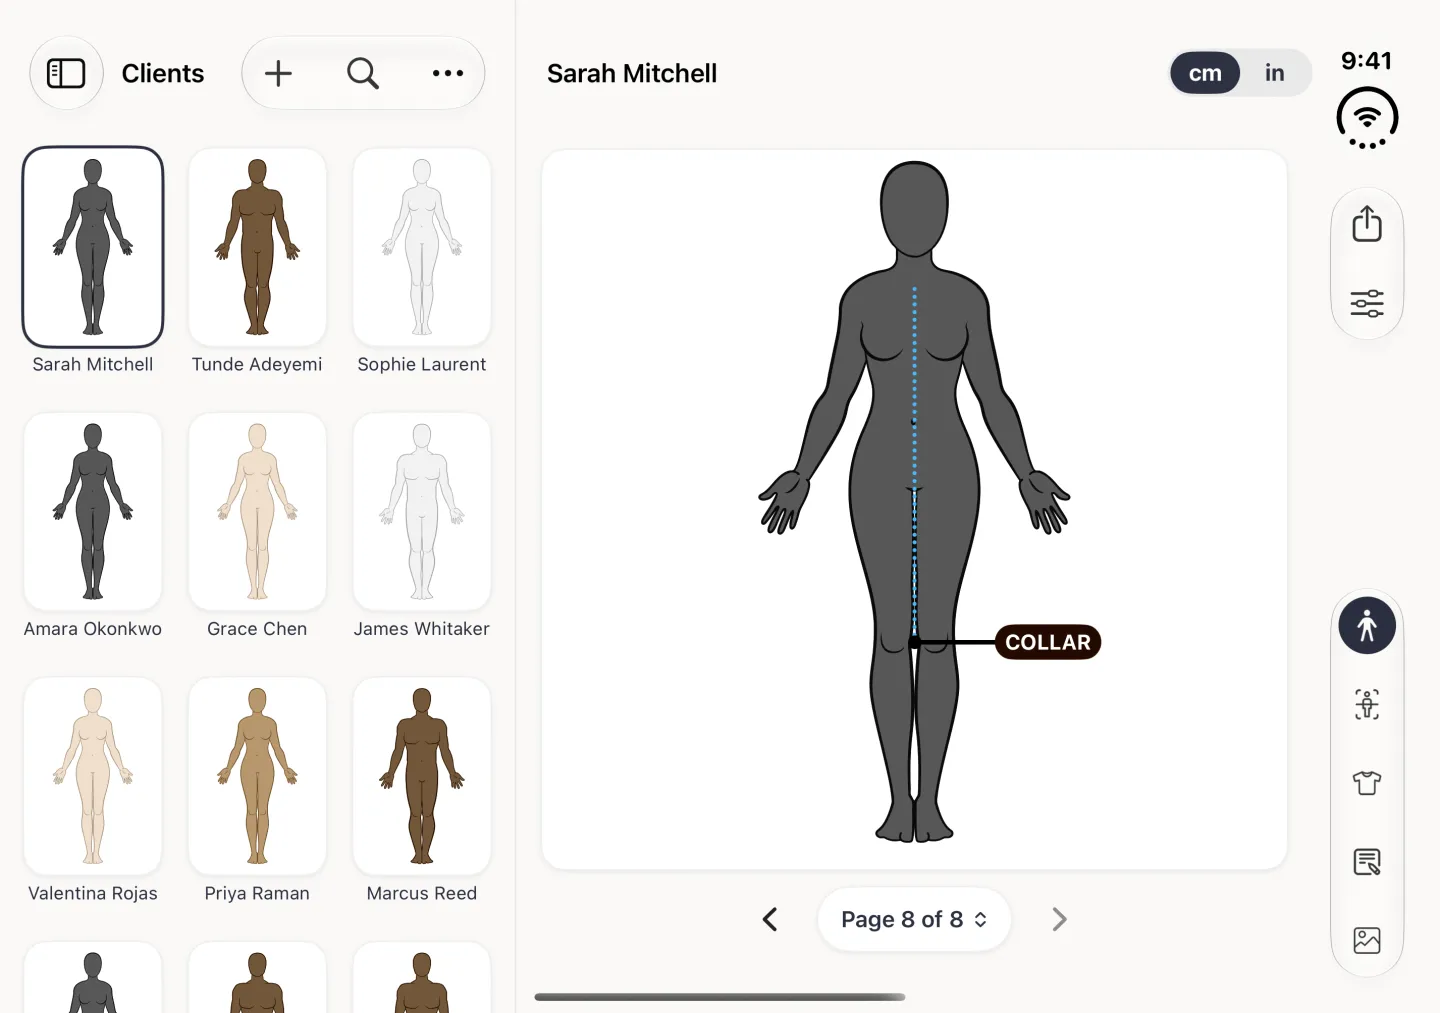
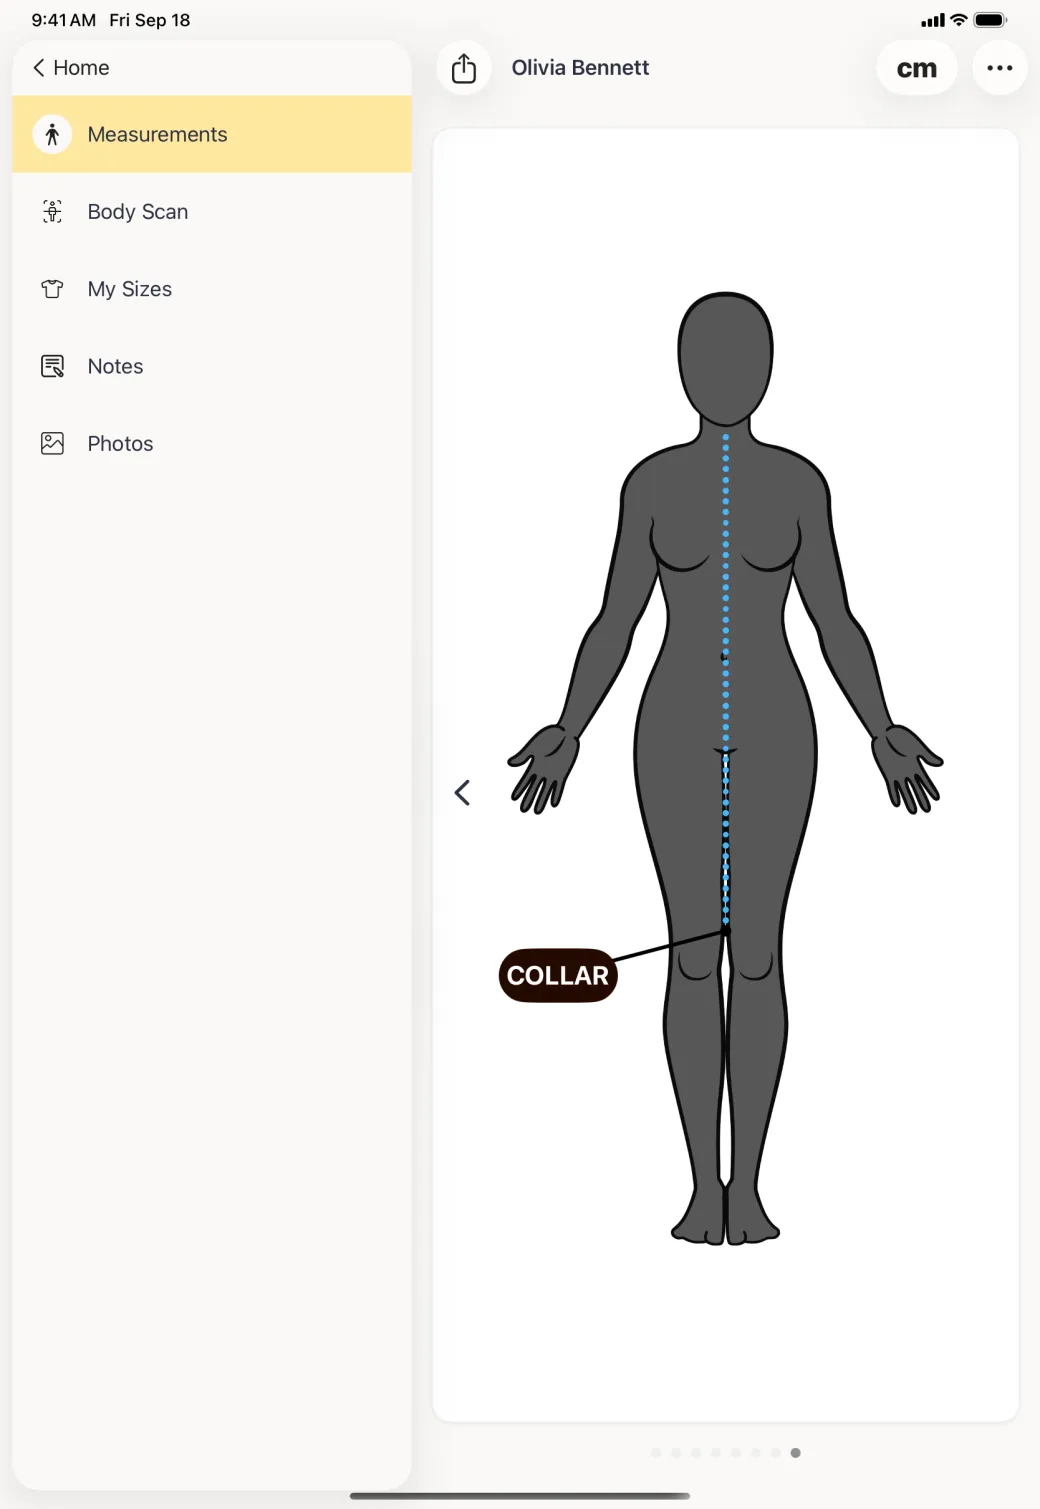
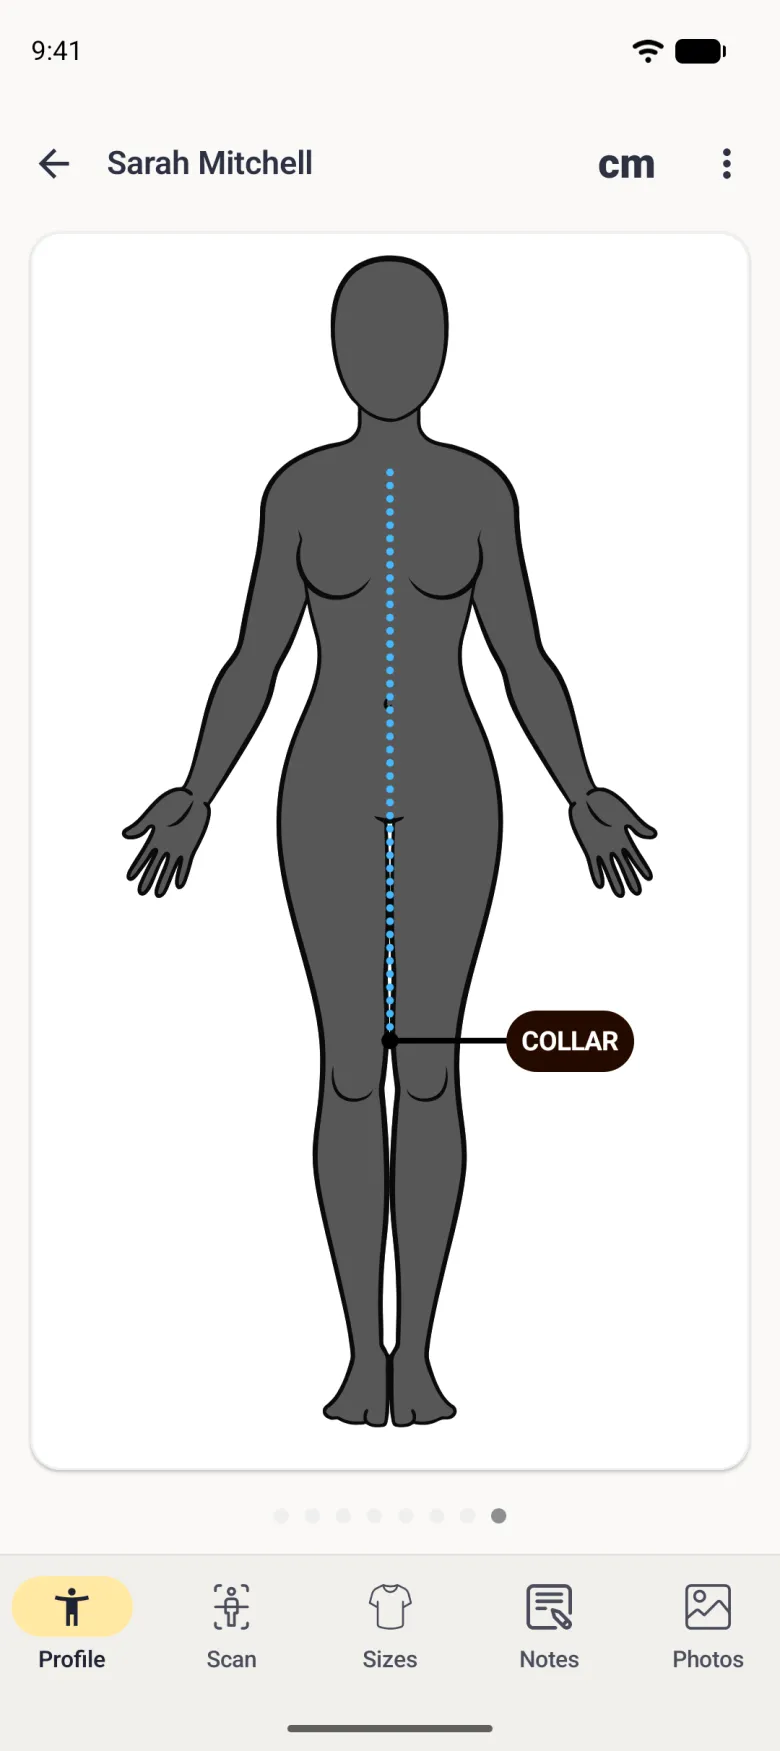
- Tap Save Measurement. A label pill appears at the end of the line. Drag it to a clear spot beside the body, then tap Set Label.
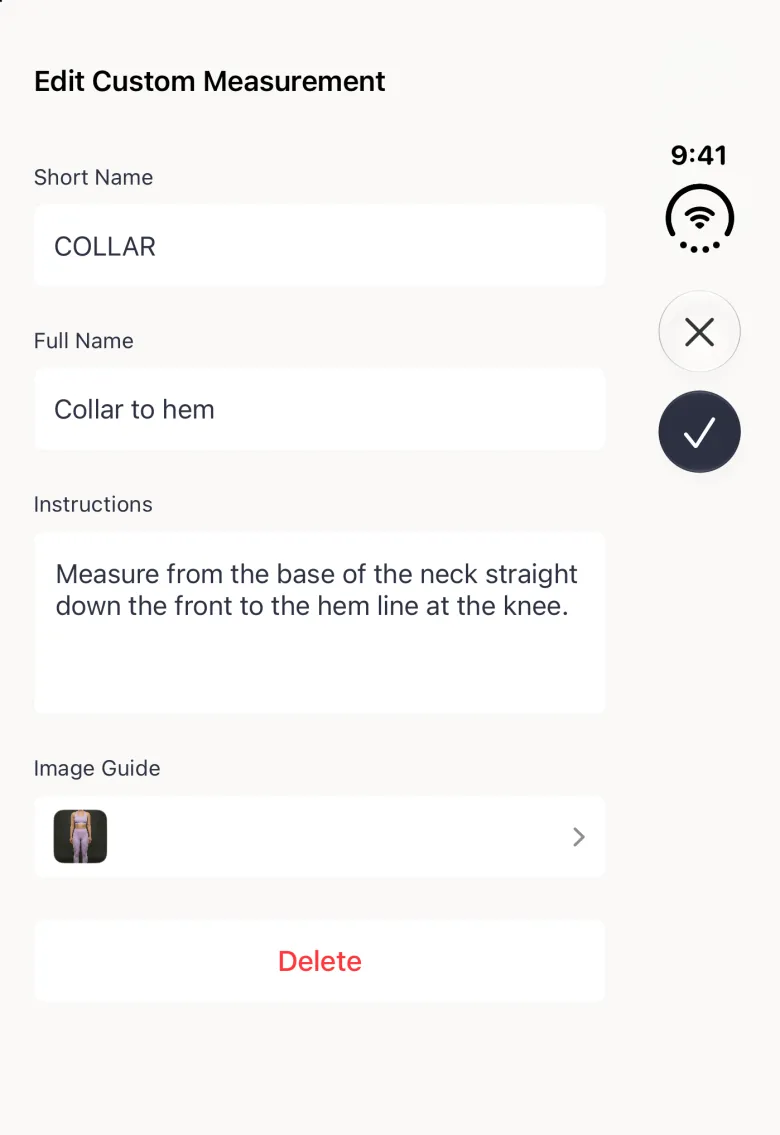
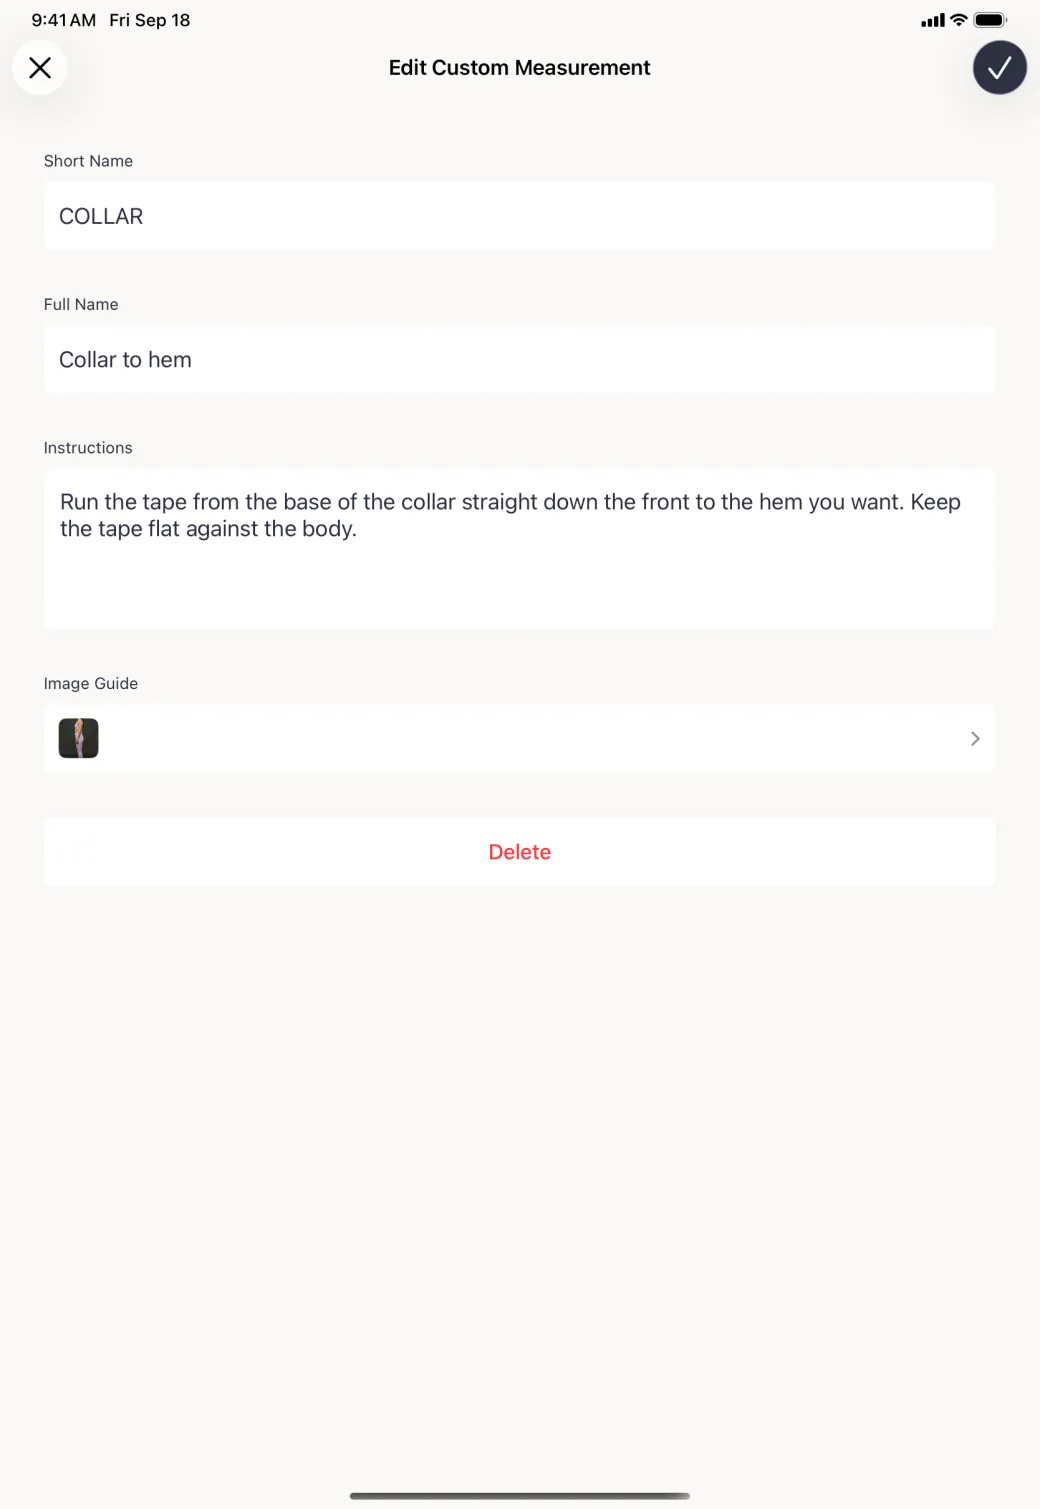
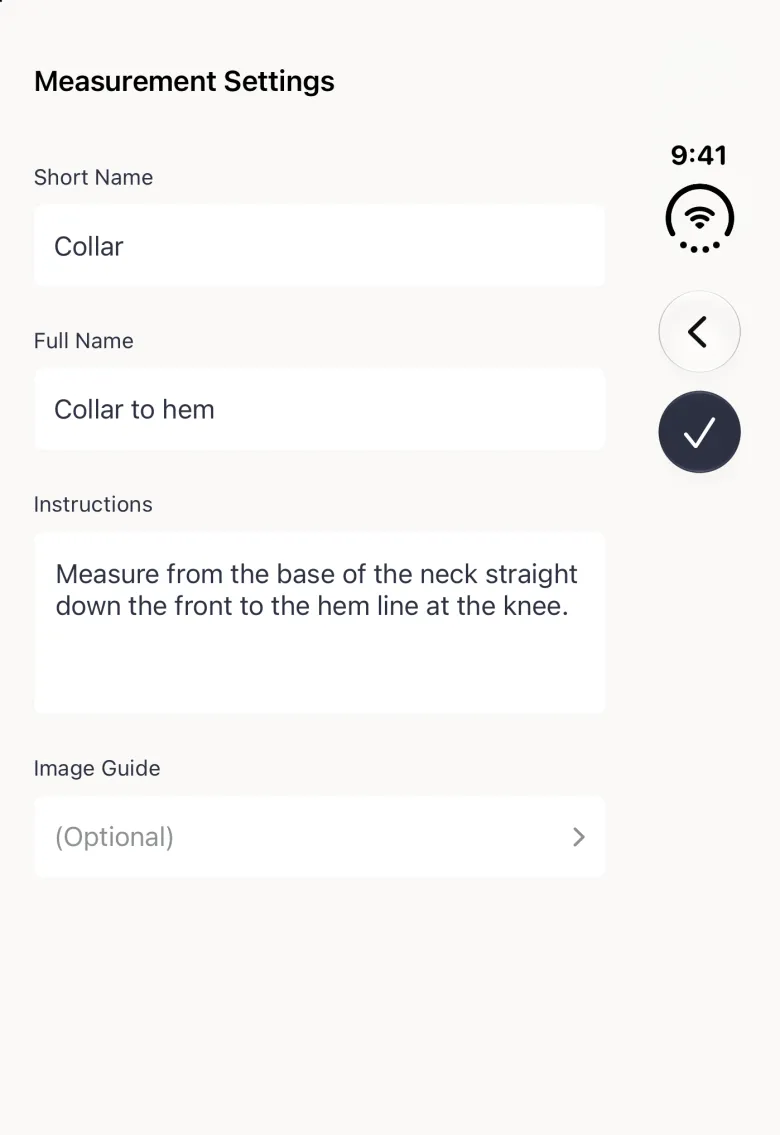
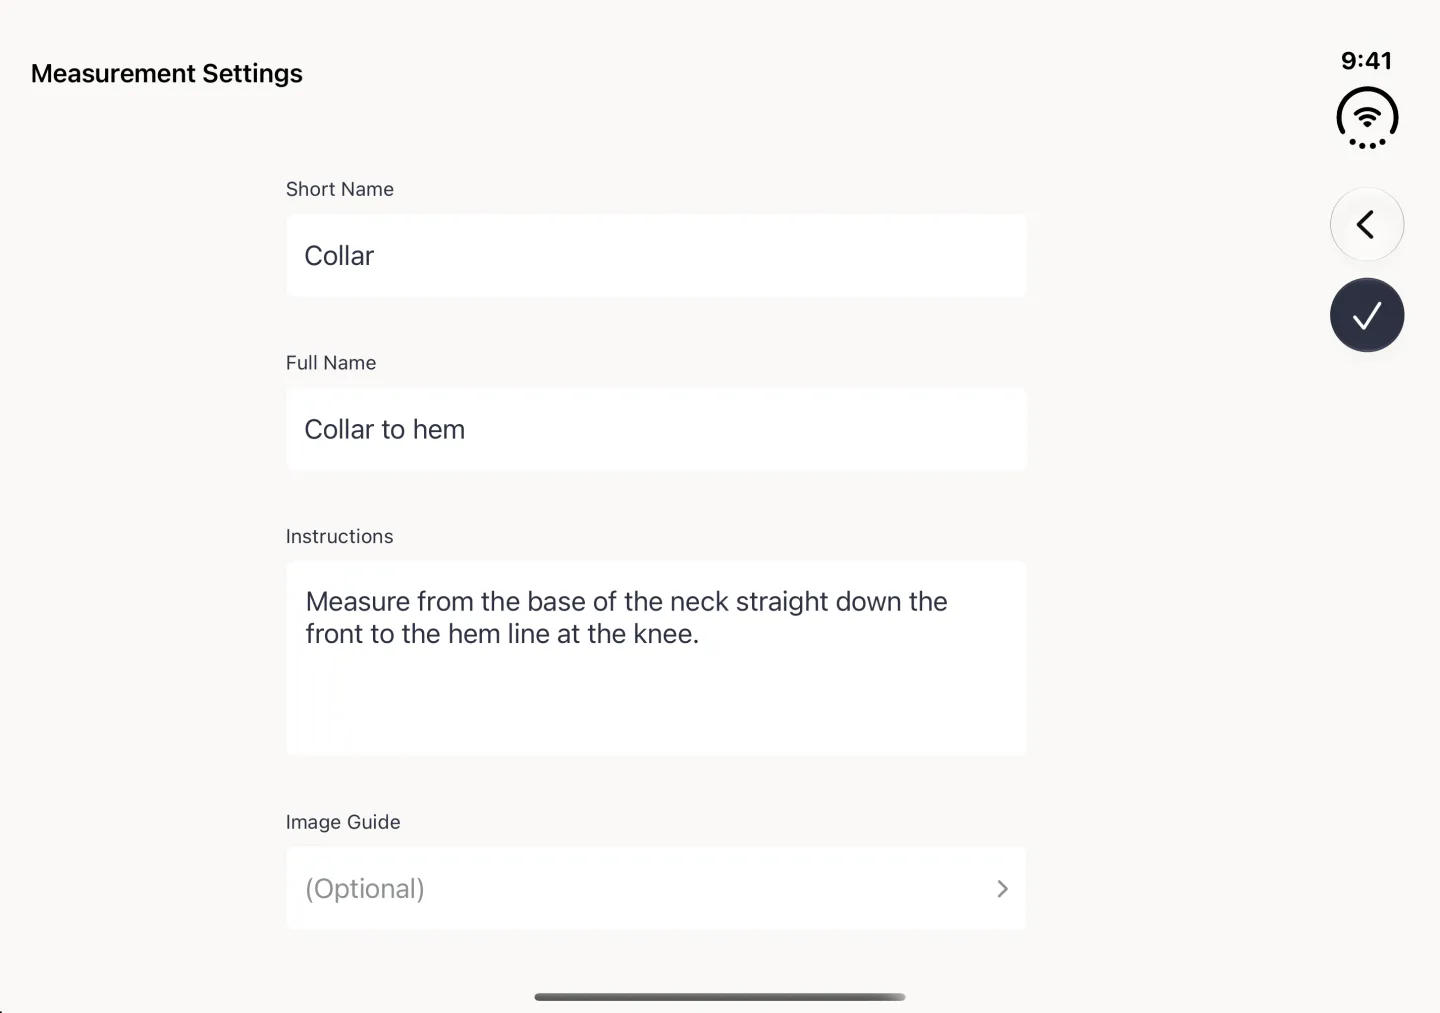
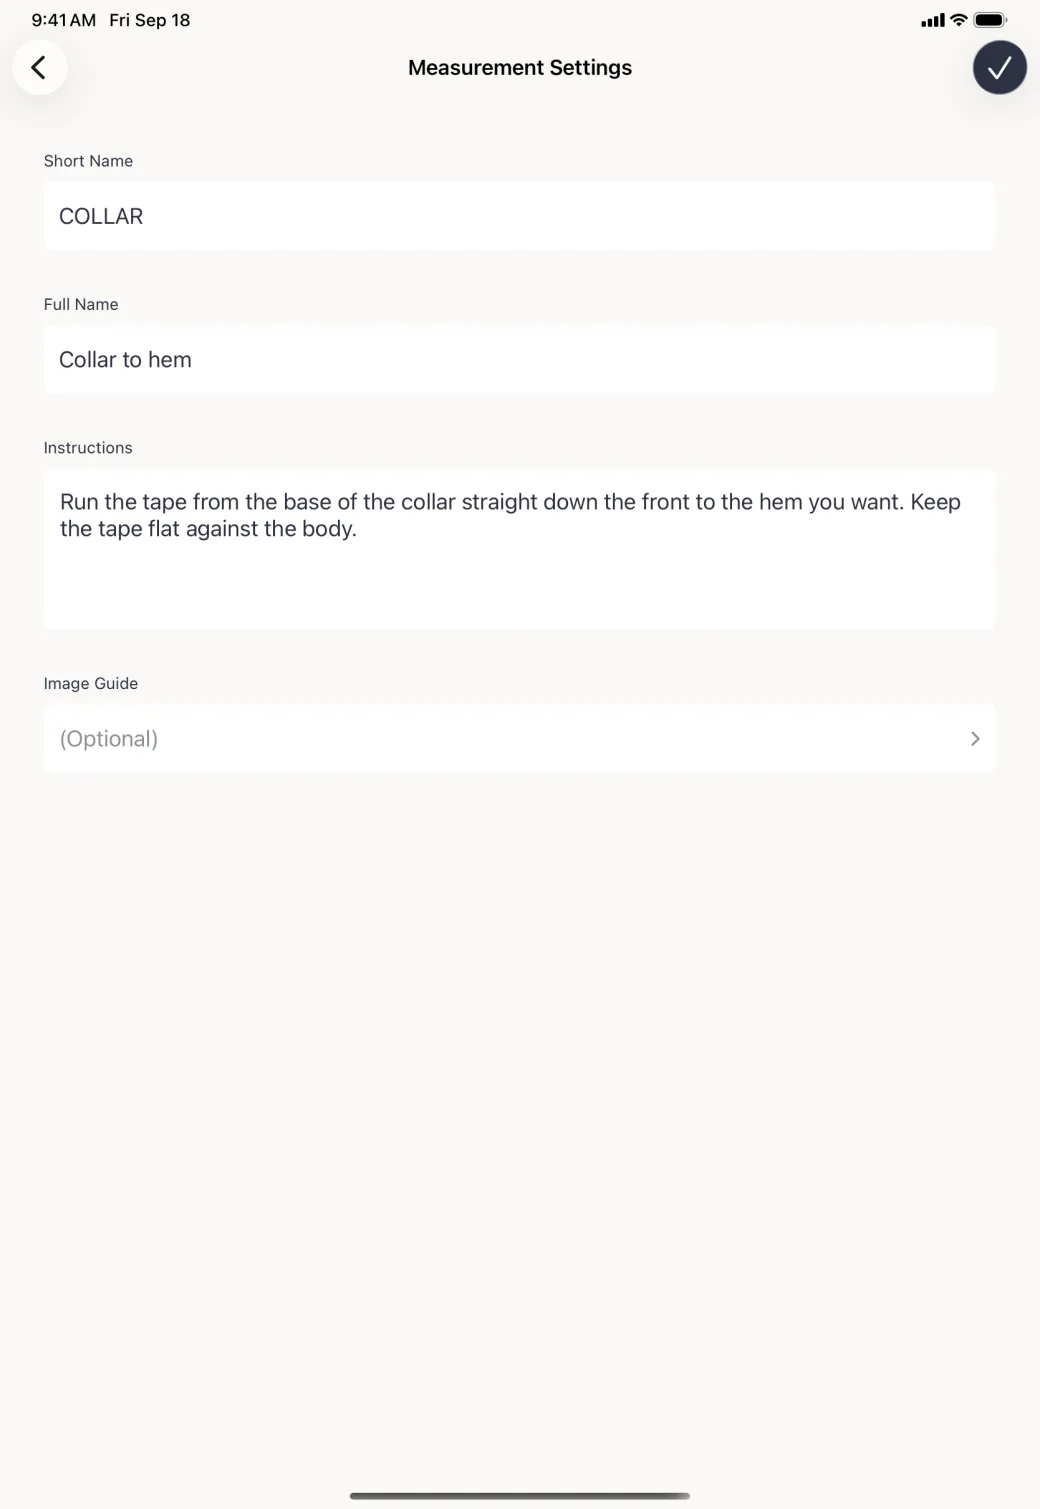
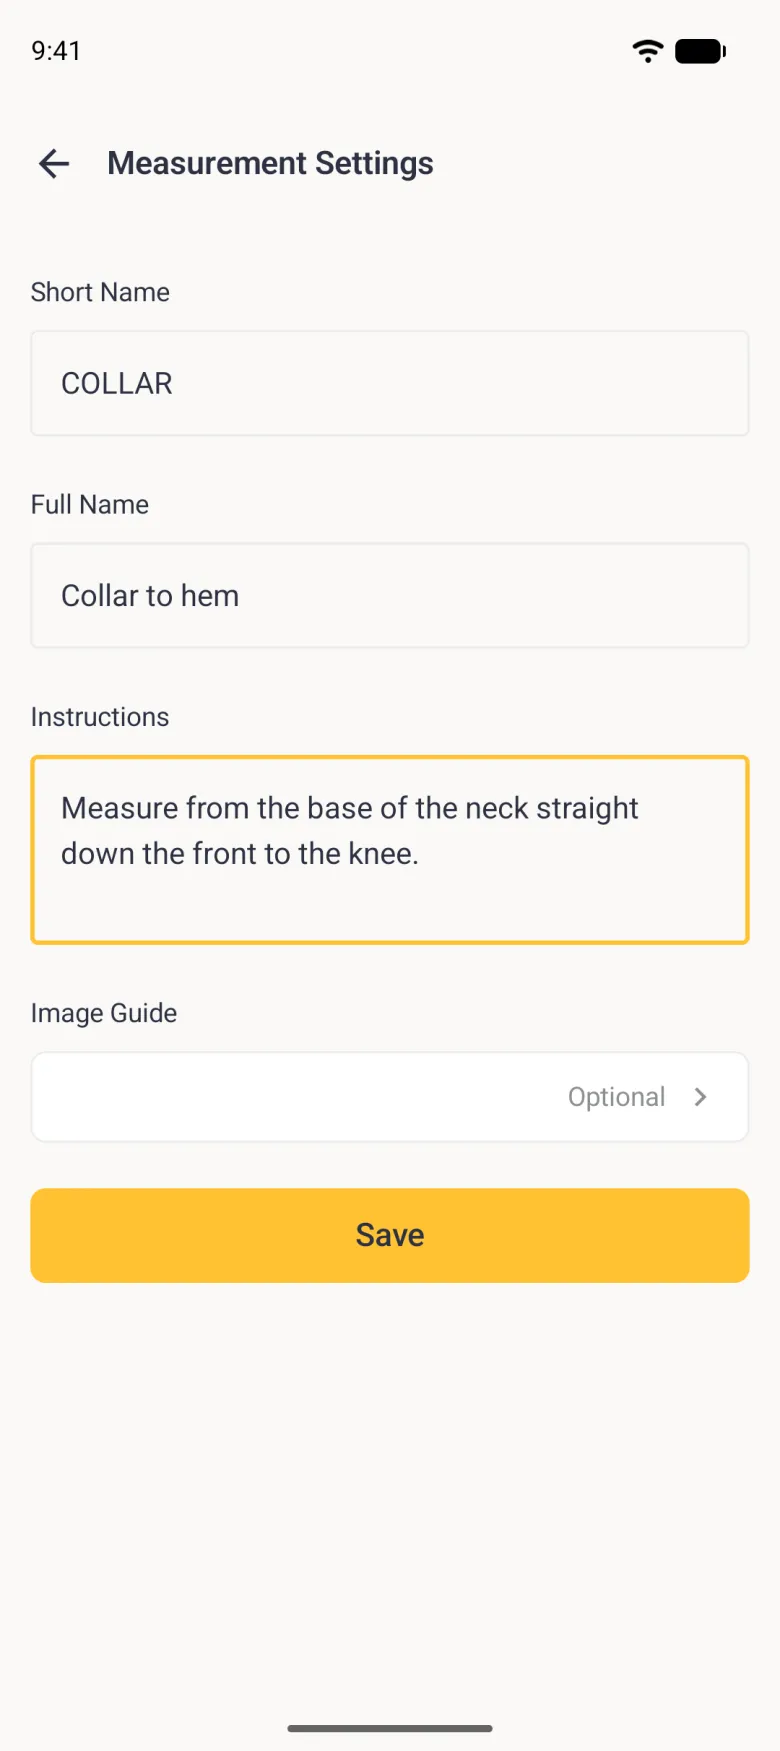
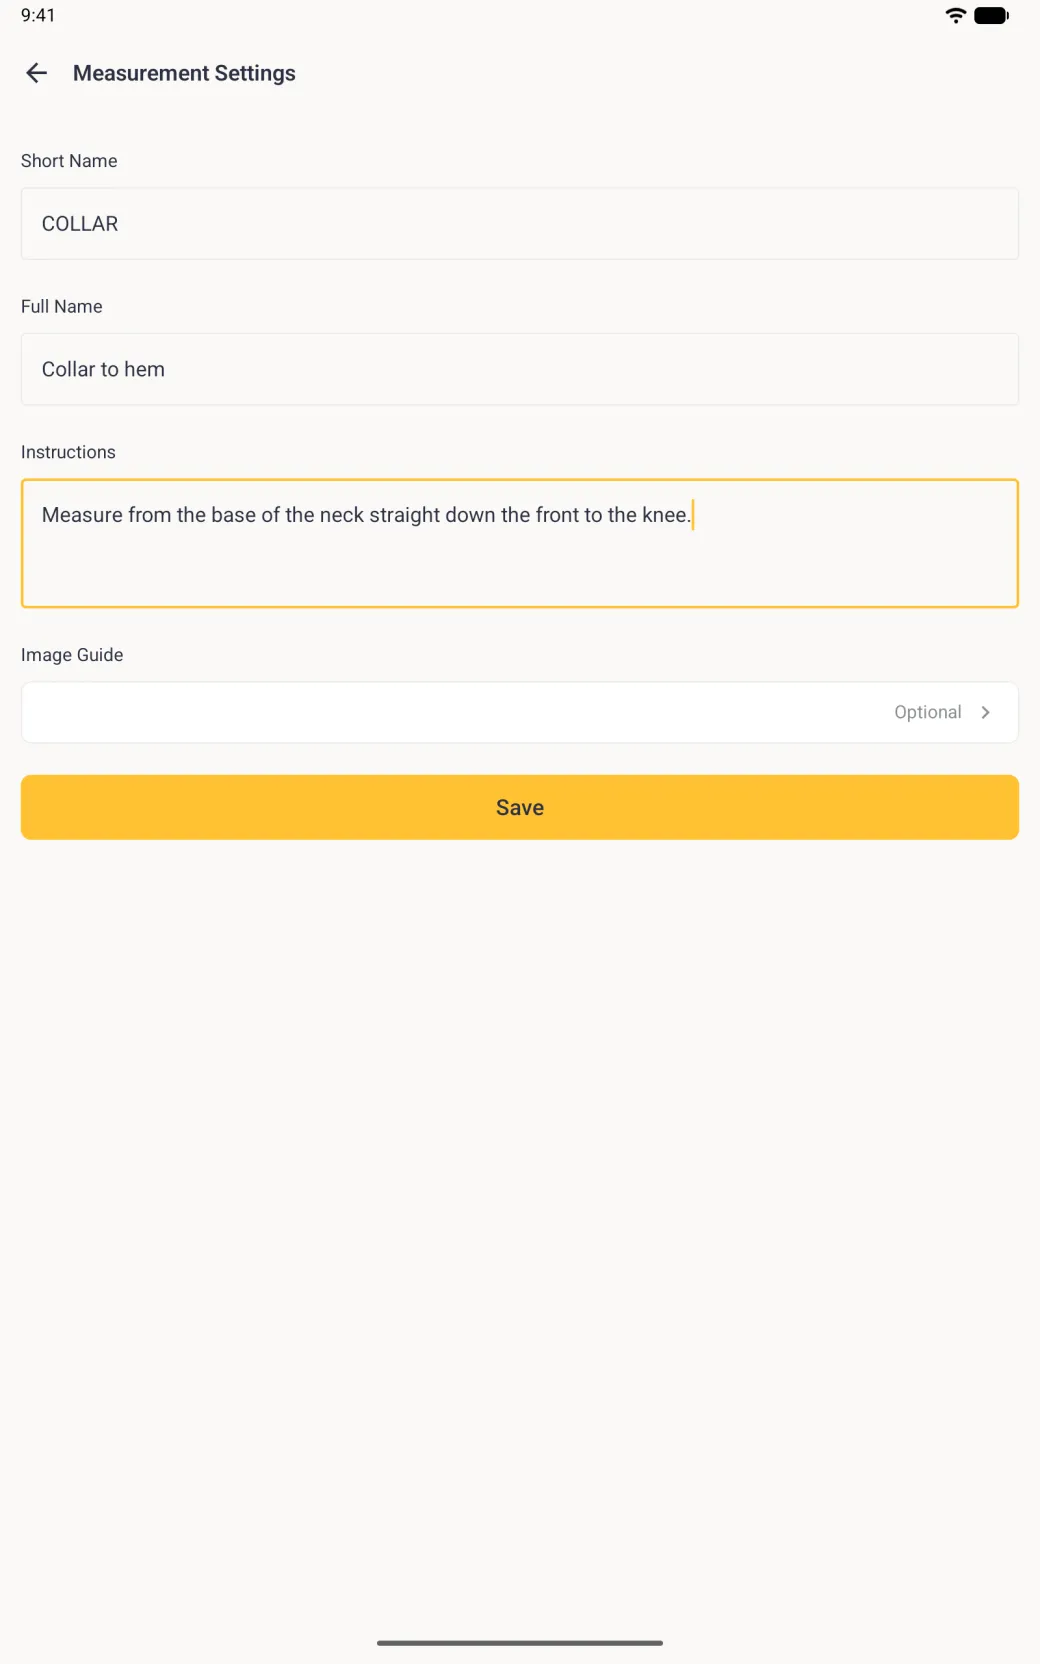
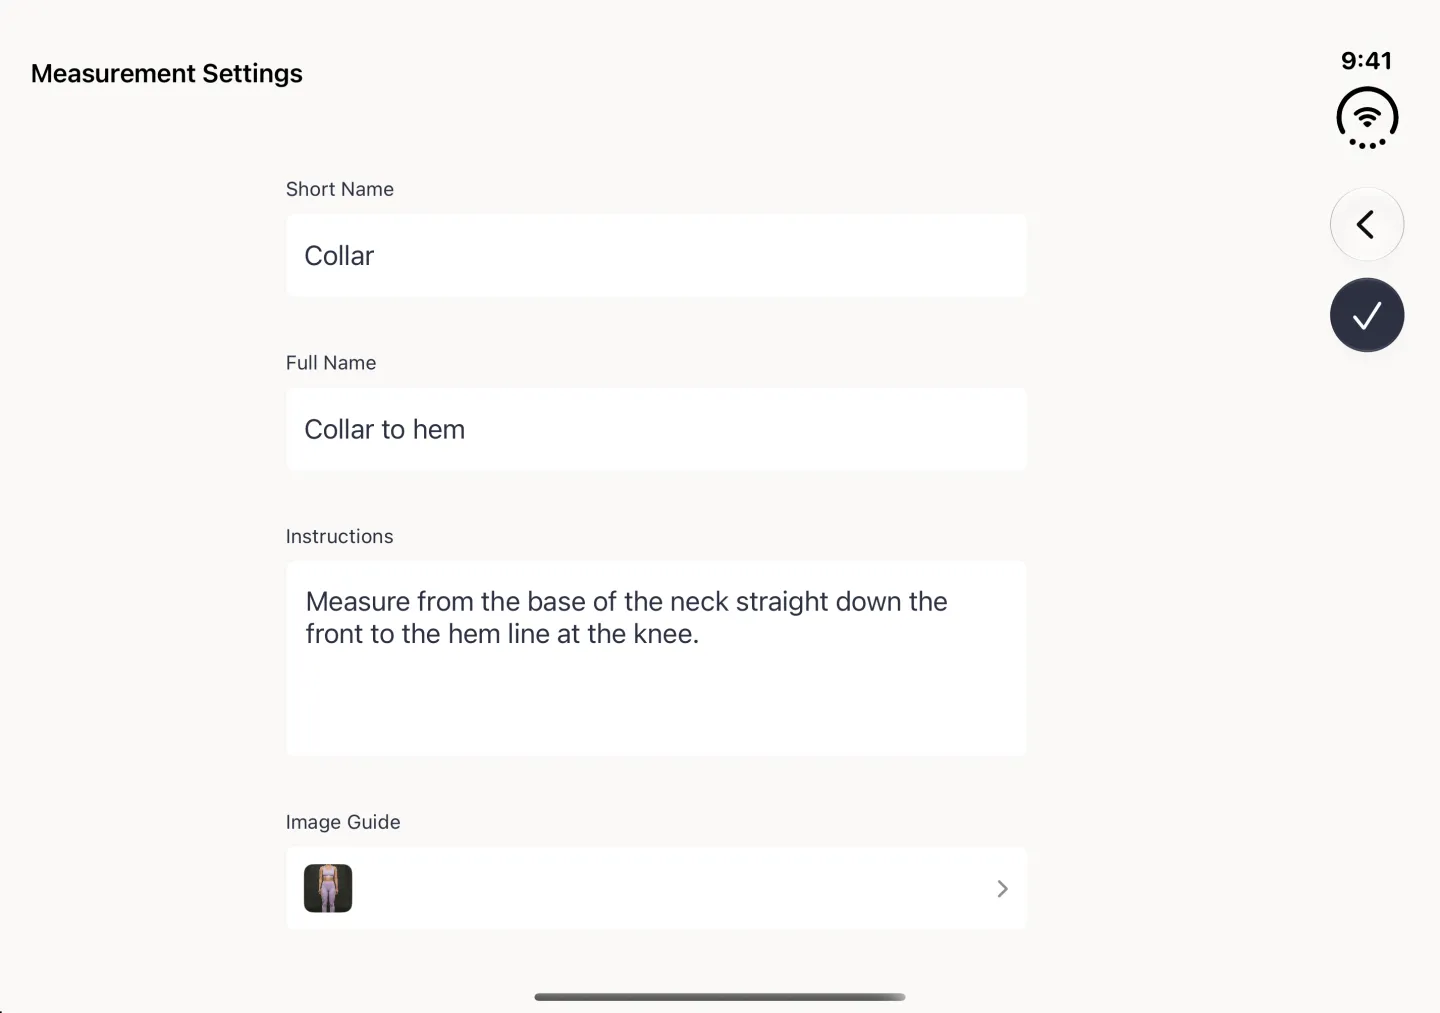
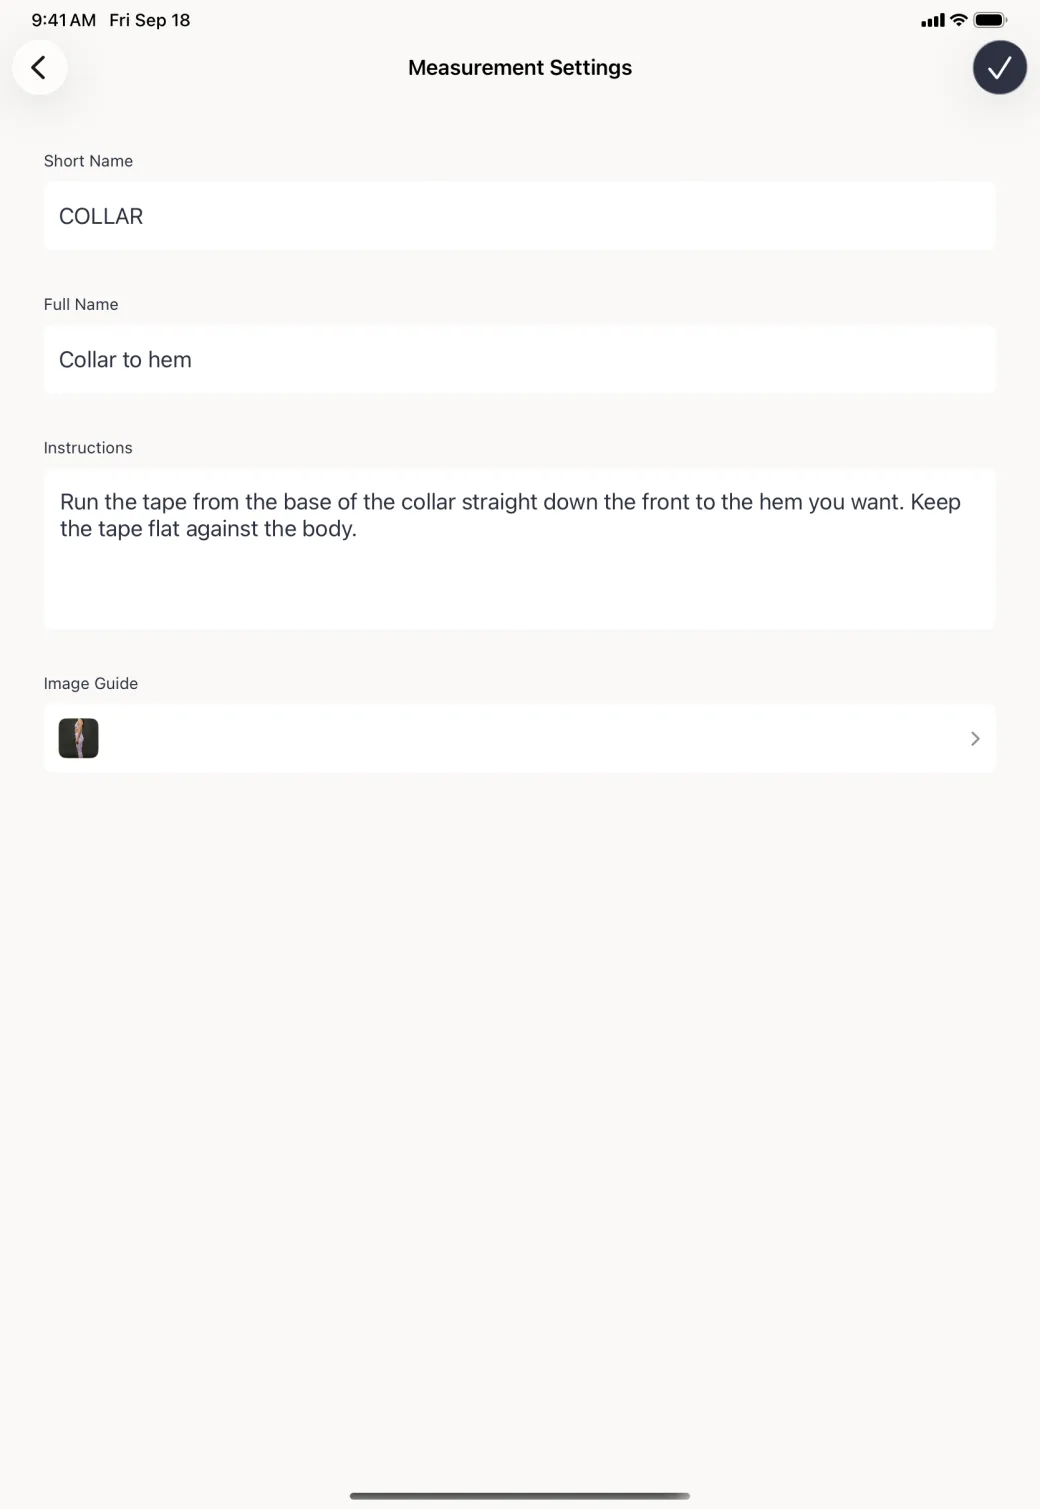
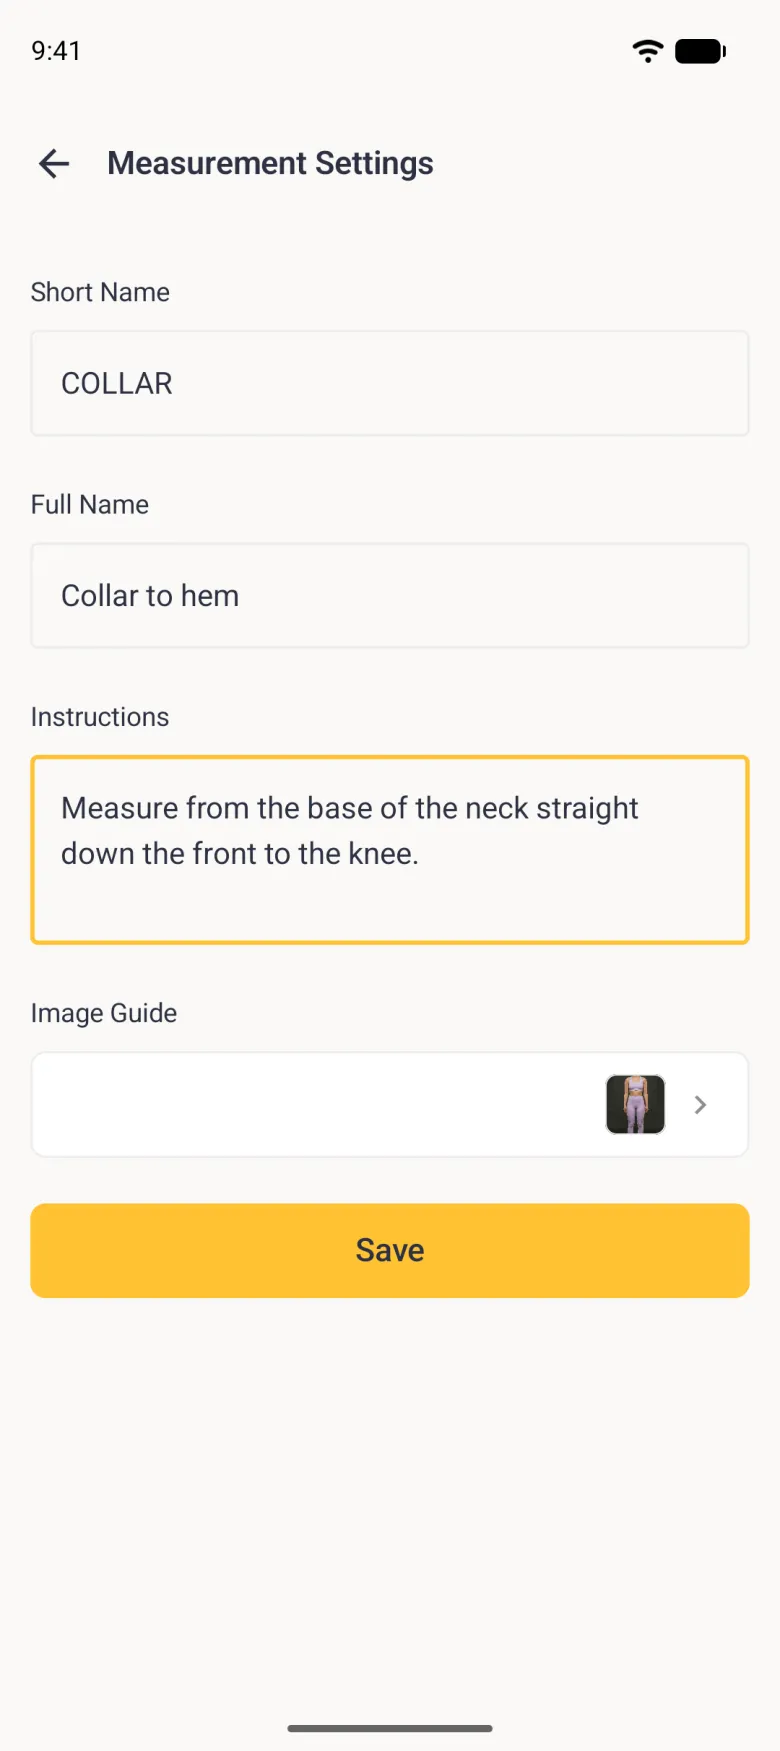
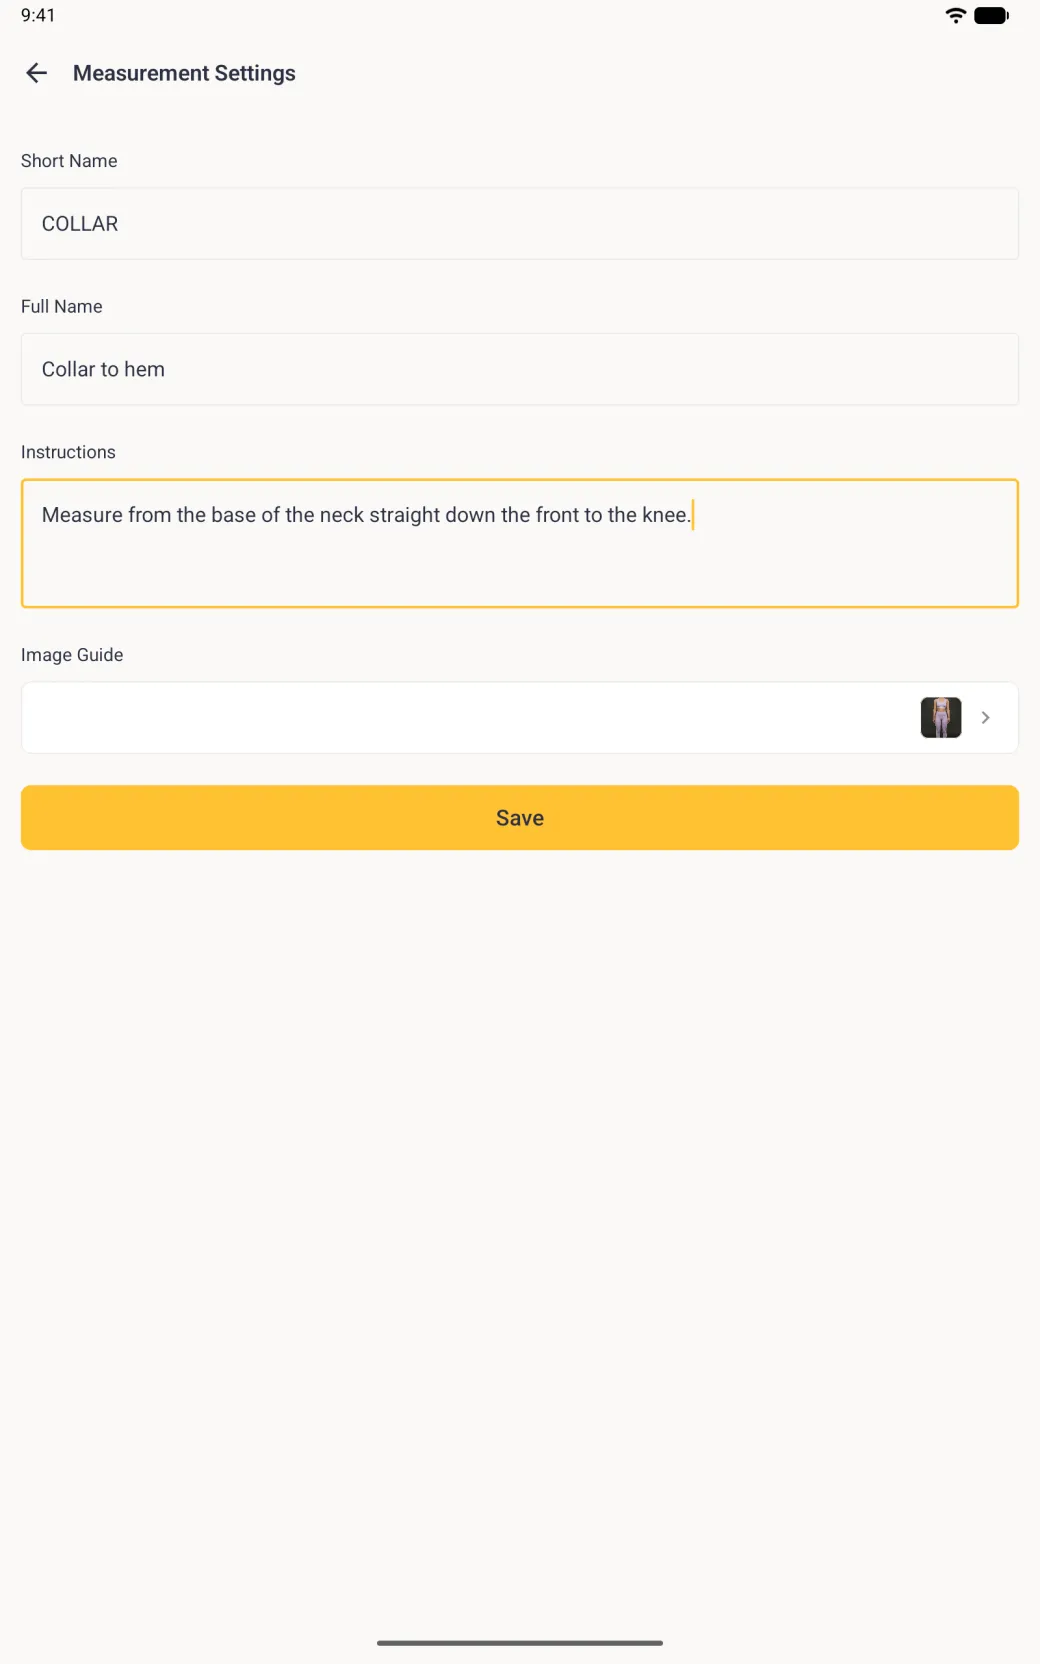
- Fill in Short Name and Full Name. The checkmark at the top right stays grey until both have something in them.
- Write the instructions you want whoever takes this measurement to read.
- Tap the navy checkmark at the top right to save. The profile shows the new page with your line and its label.
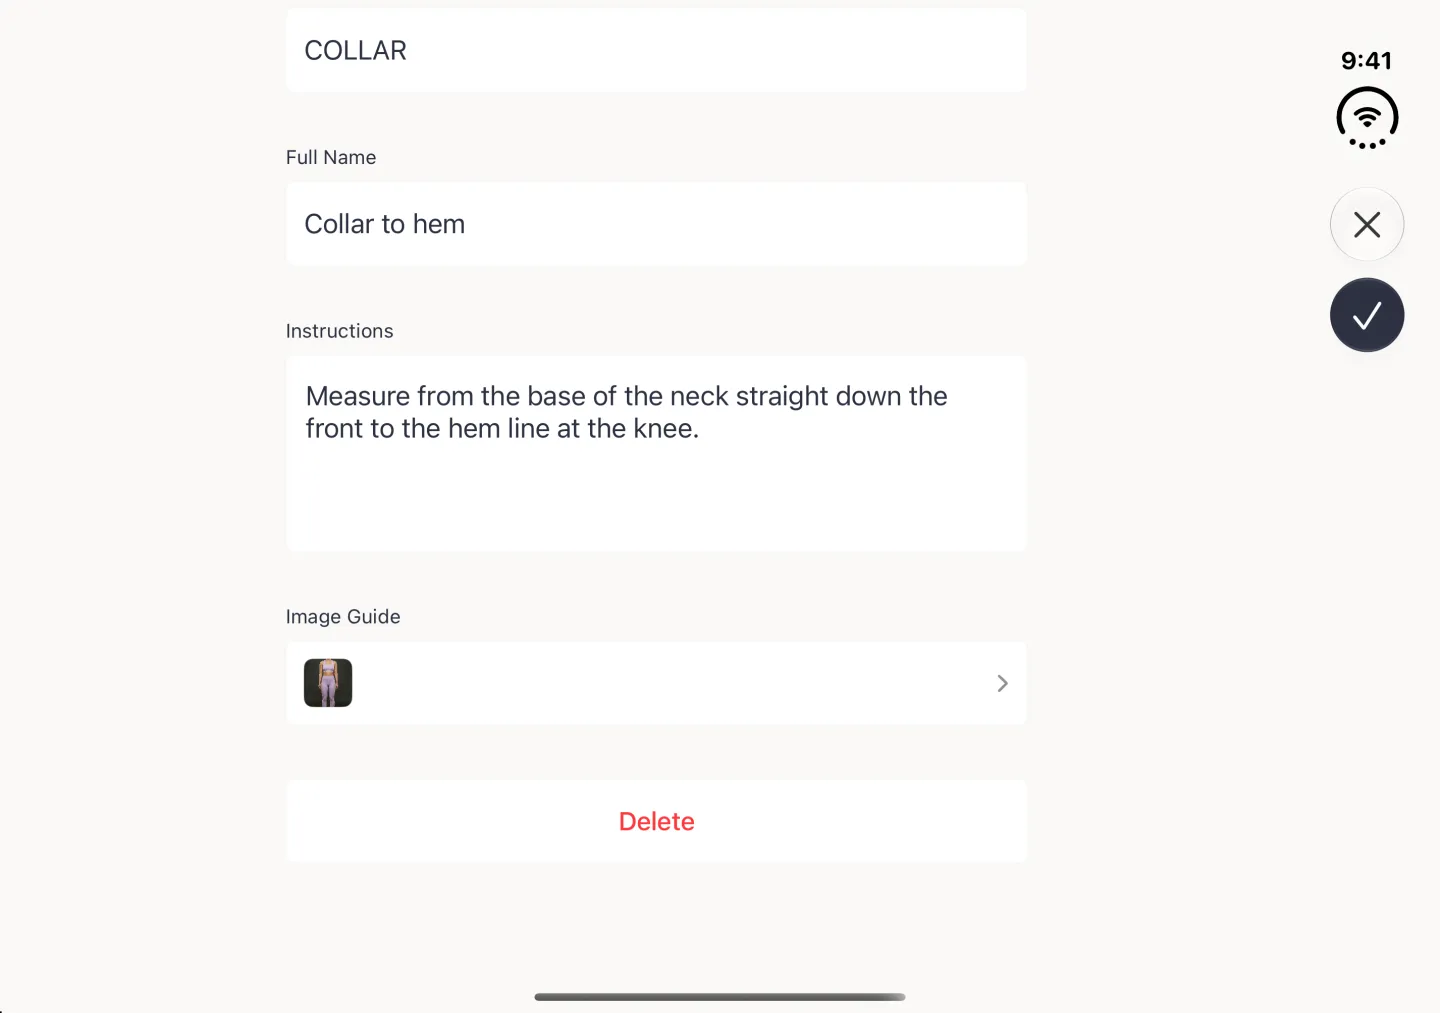
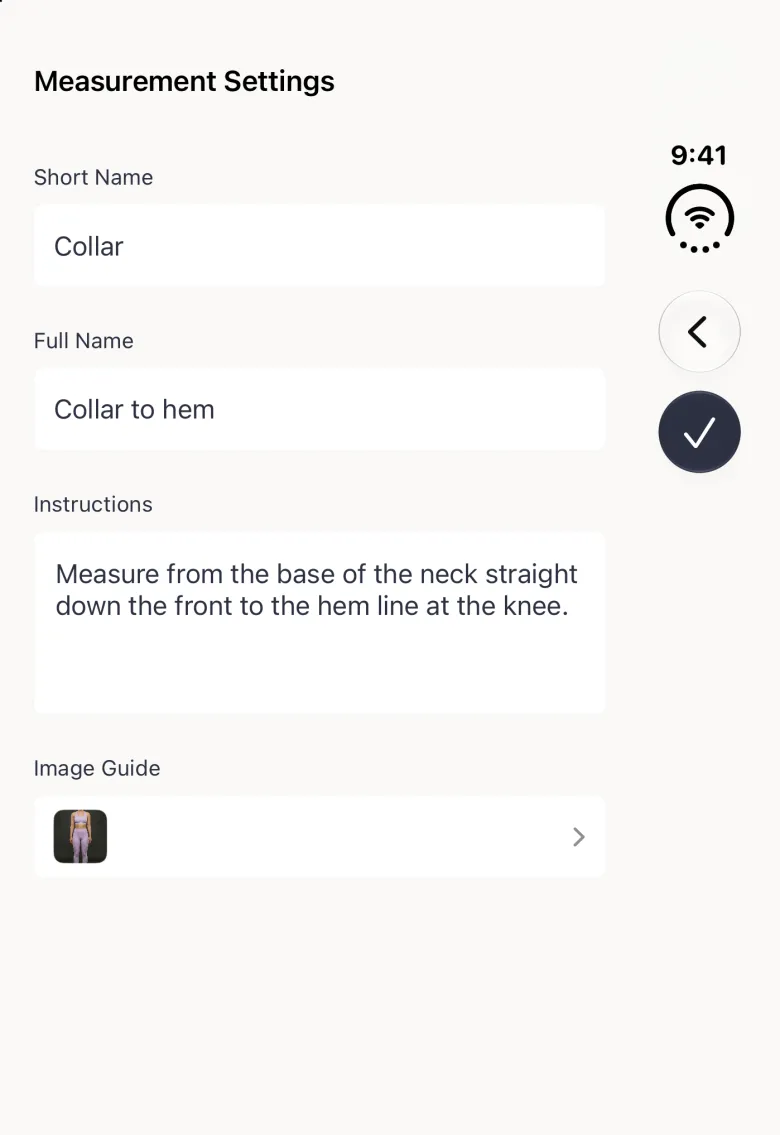
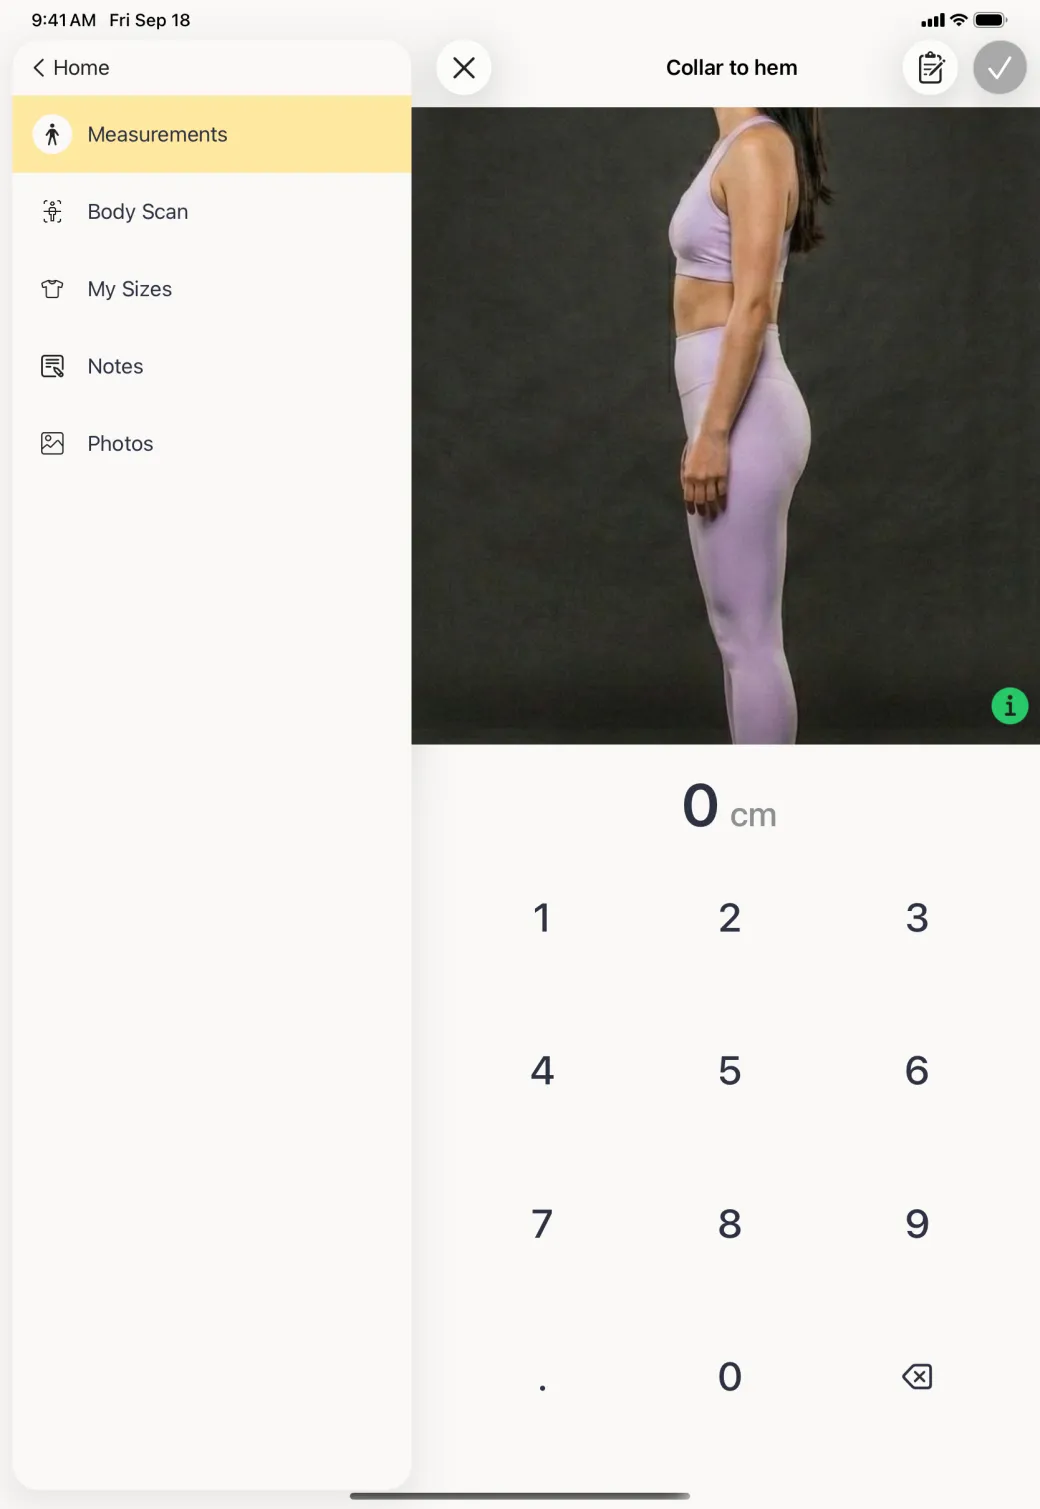
On Android, open the three-dot menu for Add New Page in step 1. Picking a view in step 2 only adds the empty page rather than opening the editor: open the new page’s three-dot menu and tap Custom Measurements to reach it. The Save Measurement and Set Label buttons in step 5 read Save Custom Measurement and Set Label Position there. On iPad and on iPhone Duo, opened, the Clients list stays beside the profile while you add the page; on iPhone Duo the editor’s buttons sit in a strip on the right, opened or closed.



Can I add my own photo to the guide?
Yes. The Image Guide row on the Measurement Settings form opens the photo picker, and the photo you choose becomes the illustration on the entry screen, in place of the drawing a built-in measurement gets. It is worth doing for anything your team measures differently from the way a chart would describe it: a reference photo of the garment settles an argument that a paragraph of instructions cannot.
The row is optional. Leave it empty and the measurement still works, with your instructions behind the information button.


How do I enter a value for it?
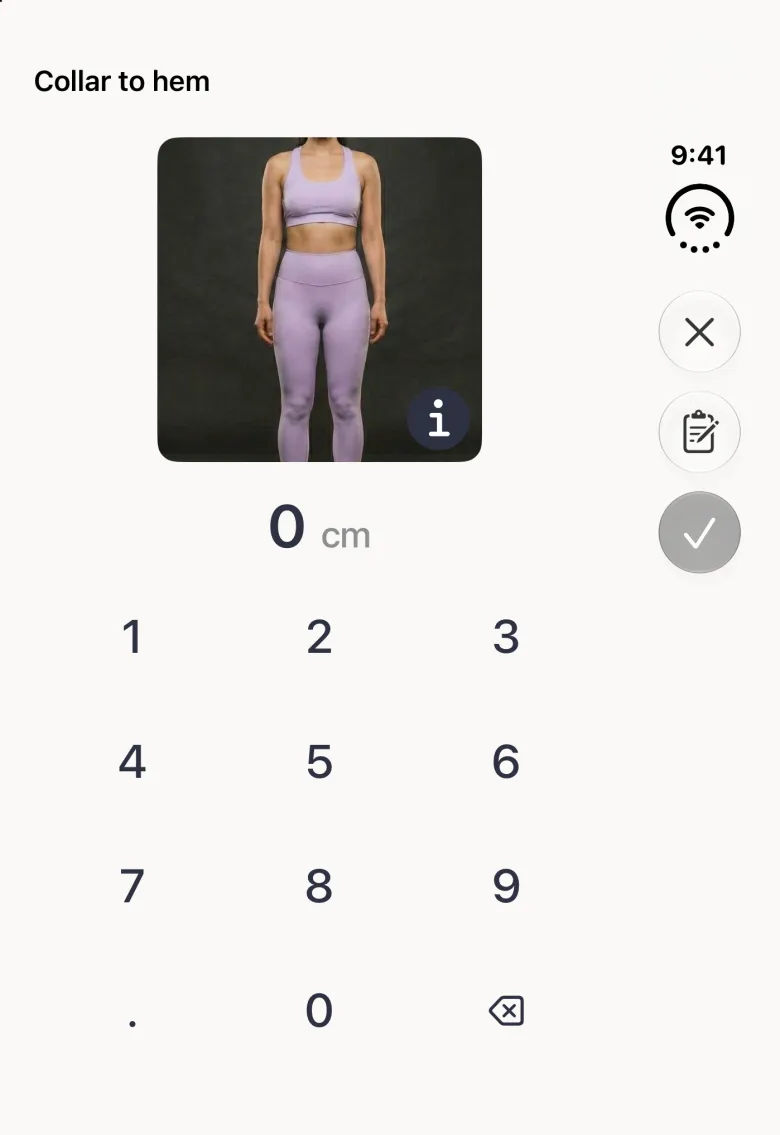
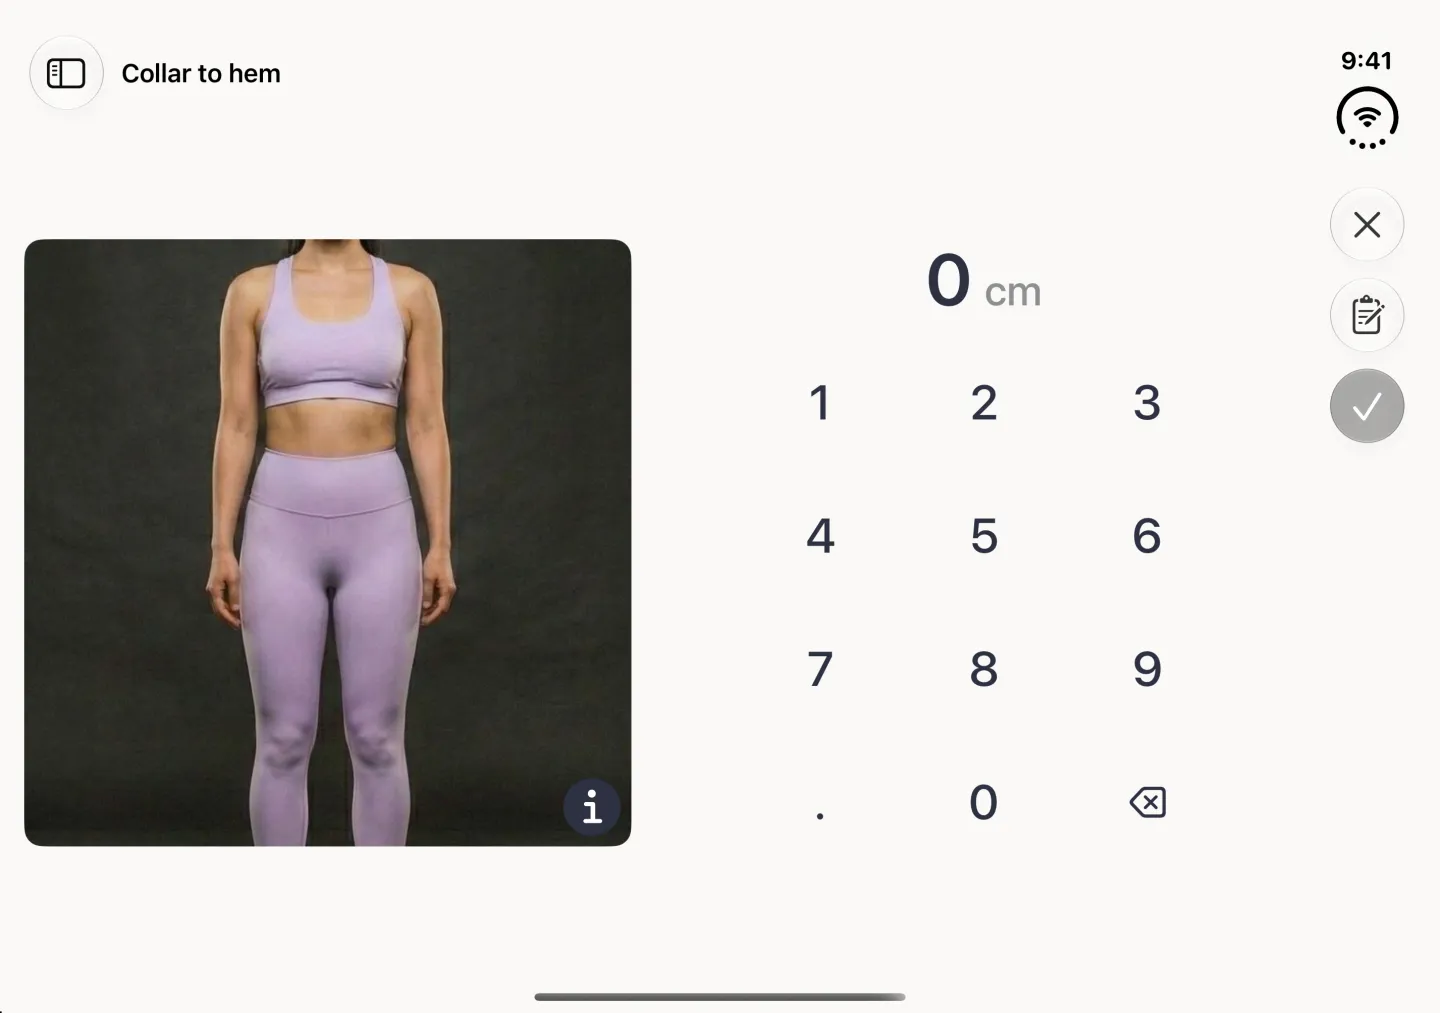
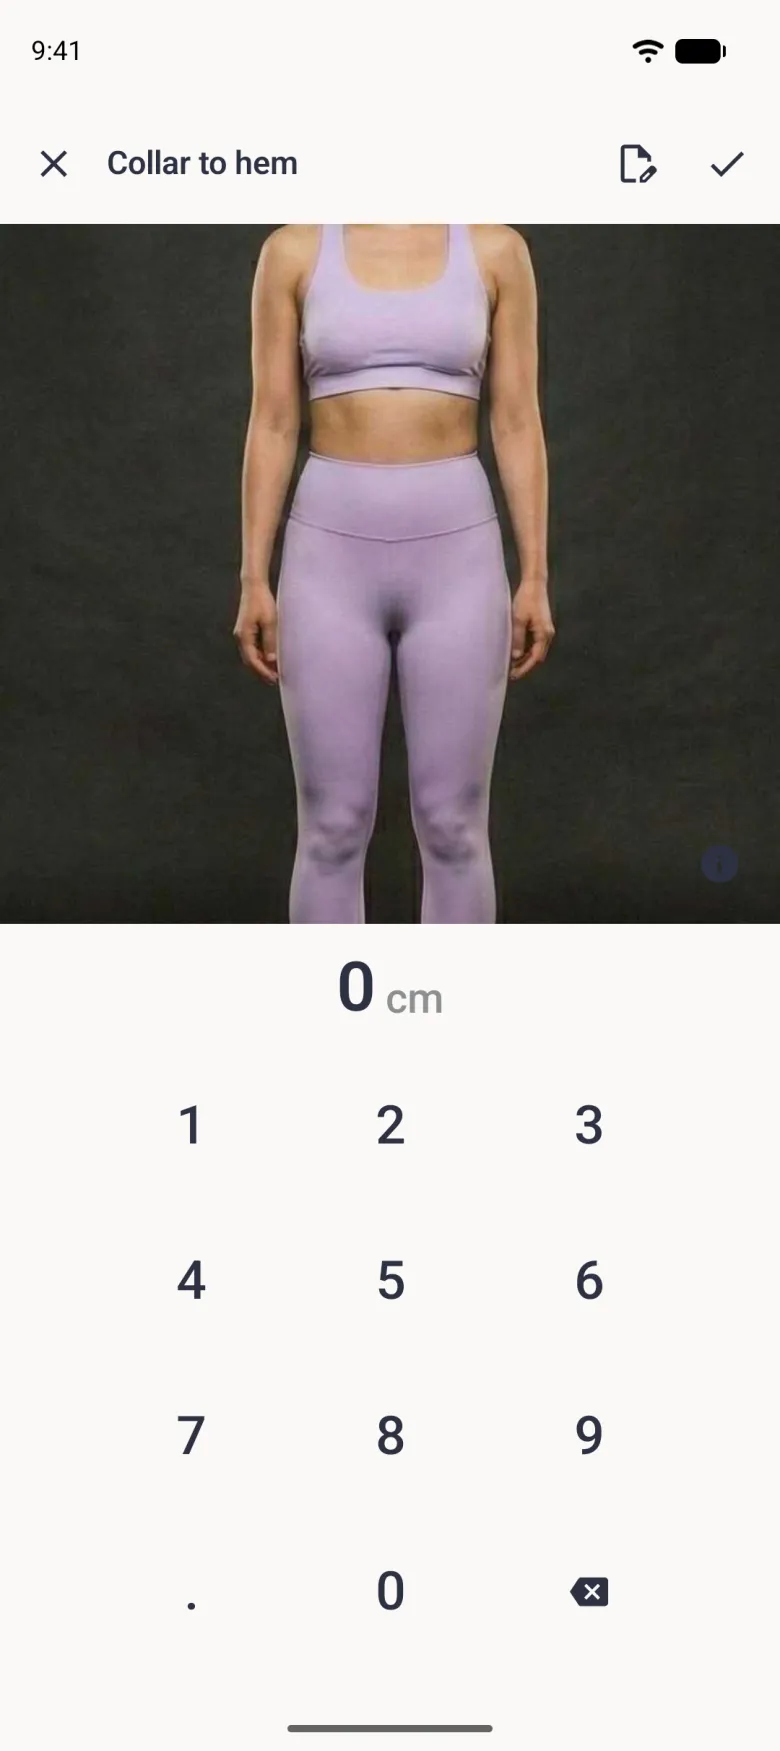
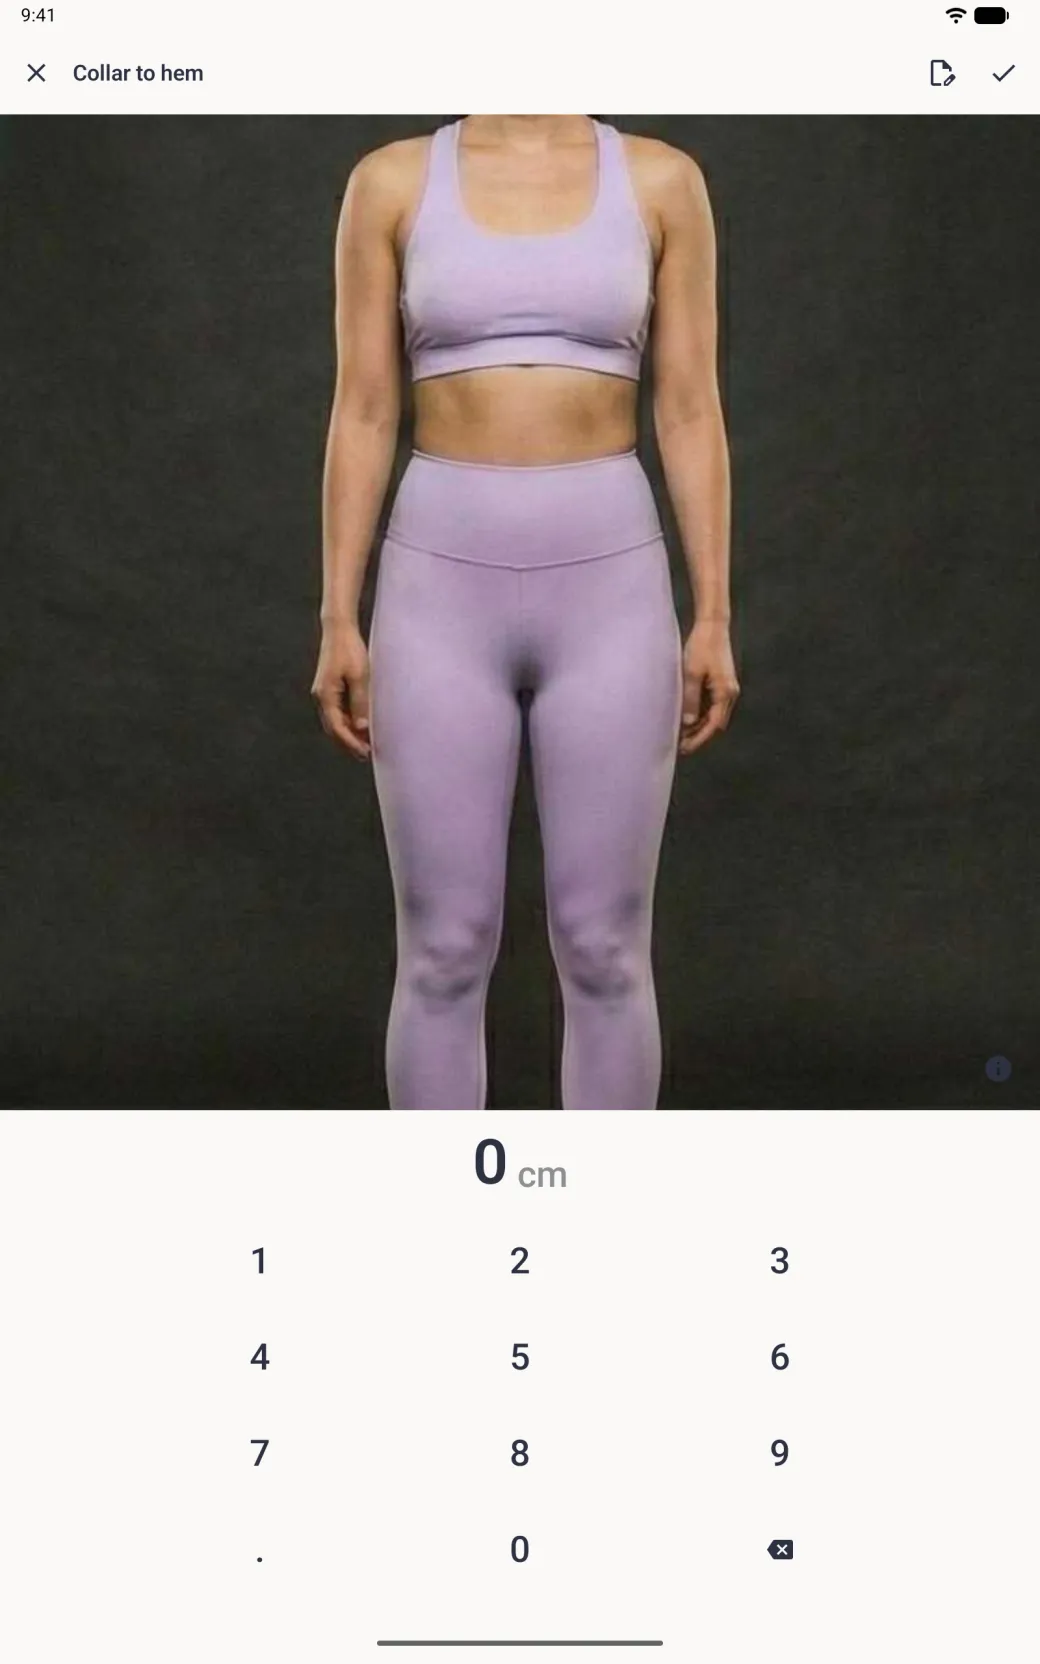
Tap its label on the page. The entry screen is the same one every built-in measurement uses, with your photo at the top, your instructions behind the round navy information button, and the number pad below. On Android this button is navy too. The value goes into the profile and the list view alongside everything else.

How do I change one later?
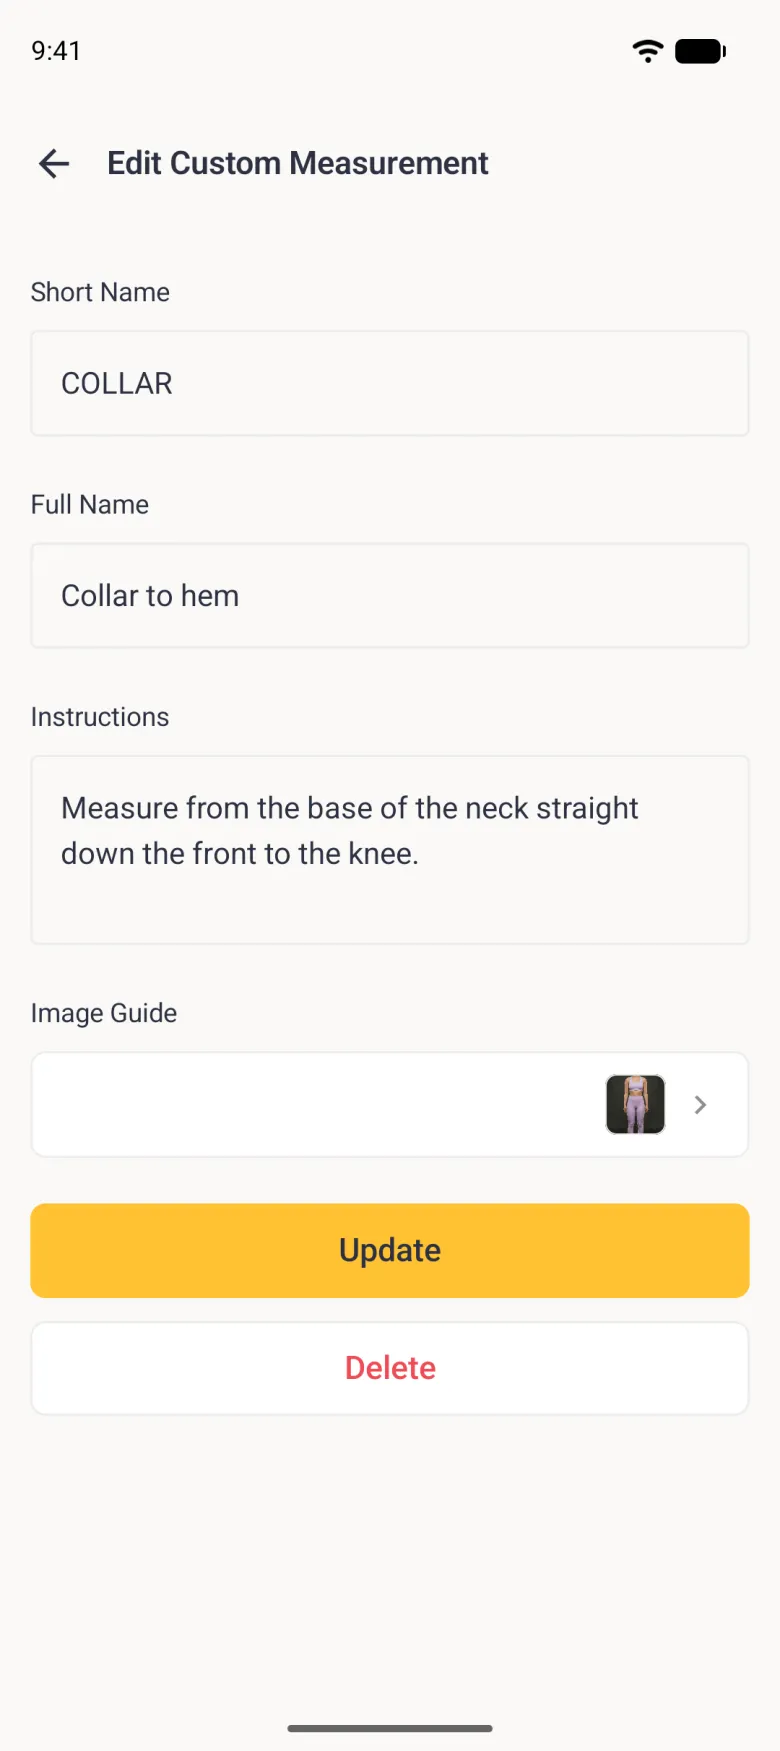
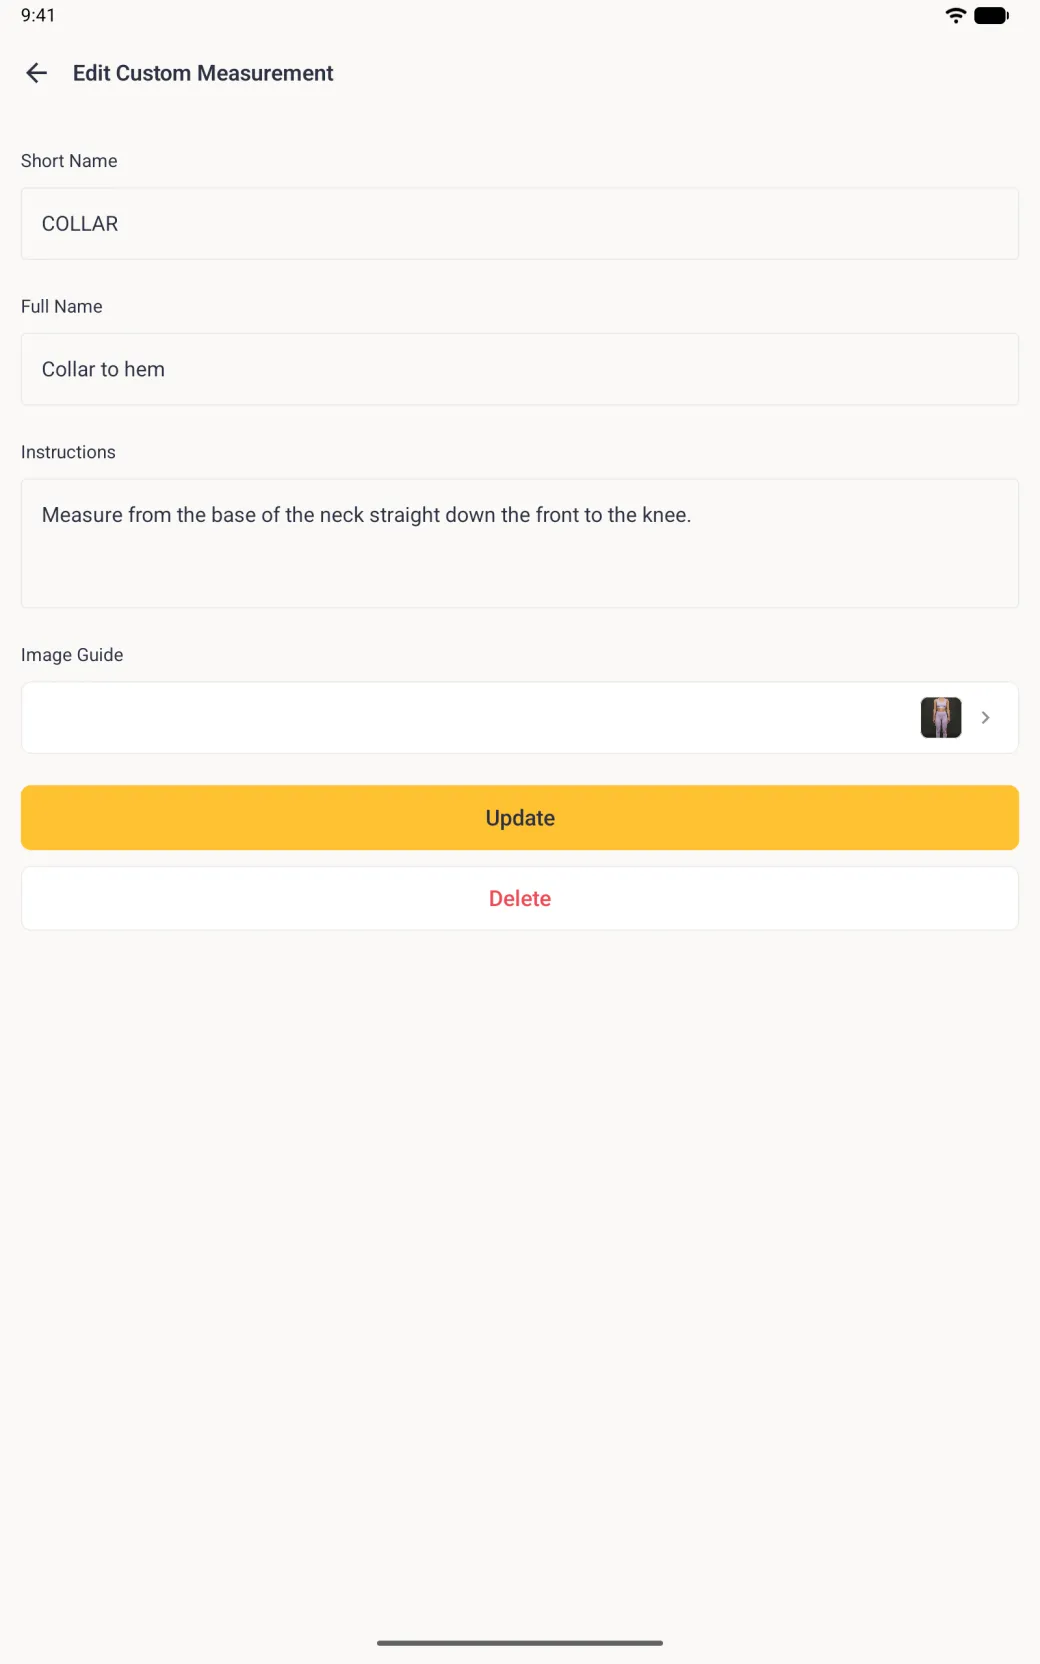
There are two things you might want to change, and they are reached separately. To change the name, the instructions or the photo, open the measurement’s entry screen and tap the edit button (a clipboard with a pencil) beside the checkmark: that opens Edit Custom Measurement with all three fields. On Android this is a document-and-pencil icon rather than a clipboard, in the same place.
To move the line itself, open the options button (three sliders) on that page, or the three-dot menu on Android, and choose Custom Measurements. Every custom line on the page shows its endpoints. Tap one so the line turns gold, then tap Continue, redraw the line, and commit it with Save Changes followed by Confirm Changes and the checkmark on Edit Custom Measurement.
How do I delete one?
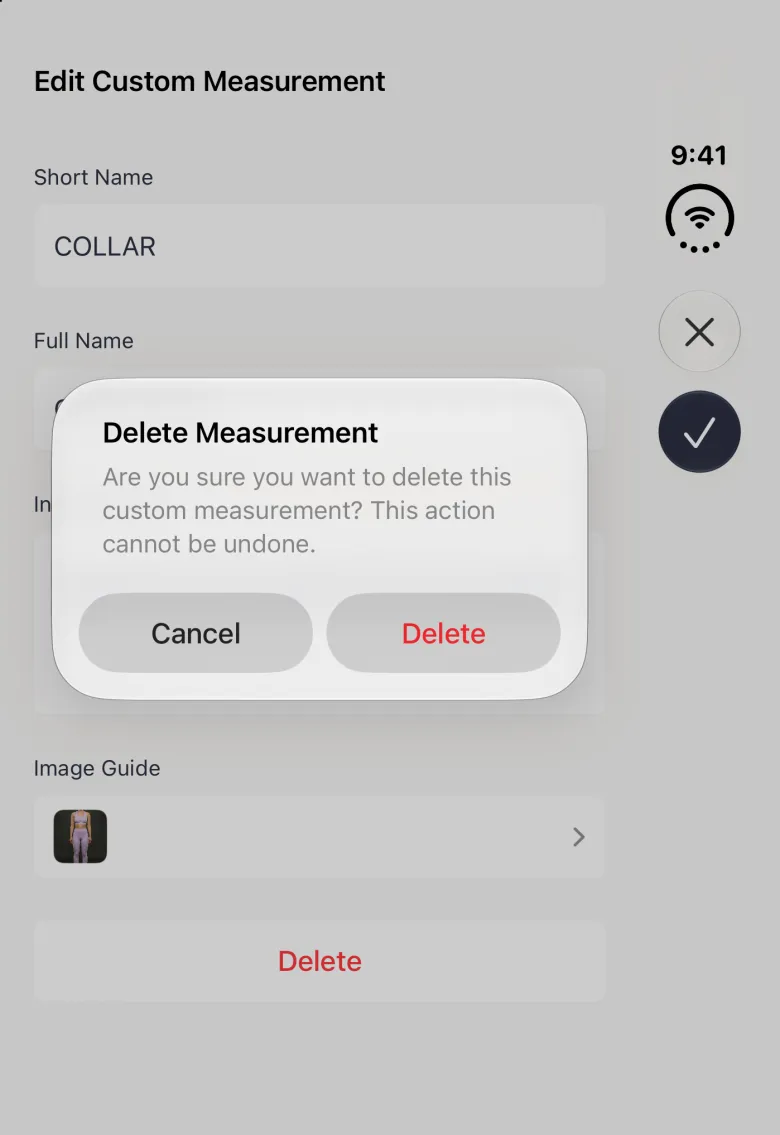
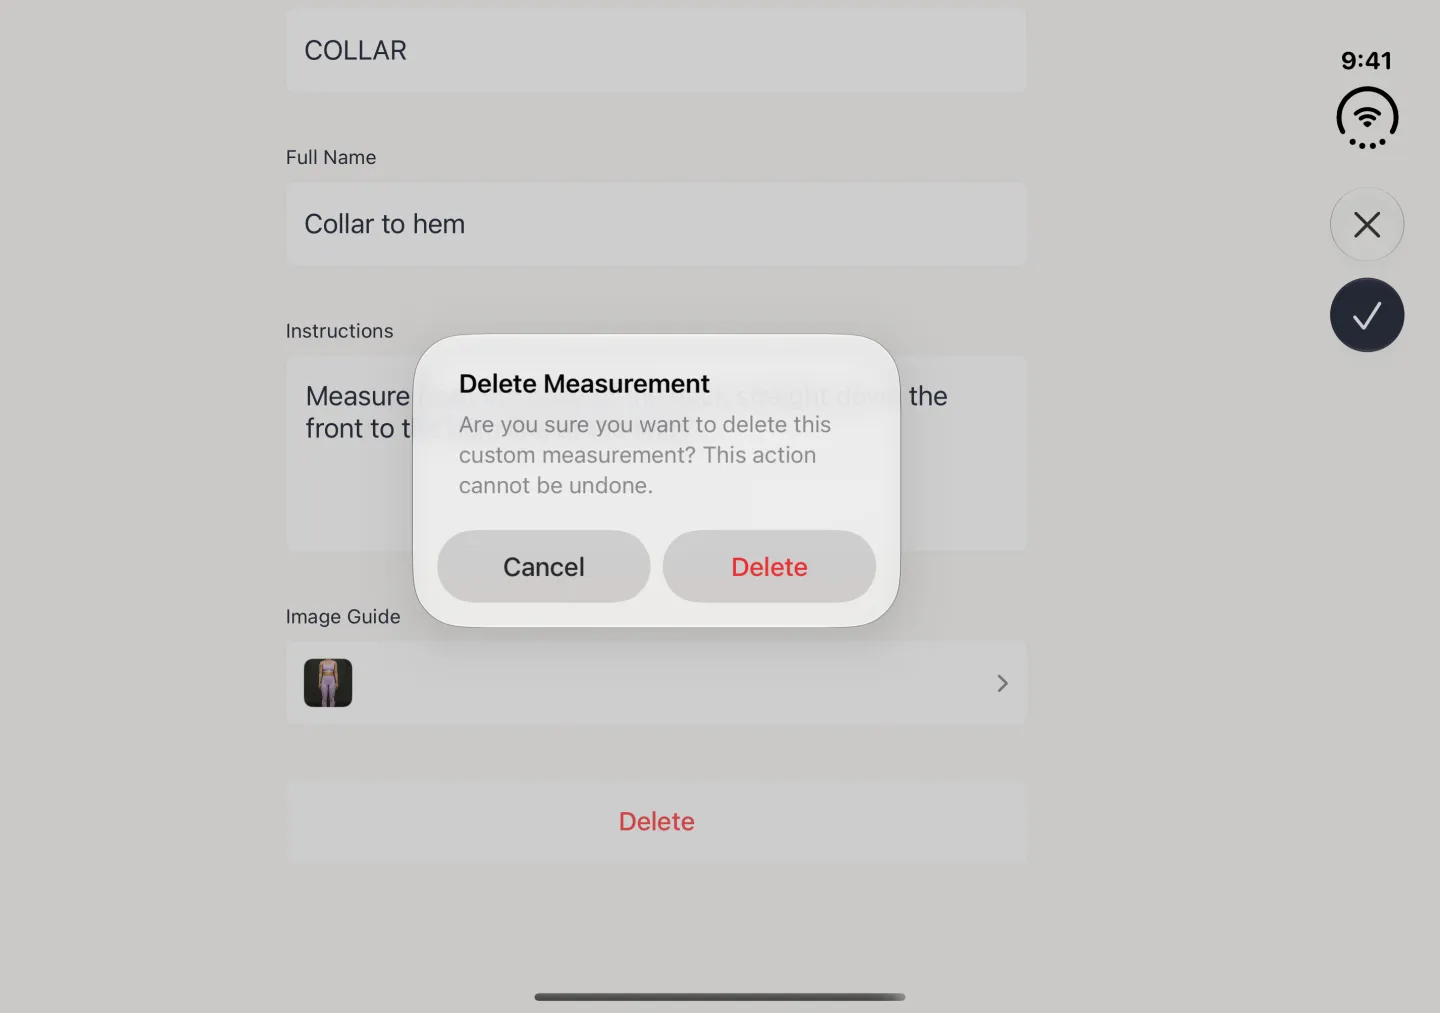
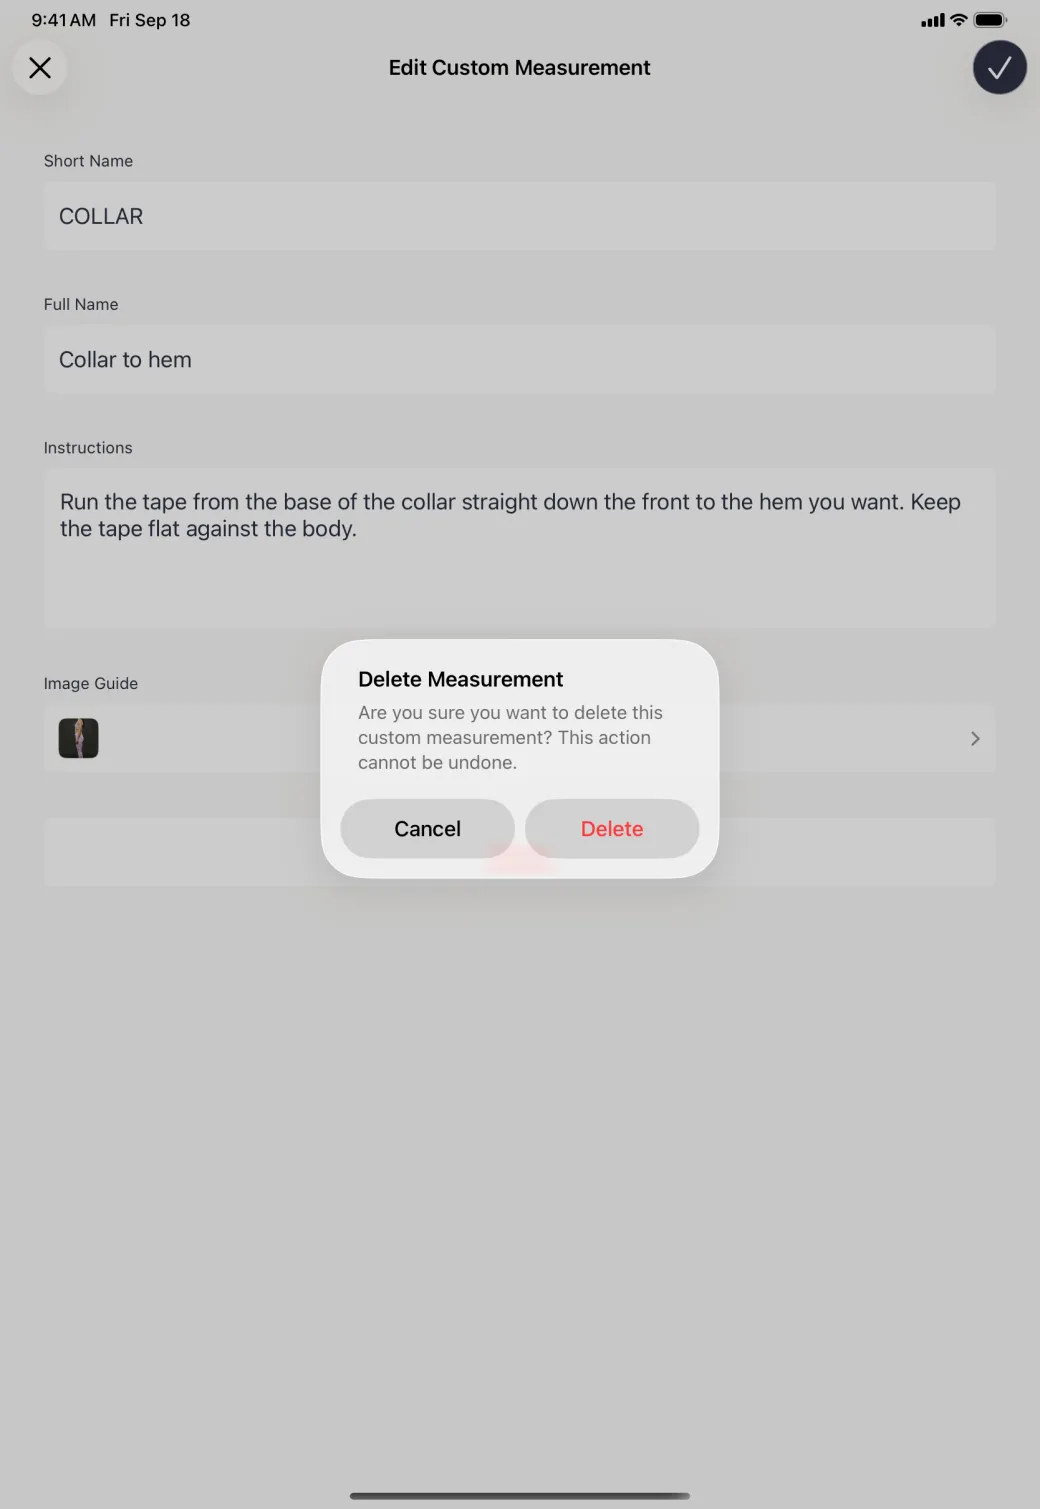
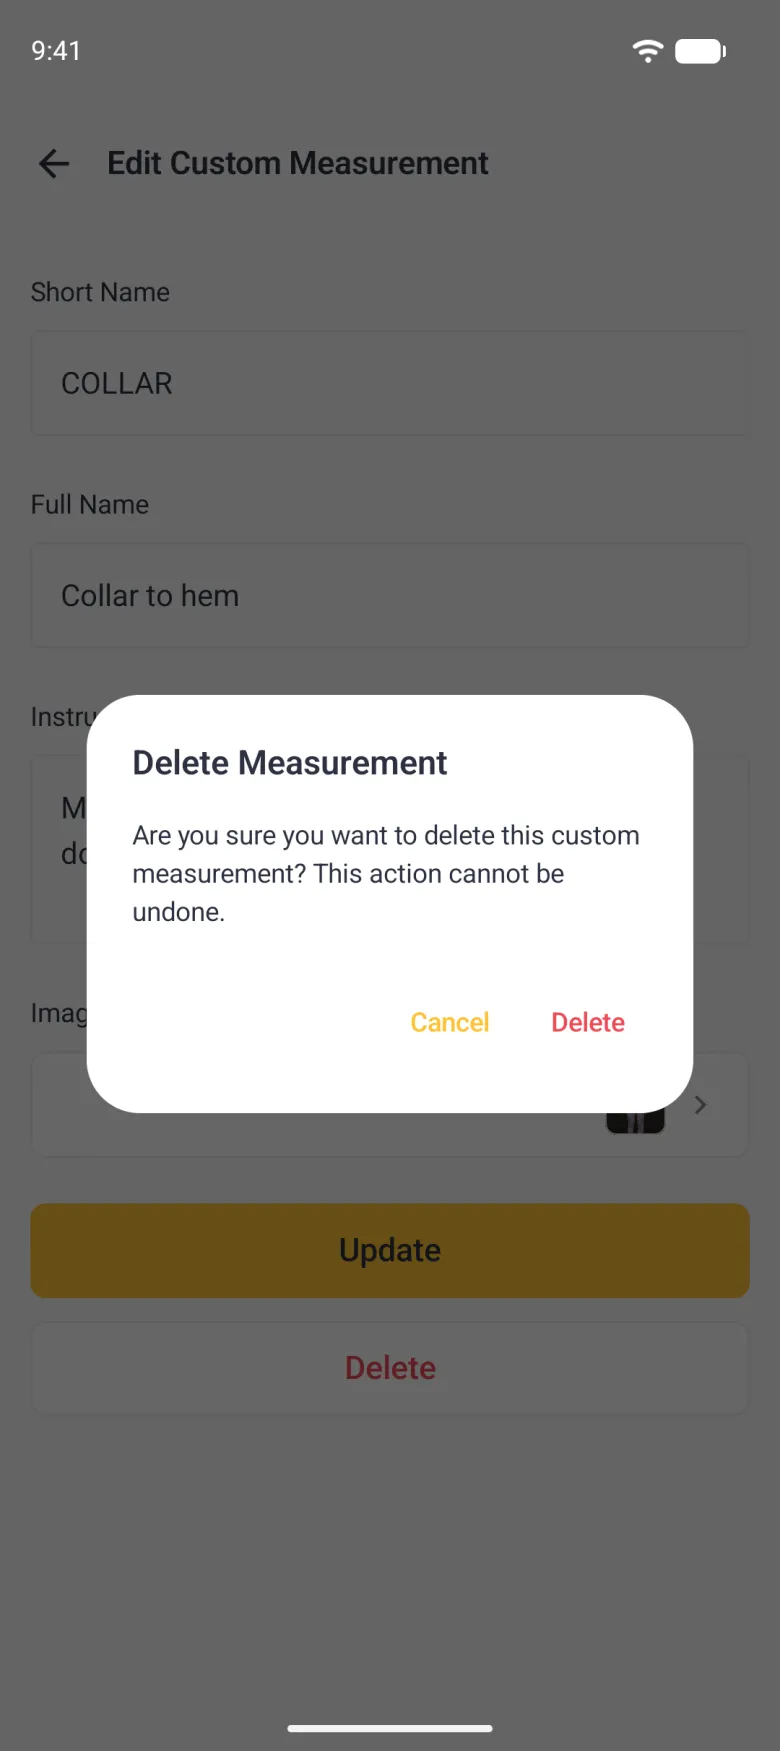
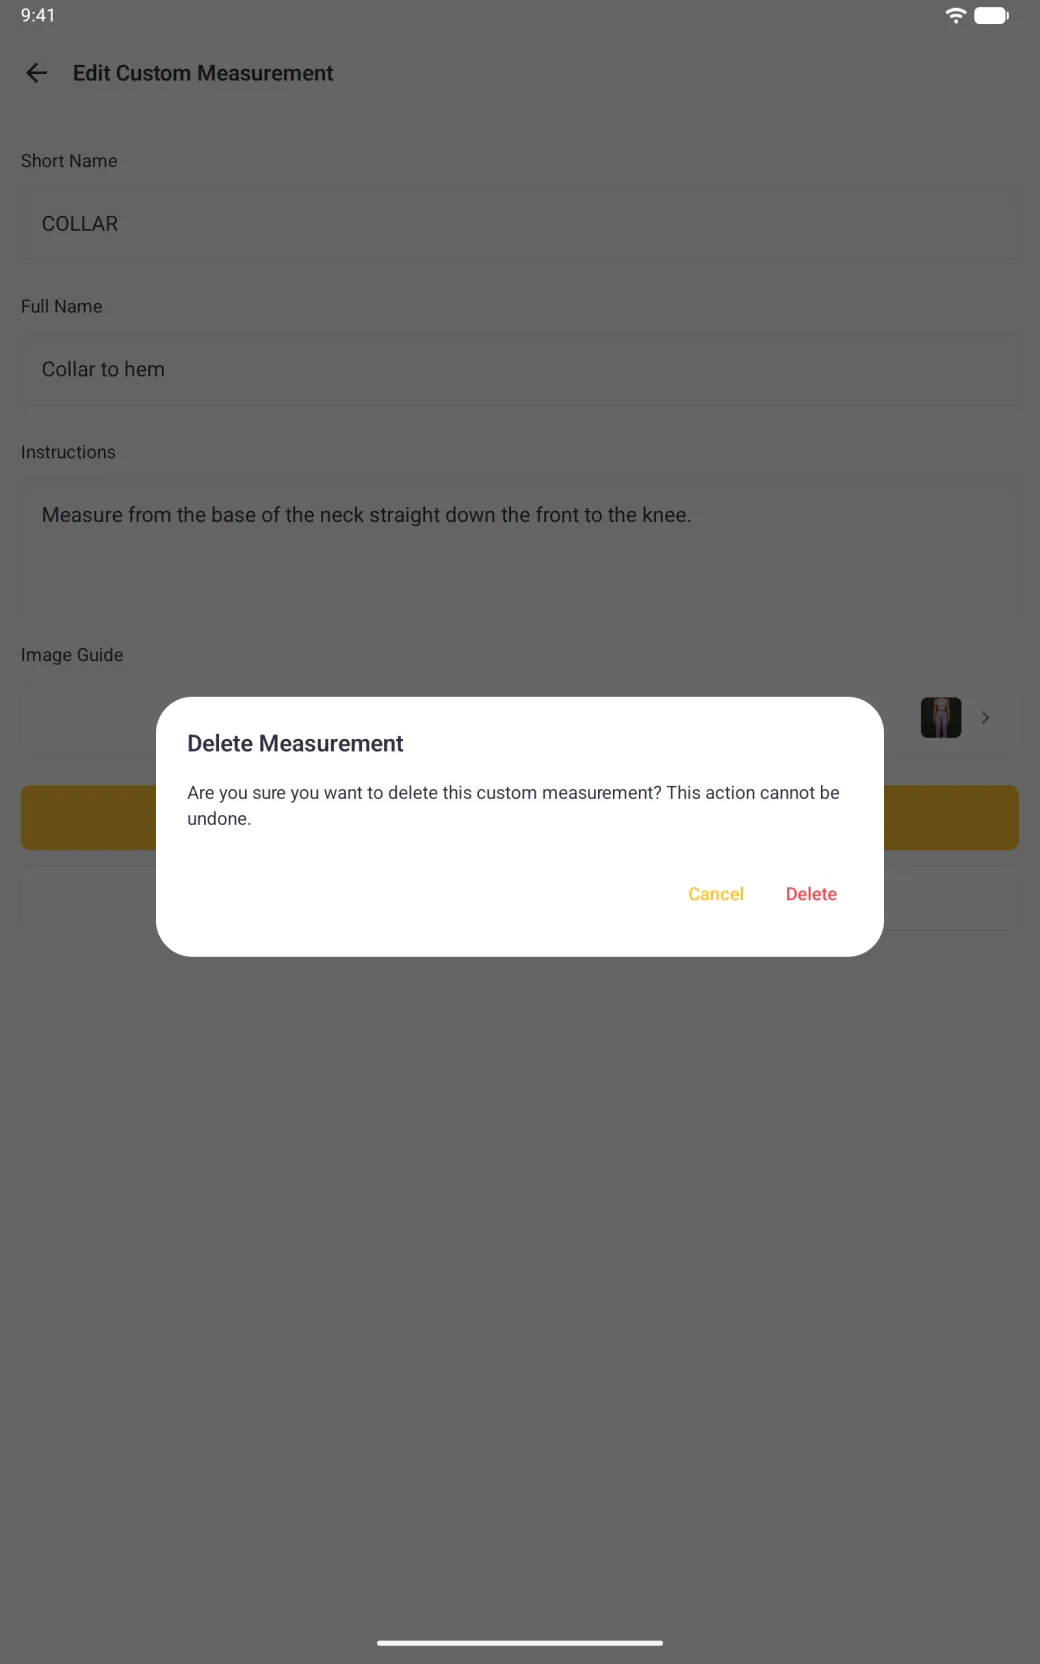
Delete sits at the bottom of Edit Custom Measurement, under the image guide row. Tapping it asks you to confirm first, because a deleted custom measurement cannot be brought back. In the Custom Measurements editor, a selected line also has a trash button at the top right, which opens a Delete Measurement screen with the same choice. Built-in measurements cannot be deleted at all: hide the pages you do not use instead.